How to Make YouTube Videos with Lumix G7?
The Lumix G7 is a popular camera because of its amazing video quality and user-friendly features. Whether you're vlogging, filming tutorials, or shooting cinematic content, the Lumix G7 has all the tools you need to make your videos look professional.
In this guide, we'll guide you through the steps to make professional-looking YouTube videos using the Lumix G7. From setting up your camera to perfecting your footage, you'll learn the tricks that make video creation seamless and enjoyable.
Part 1. Steps of How to Make YouTube Videos with Lumix G7
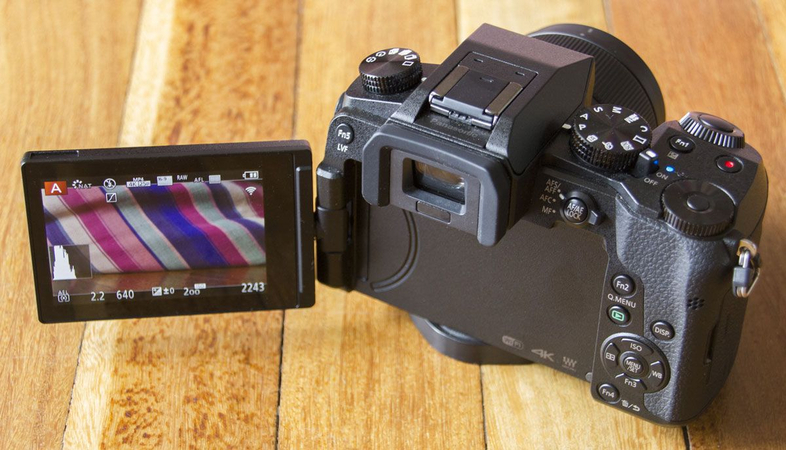
The Panasonic Lumix G7 is a powerful tool for YouTubers and professional creators. It offers 4K video capabilities, intuitive controls, and a compact design to make it a great option for creating high-quality content. If you're a beginner in using the Lumix G7 or simply want to optimize your video-making process, just follow these detailed steps and learn how to create eye-catching YouTube videos that appeal to your audience. Here is how to make YouTube videos with lumix G7:
Step 1: Gear Up for Your Lumix G7
Put on your chosen lens and screw it into the camera body. Turn on your fully charged battery and place in a high-speed SD card for recording video.
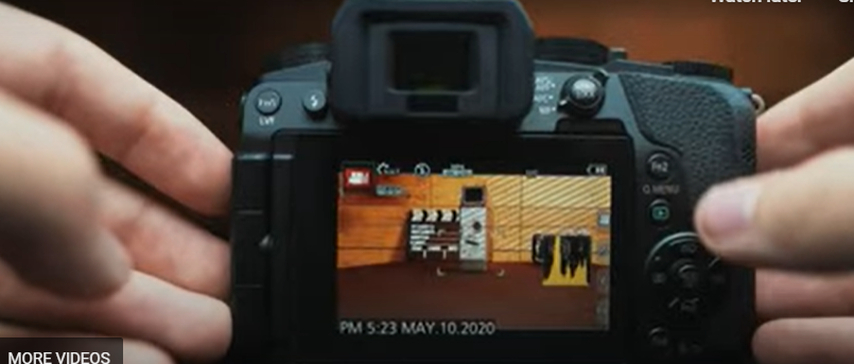
Turn on your camera and set the mode dial to video camera, which signifies the video mode.
Step 2: Video Setup
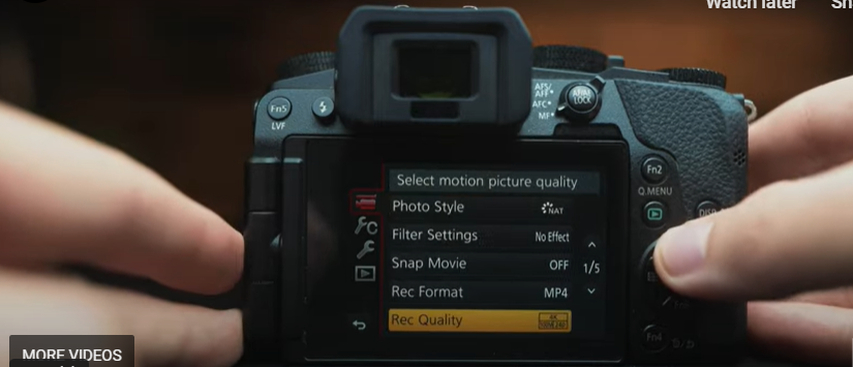
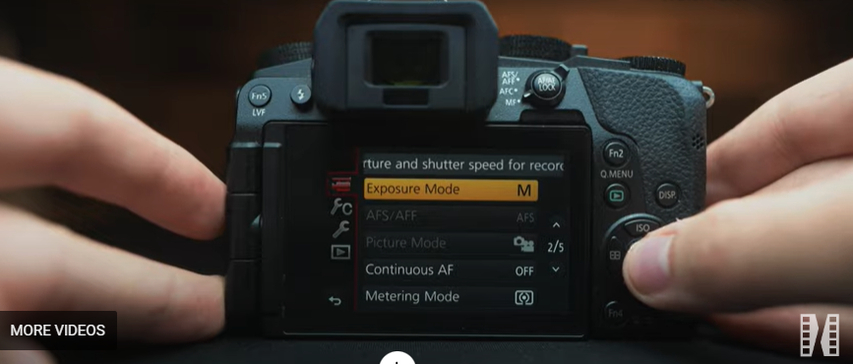
- Open the Menu: Tap the 'Menu' button to open up the settings.
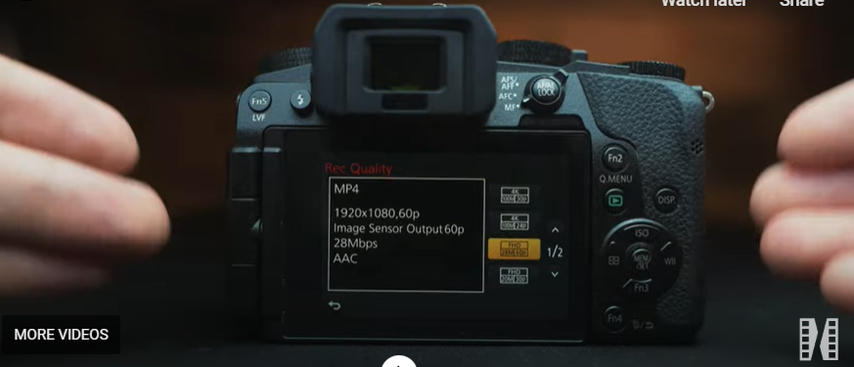
- Resolution and Frame Rate: Scroll to the 'Rec Quality' option. For YouTube optimal quality, choose 4K at 30fps or 1080p at 60fps.


- Exposure Settings: Use the ISO, shutter speed, and aperture according to the lighting conditions. As a general rule, set the shutter speed to twice the frame rate (e.g., 1/60s for 30fps).

Step 3: Select the Appropriate Lens and Frame Your Shot
- Lens Choice: Choose a lens that complements your content. A 14-42mm lens is versatile for various shooting scenarios.
- Composition: Utilize the rule of thirds to frame your subject effectively. Ensure adequate lighting and maintain focus on the primary subject.

Step 4: Focus Settings
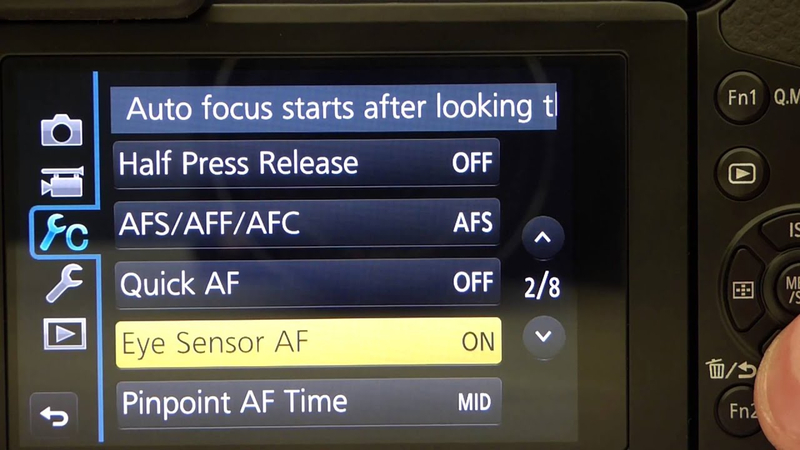
- Autofocus: Use continuous autofocus (AFC) to focus on a moving subject for dynamic scenes.
- Manual Focus: Turn to manual focus for precise control of a static or controlled environment.

Step 5: Recording Video
- Stabilization: Mount your camera on a tripod or use a gimbal to prevent shaky video.
- Audio: Connect an external microphone, such as the Rode VideoMic, for high-quality audio.
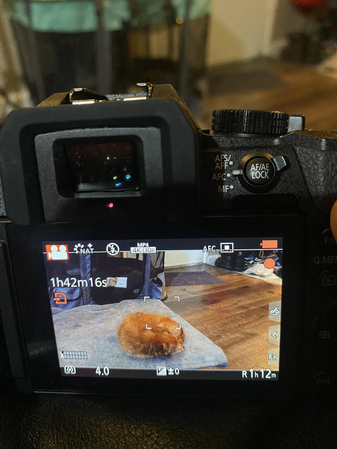
- Begin Recording: Tap the red record button to start capturing your video.

Step 6: Transfer and Edit Footage
- Transfer Files: Transfer your footage to a computer via an SD card reader.
- Editing Software: Utilize video editing software like Adobe Premiere Pro, Final Cut Pro, or free options such as HitPaw Video Editor to edit your content.
Step 7: Upload to YouTube
- Export Settings: Export your edited video in MP4 format, following the recommendations of YouTube.
- Upload: Log in to your YouTube account, upload your video, and fill out title, description, and tags.
- Publish: Publish the video after filling in all the details so it's ready for viewers.
Part 2. Pro-Tips. Best YouTube Video Enhancer Free Try
Creating captivating YouTube videos needs more than just recording; the magic happens during post-production. A powerful video enhancer, such as HitPaw VikPea (formerly HitPaw Video Enhancer), can elevate your content by improving video quality and adding professional-grade touches with little effort.
HitPaw VikPea makes editing easy and will ensure that your YouTube videos are visually stunning and able to capture the audience. Give it a free try and elevate your video production game!
Features of HitPaw VikPea
- AI-Powered Improvement. Detects and upgrades quality automatically.
- Resolution Enhancements. Upscale from your videos to 4k or even higher resolutions that provide sharper visuals.
- Noise Reduction: Eliminate unwanted background noise for crisp sound quality.
- Color Correction: Bring out colors to be alive and accurate.
- Stabilization: Fix shaky shots for a smooth viewing experience.
Steps to Enhance Video
1. Download and Install HitPaw VikPea
HitPaw offers a version on its website for easy download and installation.
2. Add Your Video
Launch the software, then click "Add Video" and import the video that you will like to enhance.

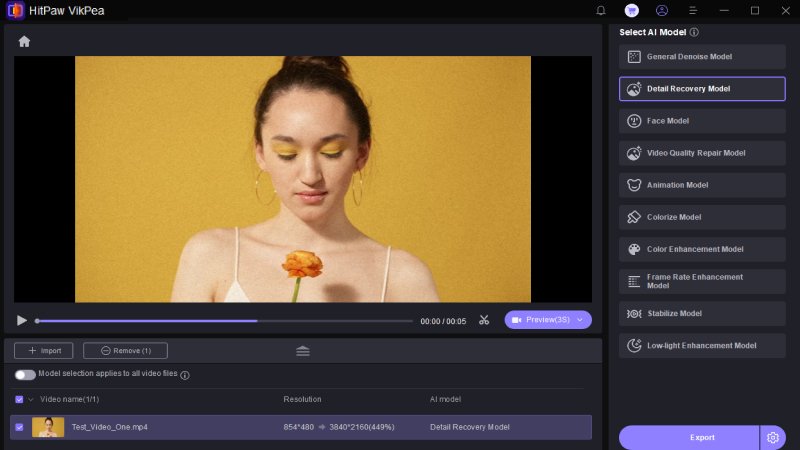
3. Select Enhancement Options
Select the AI enhancement features you'd like to apply, for example, upscaled resolution or noise reduction.
4. Preview & Export the Enhanced Video
Click Preview to see what improvements were made before you export the video. Once you're satisfied, click Export and save your enhanced video.

Learn More about HitPaw VikPea
Conclusion
Learning how to use the Lumix G7 for YouTube videos can greatly improve the quality of your content; from adjusting your camera settings to enhancing your footage, every step counts. To make your videos really stand out, try HitPaw VikPea for professional-grade enhancements. Transform your creations effortlessly; explore its powerful features and see the difference!



 HitPaw Univd (Video Converter)
 HitPaw VoicePea
  HitPaw FotorPea


Share this article:
Select the product rating:
Daniel Walker
Editor-in-Chief
My passion lies in bridging the gap between cutting-edge technology and everyday creativity. With years of hands-on experience, I create content that not only informs but inspires our audience to embrace digital tools confidently.
View all ArticlesLeave a Comment
Create your review for HitPaw articles