How to Convert YouTube to WAV on Mac
Most people love listening to interviews, podcasts, and other Talk shows. You need to convert YouTube to WAV to save such files for listening offline anytime and anywhere. It's an excellent way of saving uncompressed audio files without losing their quality.
If you want to convert YouTube to WAV on Mac, there are several options to do so. However, the option you choose determines the file's output quality and the energy you put into the conversion task. Remember, WAV format is necessary for storing raw and uncompressed audio files; therefore don't convert YouTube to WAV with a program that will compromise its quality.
Part 1. Why You Need to Convert YouTube to WAV on Mac?
WAV isn't the only audio format you can use. MP3 and M4A are other formats your devices can play without challenges. And each audio format has both negatives and positives. Why should you convert YouTube to WAV on Mac over the other formats?
- Quality preservation - If audio quality is something you value, save your audio in WAV format. Converting YouTube to WAV preserves the file's quality thus ensuring they are of high standards.
- Compatibility - Even in their uncompressed standard, WAV files can be played on both Mac and Windows. If Windows is your operating system, the built-in Windows Media Player can open and play smoothly WAV files. For Mac users, iTunes or Quicktime is the player to use. Again, the iPhone plays WAV files without the support of third-party tools.
- Supports High Frequency - Uncompressed files support up to 22.5kHz frequency. This is the preferred professional setting for uncompressed files which include WAV files. You also need to convert YouTube to WAV as their bitrate is still high thus promising high quality and audible sounds.
- Seamless Loop - With WAV files, you can create seamless loops which can hardly be done using other audio formats. Converting YouTube to WAV files to make seamless loops possible. As a music lover, you'll need this audio format to create repeat sections of the audio, especially the most favorite lyrics.
Part 2. The Best Way to Download and Convert YouTube to WAV on Mac
There are different ways to convert YouTube to WAV on Mac. Whereas some may compromise on the audio quality such as the online converters, using software will guarantee lossless conversion. To have a high-quality WAV file select a YouTube to WAV on Mac converter with features that can customize the file's output quality.
HitPaw Univd for Mac(HitPaw Video Converter) is the best way to download and convert YouTube to WAV on Mac. Besides converting WAV files, users can download YouTube videos to MP4 or MP3 with HitPaw Univd, and then import the downloaded video to the convert tab to convert it to WAV without losing quality.
Here is the best way to download and convert YouTube to WAV on Mac.
HitPaw Univd for Mac Main Features
HitPaw Univd - All-in-one Video Solutions for Win & Mac
Secure Verified. 254,145 people have downloaded it.
- supports downloading videos from 1000+ popular sites including YouTube, Facebook, Bilibili, SoundCloud, TikTok, Instagram, and many more
- Download videos up to 8K resolution
- Extract audio from video directly
- There are plenty of features to help you cut, trim, merge, rotate, and even blur faces
- Supports encoding videos to H264, H265, MPEG4, and ProRes
- Convert videos of 8K, 4K, 1080p, and 720p to different formats and devices
- 120X faster video, DVD, music, and image conversion speed on Mac.
Secure Verified. 254,145 people have downloaded it.
How to Download and Convert YouTube to WAV on Mac
Follow these steps to convert YouTube to WAV format on Mac
Step 1:Download and install HitPaw Univd then launch it on Mac. Launch the software and choose the “Download” menu.
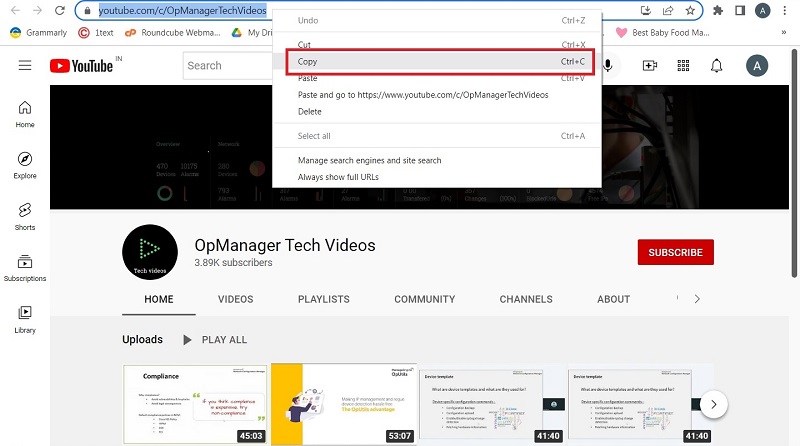
Step 2:Go to YouTube and select the file to download and convert. You can open a YouTube video, playlist or channel. Copy its link from the browser address bar.

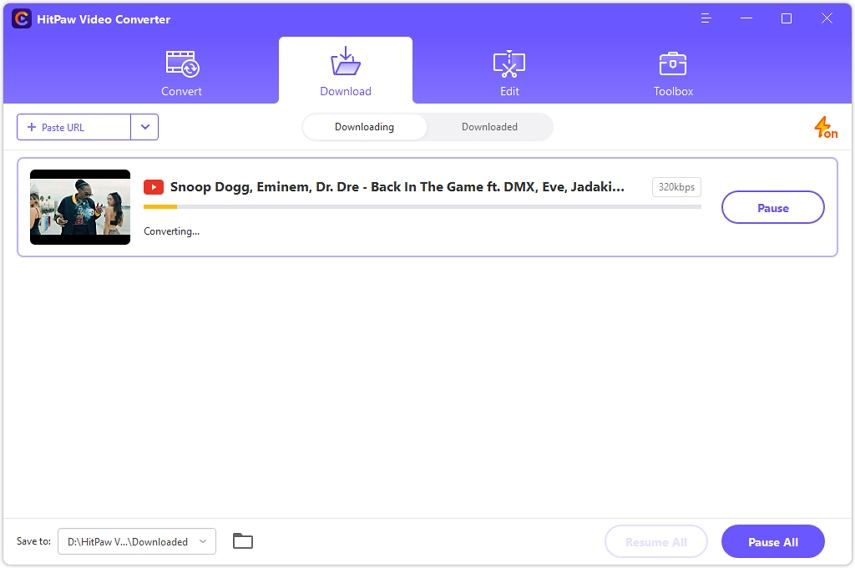
Step 3:Back to HitPaw Univd's Download menu, click on the Paste URL sign to paste the copied URL. Click the Analysis to start analyzing the link.
Step 4:After analysis, this software will display the video and audio info. You can choose an video or audio format and quality.
Step 5:Click the Download button to start downloading the YouTube videos.

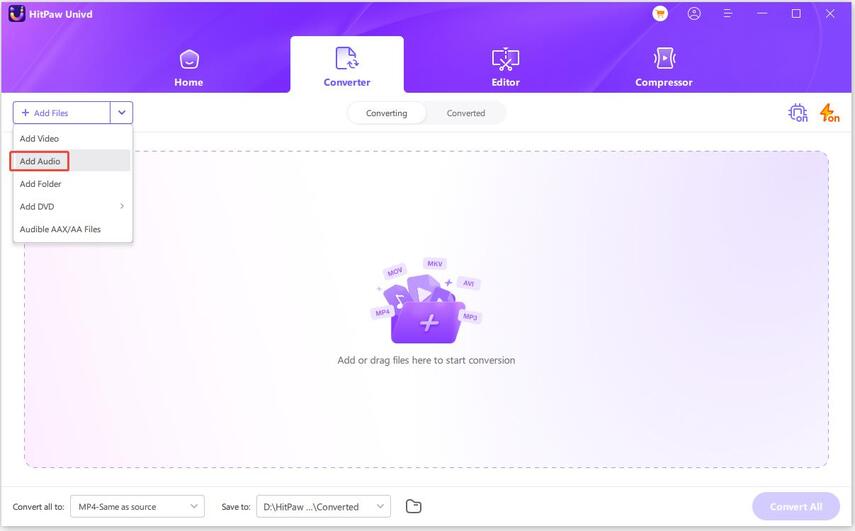
Step 6:After the download process is completed. You can then switch to the “Convert” tab on the program's main menu. Drag and drop the downloaded audio (or video) file.

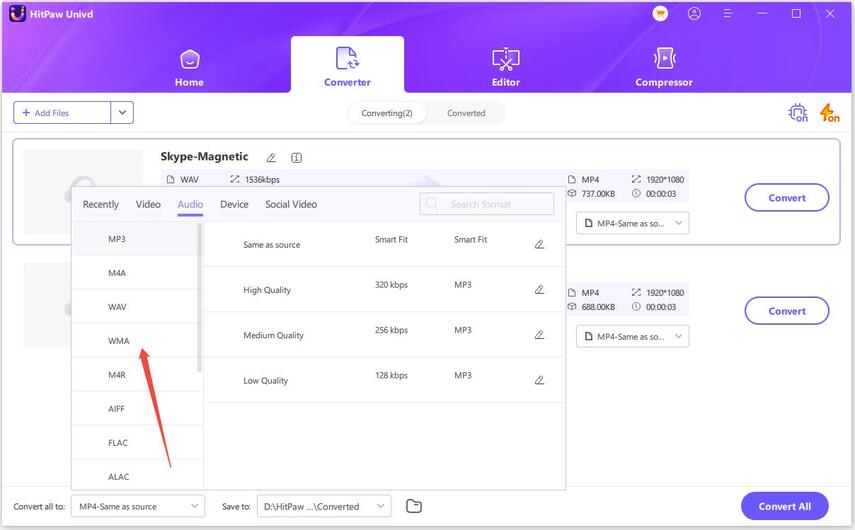
Step 7:Click the Convert all to option to expand the output format list. In the Audio category, select WAV as the output format.

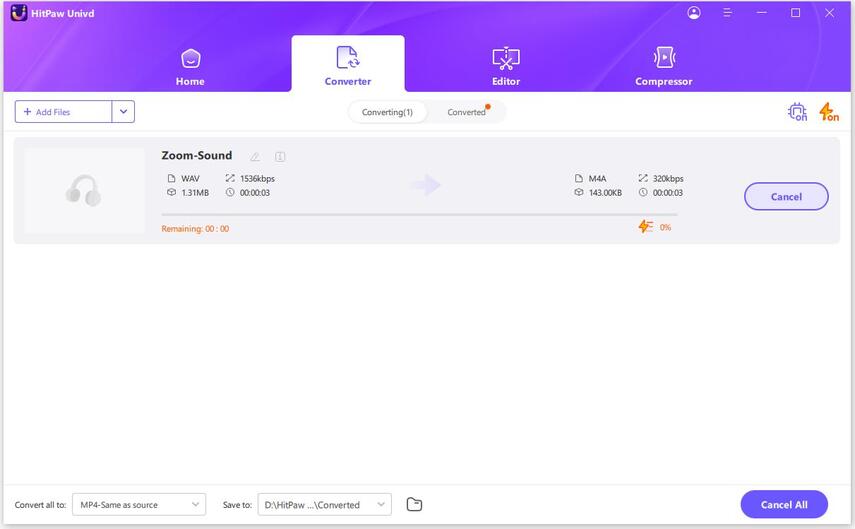
Step 8:Click the Convert All button to start converting YouTube to WAV.

Part 3. YouTube to WAV Converter Online for Mac
Another easy way to download and convert YouTube to WAV on Mac is to use free online YouTube converters. y2mate.yt is an online free YouTube and WAV converter that allows you to convert your YouTube videos to WAV format easily within seconds. Besides downloading and converting YouTube videos, it's a good Facebook and O.kru video downloader.
Here is how to convert YouTube to WAV on Mac using y2mate.yt.
- Step 1: On your Mac open y2mate.yt. Go to YouTube and copy the file to convert.
- Step 2: Paste the URL link on the y2mate.yt “Paste Your URL” box.
- Step 3: Click on the inverted triangle and choose “WAV” as the output format.
- Step 4: Click on the “Download” button to convert and download your WAV online.

Part 4. Record YouTube to WAV on Mac
Recording a WAV file on YouTube on Mac would enable you to save lots of audio to listen offline. With QuickTime Player, recording YouTube to WAV on Mac should be the easiest task. It's a built-in Mac player that you can also use to record audio-only. Choosing the maximum recording quality will ensure you get the best uncompressed audio.
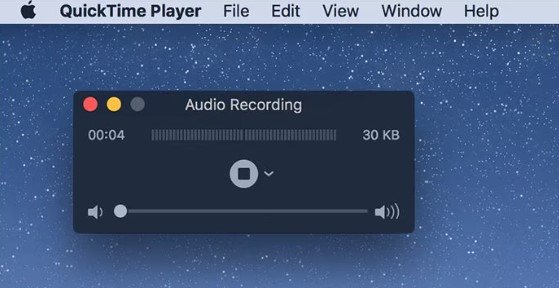
Here's how to record YouTube to WAV on Mac:
- Go to YouTube and choose the WAV file to record. Next, open the QuickTime Player app on your Mac.
- On the player, select “Start New Recording”.
- On the pop-up menu select “Microphone”, if you've got more than one and on the “Quality” option select “Maximum”.
- Control the audio volume until you are sure its well audible after recording.
- Click the “Record” button to record the audio. When done recording click the “Stop” button.
Conclusion
There are different ways to convert YouTube to WAV on Mac. While some have limitations others deliver the best WAV audio. Using HitPaw Univd for Mac is the best way to convert YouTube to WAV on Mac because it allows you to download, convert and even preview the audio before saving.



 HitPaw VoicePea
  HitPaw VikPea (Video Enhancer)
 HitPaw FotorPea


Share this article:
Select the product rating:
Daniel Walker
Editor-in-Chief
My passion lies in bridging the gap between cutting-edge technology and everyday creativity. With years of hands-on experience, I create content that not only informs but inspires our audience to embrace digital tools confidently.
View all ArticlesLeave a Comment
Create your review for HitPaw articles