Everything You Need to Learn About Voice Memos on Mac
When you want to record your casual conversation, lecture, or podcast, it is important to use a reliable recorder that can provide high-quality results. Mac users don't have many options when it comes to voice recorders, but worry not. The good news is that even Mac users can try a built-in audio recorder called Voice Memos. In this article, we will tell you everything about Voice Memos Macbook.
Part 1: What are Voice Memos on Mac?
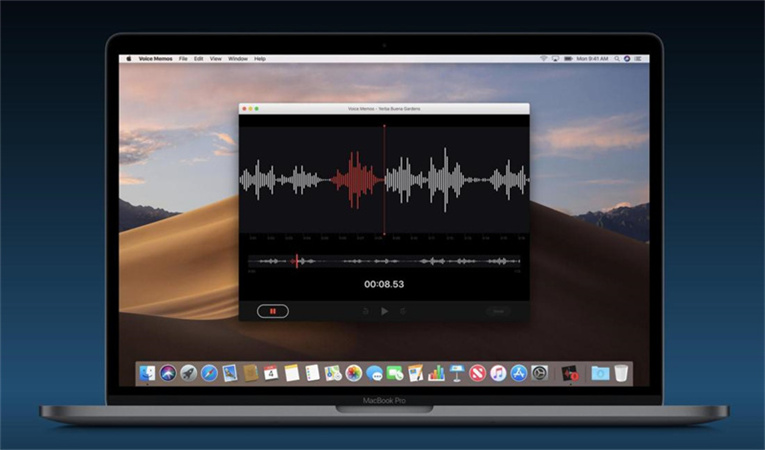
If you are looking for a reliable voice recorder, then you should definitely try the Memos audio recording application. It is a built-in app created for macOS and makes the recording process easier. With this app, you can effortlessly record your lectures, videos, and more. Apart from that, it can sync with all your iOS devices, including iPhone, iPad, and iPod. Many Mac users don't know how to use this app, but before that, we will discuss the main settings of Voice Memos on Mac.
Basically, there are three important things that you should know before using this app. These folders include clear deleted folders and audio quality, and the last one is the location-based naming tool. You can find these folders in the Settings section and tweak them according to your preference. Below we have discussed more about these folders.
1.Clear DeletedThis option is very important if you are planning to use Voice Memos on macOS. This setting allows you to set the time for deleting videos, such as 1 day, 7 days, 30 days, and Never. You can adjust the settings according to your preference.
2.Audio Quality:If you want to adjust your audio quality, this option is for you. It offers two different options; the Lossless and the Compressed option. Lossless is for larger files and high-quality videos, and the compressed one is for smaller files and low-quality videos. Remember that choosing the Lossless option will consume more space on your Macbook. However, if you are working on big and serious projects, then this option will work for you. But if you are recording casual conversations, then you can try the compressed option.
3.Location-Based Naming:The last toggle that you can adjust is called location-based naming. As the name indicates, it will give the name to Voice Memos according to your location. It is an exciting feature and should be used regularly so you don't have to remember the places during the recordings. You can also disable it if you find it annoying.
So, these were some of the important Settings of Voice Memos on Mac. Now, let's discuss how to use this app.
Part 2: How to use Voice Memos on Mac?
Once you have done the Macbook Voice Memos Settings, it's to learn how to use it on your device. As discussed above, it can be used for recording conversations, meetings, lectures, and more. Additionally, this app is also perfect for content creators and voiceovers. Let's dive into the details and learn how to record your first Voice memo on Mac.
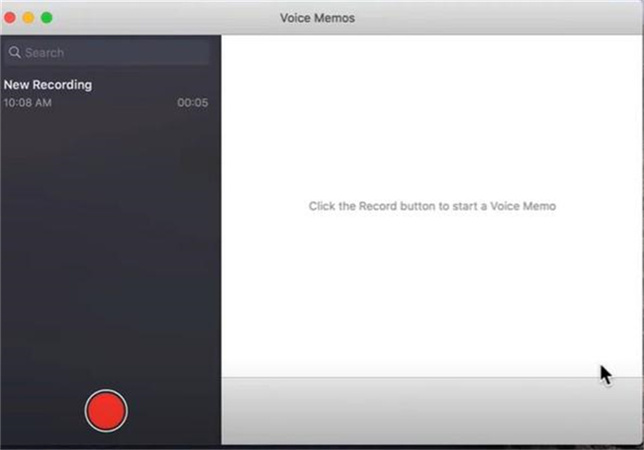
1. First, open the Voice Memos application, adjust the Settings as mentioned above, and click the 'Red' button to start the recording.

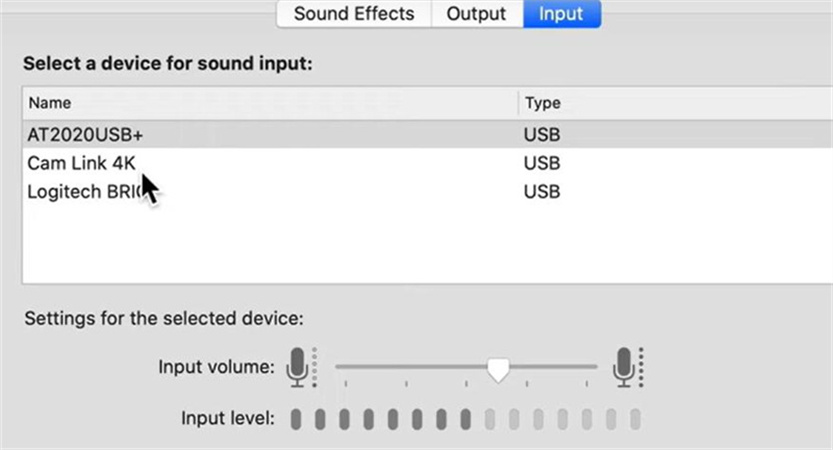
2. Now, go to System Preferences, and click the "Sound'' option to check your microphone. Once you are there, choose the Input option and verify the microphone which you are using for the recordings.

3. Don't forget to play with your input and output Settings, as they are the most important points while recording the audio.

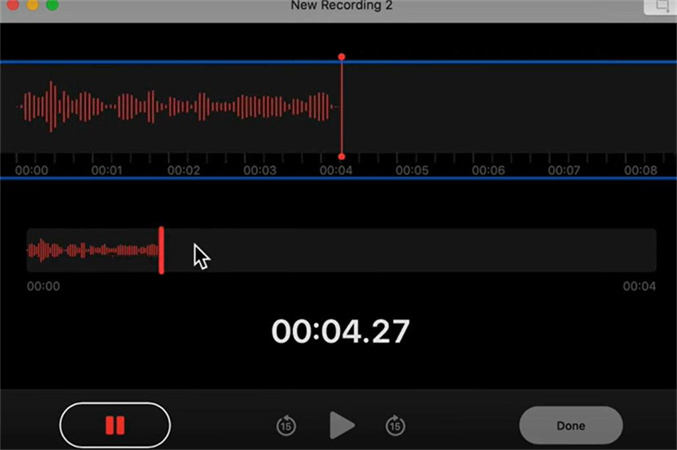
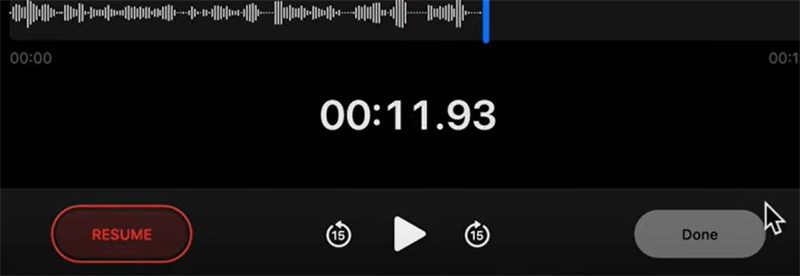
4. Once you are done with the microphone settings, click the Red button again to start the recording. You can click the Resume button to pause it.

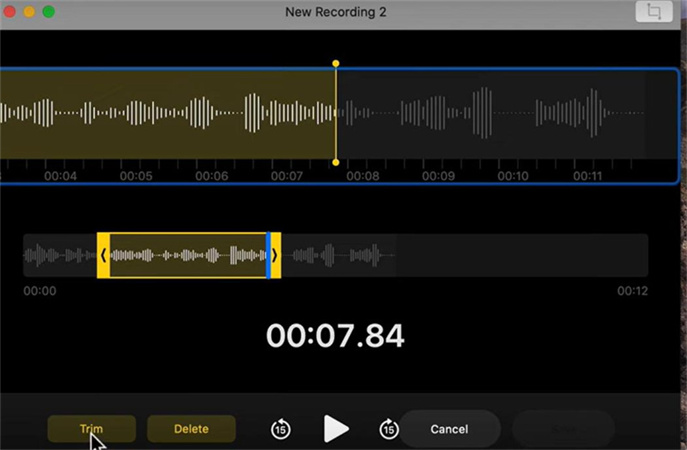
5. There are different other things that you can do with the Voice Memos app, such as trim, delete, and crop the audio recordings.

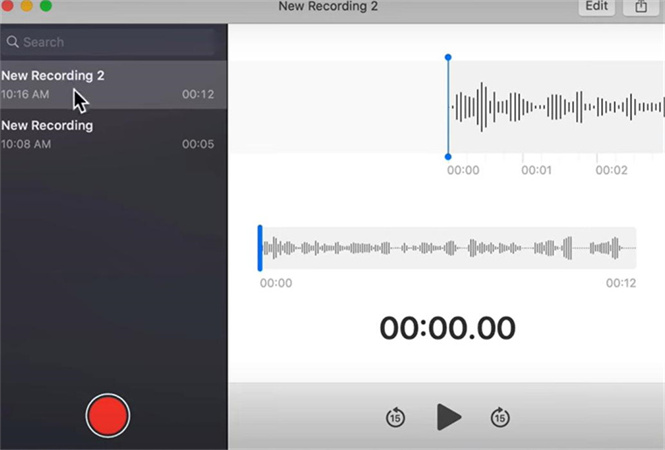
6. Once you have completed the recordings, click the “Done’’ option to save the recordings. You can see all the recordings on the main screen of the app.

That's it. By using this application, you can easily record voice Memos on your Macbook.
Bonus Tips: HitPaw VoicePea - Best Voice Changer for PC

If you don’t want to use the built-in Voice Memos on macOs, you can also download another app called HitPaw VoicePea. This app is available for Windows and also Mac devices. The app has amazing features and is an ideal choice for non-tech users. Moreover, you can use this software to change voices into different characters. Want to know more about this software? Check out the features mentioned below.
- Has an intuitive interface for beginners
- Offers multiple options when it comes to changing voice
- Users can upload the voices of their favorite characters
- Works perfectly with all the platforms and games
- Perfect for content creators, streamers and Vtubers
- Custom your voices on different platforms, including Skpye, Google Meet, Zoom, etc
If you don't have the budget to hire a professional voiceover and are looking for an alternative, then you can use the HitPaw VoicePea application. This software will change the voice by following three simple steps. Want to know how? Follow the instructions discussed below.
Step 1: Go to the website, and from there, download the latest version of HitPaw VoicePea. Make sure to check the PC and Mac requirements.
Step 2: The next step is to follow the instructions on the screen so that you can complete the setup process. HitPaw has mentioned cleared instructions on Installer, so you can follow them.
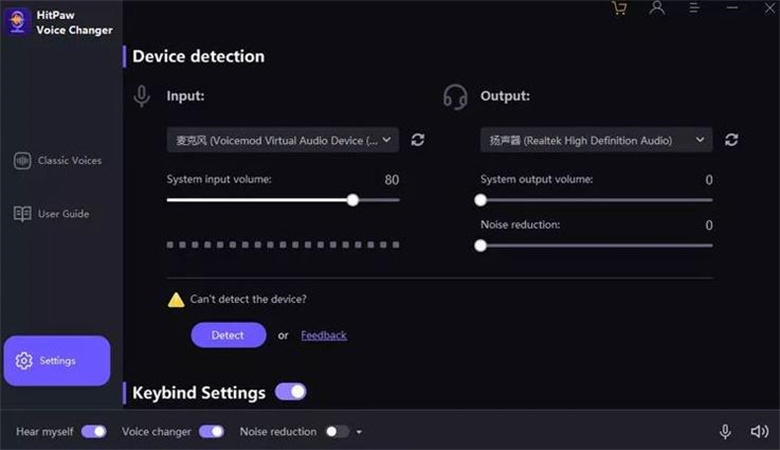
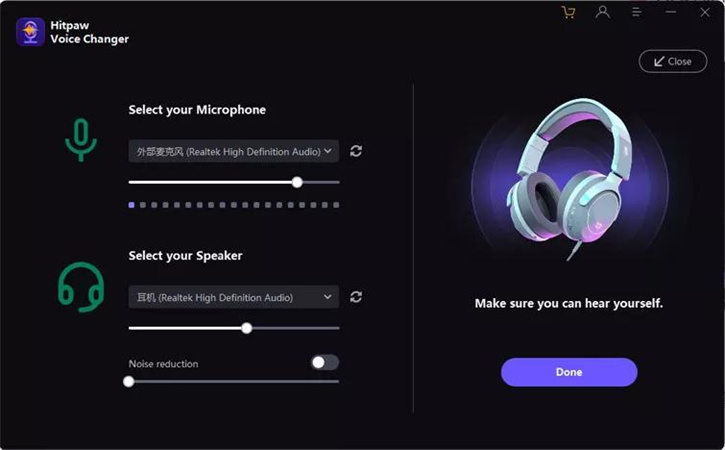
Step 3: After you have installed the app, launch it and go to your Settings. You will be redirected to a new screen where you will see the Input and Output options. Make sure to select the correct device for both options. You can also adjust their Settings, such as volume and noise reduction.

Step 4: If you have manually added the devices, it is important to test them. Sometimes, you might not be able to hear anything, but it's fine; you can click the "Detect'' option and check the issue.

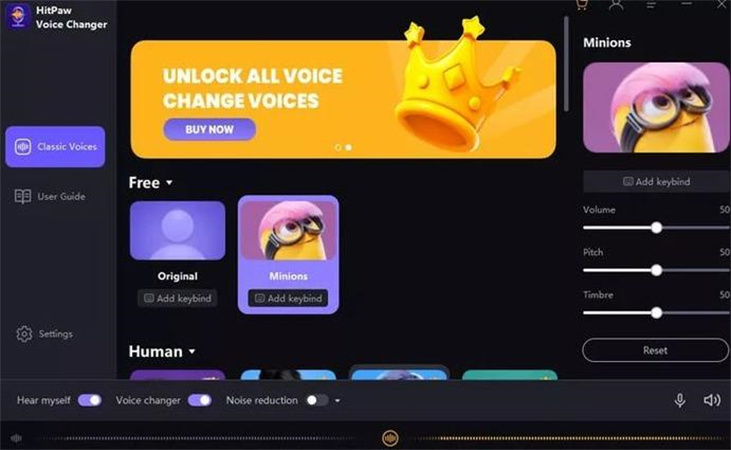
Step 5: Now, choose the sound and effects which you want to try. After selecting the right voice, apply it to the video. Don't forget to turn on the other options, such as Voice Changer, Noise Reduction, and Hear Myself.

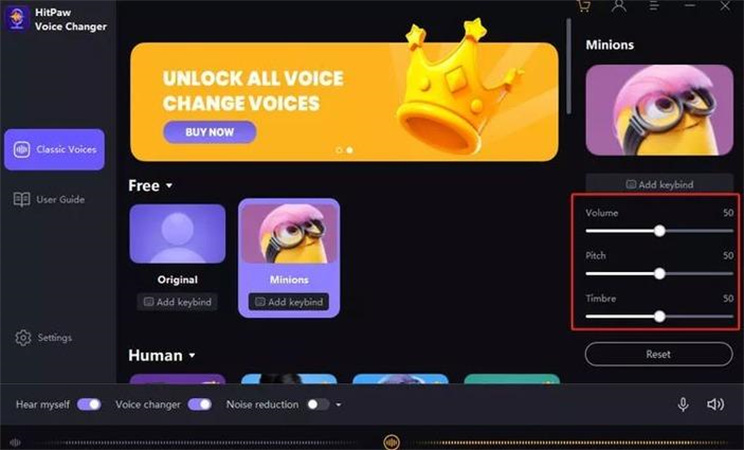
Step 6: In the end, adjust your Timbre, volume, and pitch. If something went wrong, click the "Reset'' button.

You can also follow the same methods and change your voice during live streaming and meetings.
Part 3: FAQs of Voice Memos on Mac
Q1. How Long Can Voice Memos Record?
A1. Wondering how long can Voice Memos record? There is no time limit when it comes to using the Voice Memos application. However, there are some things that you should check before recording, such as your device storage and settings. Apart from that, you can record easily without worrying about the length.
Q2. How to Save a Voice Memo on Mac?
A2. You can follow the above guide if you don’t know how to save a voice Memo on Macbook. Once you are done with creating a memo, you can either drag the recording to your Finder Window or move it directly to email, note, and message to save it.
Part 4: Final Thought
Most people don’t know what are voice memos and which tools are best for recording them. But if you are a Mac user, you should know about the Voice Memo Macbook app and how to download Voice memos on Mac devices. It is a simple app, and non-tech users can also use it. Above, we have mentioned everything about this application and how to find Voice memos on Mac. Make sure you have a built-in microphone, a reliable headset, and an external misc.





 HitPaw Photo Object Remover
 HitPaw Watermark Remover
  HitPaw VikPea (Video Enhancer)


Share this article:
Select the product rating:
Daniel Walker
Editor-in-Chief
My passion lies in bridging the gap between cutting-edge technology and everyday creativity. With years of hands-on experience, I create content that not only informs but inspires our audience to embrace digital tools confidently.
View all ArticlesLeave a Comment
Create your review for HitPaw articles