[Detailed Guide] How to Create 3D Effect on Photoshop?
The 3D effect adds depth and realism to images and text, making them visually captivating. In this guide, we'll walk you through the process of creating stunning 3D effects on Photoshop, whether you're working with text or images. Let's dive into the world of 3D design!
Part 1. What Is Photoshop 3D Effects?
Photoshop 3D effects bring depth and dimension to images and text, creating visually stunning compositions. These effects simulate the appearance of three-dimensional space, allowing for greater creativity and realism in digital design. Let's explore two examples of Photoshop 3D effects:
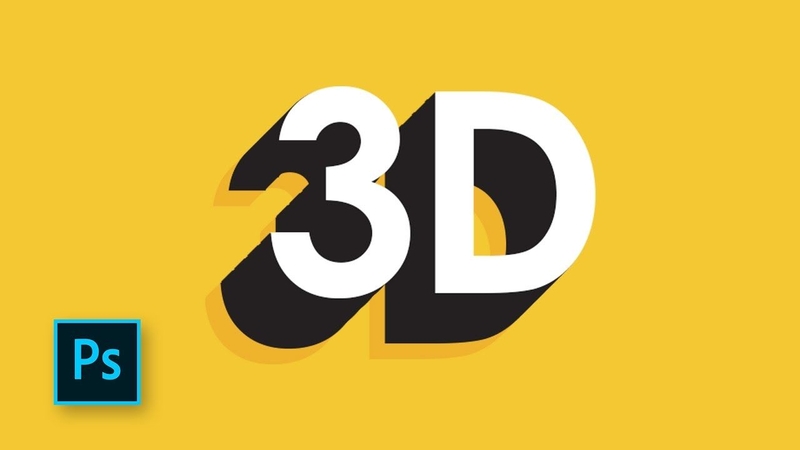
- 1. Text
- 2. Picture
With Photoshop's 3D capabilities, you can transform flat text into dynamic, three-dimensional elements that pop off the page.
Convert ordinary images into lifelike 3D renderings, adding depth and realism to your digital artwork.
With these powerful tools, Photoshop enables designers to unleash their creativity and bring their visions to life in stunning 3D.
Part 2. How to Create 3D Effect on Photoshop?
Photoshop offers a plethora of tools and features to create captivating 3D effects, whether you're working with text or images. In this guide, we'll walk you through the step-by-step process of creating stunning 3D effects on Photoshop for both text and pictures.
Photoshop 3D Effects in Text
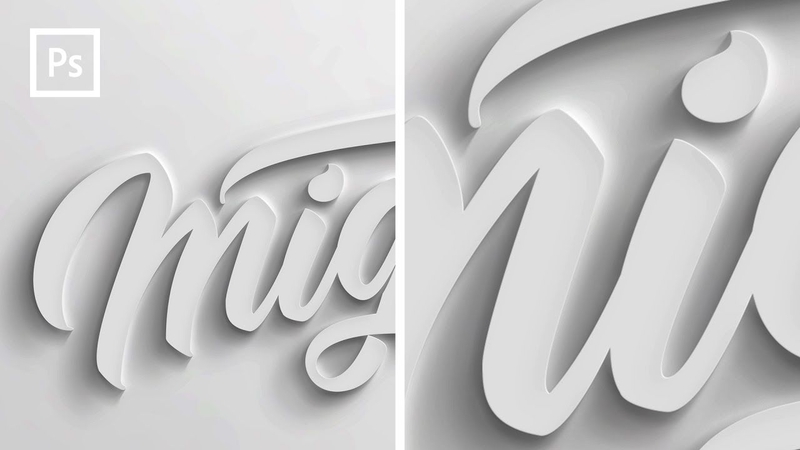
- 1. Create Text Layer
- 2. Convert to 3D
- 3. Adjust Extrusion Depth
- 4. Apply Materials
- 5. Position and Rotate
- 6. Render
Start by creating a new document in Photoshop. Select the Text Tool (T) and type your desired text onto the canvas.
With the text layer selected, navigate to the 3D menu at the top of the screen and choose "New 3D Extrusion from Selected Layer".
In the 3D panel, you can adjust the extrusion depth to control the thickness of your 3D text.
Customize the appearance of your 3D text by applying materials. You can choose from a variety of preset materials or create your own.
Use the 3D tools to position and rotate your text in 3D space until you achieve the desired look.
Once you're satisfied with the positioning and appearance of your 3D text, go to the 3D menu and select "Render". Photoshop will render the 3D text, adding shadows and reflections for a realistic effect.
Photoshop 3D Effects in Picture
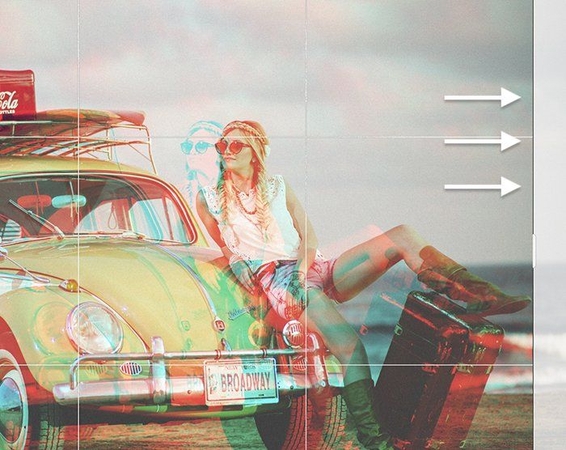
- 1. Open Image
- 2. Duplicate Layer
- 3. Convert to Smart Object
- 4. Apply 3D Extrusion
- 5. Adjust Depth and Rotation
- 6. Apply Materials and Lighting
- 7. Render
Start by opening the image you want to apply 3D effects to in Photoshop.
Right-click on the background layer in the Layers panel and select "Duplicate Layer". This will create a copy of the original image to work with.
With the duplicated layer selected, go to the Filter menu, choose "Convert for Smart Filters," and then click "Convert to Smart Object".
Go to the 3D menu at the top of the screen and select "New 3D Extrusion from Selected Layer". Photoshop will convert the duplicated layer into a 3D object.
Use the 3D tools to adjust the depth and rotation of the 3D object until you achieve the desired effect.
Customize the appearance of your 3D object by applying materials and adjusting lighting settings.
Once you're satisfied with the appearance of your 3D object, go to the 3D menu and select "Render". Photoshop will render the 3D object, adding shadows and reflections for a realistic effect.
By following these detailed steps, you can create captivating 3D effects on Photoshop for both text and pictures, unleashing your creativity and adding depth to your designs.
Part 3. Extra-Tips. Convert 2D to 3D Effect with HitPaw Univd (HitPaw Video Converter)
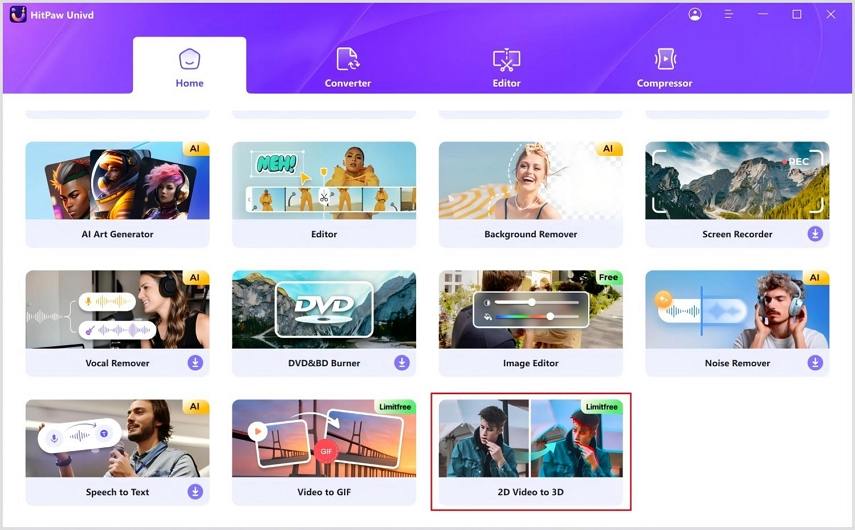
Users can use PS to create 3D effects of text and photos, but for normal video playback, they obviously need more professional software. In addition to easily converting 2D to 3D, HitPaw Univd also eliminates the complex operation of this step with just a few clicks.
Why Choose HitPaw Univd
- HitPaw Univd is reliable and has a fast downloading speed.
- HitPaw Univd offers a wide range of formats for video downloads.
- It offers a user-friendly interface with intuitive controls.
- It makes sure that there is no loss in resolution and that users get a high-quality output.
- It allows users to download and convert multiple videos at the same time.
- No watermark and no ads.
Steps to Convert 2D to 3D with HitPaw Univd
Tips: You may need a VR glasses for 3D watching.
Step 1: Open HitPaw Univd on your computer and download and install the software from the official website if you haven't installed it.
Step 2: Import your 2D video file into the software by switching to the Toolbox tab.

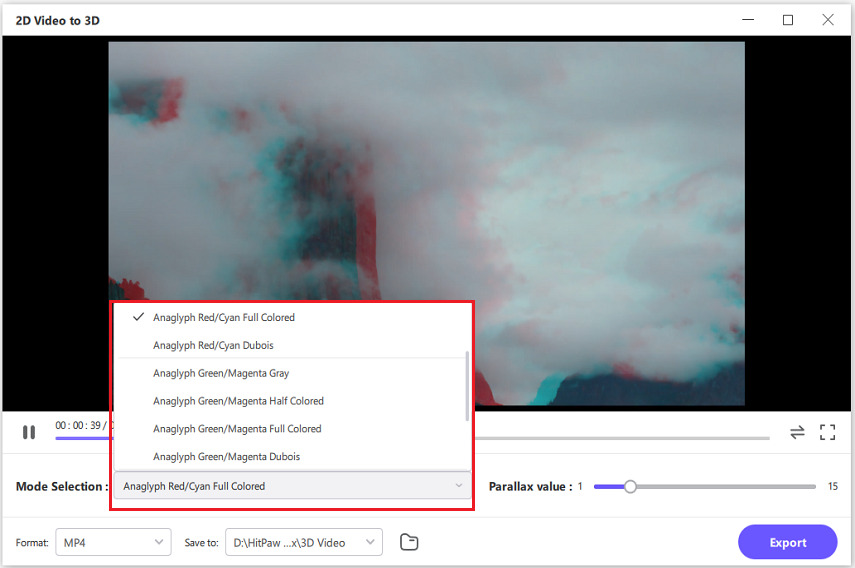
Step 3: Select a split mode from the provided effects. There are the most popular effects including Anaglyph Side By Side(Full Width), Anaglyph Red/Cyan Gray, Anaglyph Green/Magenta Gray, and more.

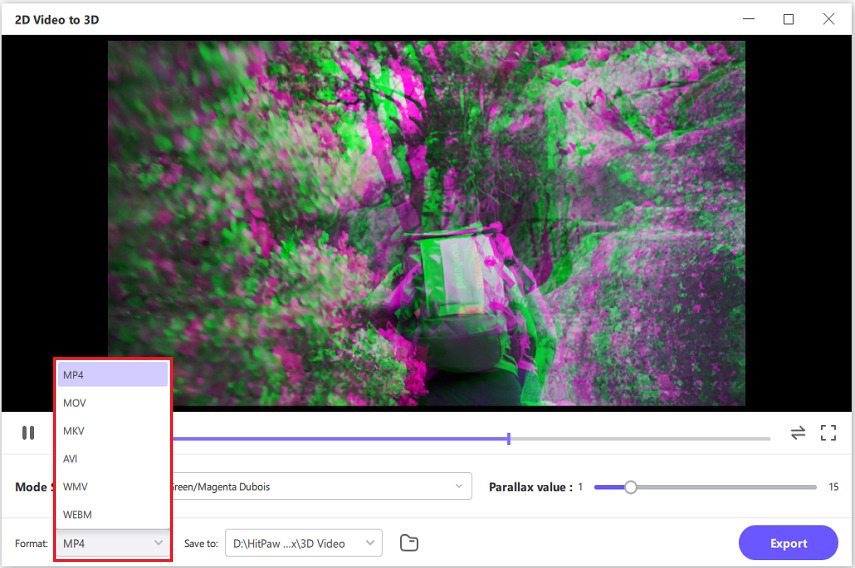
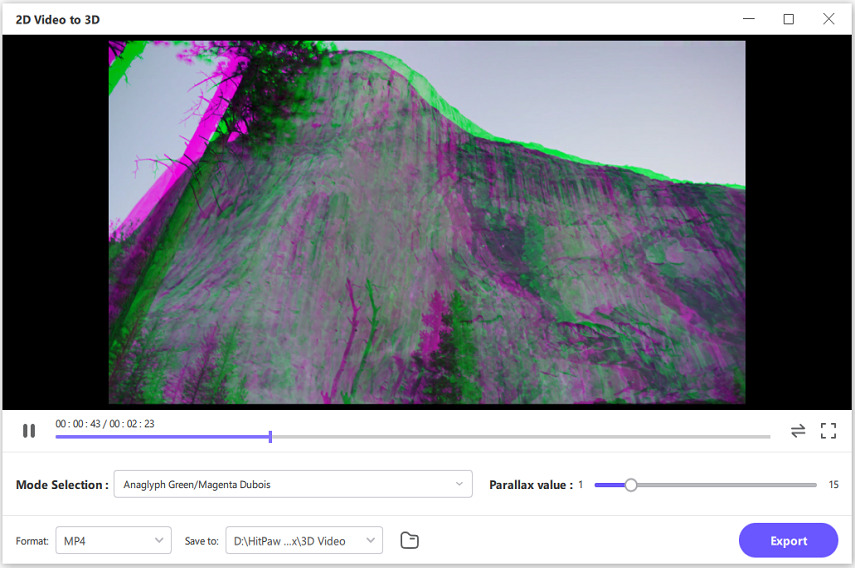
Step 4: After confirming the split mode and parallax value, you can select an output format for the converted 3D video.

Step 5: After finishing, you can preview the VR effect of your 3D video.

Watch the following video to learn more details:
Conclusion
In conclusion, mastering 3D effects in Photoshop opens up endless creative possibilities for designers, allowing them to bring text and images to life with depth and dimension. By following the step-by-step instructions provided in this guide, you can elevate your digital artwork to new heights. For those seeking to explore additional dimensions of creativity, HitPaw Univd offers a powerful tool for converting 2D videos into immersive 3D experiences.



 HitPaw Edimakor
 HitPaw Watermark Remover
  HitPaw VikPea (Video Enhancer)


Share this article:
Select the product rating:
Daniel Walker
Editor-in-Chief
My passion lies in bridging the gap between cutting-edge technology and everyday creativity. With years of hands-on experience, I create content that not only informs but inspires our audience to embrace digital tools confidently.
View all ArticlesLeave a Comment
Create your review for HitPaw articles