[Detailed Guide] How to Use DaVinci Resolve Color Correction?
Ever wondered why movies look so magical? A lot of that magic comes from color correction, and DaVinci Resolve color correction is a wizard in that department.
Whether it's making a sunset look more vibrant or ensuring the skin tones are just right, color correction can transform your video from good to breathtaking.
Part 1. How to Use DaVinci Resolve Colour Correction?
DaVinci Resolve video color correction is an essential tool for filmmakers and content creators looking to elevate their visuals and video quality. It is a game-changer for your video projects. Let's break it down the steps:
Step 1. Import Footage and Create a New Timeline:
Start by importing your video clips into DaVinci Resolve. Drag and drop these clips into the media pool, then create a new timeline. This is your project's foundation.Step 2. Open the Color Page and Add a Color Correction Node:
Navigate to the Color page. Here, you'll see your clip and a node graph. Right-click to add a new Serial Node for color correction. Think of nodes as layers of adjustments.
Step 3. Balance the Shot Using Lift, Gamma, and Gain Controls:
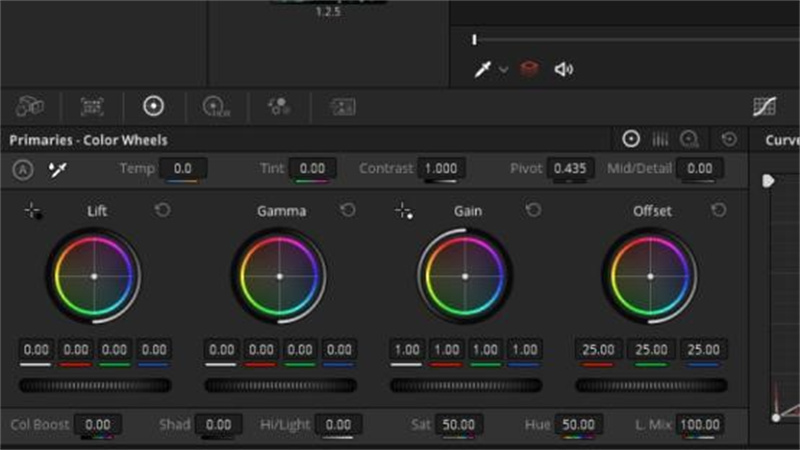
For a basic color correction DaVinci Resolve, use the Lift, Gamma, and Gain wheels to balance your shot's shadows, midtones, and highlights. This step is crucial for setting the base look of your footage.
Step 4. Adjust Contrast and Saturation:
Increase or decrease contrast to add depth to your image. Adjusting saturation enhances or mutes colors. These controls help in making your footage pop or look more natural. Utilize DaVinci Resolve keyframe color correction to make dynamic adjustments over time, perfect for scenes that transition from light to dark.
Step 5. Correct Color Casts:
Identify and neutralize unwanted color casts to ensure accurate color representation. This step is key for achieving natural skin tones and environments.Step 6. Use Curves for Fine-tuning:
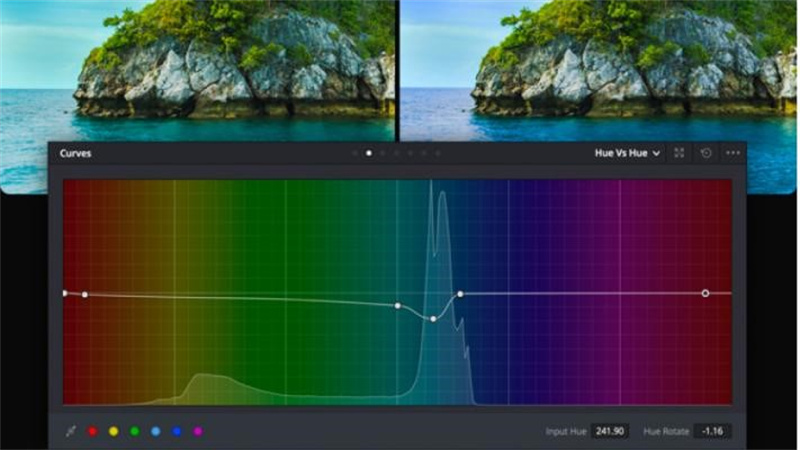
The Curves tool allows for precise adjustments to the luminance and color channels. It's perfect for tweaking the overall tone and feel of your footage.
Step 7. Isolate and Adjust Specific Colors with the Qualifier Tool:
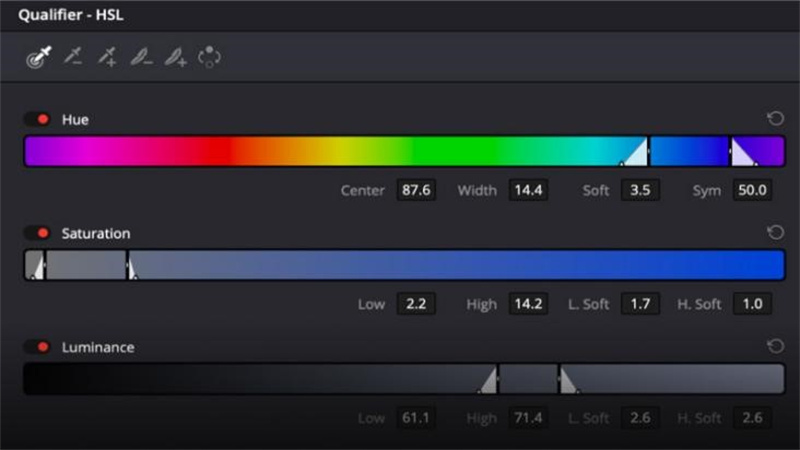
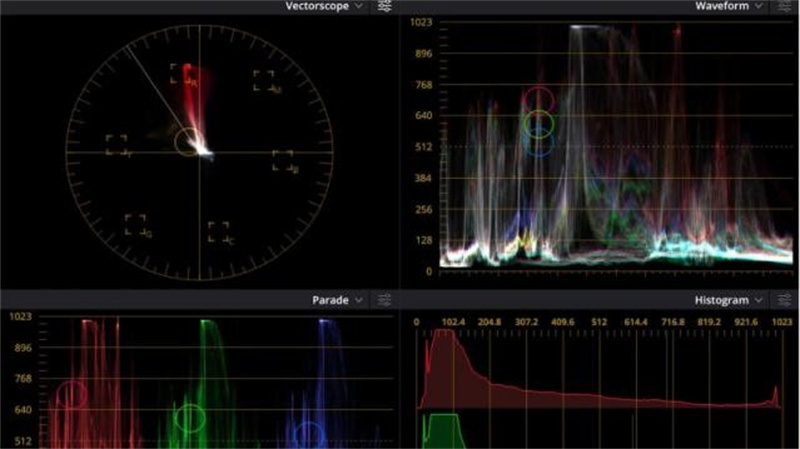
The Qualifier tool lets you select and modify a specific color range. Use it to make skies bluer or grass greener without affecting other colors. Ensure you are in Resolve's Color workspace, navigate to your Scopes panel, click on the ellipsis/kebab menu icon at the top right, select Display Qualifier Focus, and then choose the Qualifier tool from the dropdown menu located at the bottom-left of your preview pane.
Step 8. Add Additional Nodes for Further Adjustments:
For complex corrections, add more nodes. Each node can focus on different aspects, like exposure, color balance, or specific effects. Moreover, DaVinci Resolve exposure correction ensures that your video has the right brightness and contrast levels.Step 9. Preview and Compare Using Split-screen View:
Use the split-screen feature to compare your corrected footage with the original. This helps in assessing your adjustments and ensuring consistency.Step 10. Render and Export on the Deliver Page:
Once you're satisfied with the color correction, head over to the Deliver page. Choose your export settings and render the project. Your visually enhanced video is now ready to share.
Tips
These steps highlight the power of DaVinci Resolve in transforming your videos through color correction. However, mastering these techniques requires practice and a bit of professional knowledge. If you find it overwhelming, consider leveraging AI software for color correction as a more straightforward alternative.
Part 2. Best AI Alternative to DaVinci Color Correction: HitPaw VikPea
While DaVinci Resolve offers detailed functions for color correction, it can be a bit complex for newcomers. HitPaw VikPea (formerly HitPaw Video Enhancer) is an AI-driven alternative that simplifies the process without sacrificing quality and help you colorize video and enhance quality.
It's designed to make video enhancement accessible to everyone and requires no complex operations beyond importing your material.
Pros of the AI Alternative to DaVinci Color Correction:
- User-friendly interface with simplicity
- AI-powered enhancement with smart enhancement options
- High-quality output ensuring videos look crisp on any display
- Versatile video repair with its advanced AI algorithms
- Batch processing and GPU acceleration to speed up the enhancement process
Steps to Use the AI Color Enhancement Model:
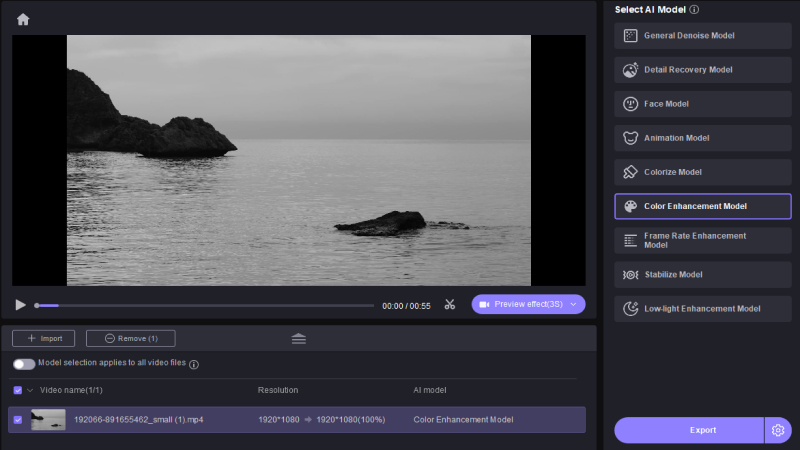
Step 1. Launch and Upload: Start by opening HitPaw VikPea on your computer and upload the video you wish to enhance. The software supports a wide range of video formats for convenience.

Step 2. Select AI Model: Choose the most suitable AI model based on your video type. HitPaw VikPea offers various models tailored for general enhancement, animation, faces, colorizing black and white footage, and more, ensuring you get the best possible result for your specific needs.

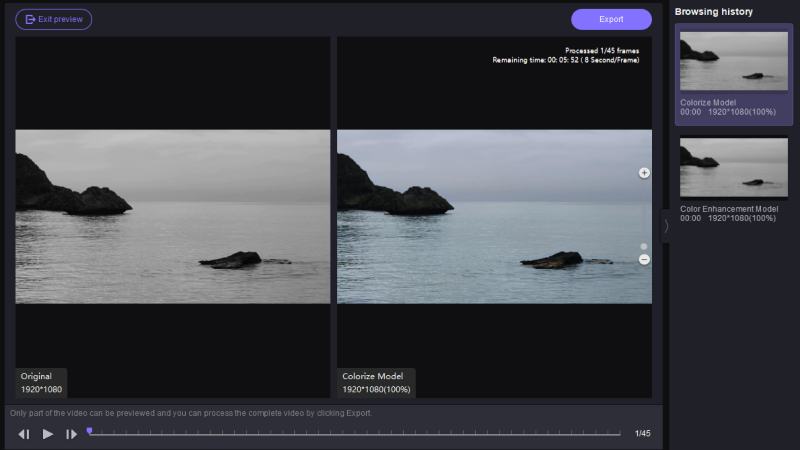
Step3. Preview and Export: Before finalizing, you can preview the enhanced video to ensure it meets your expectations. If satisfied, proceed to export the upscaled video.

FAQs of DaVinci Resolve Color Correction
Q1. What is a basic color correction in DaVinci Resolve?
A1. Basic color correction in DaVinci Resolve adjusts your video's color balance, contrast, and exposure to enhance its appearance. It's about making the footage look natural or achieving a specific style.
Q2. Is there an auto color correction in DaVinci Resolve?
A2. Yes, DaVinci Resolve has an auto color correction feature. It automatically adjusts your footage to improve colors and contrast, offering a quick way to enhance videos without manual tweaking.
Conclusion
In this article, we've explored the essentials of color correction using DaVinci Resolve and introduced HitPaw VikPea as a seamless, AI-driven alternative.
Whether you're fine-tuning colors in DaVinci or opting for the straightforward approach with HitPaw, you now know how to elevate your video projects. So, take what you've learned, experiment with confidence, and let your creative vision lead the way to captivating video content.





 HitPaw Video Object Remover
 HitPaw Univd (Video Converter)
  HitPaw VikPea (Video Enhancer)

Share this article:
Select the product rating:
Daniel Walker
Editor-in-Chief
My passion lies in bridging the gap between cutting-edge technology and everyday creativity. With years of hands-on experience, I create content that not only informs but inspires our audience to embrace digital tools confidently.
View all ArticlesLeave a Comment
Create your review for HitPaw articles