6 Fast and Easy Video Cutter to Help You Cut Videos Mac
The best video cutter can save you from doing a lot of work yourself. Choosing the best video cutter is a much more difficult job especially when you have a lot of options. This guide will help you to select your favorite video cutter for Mac and you can easily cut video Mac. So, Let’s get started!
Part 1. Using a Professional Video Cutter Mac to Trim Your Video
If you don’t have a professional video cutter unfortunately you are not going to make much out of your video. In this regard, HitPaw Edimakor is a professional video cutter Mac and Windows. You can enjoy its video editing features without worrying about system issues. Here are the excellent features which make it a perfect choice for your next Mac cut video project.
- Improve video editing efficiency
- Allow unlimited tracks for your video
- All the elements from your selected track are linked to the main video automatically
- All the materials linked to move together when you drag the main video
- Practical small functions including split video, rotate and zoom, opacity, mirror, resize, change speed, adjust, picture in picture, and a lot more
Here is how to cut video on Mac using HitPaw Edimakor.
Step 01 Upload your file to HitPaw Edimakor by dragging and dropping your file.
Step 02 Click to select the video. You can also drag the video to the main track at the timeline.
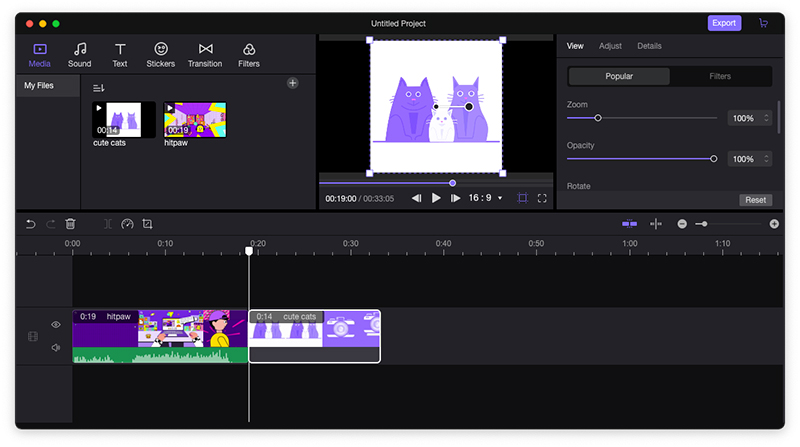
Step 03 In order to cut the area which you do not need, click on the “Spilt” icon on the quick toolbar.
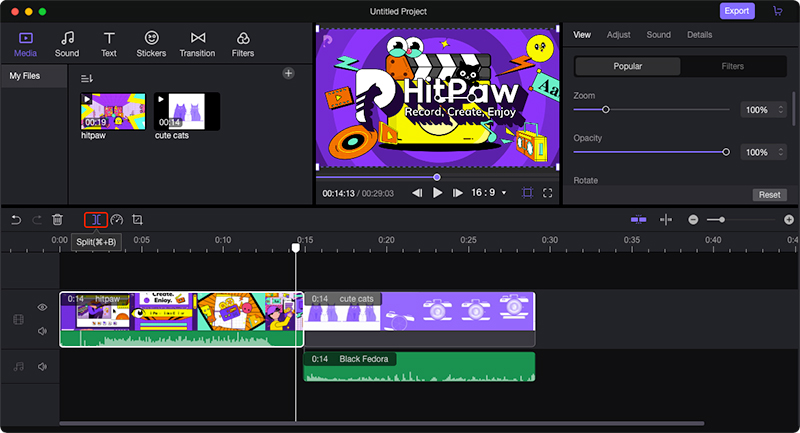
Step 04 Play the video to check the video you have now. If you are satisfied, click on “OK” to cut the video.
Part 2. How to Cut a Video on VLC/QuickTime Mac
Video cut for Mac is quite easy especially when you are using default media players including VLC and QuickTime. You can cut video on Mac with no hassle using the video crop feature of these players. Let’s find out to trim your video using both.
VLC
VLC is a very popular media player and offers cool video editing tools. Here are the steps of how to cut a video on vlc Mac.
Go to the preferences window at the top bar of the VLC menu, click on the input/codecs tab. Here select an output directory where you want to store the trimmed video.
- Press the save button to confirm the changes made in the preferences tab.
Drag and drop the video into the VLC playlist which you want to cut/trim.
Now start cutting the video in VLC. Move the play head to select the start and endpoint in VLC. From the VLC menu, select record. If you see a checkmark appearing next to record, it means you have selected the start point.
Click the spacebar again to resume playback. When playhead reaches your desired endpoint pause your video and again click the record option. After this, your trimmed video will be saved with the selected start and endpoint.
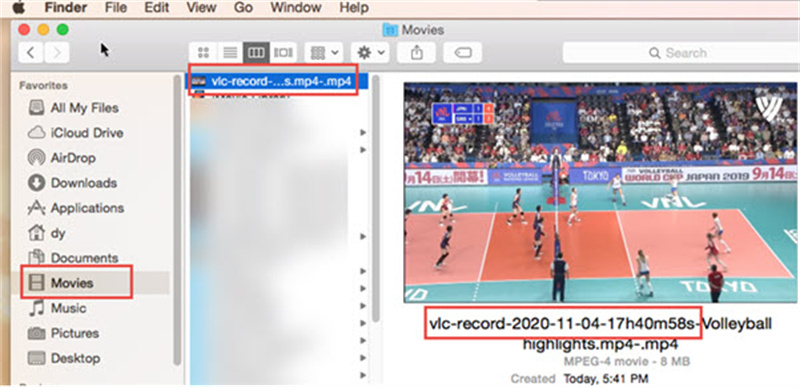
Check the output folder (which you select at the start) to see your trimmed video.


Quicktime
QuickTime is a default media player for many Mac users. Apart from playing media files, it also offers basic video editing features. You can cut video length Mac using it. Here is how to cut a video on Mac using QuickTime.
- Open your desired video clip with QuickTime player.
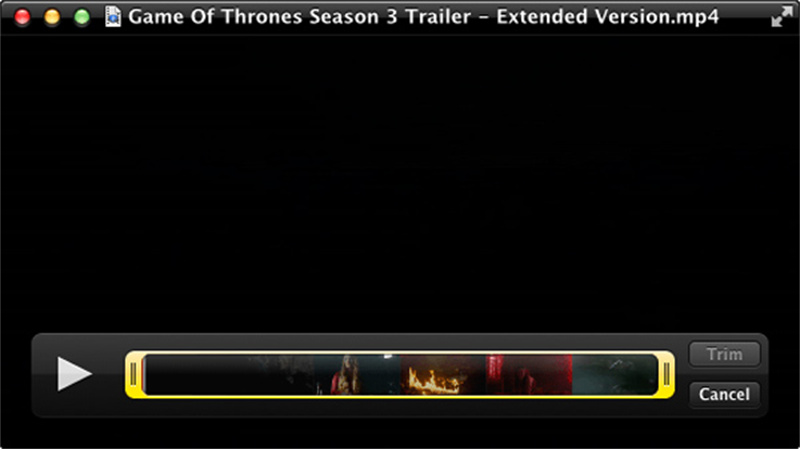
On the menu bar click on “Edit” and opt for the trim option from the drop-down list. After this, a timeline will appear on your video window. You can find the “Trim” and “Cancel” buttons.
Now move the right and left edge of the video to the exact spots which you want to cut.
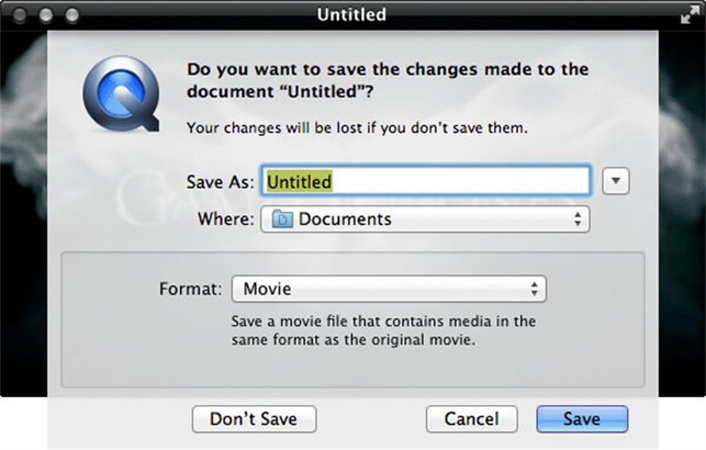
After video trimming, you can preview it and click on the “Trim” button to confirm the changes. Name the trimmed video clip and select a suitable format and save it.

Part 3. Another 3 Popular Video Editors to Cut Video Mac
Here are another 3 popular options to serve you in your video editing purpose on Mac. These video editors help you to easily remove the unusable part of your video.
iMovie
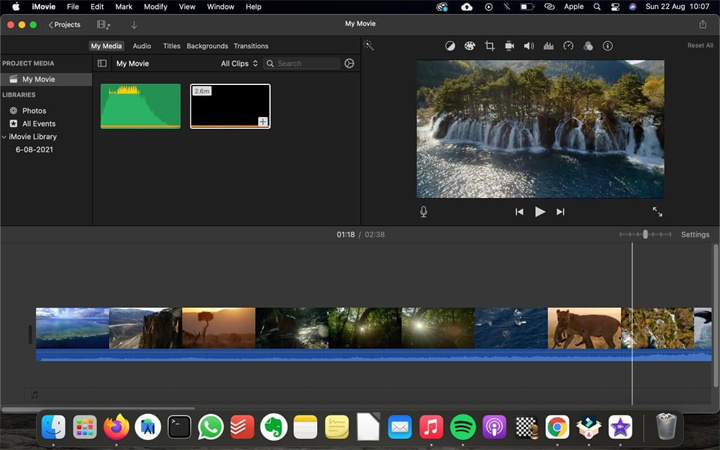
iMovie is very popular as it’s the most commonly used video editing program. It is equipped with many frequently video editing features including trim. Video trimming in iMovie is a simple and straightforward process.
Pros:
- Free of cost
- User-friendly interface
Cons:
- Only supports Mac and iOS devices
- Not ideal for complex editing
Final Cut Pro
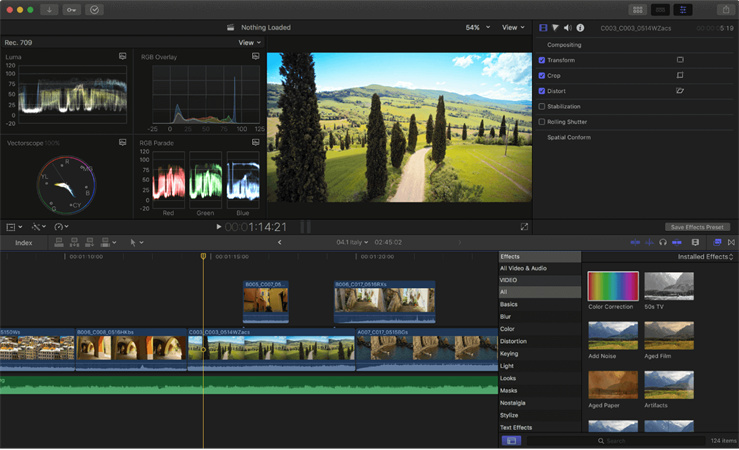
It is one of the professional video editing tools used all around the world. It has plenty of video editing features from an entry-level to a professional one. Moreover, it offers a wide range of video output formats.
Pros:
- Perfect for 360-degree video editing
- Editable 4k video quality
Cons:
- Expensive
- Complex interface
Adobe Premiere Pro
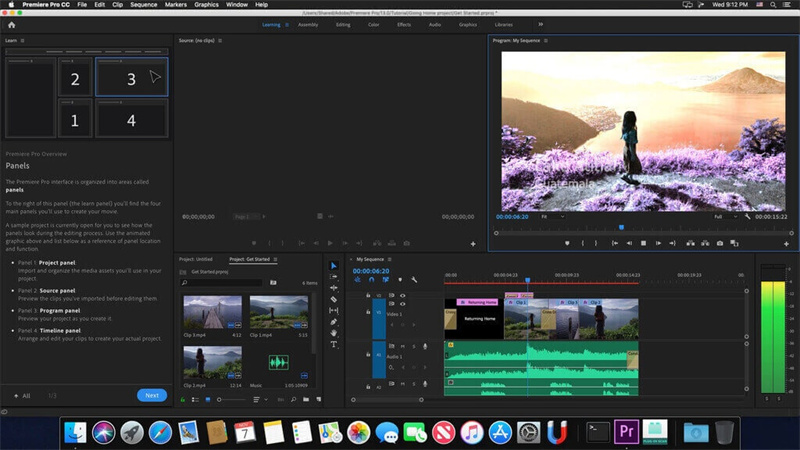
This program has various built-in effects and tools and supports a large number of formats. This application is used by many professionals like cinematographers and directors to create their Hollywood movies.
Pros:
- High-quality video editing
- Real-time video processing
Cons:
- Not suitable for all computers as its quite resource-intensive
- The trial version is available for 30 days
Conclusion
We are sure you can’t go wrong using any of the discussed programs as they all include basic features for video editing. However, for better, high-quality professional editing we see HitPaw Edimakor as a very effective option. Moreover, it offers a range of powerful video editing features such as adding background music. You can cut video Mac with no hassle as it works excellently on Mac.


 HitPaw Screen Recorder
 HitPaw Watermark Remover


Share this article:
Select the product rating:
Daniel Walker
Editor-in-Chief
My passion lies in bridging the gap between cutting-edge technology and everyday creativity. With years of hands-on experience, I create content that not only informs but inspires our audience to embrace digital tools confidently.
View all ArticlesLeave a Comment
Create your review for HitPaw articles