Guide to Generate Color Davinci Resolve
Are you ready to bring your videos to life with bright colors? DaVinci Resolve has powerful color grading features which makes it simple to enhance your footage and give it a polished, professional appearance. Whether you're a beginner or an expert editor, this article will help you through all the steps to generate color davinci resolve. Let's discuss everything from fundamental color balance to cinematic color grading.
Part 1. What Is Color Generator in Davinci Resolve?
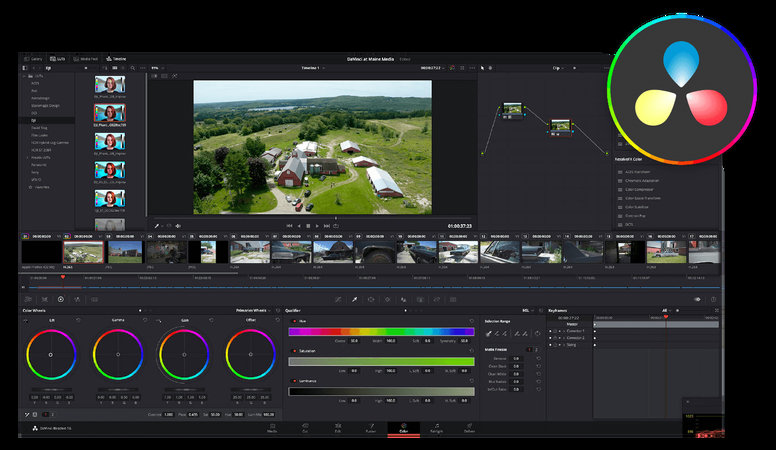
Color Generator is a useful feature in DaVinci Resolve for adding color to your videos in an engaging and impactful way. Color Generator allows you to easily add a solid color background or overlay, as well as emphasize areas of a scene, without requiring any complicated setup. You can also incorporate colors right into your video to bring your scenes to life or gently improve the overall feel and appearance of your footage.
What does the Color Generator Look Like?
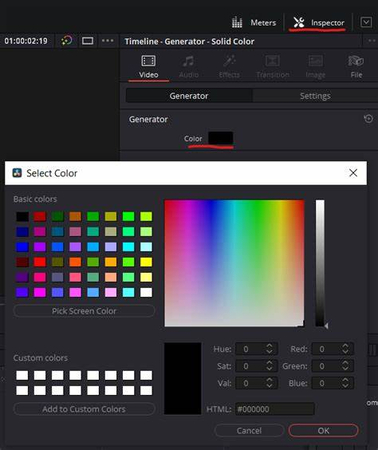
In DaVinci Resolve, the Color Generator appears as a color panel or a block in color which makes it easy to set. You can pick colors from a complete palette of spectrum or determine particular color codes to get desired hues. The Generators tool will remain in the Effects library and you may drag it directly into your timeline.
How to Use the Color Generator
The Color Generator is really simple to use. Place it on the timeline, and then select the hue, saturation, and opacity that correspond to the style of your project. Editors enjoy utilizing it to create title backgrounds, overlaying a hue to convey mood and color-isolating a portion of a frame. The Color Generator is a very flexible feature that allows dynamic blurring to merge with other effects. You can experiment with layering colors on top of each other to create a visually stunning effect.
Part 2. Detailed Steps to Generate Color Davinci Resolve
Using DaVinci Resolve's simple Color Generator tool, you can easily create customized colors. Whether you're adding a solid color background, making overlays, or simply adding accents to select areas, these steps will help you through the process.
Steps to Generate Colour in DaVinci Resolve
Step 1.Open the Effects Library: Open up DaVinci Resolve and go to the Effects Library tab in the upper left corner.
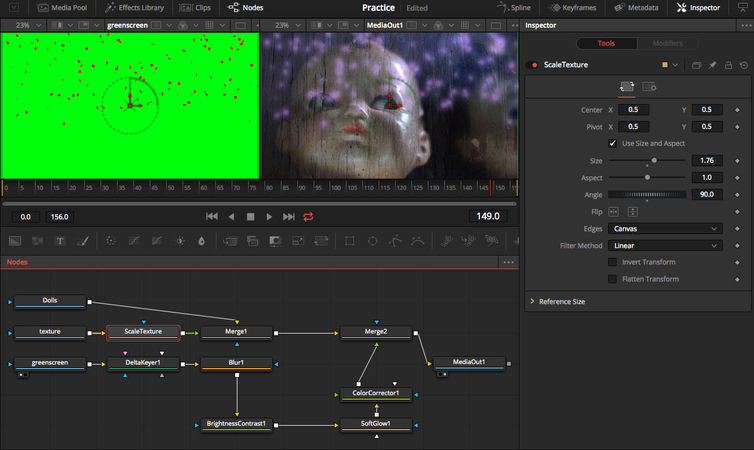
Step 2. Select the Color Generator: Now, to create a specific effect for your element, select the Color Generator Under Effect Library drag it to the timeline to add a new color layer directly.
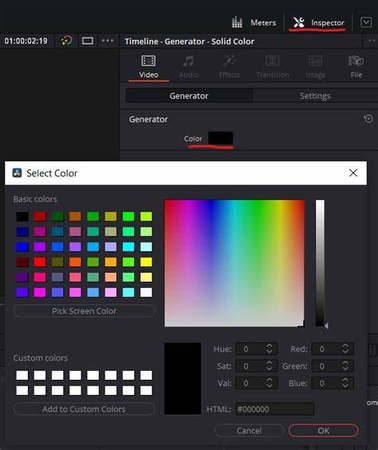
Step 3. Color Adjustments Change Color Options: Here, you can select your desired color, change the hue, saturation, and opacity, or input specific color values for fine-tuning.
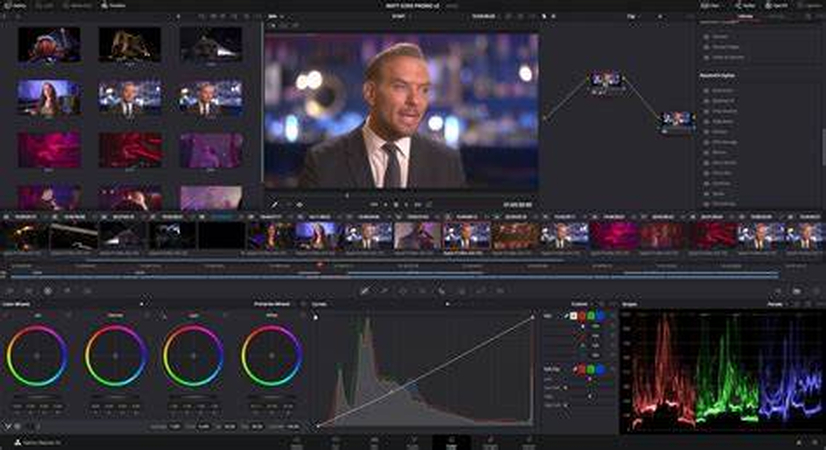
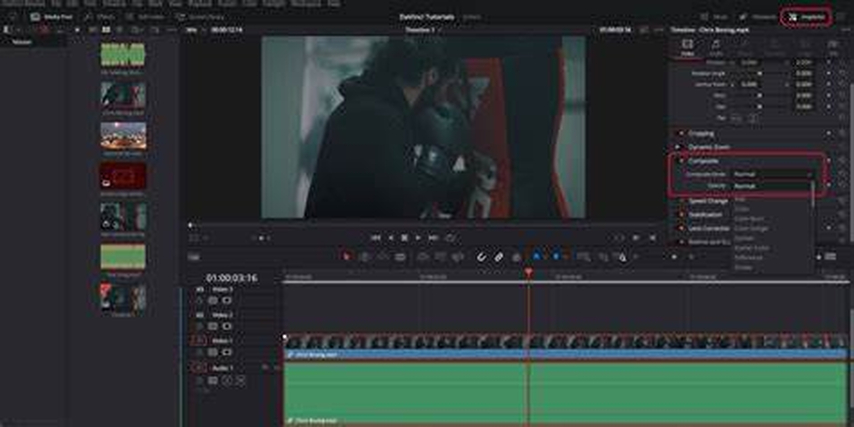
Step 4. Position and Resize: Resize and position the color block using the inspector tab. It really helps when you're wanting borders or other forms of background accents.
Step 5. Blend with Other Layers: You can now blend the created color with other layers by adjusting its opacity and blending mode. This is ideal for adding a unique impact to your scenes or subtly tinting them up.
Pros of Using the Color Generator
- The drag-and-drop feature makes it very simple for new users to start using the color generator.
- With total control over color values, opacity, and mixing, you can create a customizable color palette.
- The Color Generator is available in the Effects Library, making it simple to add colors.
Cons of Using The Color Generator
- It primarily works with solid colors, thus it is not particularly suitable for sophisticated tasks.
- Certain effects need overlaying, and the timeline can be highly intricate.
- Excessive usage of overlays and color layers can degrade playback performance on lower-end PCs.
Part 3. Pro-Tips. Best Video Colorizer Alternative to Davinci Resolve
If you want an easier way to add color to your videos, the HitPaw Video Colorizer is a great alternative to DaVinci Resolve. HitPaw VikPea (formerly HitPaw Video Enhancer) is ideal for both novices and those looking for quick, polished results. It provides a simple way to add brilliant colors to video footage without a high learning curve. This program offers an effective and user-friendly way to achieve professional-grade color effects, making it an excellent choice for any video editing enthusiast.
Why Choose HitPaw VikPea
- It automatically adjusts the color balance and brightness, generating high-quality images.
- Color correction is simple to use for beginners and quick to utilize for professionals.
- When working on huge projects, it is possible to color enhance multiple videos at the same time to save time.
- Resolutions of up to 4K are supported, ensuring high-quality colorization of nearly any sort of video.
- It is simple to work with any type of footage that supports a variety of video formats.
Steps to colorize Video
Step 1.Download Install HitPaw VikPea to your computer.
Step 2.Open the downloaded software. Then, you will see the option “add video” that you want it colored. You can also drag or drop the file into the main interface.

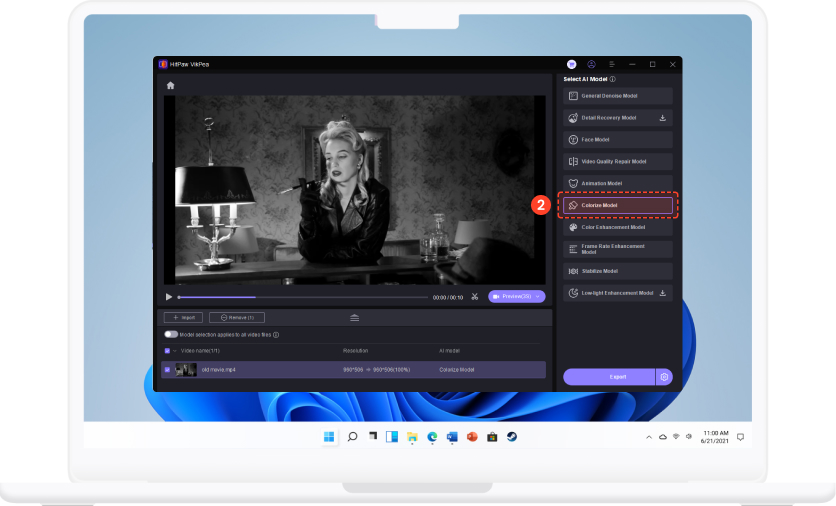
Step 3.HitPaw offers several AI models. Choose "Colorize Model" from the AI settings to add color to your video.

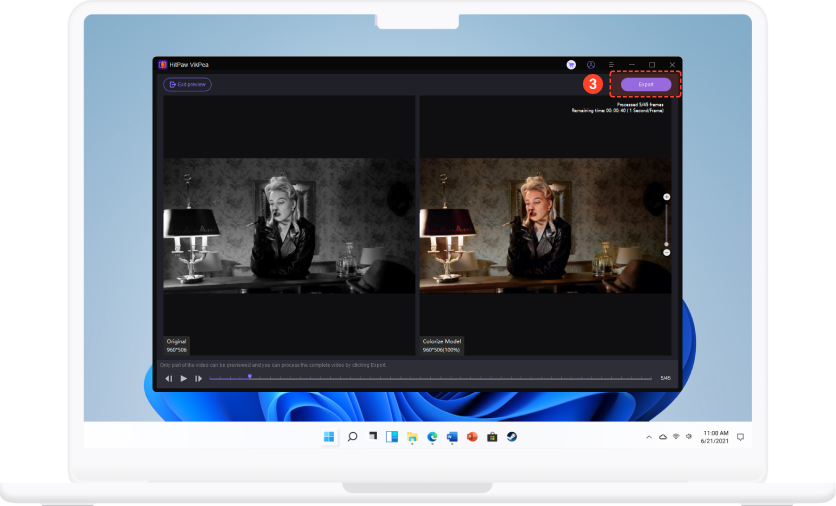
Step 4.Now click Preview in step four to process the video. After you are satisfied with the results, click Export to save the colored video to your PC.

Learn More about HitPaw VikPea
Conclusion
Color can make a big difference in your videos, and DaVinci Resolve provides powerful tools to help you achieve that. The Color Generator provides everything you need to experiment with tones, create attractive backdrops, and add bright overlays. However, if you want a simpler, more streamlined solution, HitPaw Video Colorizer is an excellent option. It's ideal for people who want high-quality output without the need for extensive editing.



 HitPaw Univd (Video Converter)
 HitPaw VoicePea
  HitPaw FotorPea
Share this article:
Select the product rating:
Daniel Walker
Editor-in-Chief
My passion lies in bridging the gap between cutting-edge technology and everyday creativity. With years of hands-on experience, I create content that not only informs but inspires our audience to embrace digital tools confidently.
View all ArticlesLeave a Comment
Create your review for HitPaw articles