Where Do Zoom Recordings Go on Windows, Mac and Cloud
Zoom is a video conferencing tool used by students, employees, and businesses worldwide. Especially after the pandemic, more and more people started using Zoom for video conferencing to stay connected. Zoom has an incredible feature to record Zoom meetings. So, this feature helps the absentees to watch the Zoom meetings even after the online Zoom session ends. Moreover, it’s not always possible to record nitty-gritty details during the online Zoom meetings. After the Zoom meeting ends, Zoom saves the recording in the computer or cloud.
But often, users can find it challenging to find the Zoom recordings. One may wonder where do the Zoom recordings go? If you’re using Zoom for free, it’ll be somewhere on your PC or Mac. And if you’re using the paid version of Zoom, then it’ll be on your cloud. So, once a Zoom meeting ends, you may wonder where did your Zoom meetings go? That’s why in this article, you’ll learn how to access the Zoom recordings on Windows, Mac, or Cloud.
Part 1. Where Do Recorded Zoom Meetings Go and How to Find Them?
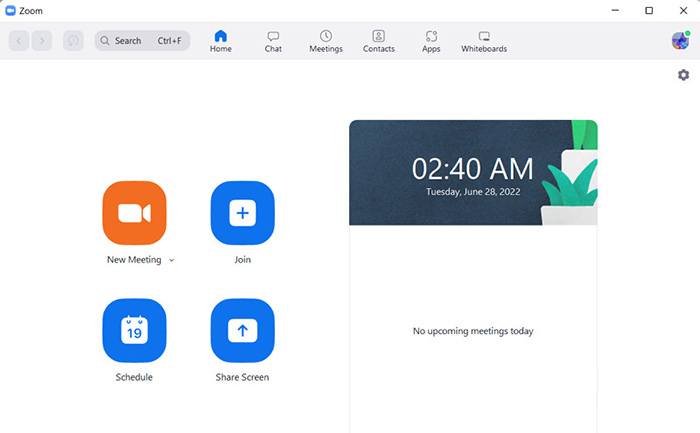
Zoom offers a fantastic feature known as Zoom recording. You'll see the Zoom recording option at the bottom when you open the Zoom window. So, you can start recording your Zoom meeting with just one click. But after that, things can get complicated. You can face difficulties in finding the zoom recordings on your Windows, Mac, or Cloud.
So, where do the Zoom recordings go? There are two options for Zoom recording to go. One is the local recordings, and the other is the cloud recording. Saving the Zoom recording on your device is free, but keeping the Zoom recording on the cloud is paid, and there's a fee for that. So, whichever option you choose, we'll ease your access to Zoom recordings on Windows, Mac, or the cloud.
1. Where Do Zoom Recordings Go on Windows
You can record the Zoom meeting by pressing the 'Zoom Recording' button. Accessing the Zoom recording is not a big deal if you're a habitual computer user. But users often get disturbed; where do Zoom recordings go?
So, once you complete your recording, Zoom saves them automatically on your computer. It's easy to access the Zoom recordings because Zoom creates a default recording location for all your Zoom recordings. In the case of Windows, you can follow the five simple steps below to get frictionless access to Zoom recordings!
-
1
Go straight to open the ‘Document Folder’ of your computer.
-
2
Type "Zoom" in the search bar in the ‘Document Folder’. Here, you'll find out all the information related to the Zoom. But you need to click the ‘Zoom Meeting’ only.
-
3
Now, click on the ‘Zoom Meeting’ folder to get access.
-
4
Once you'll open the ‘Zoom Meeting’ folder, you can open the Zoom recording in MP4 or MP3.
-
5
In the final operation, double-click the Zoom recording in the media player you want to play and enjoy the Zoom recorded meetings with your friends and colleagues.
Note:
You can also follow this simple path to access your Zoom recordings on Windows.
Windows: C:\Users\[Username]\Documents\Zoom
2. Where Do Zoom Recordings Go on Mac
Zoom offers the facility to record the online Zoom meetings so that the users can watch them even after the session ends. However, sometimes it can be tough to locate the Zoom recordings on your Mac's exact location.
So, you may be wondering, after the Zoom meetings, where does Zoom recording go on Mac? It's no longer a challenge as we'll list a step-by-step procedure to help you find your Zoom meetings without much hassle.
-
1
Select a small arrow on the ‘Stop Video’ or ‘Mute button’ within the Zoom meeting room.
-
2
Click the ‘video Settings’, and you'll see a list.
-
3
Now, choose the ‘Recording’ tab at the left of the ‘Settings Menu’.
-
4
You'll see the ‘Open Button’ at the top right of the ‘Settings Menu’. Click it and get access to the Zoom recording videos on your Mac.
Note:
There's also a simple path to get access to your Zoom recording on your Mac, such as given below:
/Users/[Username]/Documents/Zoom
3. Where Do Zoom Recordings Go on Cloud
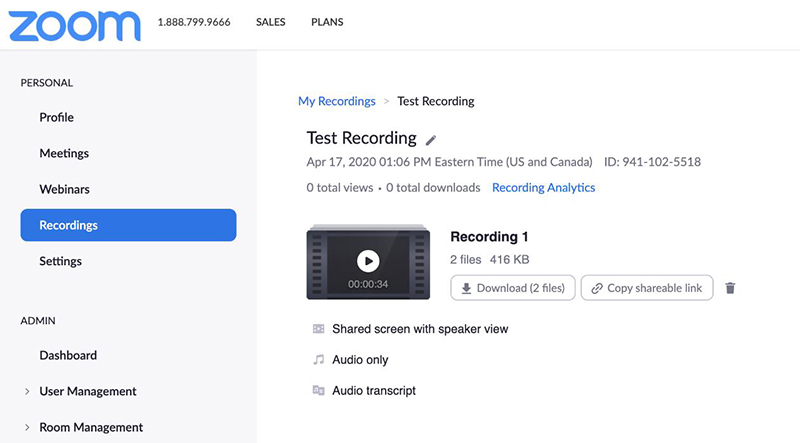
Zoom gives two paths to store the Zoom recordings. One is the computer/Mac storage, and the other one is the cloud. In the free subscription, users can only save the Zoom recordings on their devices.
However, when Zoom users have a premium subscription, they can store the Zoom recording in the cloud for the greater audience and share the links afterward. Finding the exact location of Zoom recording on the cloud can get messy. To see exactly where do Zoom recordings go on the cloud, follow the steps given below:
-
1
In the first step, log in to your account at Zoom.us.
-
2
At the top right of the screen, you'll see ‘My Account’ and click on it.
-
3
At the left of the screen, ‘Recording tab’ will be visible so click on it.
-
4
Now, you can click on any individual recording in the list to access the Zoom recordings.
After step 4, you can download, share and view the Zoom recordings on the cloud. Although without these steps, where does a Zoom recording go can become clueless. You can access the Zoom recording on whatever device you're using by following the steps above.
Part 2. FAQs about Zoom Recordings
1. How to customize your local recording file path
To customize your local recording file path, follow the simple steps given below:
- 1.Click on the ‘User Icon’.
- 2.Go into the ‘Settings’.
- 3.Once you're in the settings, switch to the ‘Recording’ tab.
Now you can change the default save location. In the top-right, click ‘Change’. After doing it, you can browse the directory you want to use.
2. How to change Zoom recording settings
To change the local Zoom recording settings, follow the steps given below:
- 1.Open Zoom and click on ‘Settings’.
- 2.Here, you'll see the ‘Recording tab’. You'll change the Zoom recording settings per your need by clicking the recording tab.
3. How to share Zoom recordings
To share the Zoom recordings, you can follow the steps given below:
- 1.Log into your ‘Zoom account’. Then, on the right side of the screen, select ‘Recordings’.
- 2.Here, you'll see the ‘Share’ option. Click ‘Share’ to share the Zoom recordings.
- 3.You can copy the Zoom cloud recording link to share via email or any viable social media platform.
Part 3. Ultra-tips: The More Attractive Zoom Meeting Recording Tool
No doubt many users are using the Zoom recording to save, download and share the lectures after the Zoom meeting ends. But most users desperately try to find the exact location of the Zoom recording. They often ask, ‘where did the Zoom recordings go?’ People seek real-time world experience and want to use Zoom recording tools to engage optimally.
Hitpaw Screen Recorder is one of the most creative, comprehensive, and reliable screen recorders. Using the HitPaw's Screen Recorder, you can change your monotonous background with something more stylish and trendier, record full screen or part of the screen, and get 4K quality recorded Zoom video.
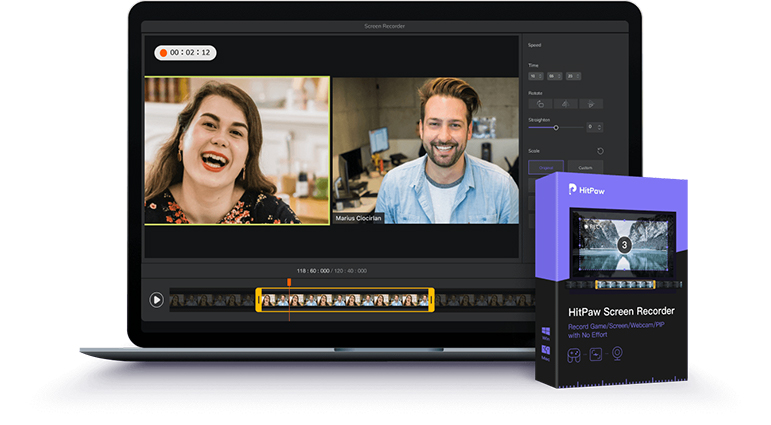
There are much more features of the HitPaw Screen recorder, such as:
- Supports 300+ streaming platforms and video meeting apps
- Offers free templates, virtual backgrounds, stream overlays, stickers, and texts.
- You can add virtual background without much hassle.
- You can set the timing of the video recording. Thus, enabling you to schedule the meetings ahead of time.
- You can record the video with internal audio or sound from a microphone
- Can be used simultaneously as a screen recorder and webcam recorder
You can follow the following simple steps to record the Zoom with HitPaw Screen Recorder:
Step 02 Select Live streaming. Click “Add Source” button to Game, Screen, Window, Webcam, Images or Texts you want to show in your Zoom meeting.
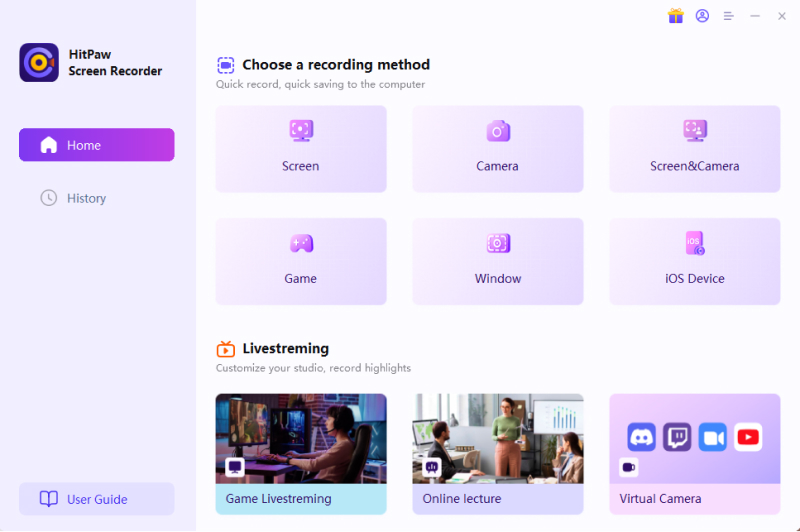
Step 03 Set or Edit. To enjoy a real-time experience, you can add templates, stickers, texts, and virtual backgrounds according to the situation and need.

Step 04 Start your Zoom meeting. You can record your online Zoom meetings and present your content. Press red “Start” button to record you Zoom meeting.

Following the above steps, you can use HitPaw Screen Recorder to record your Zoom meetings without hassle. Moreover, the quality of the video and the facility to add the virtual background make you more professional.
Conclusion
Zoom meetings are widespread, and recording and listening afterward are one of the essential aspects. However, users often wonder where do Zoom recordings go once the Zoom meeting ends. So, by following the simple steps above, you can discover your Zoom recordings on Windows, Mac, and the Cloud. But sometimes you can face quality compromisation in recorded Zoom videos and boorish backgrounds.
So, to solve this riddle, you can use Hitpaw Screen Recorder. It offers stunning 4K video quality, templates, virtual background, and ease of use. In addition, you can use the HitPaw Screen Recorder to unleash the real-time Zoom meeting experience. So, next time you’re thinking, where does Zoom recording go? Try using the HitPaw Screen Recorder to bring comfort into your digital life.


 HitPaw Univd (Video Converter)
  HitPaw FotorPea


Share this article:
Select the product rating:
Daniel Walker
Editor-in-Chief
My passion lies in bridging the gap between cutting-edge technology and everyday creativity. With years of hands-on experience, I create content that not only informs but inspires our audience to embrace digital tools confidently.
View all ArticlesLeave a Comment
Create your review for HitPaw articles