Streamlabs OBS Chat Delay, Why and How to Fix
Live streaming on Twitch offers content creators the ability to communicate with their viewers on the go. If a viewer has to wait all the way through a long stream delay while chatting, they will not be able to offer instant feedback in the streams. This article lists a few solutions that will help you get rid of the Streamlabs OBS chat delay issue. Read below to know more.
Part 1. Why Streamlabs OBS Chat Delay?
Your chat isn't delayed. It is the stream delayed. So viewers say something in chat about something that happened 10 seconds ago, you see what they say instantly, respond, but they won't hear your response for another 10 seconds. Or however long there delay is. Each viewer has a slightly different delay.
The large amount of computing Twitch does on plethora of streams happening on the platform at any given time results in an unavoidable and short delay.
Your internet connection and own streaming setup are also responsible for the delay. Your viewers' geographical location and internet connection also has a huge role in it. For instance, a viewer from Australia seeing a stream in the US may have more delay as compared to somebody viewing it from the next state. In the same manner, a viewer with a fast internet connectivity will be capable of keeping up more than someone with a poor connectivity.
Part 2. How to Fix Stream Delay on Streamlabs OBS?
As a streamer, there are many reasons that can impact your stream delay. On the other hand, you can never eliminate it entirely. This section offers some tips that will help you know how to remove stream delay Streamlabs OBS. Read below to know more.
1. Reduce or increase stream delay in Streamlabs
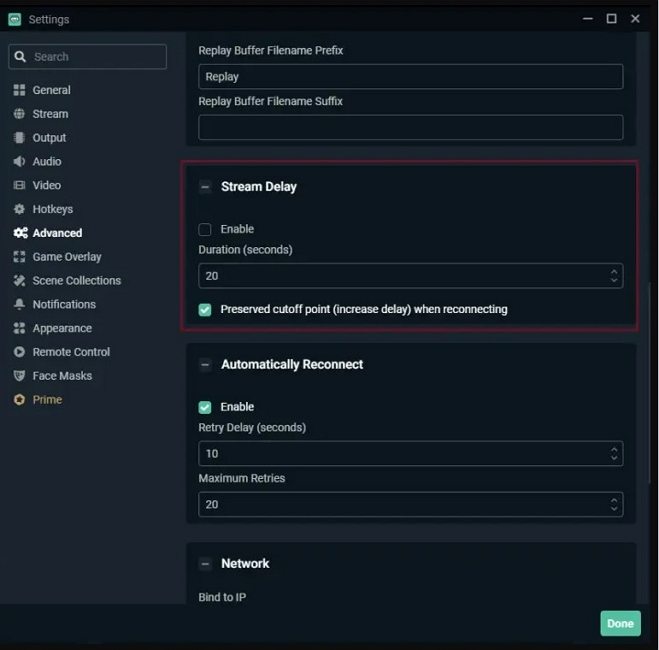
There are different adjustable settings that can be changes as per user preference. One of them directly controls the delay in your stream. By using this setting users can both increase and decrease the stream delay from within Streamlabs. Follow the below steps to know how.
1.Open Streamlabs.
2.Go to the Settings on the screen in the bottom left corner.
3.Now, open the Advanced tab and look for Stream Delay option.
4.Set the delay to zero or turn off the setting.

2. Lower your stream delay through Twitch
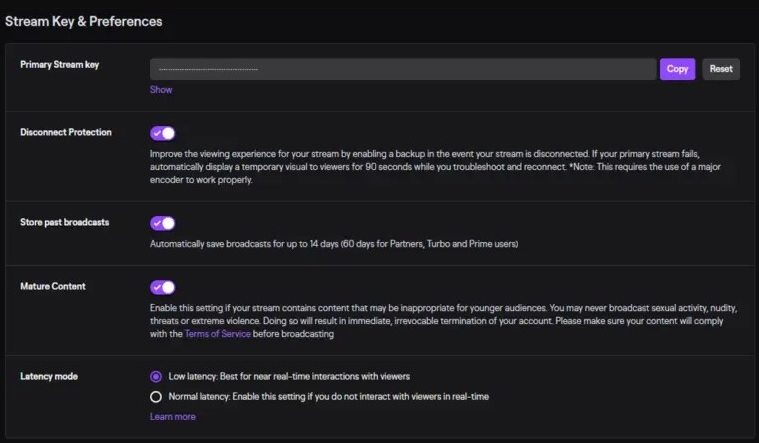
If you are using Twitch, then the Low Latency Mode can help you. Make sure this option is turned on in your Twitch settings. Low Latency Mode used to be an optional feature but this has lately been changed. This indicates that the feature must already be enabled on your Twitch account. If not, follow the below steps to know how.
1.Go to your Twitch Dashboard.
2.Navigate to Preferences menu and tap Stream.
3.Search for Latency mode below the Stream Key & Preferences section.
4.Choose Low Latency and enable it.

3. Optimize Your Internet Speeds
Users require a comparatively high speed for uploading so as to broadcast high-quality streams with minimum delay. Users use Speedtest tools to see their average speed of uploading. Normally, 1500kbps (1.5mbps) is the suggested minimum for a good 720p stream at 30fps, and users need almost 2mbps or more for better streams at this quality.
4. Check Your PC Specifications
The specification of the device also has a major role in the stream delay. If your device is not delivering enough performance, then it is obvious that you will face some delay. Make sure the device has best CPU and GPU so as to get the best experience while streaming.
5. Use a Hardware Encoder
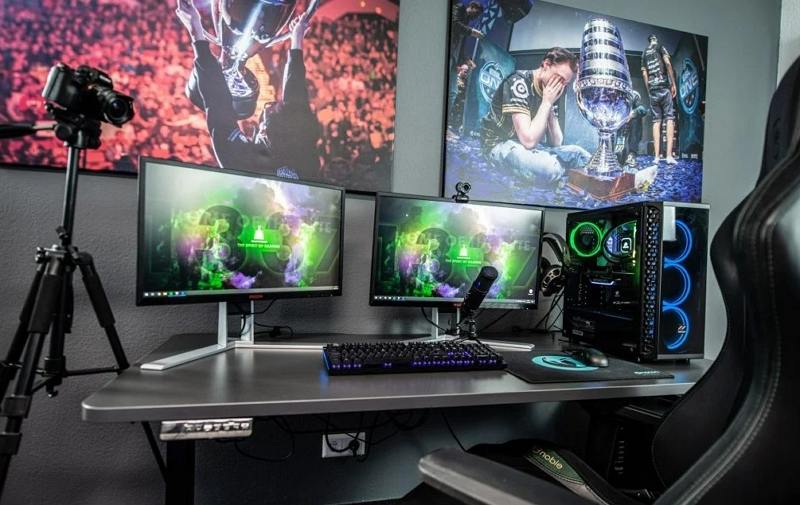
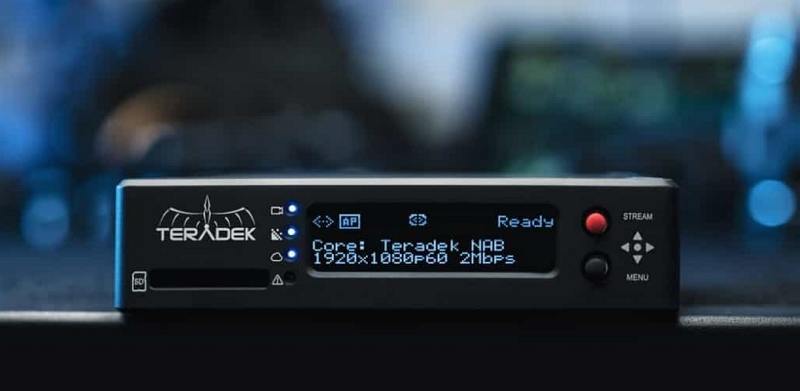
There are two types of encoders namely software (x264) and hardware (NVENC) when it comes to encoders. The software encoder utilizes your CPU to encode video, while hardware encoders offloads the encoding process to your GPU. This means, hardware encoders also has a huge role in stream delay. Selecting the best encoder might take your stream delay to a minimum value.
Part 3. Use HitPaw Screen Recorder to Stream without Any Delay
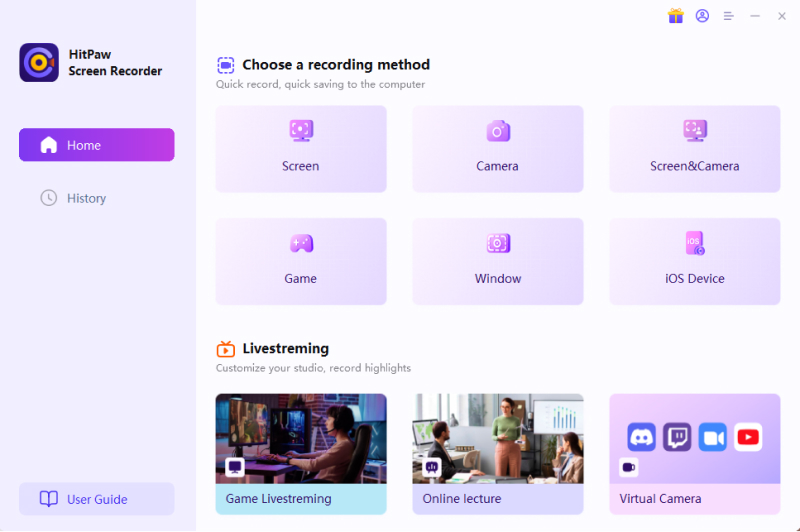
With tips for low streaming delay in your hands now, it is time to make your Twitch streams more attractive so that you get maximum viewers. In order to do so, you can use HitPaw Screen Recorder. This tool can greatly enhance your streams and make it a smooth ride. The tool is a perfect choice when it comes to making your stream look better and can be used for livestreaming as well. Follow the below steps to know how to use this tool to make your stream attractive.
Step 1.Download and install HitPaw Screen Recorder on your PC and then launch it.
Step 2.On main interface and tap Live option and click Live Streaming option.

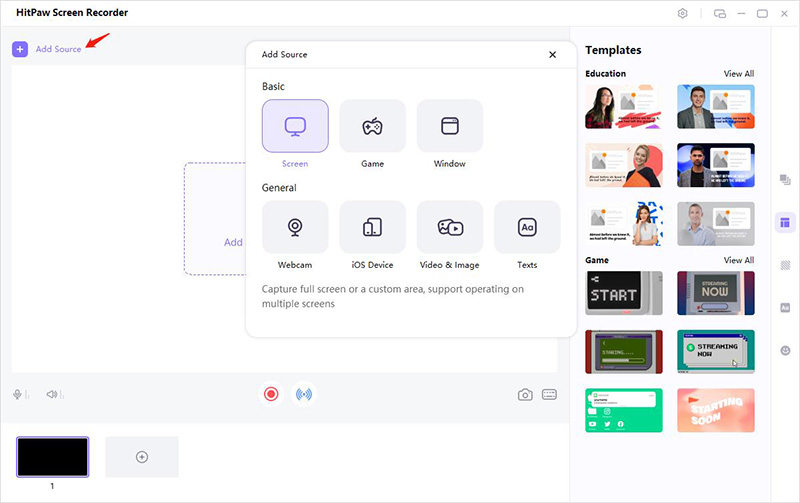
Step 3.Tap the Add Source option to add Screen, Game, Webcam, Window, Texts or Images you want to Live Stream.

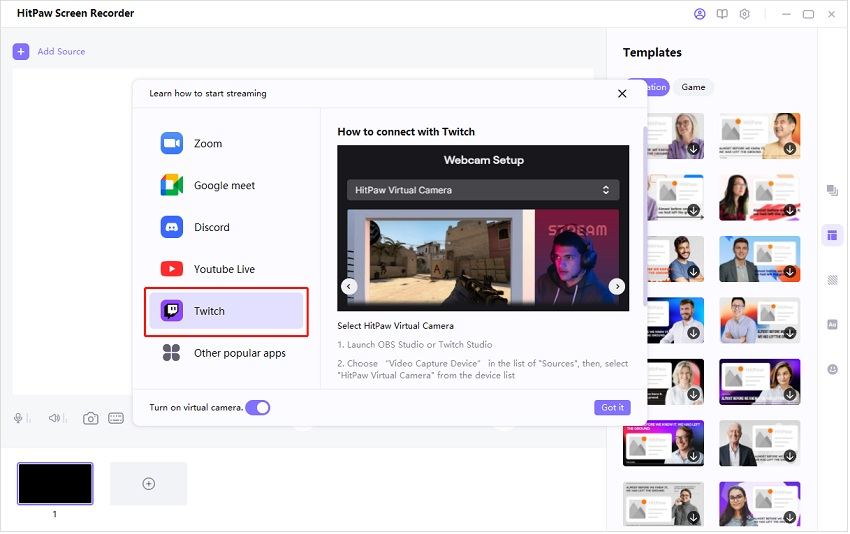
Step 4.Open the Twitch live streaming platform and select Video Capture Device under Add Source. Select HitPaw Camera from the list of device. Next, you can begin to live stream with this tool.

Conclusion
All in all, we just had a look at different tips that will help us know how to fix stream delay on Streamlabs OBS. In addition to this, we also had a look at how to use HitPaw Screen Recorder to enhance and make your Twitch streams more attractive.



 HitPaw Univd (Video Converter)
  HitPaw Watermark Remover
  HitPaw VikPea (Video Enhancer)


Share this article:
Select the product rating:
Daniel Walker
Editor-in-Chief
My passion lies in bridging the gap between cutting-edge technology and everyday creativity. With years of hands-on experience, I create content that not only informs but inspires our audience to embrace digital tools confidently.
View all ArticlesLeave a Comment
Create your review for HitPaw articles