How to Separate Discord Audio from Game Audio Streamlabs
Many times people want to get complete control over the Discord chat, game audio, the microphone, and the music. For this purpose, there is a need to separate the Discord audio from game audio Streamlabs. Sometimes you can have a guest streamer you want to talk with on stream while being on a role play server.
In this scenario, you may lower the game sound to hear that person in this situation, but it's always a problem. Sometimes, your voice becomes loud, and the game sounds very low.
If you don't know how to separate Discord audio from game audio Streamlabs, let's explore the solutions below. It will help you to get rid of all the relevant issues!
Part 1: Discord & Streamlabs: Best Partner for Game Streaming
Though Discord is used for communicating with friends via text and voice chat, you can also make it work as a broadcasting platform. In any situation, you are able to collaborate with your friends based on the topics, channels, and interests. So it is possible to make your interest-based community and interact with them.
On the other hand, Streamlabs is primarily the software suitable for streaming games on your computers worldwide. Plus, Facebook gaming has been integrated with this platform to enhance the user experience.
Keeping this in mind, Discord and Streamlabs are great game streaming partners because Streamlabs offer the best streaming functions and features. In contrast, Discord helps you to communicate with the audience at a personal level.
When Streamlabs offer the best game streaming experience, the Discord functions boost your gaming experience as never before. Discord lets you enjoy complete control over your streaming community's shared content and functionality. Even you can go for customization, like creating your own rules set and adding names and logos through Discord.
Part 2: How to Separate Discord Audio from Game Audio Streamlabs
Undoubtedly, Discord and Streamlabs are crucial for each other when it comes to game streaming; however, some situations want to exclude one from the other for better performance. For example, the scenario where you don't want your Streamlabs audience to listen to the Discord notifications or the people's voices talking there.
Here is the detailed procedure for how to separate Discord Audio from game audio Streamlabs by using the Voicemeeter Banana:

Step 1. Install VOICE MEETER Banana
The first step is about installing the Voicemeeter Banana. Open its official site and scroll down to install the 21MB file with the .EXE extension. Now, install the supporting package by clicking the "Virtual Audio Cable" from the secondary menu. From here, download and install the two files where one is VoicemetterProSetup. The second one is the zip file, VB_Cable_Driver_Pack43. Unzip it and install the VBCABLE_Setup_x64. Restart the computer once done.
Step 2. System Sound Settings
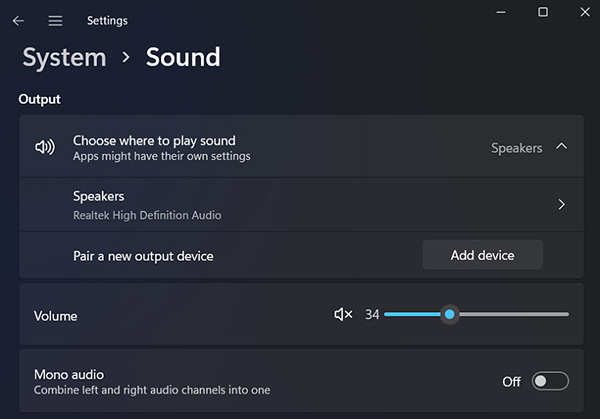
Secondly, open the system sound settings by clicking Windows > Settings > System > Sound. Swap the input and output by selecting the Voicemeeter Input in the output section and Voicemeeter Output in the input section. Remember that these settings are not permanent when you connect a new audio source; these settings automatically go to default.
Step 3. Adding Music App Sources
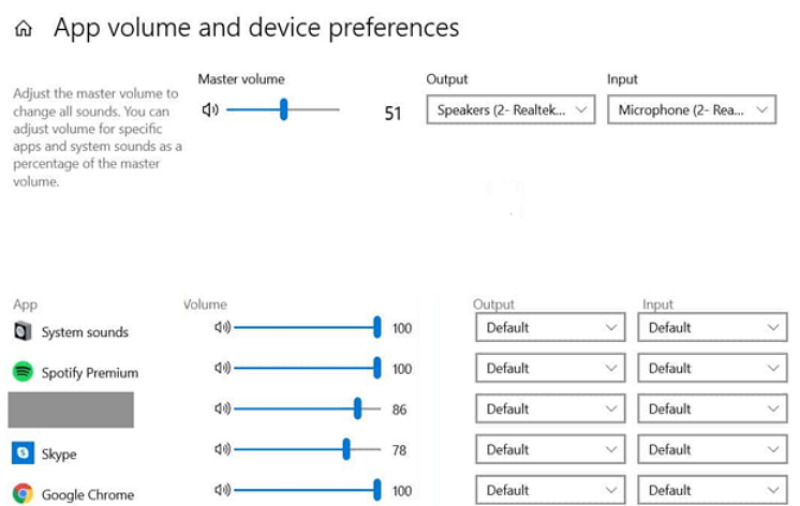
Keep the music app running in the background. Now, scroll down the sound settings and go to "Advanced Sound Options." From here, open the "App Volume and Device Preferences." Choose Spotify or any other app and set the output to Voicemeeter AUX Input.
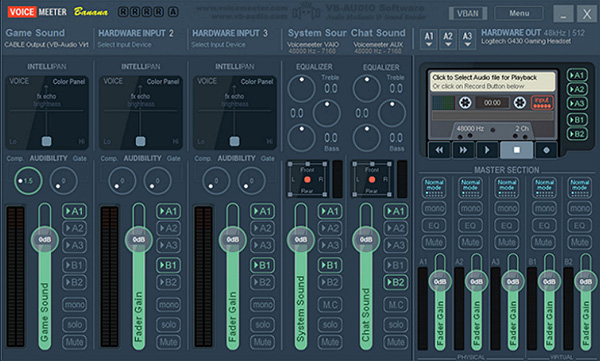
This step involves the opening of Voicemeeter Banana and adjusting the settings. There are a total of three setup parts.
Step 4. Voicemeeter Settings
Check the A1, A2, and A3 options from the right side to add the devices like the monitor, headphones, or microphone. Add the primary device to A1, secondary to A2, and A3 if required. Now, choose the hardware input from the left side. It is from where this device will receive the audio.
Select the A1 in Hardware Input 1 to stop monitoring and WDM Cable Output in Hardware Input 2 to separate the Discord Audio in OBS. The middle section is about Virtual Inputs. For example, you can add iTunes, Spotify, or others. You can adjust all the settings on the interface by turning input and output off while streaming.
Step 5. Discord and Streamlabs Audio Settings
Next, launch Discord and Streamlabs on your system and adjust the audio setting.
Open Discord, click "Settings," and choose "Voice & Video." Set the input device to Voicemeeter Output and output device to Cable input. Since the hardware input 2 is set to a WDM cable, you can easily turn off the audio to mute Discord.

Open Streamlabs, press the "Settings" tab and go to the "Audio" category. Now, disable all the audio settings.
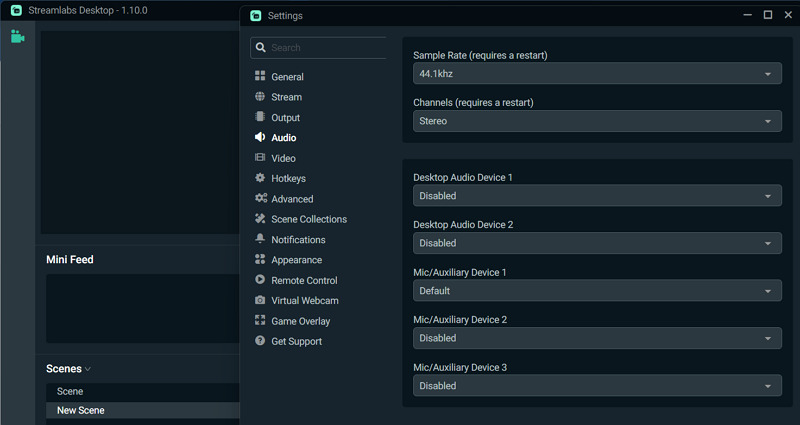
Next is to add the sources by clicking the "+" button on the "Sources" section as given below:
- Audio Input Capture - Party Chat - Device: Cable Output
- Audio Input Capture - Microphone - Device: Voicemeeter Output
- Audio Output Capture - Spotify - Device: Voicemeeter AUX Input
- Audio Output Capture - Game/Desktop - Device: Voicemeeter Input
After that, you can add these sources to the scene as a group. Plus, adjusting and muting the settings in different situations is possible.
Step 6: Restart the System
Open the Voicemeeter again and checkmark the three options on the interface, Auto Restart Audio Engine, System Tray (Run at Startup), and Show App on Startup. Restart the system, and that's all!
Part 3: Extra Tips - Stream Games with Best Live Streaming Software in 2022
Regarding the best and most efficient software to stream games, HitPaw Screen Recorder proves to be the ultimate solution. It allows you to stream multiple sources at a time with the Virtual Camera and ensures high-quality streaming without any glitches. You can either go for a separate record of the microphone audio and the speakers' sound or together. Even it is possible to mute the speakers or the microphone audio if required.
Moreover, you are open to choosing the desired video and audio format that is under your control. Using the multiple templates, disabling the microphone & speaker, and capturing screenshots & keystrokes while streaming/recording are some of its other valuable features.
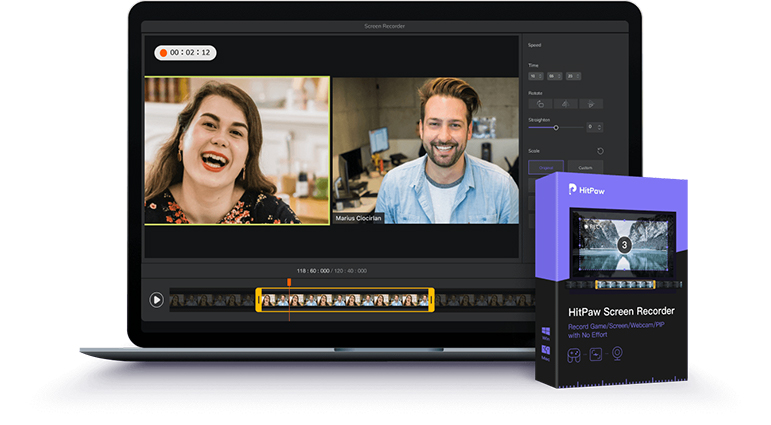
Let's look at the more features of this unique software:
- Add the text, stickers, and effects, or change the background
- Record games, screens, lectures, and devices
- Support the schedule and segment recording feature
- Let you present in the video call or live stream
- Adjust the output frame rate and resolution
- Offer the switch graphics card function to avoid black screen
Now, it's time to start live game streaming with the HitPaw Screen Recorder:
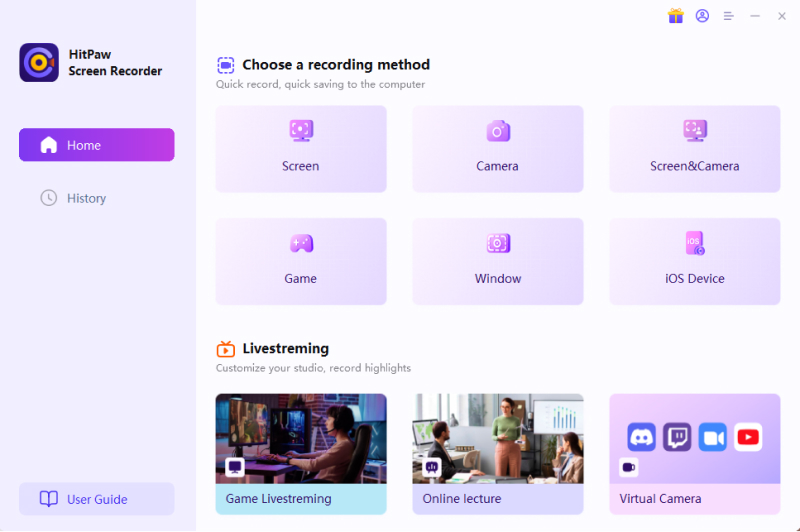
Step 01 First, you must install and download the software on your system. Along with that, start either the browser-based or the desktop game in the background. Now, open the software and click Live > Livestreaming to proceed to the new interface.
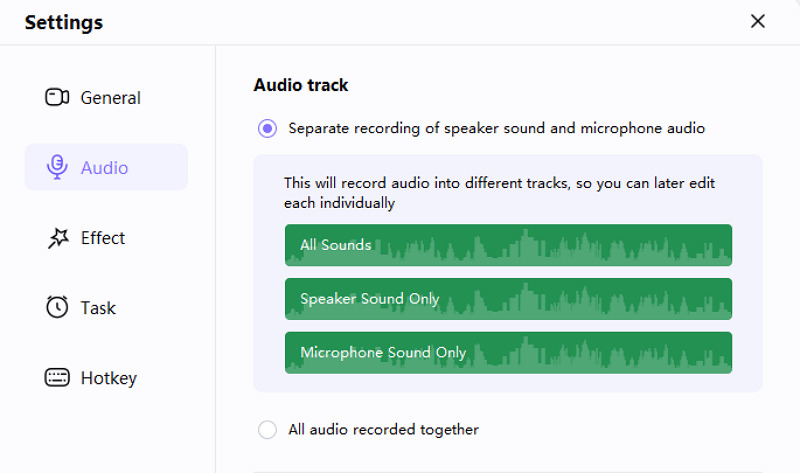
Step 02 Open the "Settings" and then the "Audio" category. Checkmark the option to "Separate recording of speaker sound and the microphone audio" or any other option that suits you.
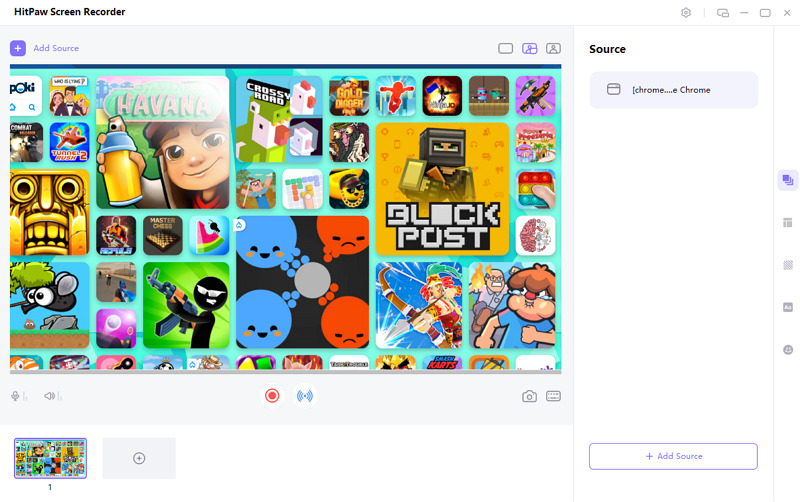
Step 03 From here, press the "Add Source" button and select the "Game," expand the menu, choose the desired game, and click "Ok." And if you want to go live on social media, remember to click the Live Stream icon on that platform and then select HitPaw Virtual Camera.
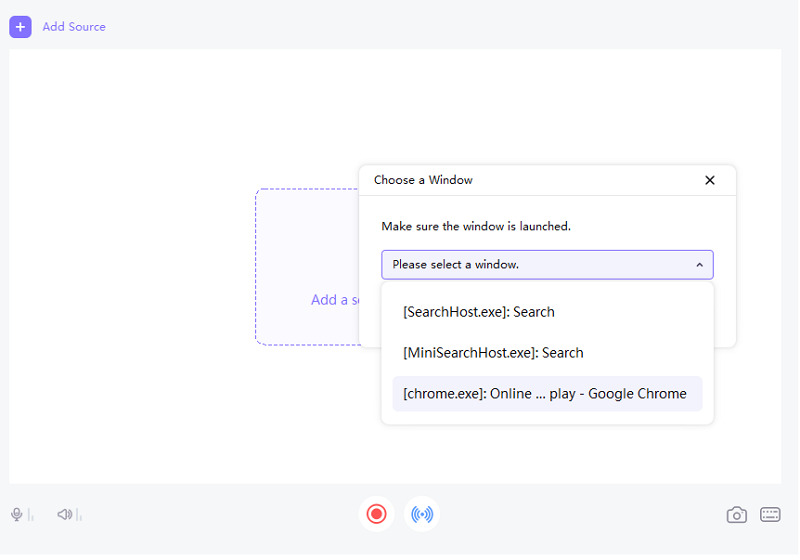
Step 04 Finally, you will stream the game on the screen in a snap. You can record it if required and close the source if you want to end it. That's all!
Conclusion
Since sometimes you need to separate Discord Audio from Game Audio Streamlabs, Voicemeeter Banana can help you immensely. What you need to do is to adjust all the settings according to the tutorial steps. However, some people find it difficult to go through this procedure. If you feel so, HitPaw Screen Recorder can help you a lot. Besides performing the recording function, it can help you stream games without hassle. So let's try it once!


 HitPaw Univd (Video Converter)
  HitPaw Watermark Remover


Share this article:
Select the product rating:
Daniel Walker
Editor-in-Chief
My passion lies in bridging the gap between cutting-edge technology and everyday creativity. With years of hands-on experience, I create content that not only informs but inspires our audience to embrace digital tools confidently.
View all ArticlesLeave a Comment
Create your review for HitPaw articles