How to Set Up A Green Screen for Twitch Streams
Twitch is a brilliant streaming platform where thousands of people stream their videos while playing games or promoting their business. However, what if the place you're streaming your live video comes with unwanted stuff in the background?
Can you change the Twitch live stream background? The green screen seems to answer when you ask about changing the live steaming background. But is the green screen effective? This post discusses the importance of a green screen and how to set up a Twitch green screen.
Part 1. Why Use a Green Screen for Live Streaming?
It's always fun watching streamers find entertainment and creative ways to make their presentation look prestigious. For instance, you might see the green screen in the presentations that take the presentation to the next level.
But, there are also various uses of a green screen. Using a green screen, you can put anything in the place of your background, and an object on your background won't be showing in this scenario.
If you make it precise, it means that when you opt to live stream a video on any platform, your background won't reflect the smoothness and may leave a bad impression on the audience. So a green screen can come to rescue you in this situation, hiding the mess present in the background.
Apart from hiding unwanted objects from the background, a green screen also assists you in making your live stream background look attractive, engaging, polished, and, more importantly, relevant.
So whether you've cleaned up your room or not and want to live stream your live footage, you can use a green screen to hide the dirty room.
Part 2. How to Set Up a Green Screen with Twitch Studio
Green screens help content creators attract many people's attention through innovative ideas. Using a green screen, you can remove the original background and let your audience see more polished and engaging content. So if you're looking to set up a Twitch green screen, you're in the right place.
Here's how to set up green screen on Twitch studio.
Step 01
Set up your camera.
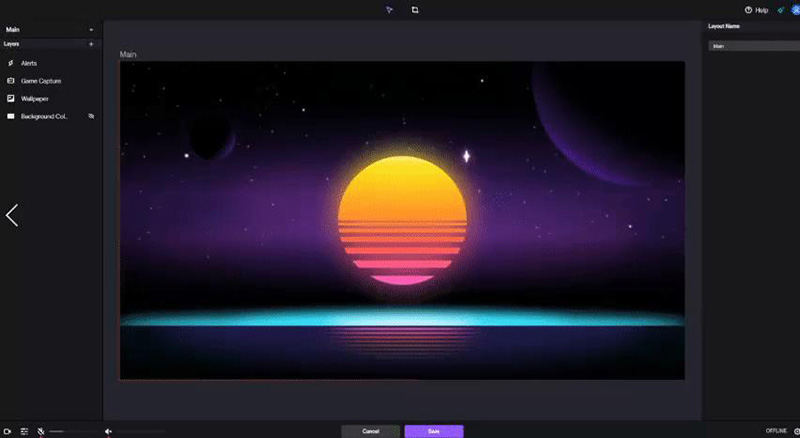
The first thing you need to do is to make sure the Twitch studio has detected your camera. If someone doesn't have a layer with his webcam, he should tap on '' Edit Scene''. Next, press ''+'' to add a webcam layer.
After creating the webcam layer, you'll need to ensure that the device you want to live stream on Twitch is selected and plugged in. Moreover, you'll also need to make sure that you didn't turn off the camera.
Step 02
Set up your Green Screen.
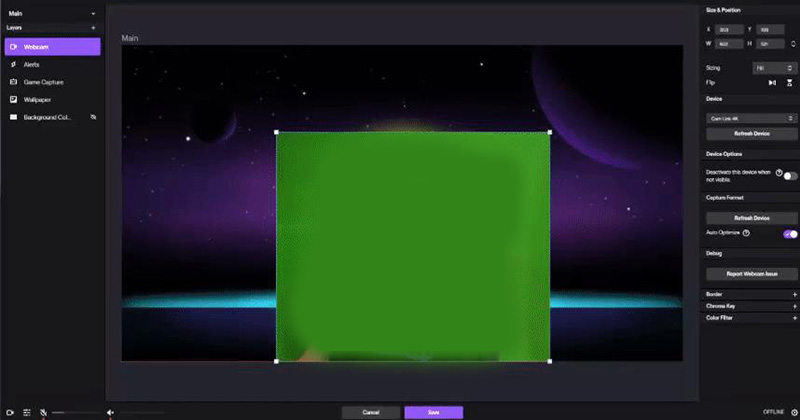
After setting up the green screen in your background, you'll need to select the webcam layers for displaying the webcam settings.
You might opt for the Auto-Detect color feature as this feature holds the ability to recognize the best color code. If interested, you can choose the color code by providing it in the field called '' Color to Remove'' or tap on the colored square to ask them to show a color spectrum option you may select from.
Step 03
Turn on Chroma Key.
You can visit the bottom of the webcam settings to find the Chroma key section. Next, you can turn on or off the chrome key option by hitting the eye icon.
If you intend to tinker with the Chroma key settings, you'll need to tap on '' Edit Chroma Key'' Settings. This way, you'll be able to alter edge transparency, color code, similarity, and color correction to make the screen look top-notch.
Part 3. How to Set Up a Green Screen for Twitch on Xbox
If you want to use Twitch green screen on Xbox, the bad thing is Xbox doesn't build a mechanism that can allow you to use green screen or Chroma on its console. So, you can't do it through the console if you're looking to stream Twitch through Xbox using a green screen Twitch.
Instead, it would help if you opted for a PC, which might not be acceptable to you. Thus, you might opt for some green screen alternatives that might not be good enough to provide you with as much leverage as green screen manages to offer, but something is better than nothing.
You can opt for Software trickery that helps you make the background look like you used the green screen. This software makes the unwanted background disappear in a hurry, and we can assure you that you won't feel the difference between a green screen and the method employed by Software trickery to hide the background during Twitch streams on Xbox.
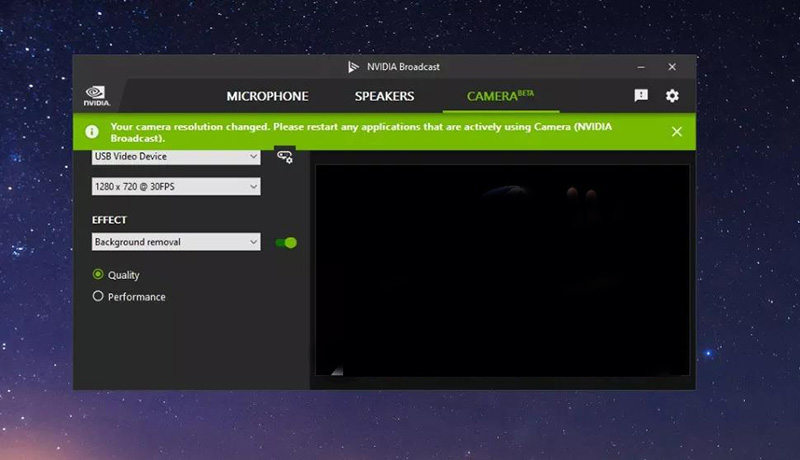
But, if you're looking to take the easy route to hide the background when opting for green screen lighting Twitch, there is no better option than HitPaw Screen Recorder, and it empowers you to live stream the video on Twitch using brilliant background templates.
Part 4: The Best Way to Set Up a Green Screen/Change Background for Twitch Streams
If you have had issues setting up the green screen Twitch but still want to hide the room's background during the live stream, you can opt for HitPaw Screen Recorder. It is an unbelievable screen recorder with brilliant background templates that assists you in hiding the live stream's background and making it picture perfect.
Besides streaming your video live, HitPaw Screen Recorder is also pretty efficient at recording the screen. On top of that, it also comes with a simple user interface, and you don't need to worry about prior knowledge of this software.
The key features of HitPaw Screen Recorder:
- Allows you to record anything happening on the screen.
- Live stream your video on multiple online platforms.
- Helps you lib stream Twitch using wonderful background templates.
- Offers the real-time monitoring feature.
- GPU acceleration makes the live streaming smooth and flawless.
How to live stream Twitch using HitPaw Screen Recorder?
Step 01 Click on the button below to download HitPaw Screen Recorder safely. Next, you'll need to launch the software.
Step 02 Once the installation process of HitPaw Screen Recorder is done, you'll need to launch the software to proceed ahead. Next, select the Live Streaming option after visiting the main interface of HitPaw Screen Recorder.
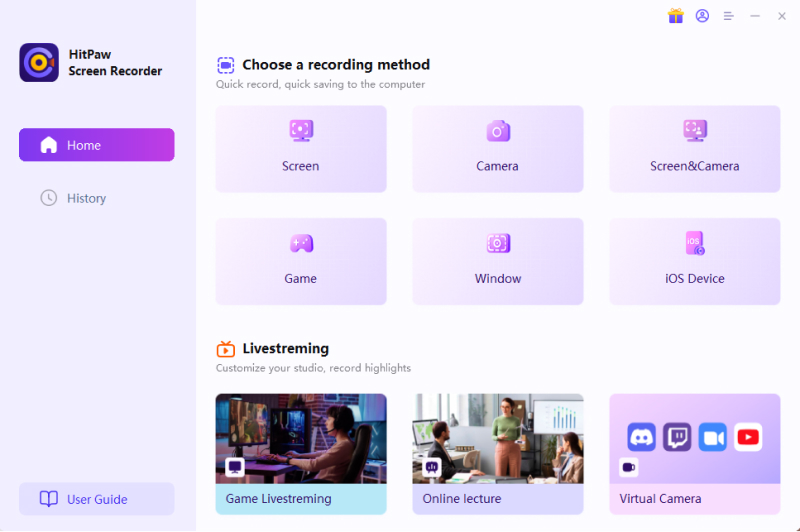
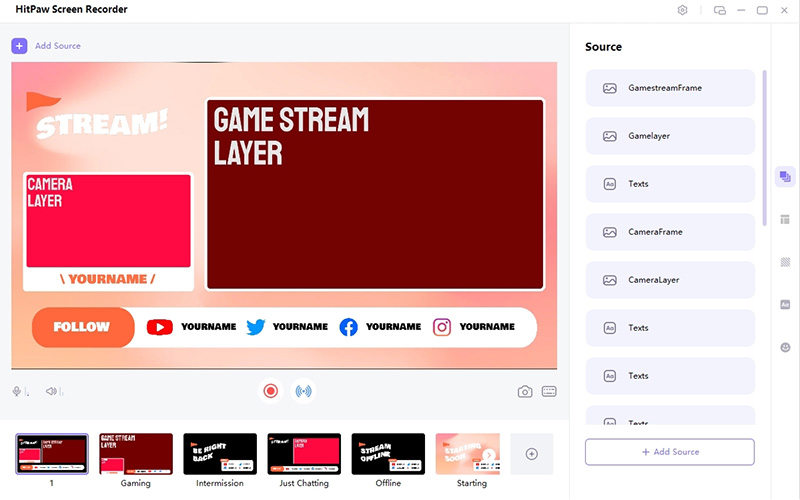
Step 03 Now, you can select the background template you'd like to use in the Twitch live stream background. HitPaw Screen Recorder allows you to change the color of background templates and add stickers and text. Next, tap on ''Add Source'' to add a webcam of yours. You can add other sources, including texts, images, iOS devices, webcams, Windows, and games.
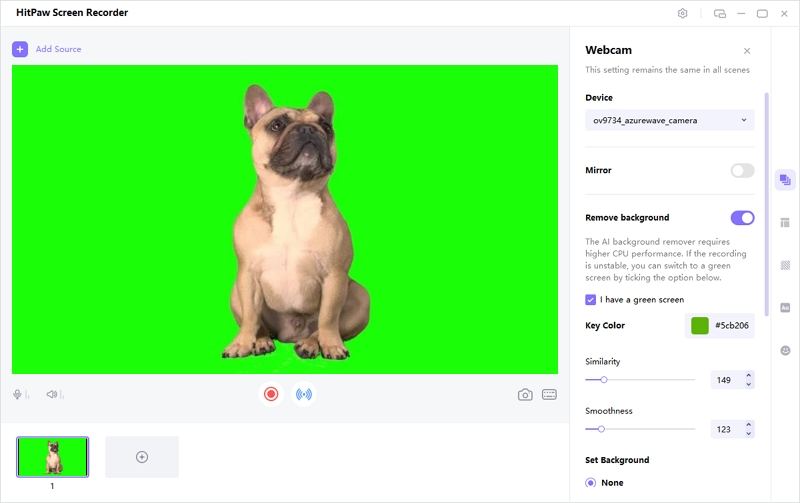
The most important point is that you can set up the green screen after add the webcam. Just remove backgroumd and set up the key color.
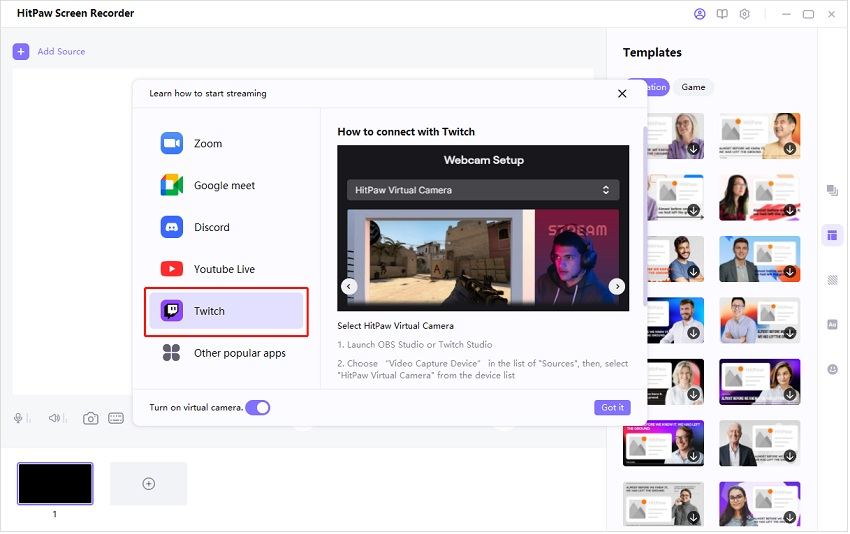
Step 04 Now, Select the Twitch platform as you want to live stream on that online platform.
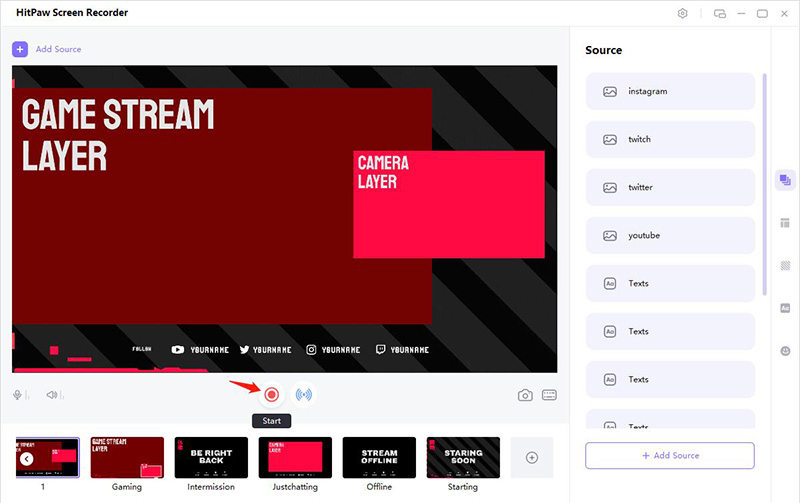
Step 05 You'll need to press the Record button if you intend to record the Twitch live stream. Once the live stream finishes, tap on '' Stop'' to finish recording the live stream
Final Words
That's it. If you didn't know how to set up green screen on Twitch, you could read this post as it has all the information in the world to help you out.
However, if you don't like using Twitch green screen in the background, you can opt for HitPaw Screen Recorder, as it comes with eye-catching background templates that surely make the Twitch live stream memorable and worth watching.


 HitPaw Univd (Video Converter)
  HitPaw FotorPea


Share this article:
Select the product rating:
Daniel Walker
Editor-in-Chief
My passion lies in bridging the gap between cutting-edge technology and everyday creativity. With years of hands-on experience, I create content that not only informs but inspires our audience to embrace digital tools confidently.
View all ArticlesLeave a Comment
Create your review for HitPaw articles