How to Record A Zoom Meeting with Audio on Mac in 2024
Zoom has been a top video-conferencing tool for quite some time now. Even though the COVID restrictions are eased around the world, the popularity of Zoom meetings hasn’t ebbed. Now a days, many of the Zoom meetings are recorded to use at a later date
If you’re wondering how to record a Zoom meeting on Mac, then look no further. This article aims to provide a comprehensive guide on how to record Zoom meeting on Mac as well as the best Zoom recorder software of 2024.
Let’s dive in!

Part 1. Why We Need to Record Zoom Meeting
Before finding out how to record Zoom meeting on Mac, it’s important to learn why you need to record it in the first place.
Recording a meeting serves tons of purposes, including but not limited to:

The next section is going to present a step-by-step guide on how to record Zoom on Mac.
Part 2. How to Record Zoom Meeting on Mac with Local Recording
Zoom comes with a recording function that anyone can use to capture recordings. The host can start the recording instantly but the program notifies all the members that the meeting is recorded. A participant, on the other hand, needs to get the host’s permission to begin local recording.
Want to know how to record Zoom meeting on Mac with audio with local recording? Follow the below instructions to record the next Zoom meeting:
-
1
Start a Zoom meeting as a host or get permission from the host to start recording.
-
2
Now, click on the Record icon on your Zoom screen and select "Record on this Computer". Note that the hosts and the participants will see the following recording indicator in the top-left corner while recording is active.
-

-
3
You can pause the recording anytime you want. When you’re done, hit the Stop icon to end the recording.
-

-
4
Zoom will automatically convert the recording so you can access the files.
And that all it takes for how to record Zoom meeting on Mac with local recordings. But this method has its shortcomings. For one, you need the host permission to proceed. You cannot simply start the recording secretly. Plus, you don’t get any advanced functionalities like screenshots, drawing, etc. from Zoom local recording.
Part 3. Where Does Zoom Save Recordings on Mac
Now that you know how to record a Zoom call on Mac, you must be wondering where does the recording video go? Soon as you end the Zoom recording, the file is automatically saved to the default Downloads folder on your Mac.
The Mac users can find the Zoom recording at “/Users/[Username]/Documents/Zoom”
Here’s how to find the Zoom recordings:
-
1
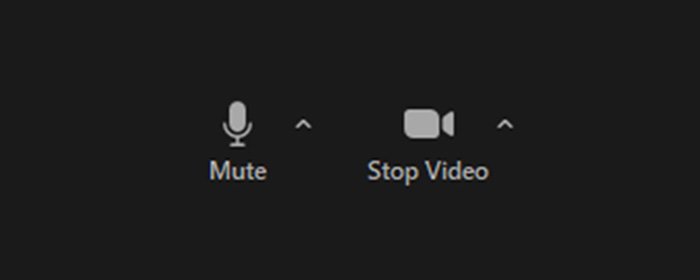
From the Zoom meeting room, go to click the small arrow on the Stop Video button or Mute button.
-

-
2
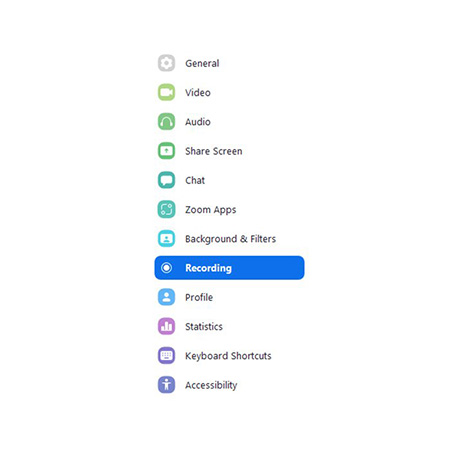
Select the Video Settings on the pop-up window and then, hit Recording.
-

-
3
Finally, click the Open button at the top right of the menu.
-

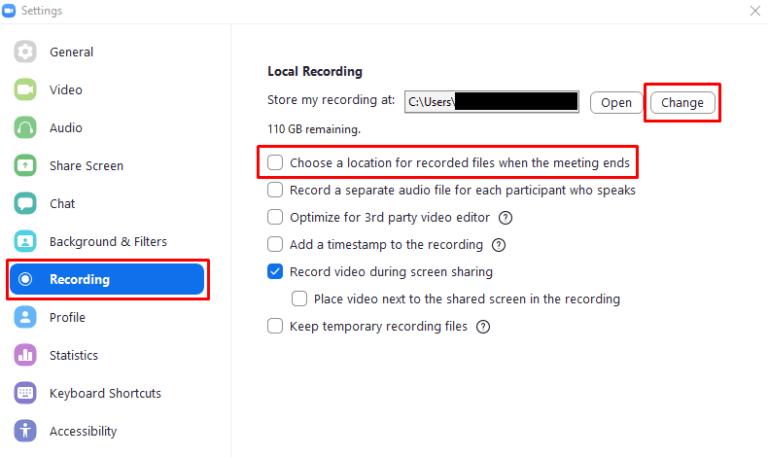
Note that you can always change the default download destinations of Zoom recordings. For that:
· Launch the Zoom app and click your profile picture.
· Then, head to Settings > Recording.
· Then, click Change under Local Recording.
· Enter a new download destination.
Extra Tip. The Best Way to Record Zoom Meeting without Permission on Mac
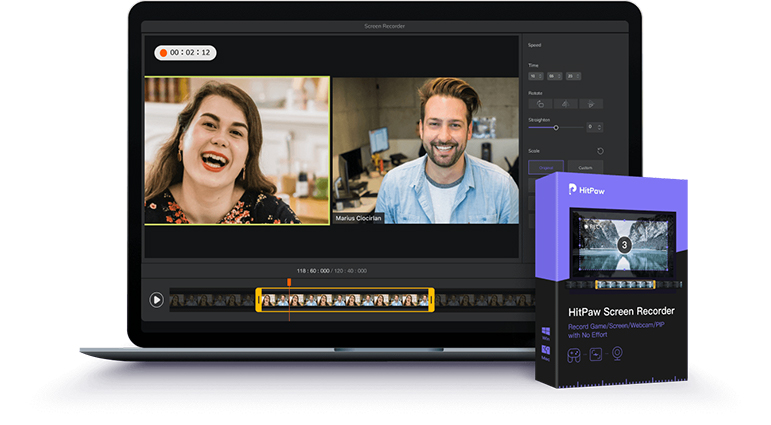
If you want more control over the recording process, then use a professional tool like HitPaw Screen Recorder. Unlike normal recorders, this program uses advanced algorithms to give the best quality results. That is your answer to how to record Zoom meeting on Mac in HD.
Further, you get access to plenty of customization options like real-time draw, screenshots, picture-in-picture mode, and more. Depending on your requirements, it allows you to capture the whole screen or a specific area. Not to mention, you can record YouTube, Facebook, or anything on your screen effortlessly.
For longer meetings, you can use segment or scheduled recording. But most striking aspect of this software is its very simple interface. Even first-time users don’t feel any technical issues while recording a Zoom meeting.
Key Features of HitPaw Screen Recorder:
- Offers a simple way to record meetings on Mac.
- Produces high quality video and audio output.
- It can record anything on your Mac screen efficiently.
- Very easy to setup and use.
- Provides simple customization options.
- Works on both Mac and Windows. The Windows version has some additional features as well.
Check out how to record a Zoom meeting on Mac with this software:
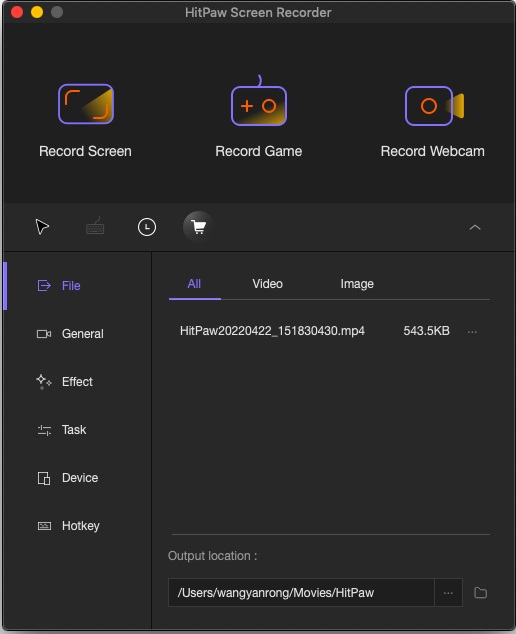
Step 02Launch the program and click on “Record Screen” to get started.
Step 03Now, join Zoom meeting and adjust the screen area on the program. Hit Record (red icon) to begin recording.
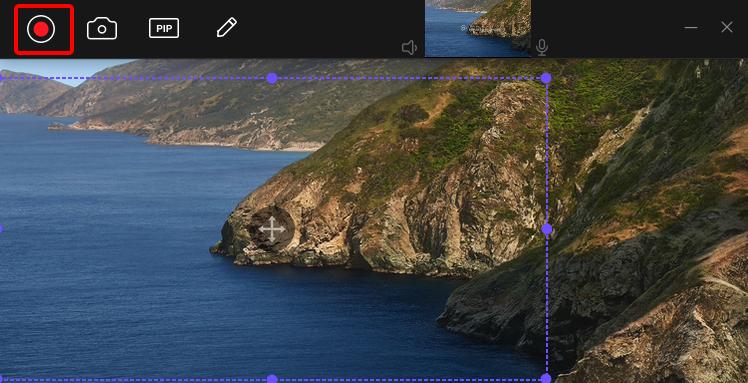
You can pause and play the recording anytime using the same button.
Step 04After the meeting, hit the Stop icon to enter the editing interface. Here, you can remove the unnecessary part of the recorded video.
The Final Words
As you can see, recording Zoom meetings is not that hard. This article has taught you how to record Zoom meeting on Mac using local recording. But in this case, you must be the host of the meeting or else, take permission from the host.
We recommend users to install the premium version of HitPaw Screen Recorder to get the best possible results. This powerful tool makes it extremely easy to record any Zoom meeting in HD, along with offering tons of customization options.
Looking for how to record a Zoom meeting on Mac right away? Get the free version of this product here.




 HitPaw Watermark Remover
  HitPaw Univd (Video Converter)


Share this article:
Select the product rating:
Daniel Walker
Editor-in-Chief
My passion lies in bridging the gap between cutting-edge technology and everyday creativity. With years of hands-on experience, I create content that not only informs but inspires our audience to embrace digital tools confidently.
View all ArticlesLeave a Comment
Create your review for HitPaw articles