How to Record Lectures on Mac for Free 2024
Without any doubt, recording lectures on MacBook along with a proper solution will make this a lot simpler for teachers and similar personnel. For teachers, a proper recording method will help them create engaging video lectures that students will actually watch. For students, recording class lectures can help them look back on lectures, review content, etc. This article will talk about different ways that can be used for recording a lecture on Mac. Let’s get started.
Summary
HitPaw Screen Recorder is best recording method that will help teacher make attractive video lectures and help students record online lectures with high quality for after-class learning.

4 Best Ways to Record Lectures on Mac
1. Record a Lecture on Mac with Free Screen Recorder (for Teachers & Students)
To begin with the best, HitPaw Screen Recorder tops our list when it comes to record a lecture on Mac. This free tool is very simple to use and can be used to record lectures as well as other things such as games, meetings, and many more. In addition to this, the tool does not need any technical knowledge.
Features:
- Record lecture on Mac in 4K/UltraHD quality
- Create lecture video with clear audio track in perfect synchronization
- Make attractive video lectures which students really watching
- Schedule recording tasks to capture what you want
- No watermark, no lag, no recording length restriction
- Useful options to trim, schedule, highlight, take snapshot, etc.
Read below to know how to record a lecture on MacBook Air/Pro using the tool.
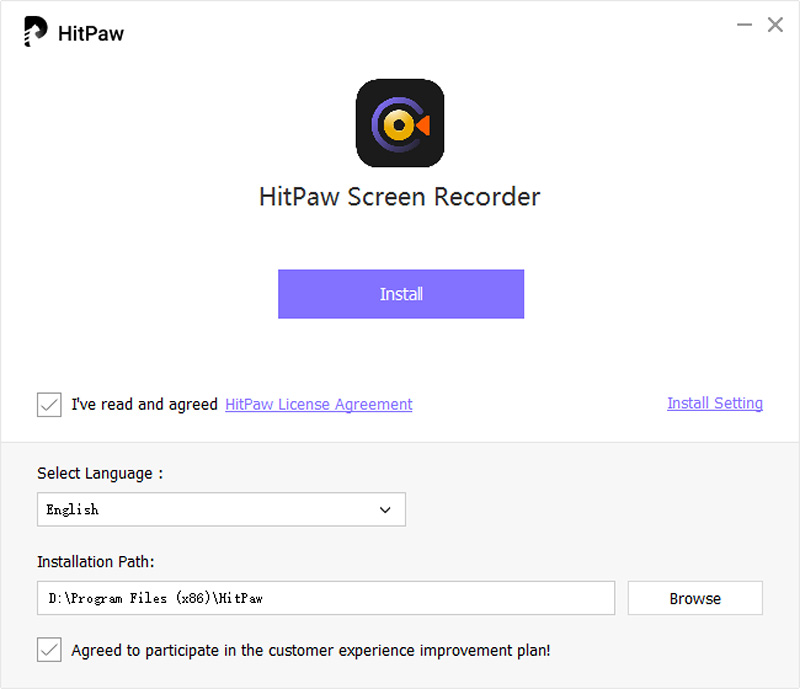
Step 1: Begin by downloading and installing HitPaw Screen Recorder on your device.

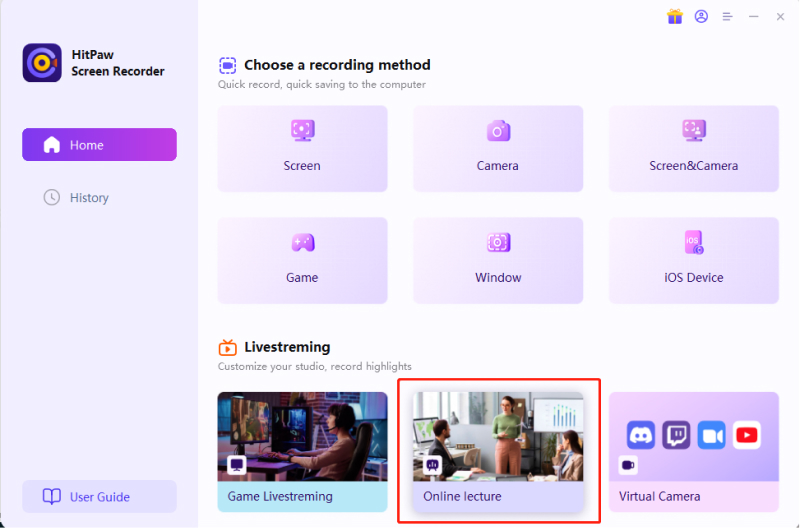
Step 2: Once done, launch the tool. From the main interface, Select the “lecture”option and users will be automatically taken to the screen interface.

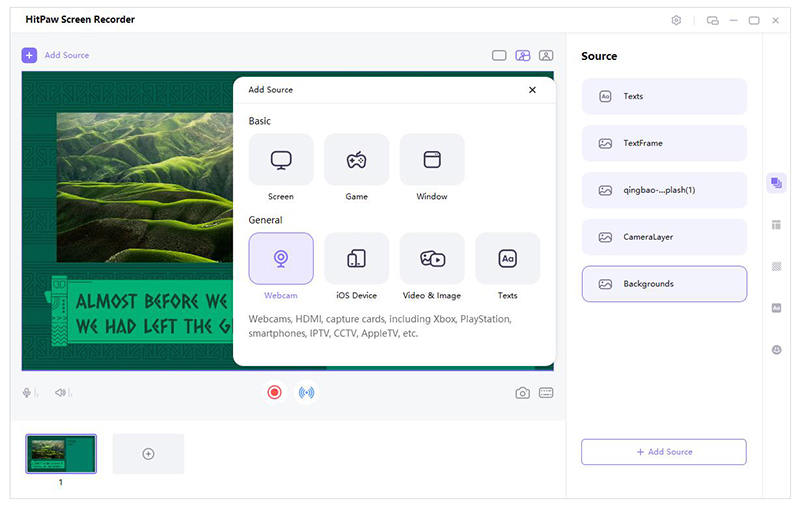
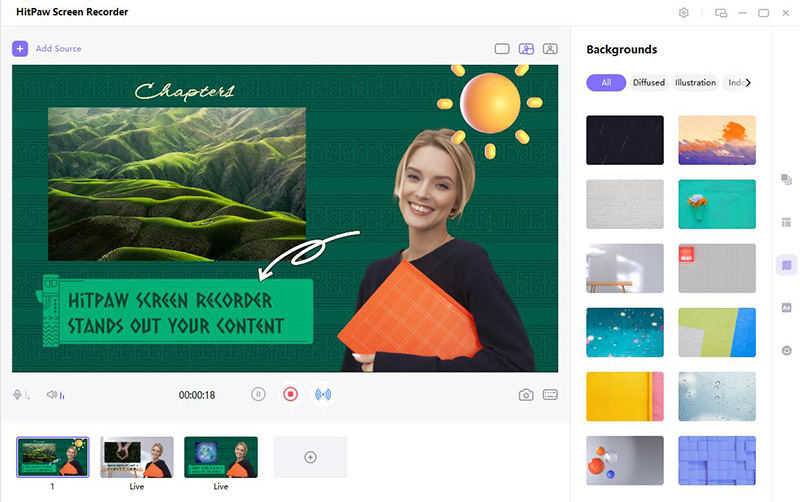
Step 3: Add the source you want to record and you can choose to apply the templates to add interest and enhance the teaching effect.

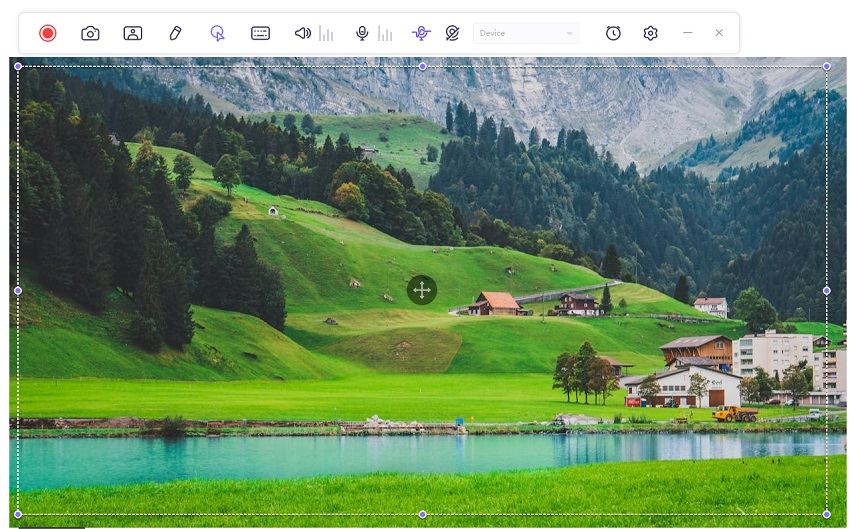
Step 4: Now, start the lecture, adjust the screen area that needs to be recorded, and hit Record (red icon).

Step 5: If users wish to end the recording, just tap on the stop button.The camera option at the right side is a fast way to get screenshot.

2. How to Record Lectures on Mac with Command + Shift + 5 (for Student)
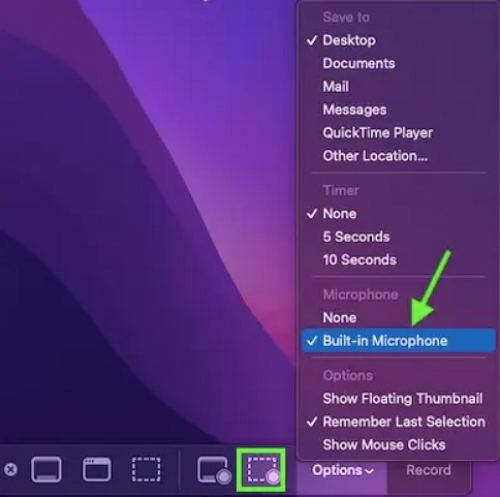
How to record lecture on Mac with Mac command? Command + Shift + 5 is the Mac built-in tool that can record screen and edit videos in a professional manner. All you have to do is follow the below steps to know how to screen record lectures on Mac.
Step 1: On your Mac keyboard, press Shift + Cmd + 5. Next, record Selected Portion or Record Entire Screen option. Select Microphone if you want to capture the audio.

Step 2:Tap Record button to start recording it. Tap the Stop Recording option once the lecture ends.

This is how to record lectures on MacBook with audio using key shortcuts. It is convenient but lack of some advanced features such as scheduled recording, PIP recording.
3. How to Record Video Lecture on Mac with QuickTime (for Students)
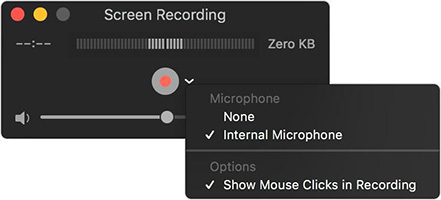
QuickTime can also be used to record lectures on Mac. One thing that users must should note that it has no ability to record lecture on Mac with internal audio. Follow the below steps to know how to record lecture on MacBook.
Step 1: Open QuickTime on Mac to start recording lectures on Mac. Go to the top menu and tap File >> New Screen Recording.

Step 2: Once everything is in place, users can click on the red recording icon in QuickTime to know.

Step 3: End your recording using the stop button and save the recorded lecture locally.

This is how to record lectures on MacBook Pro using Quicktime. Quicktime is a convenient recording tool but QuickTime may record the sound of Mac speakers and ambient noise.
4. How to Record Lectures on Mac Free Online (For Students)
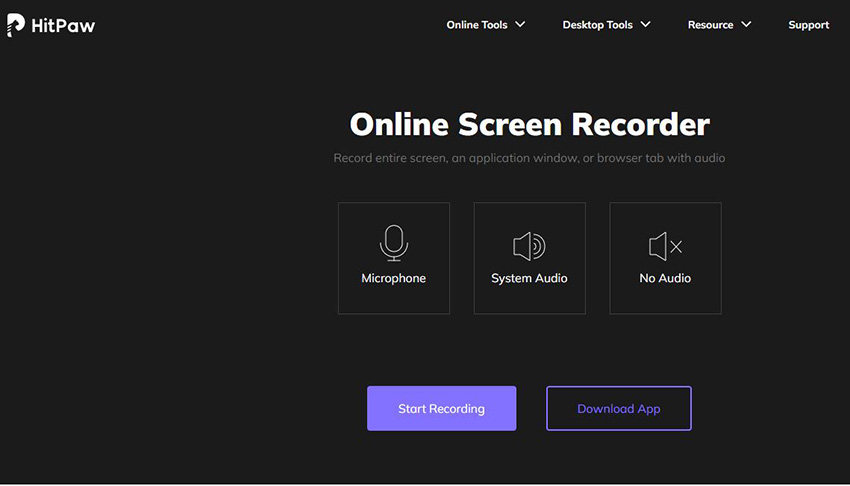
One more online option is HitPaw Online Screen Recorder that can be used to know, how to record lectures on a Mac. Follow the below steps.
Step 1: Select the recording mode, then tap the Start Recording option.

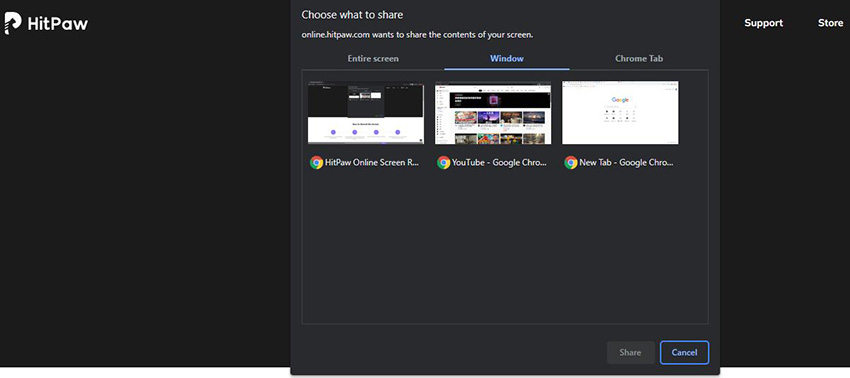
Step 2: Allow the online tool access to Microphone. Choose the window that requires to be recorded.

Step 3: After finishing recording the screen, users can download or edit video.

Conclusion
Having said that, we just had a look at the answers to the “how do I record lectures on my MacBook Air” question. And HitPaw Screen Recorder is the best option to record a lecture on Mac for teachers to create engaging video lectures or for students to strengthen their understanding of certain subjects after class.
FAQs of How to Record Lectures on Mac
Q1. How do I record a lecture in a class Mac?
A1. Download and install HitPaw Screen Recorder on your Mac. Next, open the lecture video that you want to record. Then you can click the red button to start recording lectures. When it is done, you will find the recorded lectures on your Mac.
Q2. How do I record a lecture in a class Mac?
A2. Locate the QuickTime Player application on your Mac computer. Then, go to the "File" menu and choose "New Screen Recording" to access Screenshot and reveal its accompanying tools. You can click on "Options" to manage the specifics of your recording. For instance, you can designate the destination for saving your screen recording or opt to incorporate the pointer and mouse clicks in the recording.
Q3. Is screen recording lectures illegal?
A3. Download and install HitPaw Screen Recorder on your Mac. Next, open the lecture video that you want to record. Then you can click the red button to start recording lectures. When it is done, you will find the recorded lectures on your Mac.






 HitPaw Univd (Video Converter)
  HitPaw Watermark Remover
  HitPaw VikPea (Video Enhancer)


Share this article:
Select the product rating:
Daniel Walker
Editor-in-Chief
My passion lies in bridging the gap between cutting-edge technology and everyday creativity. With years of hands-on experience, I create content that not only informs but inspires our audience to embrace digital tools confidently.
View all ArticlesLeave a Comment
Create your review for HitPaw articles