Best 6 Methods: How to Record Audio On Windows 10
Recording audio on Windows 10 can be a useful skill for many purposes. You may want to record your voice for a podcast, a presentation, or a video. You may want to record the sound from your computer, such as music, game audio, or online streaming. Or you may want to record the audio from your browser, such as YouTube, Spotify, or Netflix.Whatever your reason, you need a reliable and easy-to-use tool to record audio on Windows 10.
How to Record Audio on Windows 10 by One Step
HitPaw Univd (HitPaw Video Converter), is a powerful and versatile software that can help you record audio on Windows 10 with just one click. It can record any sound from your microphone, system, or browser, and save it as MP3, WAV, M4A, or other formats. You can also edit the audio after recording, such as trimming, cutting, merging, or adding effects.
Watch the following video to learn more details:
Features of HitPaw Video Recorder
Here are the main features of HitPaw Univd that make it the best choice for recording audio on Windows 10:
- Has a simple and intuitive interface that anyone can use without any hassle.
- Supports various audio formats and quality options, so you can choose the one that meets your requirements.
- Allows you to record audio from multiple sources at the same time, such as your microphone and system sound.
- Has a built-in audio editor that lets you edit the audio after recording, such as trimming, cutting, merging, or adding effects.
- Convert, compress, crop, rotate, and watermark videos, making it a comprehensive multimedia tool.
How to use HitPaw Screen Recorder to record Audio on Windows 10
Step 1: Launch the program and go to the “Toolbox” section. Then, choose the “Screen Recorder” tool from the list.

Step 2: Drag the corners of the recording area to select the part of your screen you want to record. If you want to record the whole screen, press the Space bar.
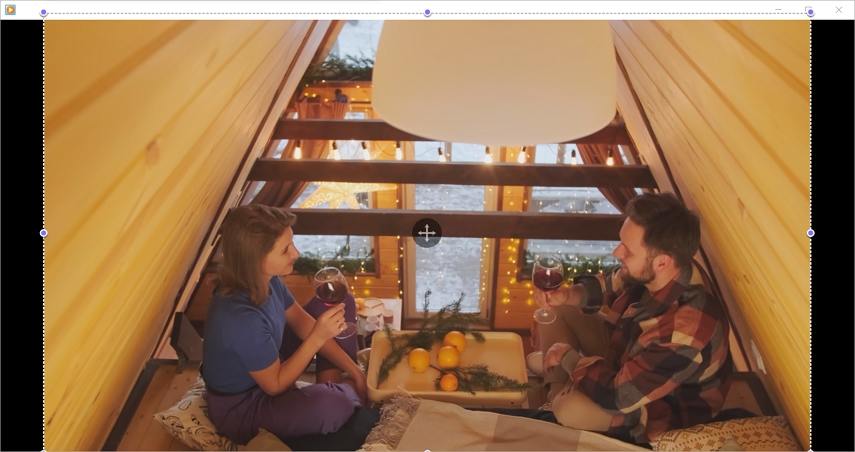
Decide if you want to record the sound from your system, your microphone, or your camera. You can toggle them on or off by clicking the icons at the bottom of the screen.
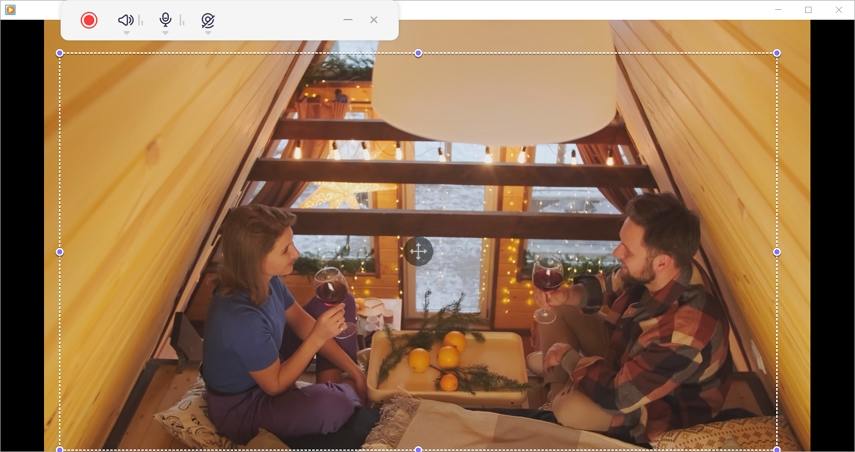
Step 3: Click the red button to begin recording.
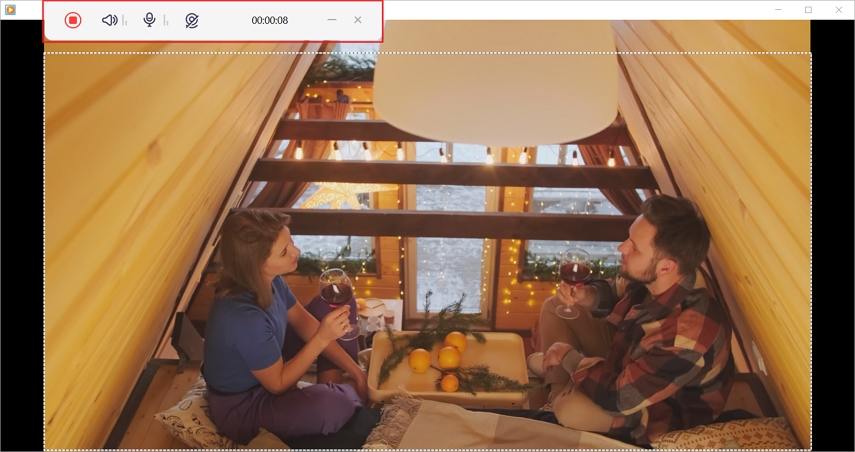
Step 4: When you are done, click the “x” button on the top right corner of the recording area. The recorded video will be saved in the output folder, where you can play it with any media player.
Other 5 Ways to Record Audio on Windows 10
If you want to try other methods to record audio on Windows 10, here are five more options for you. They are all free and easy to use, but they may have some limitations or drawbacks compared to HitPaw Univd. You can compare them and see which one works best for you.
Voice Recorder
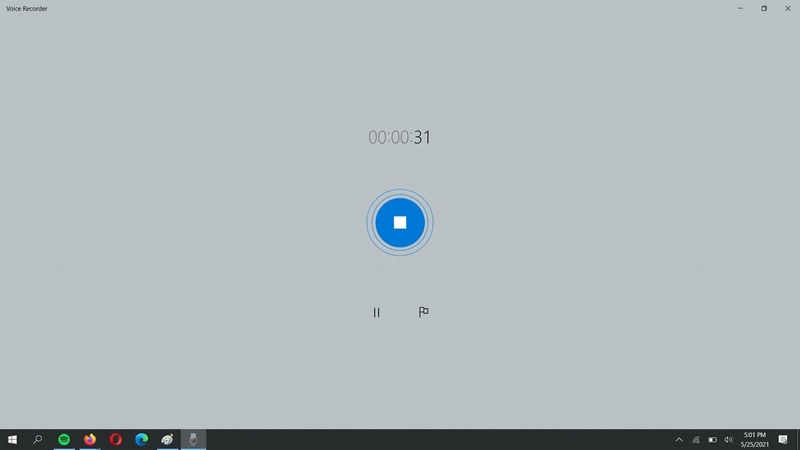
Voice Recorder is a built-in app on Windows 10 that can help you record audio from your microphone. It is a simple and basic tool that can record your voice or any sound near your computer. However, it cannot record the sound from your system or browser, and it only supports saving the audio as M4A format.
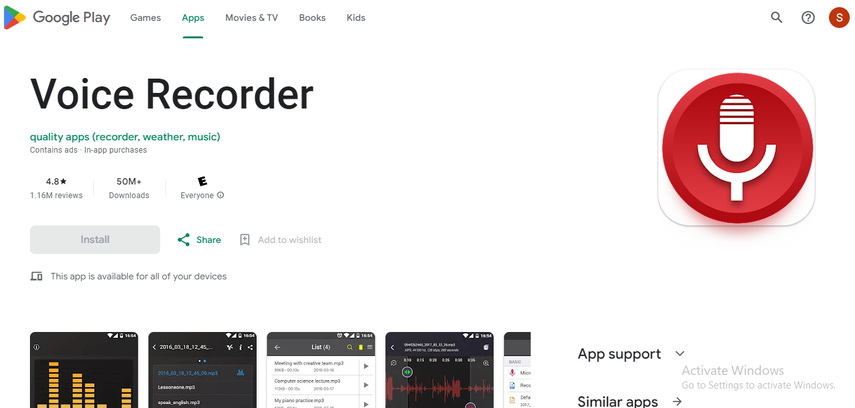
To record audio on Windows 10 with Voice Recorder, you just need to follow these steps:
Step 1: Search for “Voice Recorder” in the Windows search box and open the app.
Step 2: Click on the blue microphone icon to start recording. You can pause or resume the recording at any time.
Step 3: Click on the stop button to end the recording. The audio file will be saved automatically in the “Sound recordings” folder in your Documents.
Step 4: You can rename, trim, or delete the audio file in the app.
Game Bar
Game Bar is another built-in feature on Windows 10 that can help you record audio from your system. It is mainly designed for gamers who want to capture their gameplay and commentary. However, it can also record any sound from your computer, such as music, game audio, or online streaming. It can also record your microphone sound if you enable it.
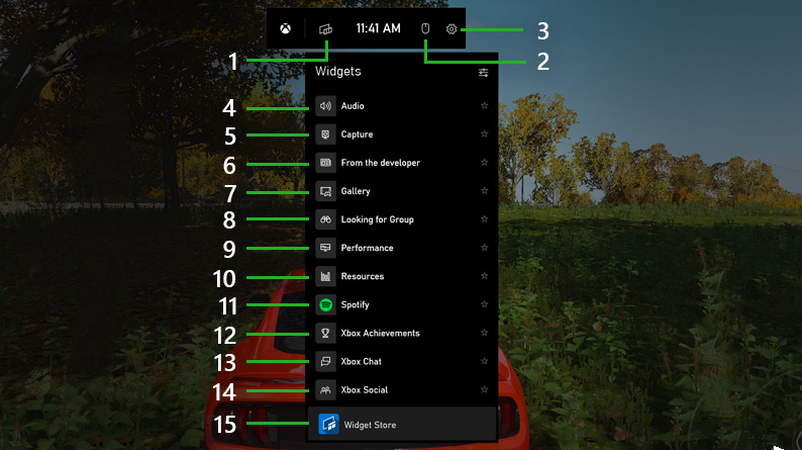
To record audio on Windows 10 with Game Bar, you just need to follow these steps:
Step 1: Press the Windows logo key + G to open the Game Bar overlay on your screen.
Step 2: Click on the “Capture” widget on the left side of the overlay. You will see a microphone icon, a camera icon, and a record button.
Step 3: If you want to record your microphone sound, click on the microphone icon to turn it on. If you only want to record the system sound, leave it off.
Step 4: Click on the record button to start recording. You will see a timer on the top right corner of the screen.
Step 5: To stop the recording, press the Windows logo key + G again and click on the stop button. The audio file will be saved automatically in the “Captures” folder in your Videos.
Audacity
Audacity is a popular and free software that can help you record audio on Windows 10 with more advanced features. It can record any sound from your microphone, system, or browser, and save it as MP3, WAV, OGG, or other formats. You can also edit the audio after recording, such as trimming, cutting, merging, or adding effects.
To record audio on Windows 10 with Audacity, you just need to follow these steps:
Step 1: Download and install Audacity on your Windows 10 PC.
Step 2: Launch the software and select the audio source you want to record from the drop-down menus on the top toolbar. You can choose the microphone, the system sound, or the browser sound.
Step 3: Click on the red “Record” button to start recording. You can pause or stop the recording at any time.
Step 4: After recording, you can edit the audio in the software. You can use the tools on the top toolbar or the menus on the top menu bar to trim, cut, merge, or add effects to the audio.
Step 5: Click on the “File” menu and select “Export” to save the audio file on your computer. You can choose the output format and quality from the options.
Online Voice Recorder
Online Voice Recorder is a free and easy-to-use website that can help you record audio on Windows 10 without installing any software. It can record any sound from your microphone, such as your voice or any sound near your computer. However, it cannot record the sound from your system or browser, and it only supports saving the audio as MP3 format.
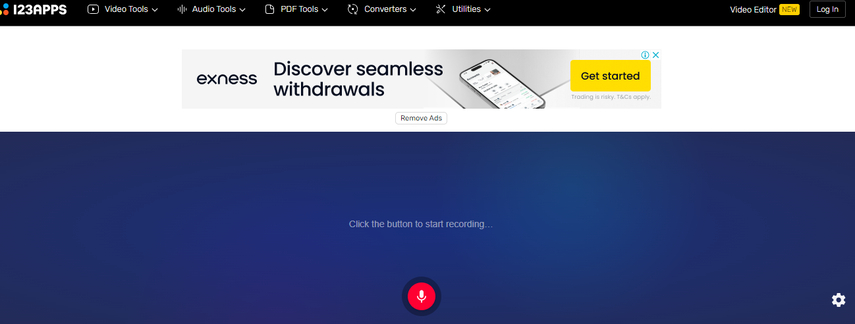
To record audio on Windows 10 with Online Voice Recorder, you just need to follow these steps:
Step 1: Open your browser and go to the website: https://online-voice-recorder.com/
Step 2: Click on the red “Start Recording” button to start recording. You may need to allow the website to access your microphone.
Step 3: Click on the pause button to pause the recording, or the stop button to end the recording.
Step 4: After recording, you can trim the audio by dragging the sliders on the timeline.
Step 5: Click on the “Save” button to save the audio file on your computer.
Chrome Audio Capture
Chrome Audio Capture is a free and useful extension for Google Chrome that can help you record audio on Windows 10 from your browser. It can record any sound from any tab or website, such as YouTube, Spotify, or Netflix. However, it cannot record the sound from your microphone or system, and it only supports saving the audio as MP3 or WAV format.
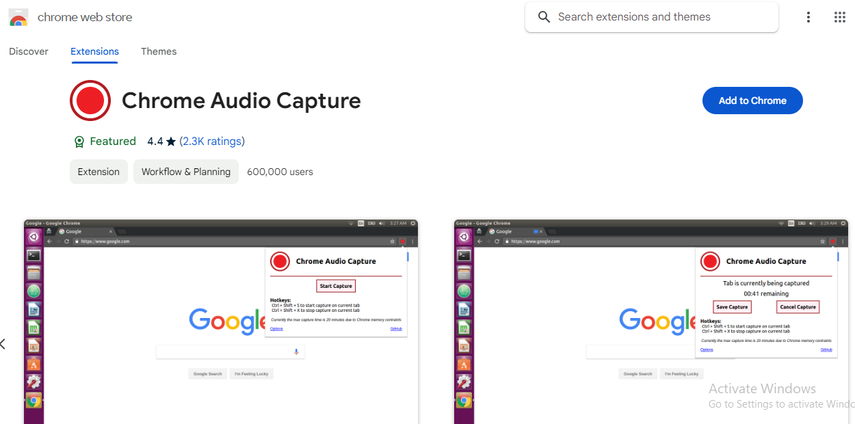
To record audio on Windows 10 with Chrome Audio Capture, you just need to follow these steps:
Step 1: Download and install Chrome Audio Capture from the Chrome Web Store
Step 2: Open the tab or website that you want to record the audio from.
Step 3: Click on the Chrome Audio Capture icon on the top right corner of your browser. You will see a pop-up window with a record button and a settings button.
Step 4: If you want to change the output format or quality, click on the settings button and adjust the options.
Step 5: Click on the record button to start recording. You can record up to 20 minutes of audio per tab.
FAQs Related to Record Audio on Windows 10
Here are some frequently asked questions about how to record audio on Windows 10:
Q1. How to record audio on Windows 10 without a microphone?
A1. You can record audio on Windows 10 without a microphone by using the system sound or the speakers as the audio source. You can use HitPaw Univd, Audacity, or Windows Game Bar to do this. You just need to select the system sound or the speakers as the audio source before you start recording.
Q2. How to record audio on Windows 10 with background music?
A2. You can record audio on Windows 10 with background music by playing the music on your PC while you are recording. You can use HitPaw Univd, Audacity, or Online Voice Recorder to do this. You just need to select the system sound or the speakers as the audio source and play the music on your PC before you start recording.
Conclusion
Recording audio on Windows 10 is not a difficult task if you know the right methods and tools. In this article, we have shown you the best six methods to record audio on Windows 10, and explained their pros and cons. Among them, HitPaw Univd, is the best one-step solution for audio recording and editing. It is powerful, versatile, and easy to use. If you want to record audio on Windows 10 with ease and efficiency, you should try out HitPaw Univd. You can download it from the official website and enjoy its free trial.



 HitPaw Watermark Remover
  HitPaw Photo Object Remover
 HitPaw VikPea (Video Enhancer)


Share this article:
Select the product rating:
Daniel Walker
Editor-in-Chief
My passion lies in bridging the gap between cutting-edge technology and everyday creativity. With years of hands-on experience, I create content that not only informs but inspires our audience to embrace digital tools confidently.
View all ArticlesLeave a Comment
Create your review for HitPaw articles