How to Crop a Screenshot on Mac with 4 Free Ways
Taking a screenshot along is not enough. Users must also be able to know how to crop a screenshot on Mac. Why? Screenshots might contain unwanted or sensitive information that users might feel not to reveal to other people. And hence cropping it is important. This article details different methods that can be used to crop screenshots. Read below to know more about how to crop screenshot on Mac.
Way 1. How to Crop Screenshot on Mac Using a built-in Cropping Tool
How to screenshot on Mac and crop free. The built-in cropping can be use to crop screenshot on Mac easily. Launched using the Shift-Command-3 to combination to capture a full screenshot or Command + Shift + 4 to capture a portion of your screen. Once captured, you will get options to crop screenshot on Mac.
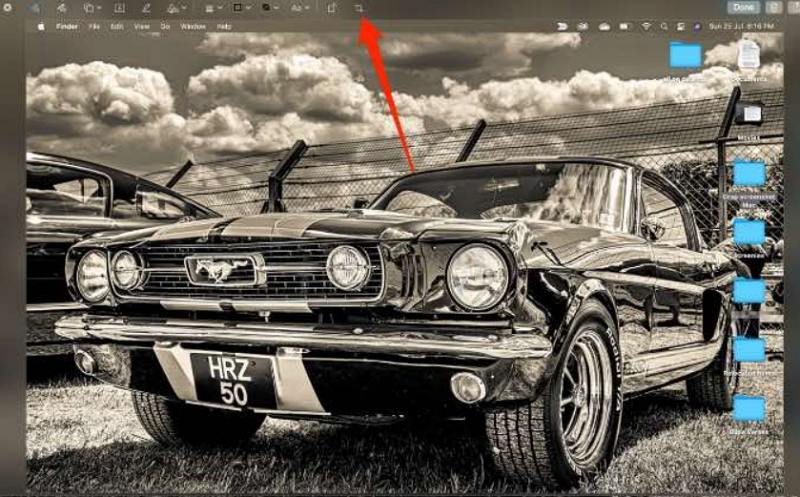
1. Once captured screenshot, tap on the thumbnail on the bottom right side of your screen to crop the image. Select the Crop tool.

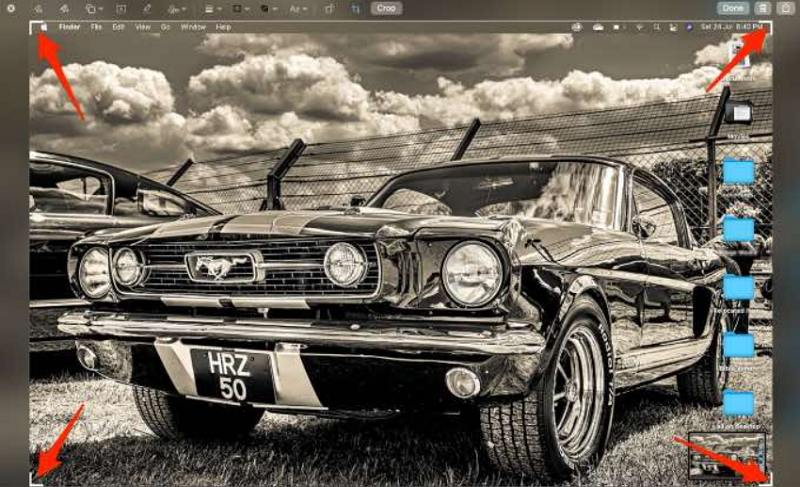
2. Drag the crop handles of the screenshot to select the area you want to keep.

3. Select Done to save the cropped screenshot. The cropped image will be saved to your desktop.

Way 2. How to Screenshot on Mac and Crop with Preview
Users can also use the Preview app to screenshot and crop on Mac. When users double-click in macOS on any image, the Preview app is launched by default. Users can use this app to quickly crop their screenshots. To perform the screenshot on Mac crop operation using Preview, you need to follow the below steps.
1. Double-click on the screenshot to open the Preview app.
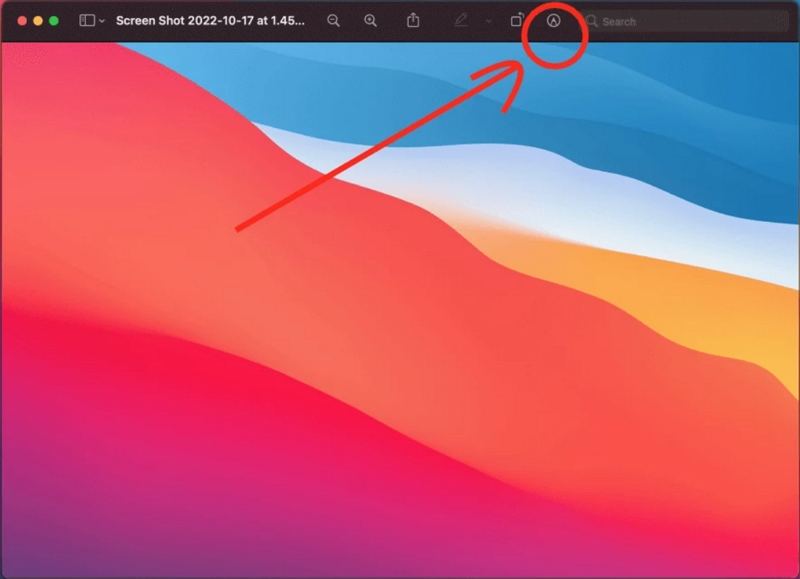
Now click the Show Markup Toolbar icon.
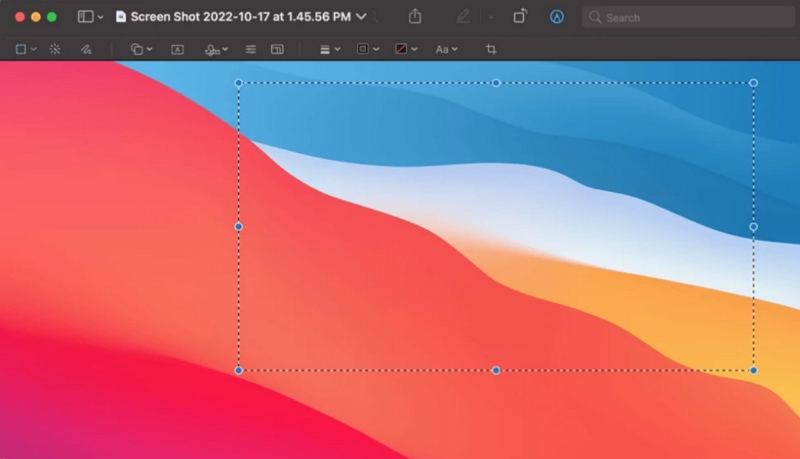
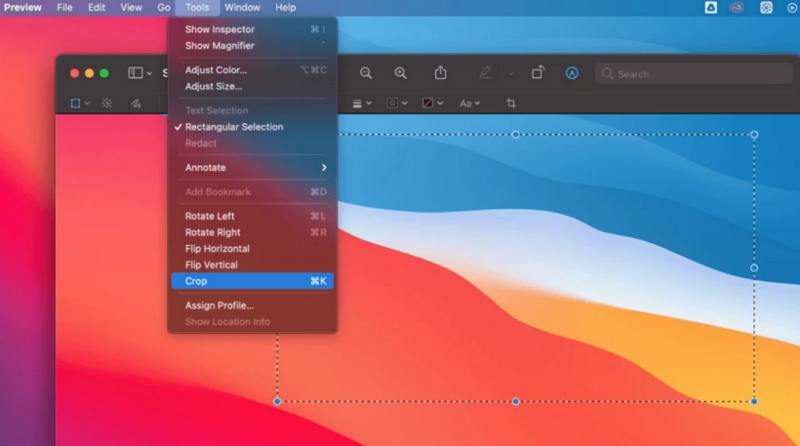
2. Use the click and drag to select the region you wish to crop.

3. Click Tools from the menu bar. Next, select Crop from the drop-down.

Way 3. How to Screenshot and Crop on Mac with Photos App
How do you crop a screenshot on a Mac with the Photos app? The app is the in-built tool on macOS for managing your images. The app can be used as a basic photo editing tool, thereby allowing users to quickly perform the screenshot Mac crop operation. Follow the below steps to know how.
1. Right-click the screenshot you wish to crop and select Open with. Select Photos to open your screenshot with Photos app.

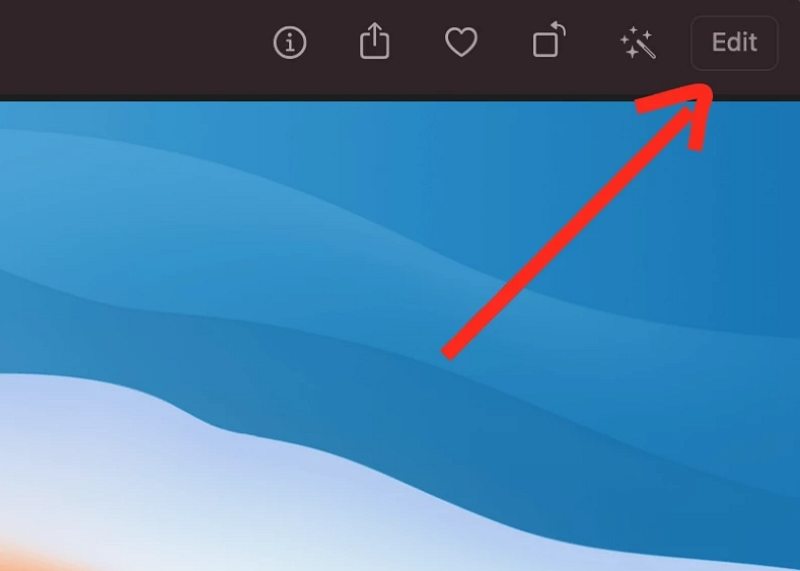
2. Select Edit at the top right corner of the Photos app.

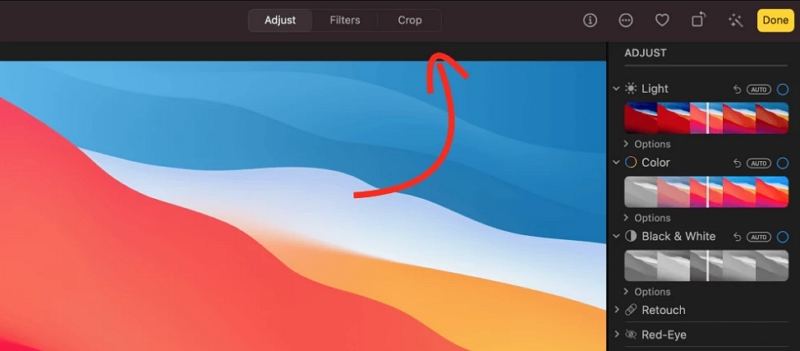
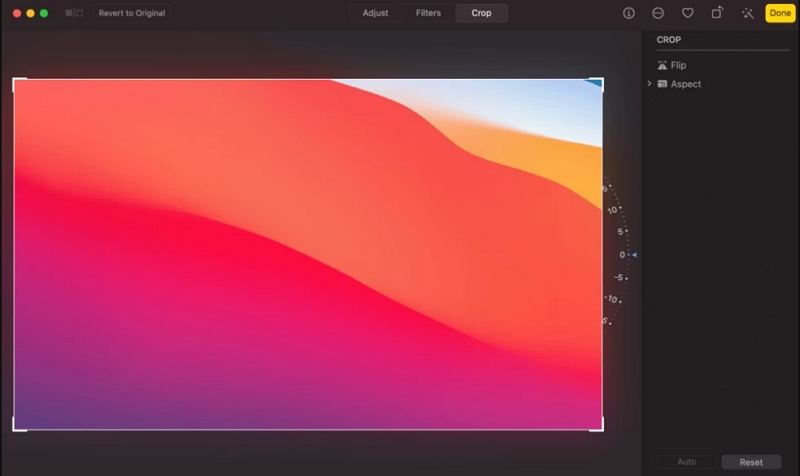
3. Click the Crop button at the top.

Way 4. How to Take a Cropped Screenshot on Mac with Free Screen Recorder
An easier way to crop screenshot Mac is to use a free screen recorder like HitPaw Screen Recorder. It is not only a screen recorder but alos a perfect solution for users to suffice their screenshot grabbing and editing needs. Apart from this, HitPaw also offers different features that makes it worth a try. Below are some exceptional features that this Mac screenshot crop tool offers.
- Provides personalized commands to capture screenshots
- Capture a full or a partial snapshot on Mac as you like
- Editing and cropping screenshots seamlessly and effortlessly as per users need
- Capture the screen, audio, webcam, and gameplay with high quality
- User-friendly for both beginners and professionals
Follow the below steps to know how to take a cropped screenshot on Mac using this tool.
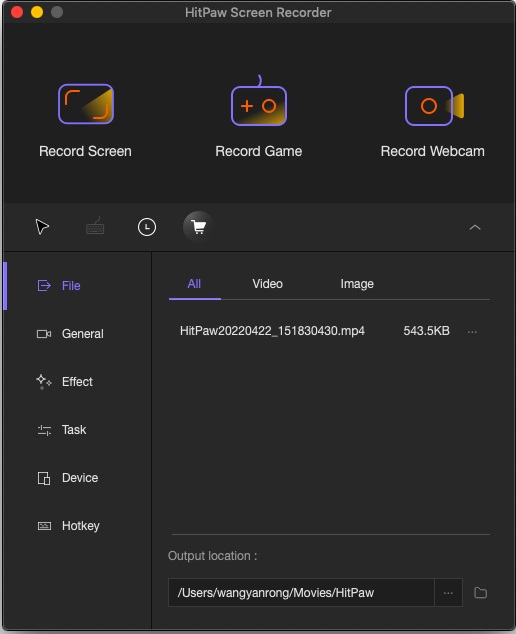
Step 1. Download and launch the tool on your PC. On the main interface, click Record Screen option to record your screen.

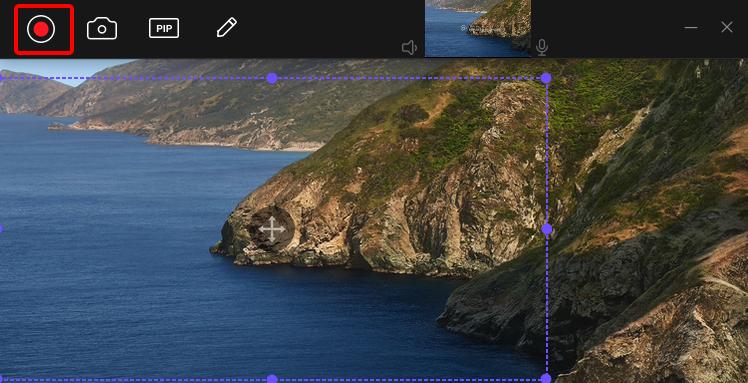
Step 2: Users can select full screen or select a desired area, as per their requirement, to crop Mac screenshot.

Step 3: You can click the camera icon to take a screenshot while recording. Click the stop option to end the recording.
Conclusion
Having said that, we just had a look at different ways to know how to screenshot crop on Mac. The best way among them is to use HitPaw Screen Recorder. This tool is the perfect option for users to take and crop screenshot as per their needs.




 HitPaw Univd (Video Converter)
  HitPaw Watermark Remover
  HitPaw VikPea (Video Enhancer)


Share this article:
Select the product rating:
Daniel Walker
Editor-in-Chief
My passion lies in bridging the gap between cutting-edge technology and everyday creativity. With years of hands-on experience, I create content that not only informs but inspires our audience to embrace digital tools confidently.
View all ArticlesLeave a Comment
Create your review for HitPaw articles