6 Ways to Screen Record Firefox You Must Try
Uncover six indispensable methods for screen recording in Firefox, each offering unique features and functionalities to capture your screen activities effortlessly. Whether you're a novice or a seasoned user, these methods provide step-by-step instructions to ensure seamless screen recording experiences. Dive into this guide to explore the versatility and convenience of recording your Firefox screen with ease.
Part 1. The Best Tool to Record Screen Firefox
HitPaw Univd (HitPaw Video Converter) provides various features, such as screen recording, for users who are required to record screens on Firefox. HitPaw Univd provides a wide range of output formats so that its users get a seamless converting experience.
Why Choose HitPaw Univd to Record Screen Firefox
- HitPaw Univd allows its users to convert multiple files at a time, saving them effort.
- HitPaw Univd provides reliable customer support, ensuring a smooth converting experience.
- HitPaw Univd supports a wide range of output formats, making it more compatible with different platforms.
- HitPaw Univd maintains the original quality of the video and provides high-quality outputs.
- HitPaw Univd supports a user-friendly interface so that users of all skill levels can easily navigate through it.
Steps to Record Screen
Step 1 —Download and Install HitPaw Univd from its official website and then open it on your computer.
Step 2 —Click on the “Screen Recorder” tab to enter the screen.

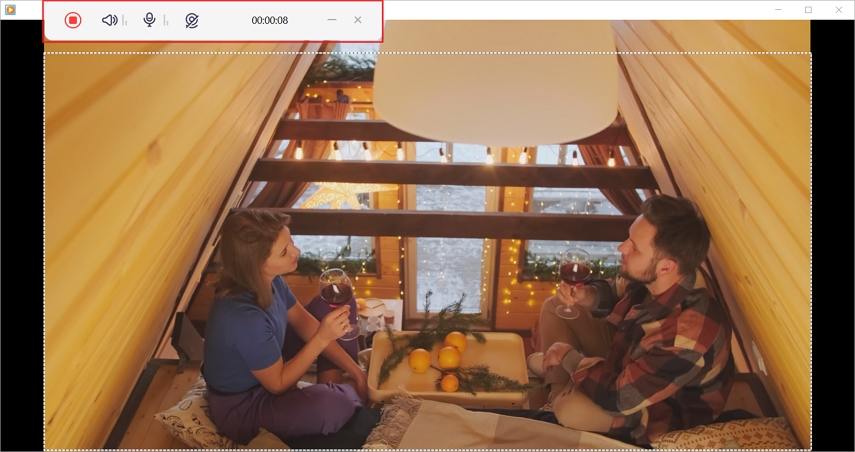
Step 3 —Select the window you want to record, which is Firefox in this case. Click on the red record button to start the screen recording.

Step 4 —Once you are done recording, click on the red square icon to stop the recording. This will also open up the location where your recorded clip is saved.

Watch the following video to learn more details:
Part 2. Alternative 5 Ways to Record Screen Firefox
In this section, we'll explore five alternative methods for recording your screen in Firefox. From browser extensions to built-in tools, each method offers unique features and capabilities to suit your screen recording needs. Let's dive into each method, highlighting their pros and cons, along with detailed steps for both Mac and Windows users.
1. Nimbus Screenshot & Screen Video Recorder
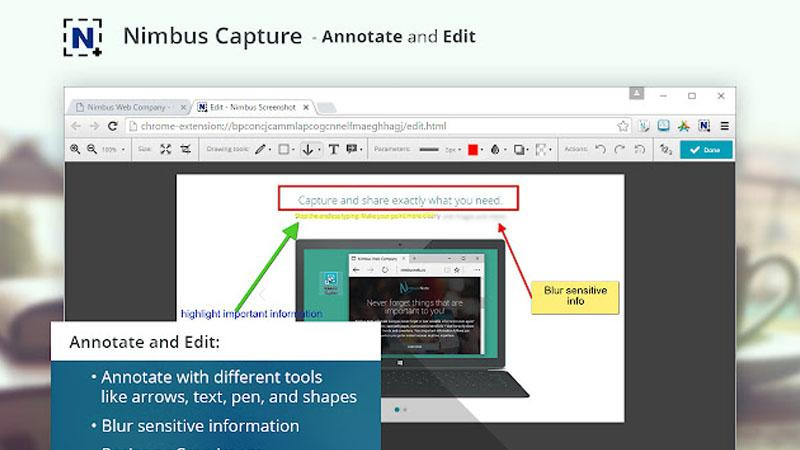
Nimbus is a versatile tool for capturing screenshots and recording screen videos. It offers a range of features including capturing full web page screenshots, annotation tools, and the ability to record videos with audio from your screen. It's available as a browser extension for Chrome and Firefox, as well as a standalone desktop application.
Pros
- Versatility: Nimbus offers both screenshot and screen video recording capabilities within Firefox, providing a comprehensive solution for capturing screen activities.
- Annotation Tools: It includes built-in annotation tools, allowing users to add text, shapes, and arrows to their screenshots and recordings for enhanced clarity.
- Cloud Storage: Nimbus offers cloud storage options for storing and sharing your recordings, ensuring accessibility from anywhere with an internet connection.
Cons
- Limited Editing Options: While Nimbus provides basic annotation tools, it may lack advanced editing features compared to dedicated video editing software.
- Premium Features: Some advanced features may require a premium subscription, which may deter budget-conscious users.
2. Screencastify

Screencastify is a popular screen recording extension for Google Chrome. It's widely used by educators, businesses, and individuals for creating tutorial videos, presentations, and demonstrations. With Screencastify, you can easily capture your screen, add narration via your microphone, and even annotate your recordings in real-time.
Pros
- Ease of Use: Screencastify offers a user-friendly interface with simple controls, making it easy for users of all skill levels to record their screens in Firefox.
- Cloud Integration: It seamlessly integrates with Google Drive and YouTube for easy storage and sharing of recorded videos.
- Flexible Recording Options: Screencastify allows users to capture entire browser tabs, specific application windows, or desktop screens, providing flexibility in recording options.
Cons
- Time Limit: The free version of Screencastify imposes a time limit on recordings, which may restrict longer recording sessions.
- Watermark: The free version may add a watermark to recorded videos, which can only be removed by upgrading to a premium subscription.
3. Loom

Loom is a video messaging tool that allows users to capture their screen, voice, and face simultaneously. It's commonly used for asynchronous communication, team collaboration, and remote learning. Loom offers features like HD recording, instant sharing via a link, and integration with popular productivity tools like Slack and Google Workspace.
Pros
- Instant Sharing: Loom offers instant sharing of recorded videos through a unique link, simplifying the sharing process for users.
- Integrated Messaging: It integrates with messaging platforms like Slack and email clients, allowing users to share recordings directly within their communication channels.
- Viewer Engagement: Loom provides viewer engagement features such as reactions and comments, facilitating collaboration and feedback on recorded content.
Cons
- Limited Recording Options: Loom may lack advanced recording options compared to other screen recording tools, limiting customization for users.
- Internet Connection Required: Users need an internet connection to access Loom's sharing and collaboration features, which may hinder offline functionality.
4. Awesome Screenshot

Awesome Screenshot is a browser extension available for Chrome, Firefox, and Safari that specializes in capturing and annotating screenshots. It provides a simple interface for capturing full-page screenshots, cropping images, adding annotations, and blurring sensitive information. It's a handy tool for quickly sharing and collaborating on visual content.
Pros
- Comprehensive Annotation Tools: Awesome Screenshot offers a wide range of annotation tools, including text, shapes, arrows, and blur effects, for enhancing screenshots and recordings.
- Integration with Cloud Storage: It integrates with cloud storage services like Google Drive and Dropbox for convenient storage and sharing of recorded content.
- Easy Sharing: Awesome Screenshot provides easy sharing options through links or direct downloads, streamlining the sharing process for users.
Cons
- Browser Dependency: Awesome Screenshot is limited to Firefox and may not be available for users of other browsers, limiting accessibility.
- Premium Features: Some advanced features may require a premium subscription, which may not be feasible for all users.
5. Built-in Tools on Mac and Windows
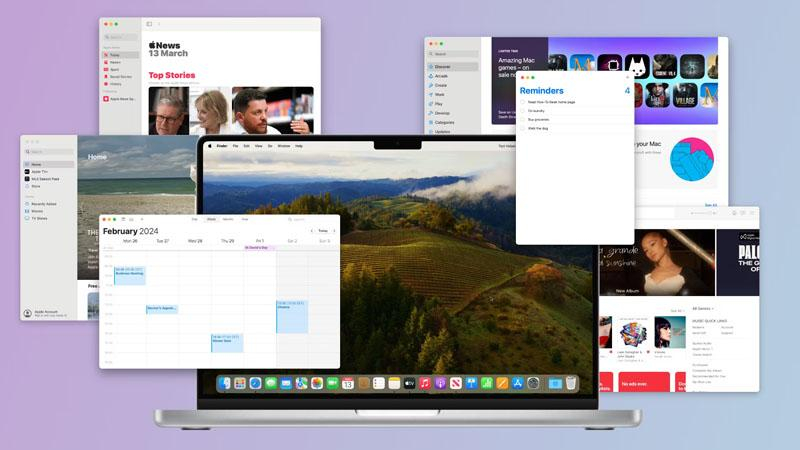
Both Mac and Windows operating systems come with built-in screenshot and screen recording tools. On Mac, you can use Command + Shift + 4 to capture a selected portion of the screen or Command + Shift + 5 for more options, including screen recording. On Windows, you can use the Snipping Tool or Snip & Sketch for screenshots, and the Xbox Game Bar for screen recording. These built-in tools offer basic functionality for capturing and recording screens without the need for additional software.
Using QuickTime Player
- Launch QuickTime Player from your Applications folder.
- Click on "File" in the menu bar and select "New Screen Recording".
- A small recording window will appear. Click on the dropdown arrow next to the record button to adjust settings such as microphone input and whether to show mouse clicks.
- Click on the record button to start recording your screen. You can click and drag to select a specific area to record or click once to record the entire screen.
- Once you're finished recording, click on the stop button in the menu bar or press Command + Control + Esc on your keyboard.
- Save your recording by clicking on "File" in the menu bar and selecting "Save".
Built-in Tools on Windows
Using Xbox Game Bar (Windows 10):
- Press the Windows key + G to open the Xbox Game Bar.
- If prompted, click on "Yes, this is a game" to open the Game Bar.
- Click on the "Record" button (a circle with a dot in the middle) to start recording your screen.
- Alternatively, you can press the Windows key + Alt + R to start and stop recording.
- To adjust settings such as audio input or video quality, click on the gear icon in the Game Bar overlay.
- When you're finished recording, click on the stop button (a square) in the Game Bar overlay.
- Your recording will be saved to your Videos folder by default.
These built-in tools provide convenient options for screen recording on both Mac and Windows platforms, allowing users to capture their screen activities with ease.
Conclusion
In conclusion, exploring various methods for screen recording on Mac and Windows unveils versatile options catering to diverse user needs. While built-in tools offer convenience, dedicated software like HitPaw Univd provides advanced features and flexibility for comprehensive screen recording needs.
With its user-friendly interface and robust capabilities, HitPaw emerges as a recommended solution for efficient and professional-grade screen recording experiences.



 HitPaw VikPea
 HitPaw Watermark Remover


Share this article:
Select the product rating:
Daniel Walker
Editor-in-Chief
My passion lies in bridging the gap between cutting-edge technology and everyday creativity. With years of hands-on experience, I create content that not only informs but inspires our audience to embrace digital tools confidently.
View all ArticlesLeave a Comment
Create your review for HitPaw articles