How to Screen Record on iPad (2024 Guide)
When you own an Apple smart device, the chances are that you already know how to screen record on an iPad. On the other hand, if you are new to iOS or have never used a smartphone for screen recording, the following sections cover these topics in detail.While iOS devices have a built-in screen recorder, you cannot use it to produce industry-standard outputs due to limited recording and post-production features. As a result, you start searching for more advanced alternatives to add effects, filters, and other foreign elements to your clips for commercialization.
Because testing each app for its efficiency could be tedious, the sections in this guide give a helping hand by suggesting a few hand-picked free and paid programs with several positive reviews by millions of users across the globe.
Part 1: How to Screen Record with Sound on iPad
Recording an iPad screen is simple, and once you understand the basic concepts, the implementation will be even easier. You can follow the steps given below to learn how to record on iPad using the iOS built-in screen recorder:
Step 1: Start iPad Screen Recording
Open the window you want to record on your iPad, go to Control Center by swiping the screen from the top-right corner to the center, tap the Screen Recording icon, and wait for the countdown to get to 0.
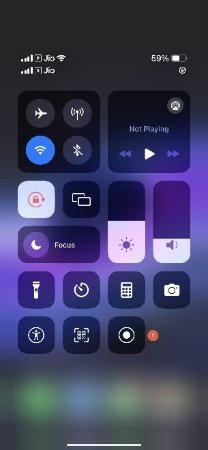
Continue recording the screen as long as you want (or as much as your iPad’s local storage allows).
Step 2: Stop the Recording
Open the Control Center window again and tap the Screen Recording option to stop the recording.
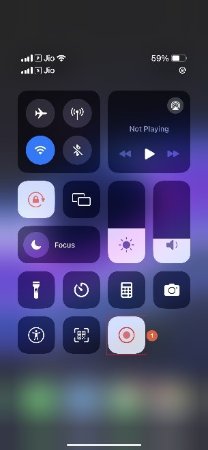
Step 3: Access the Recording
Go to your iPad’s Photos gallery and open the Videos album to access the recorded video.
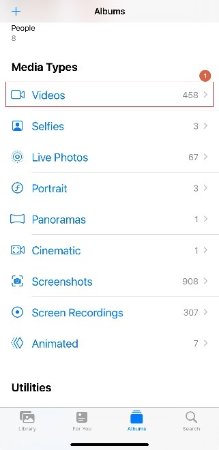
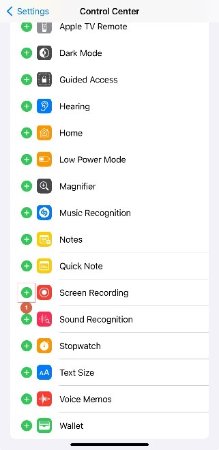
Please note: If you don't see the Screen Recording icon in the Control Center window, you can enable it by navigating to Settings > Control Center. From there, tap the + (Add) button next to the Screen Recording option located under the MORE CONTROLS section. This will ensure that the Screen Recording feature is added and easily accessible within the Control Center for your convenience.
Part 2: How to Screen Recorder on iPad with Top 5 Apps
If you don’t wish to use the iPad’s built-in screen recorder because of limited features and recording options, this section suggests the top five apps for iOS devices. You can continue reading to check their names, pros and cons, and prices.
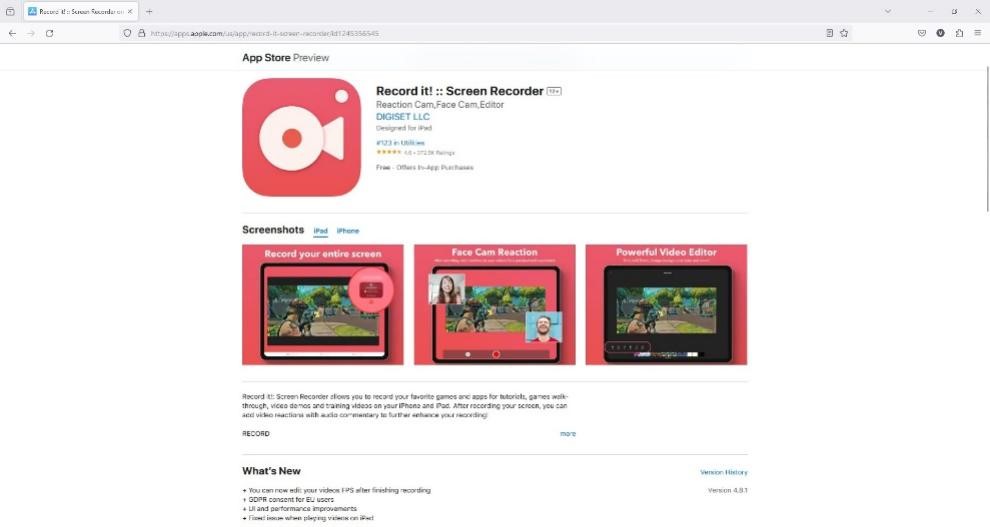
1. Record it! :: Screen Recorder
Record it! :: Screen Recorder can not only screen record an iPad, but you can use it to capture only the audio for commentaries and voiceovers.
Pros
- Allows video trimming
- Enables you to manage video playback speed
- Publishes videos directly on YouTube
Cons
- People complain about frequent app freezes
- Some users have issues with audio editing
Price
- Free
- Record it! Pro: $5.99 via in-app purchases
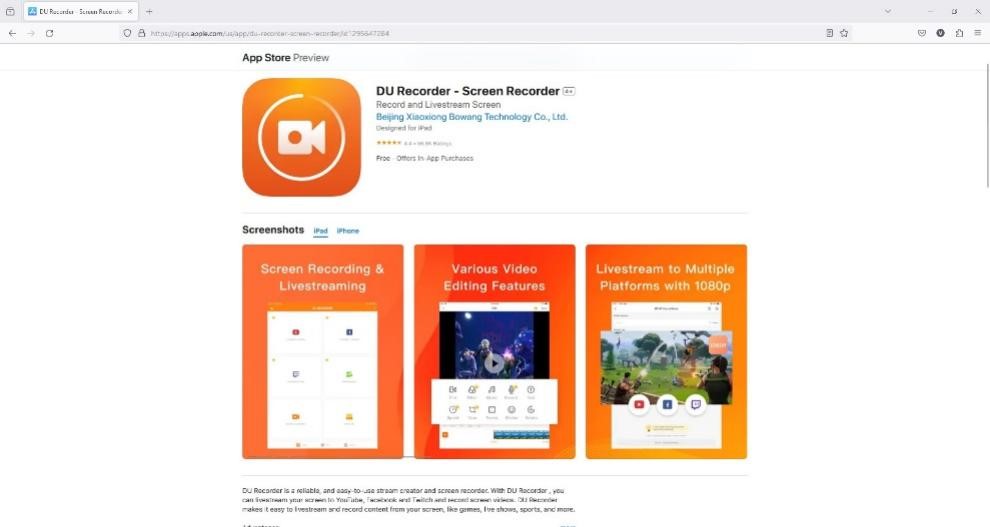
2. DU Recorder – Screen Recorder
One of the most popular and widely used apps to screen record an iPad, DU Recorder – Screen Recorder offers plenty of features to attract users.
Pros
- Allows live streaming
- DU records screen in high-resolution
- This recorder comprises a built-in video editor
Cons
- The app is notorious for the issue of crashing upon launching and requires redownloading and installation for each recording session
- The app responds to user inputs differently on iOS and Android devices
Price
- Free
- DU Recorder Premium: $89.99 per year via in-app purchases
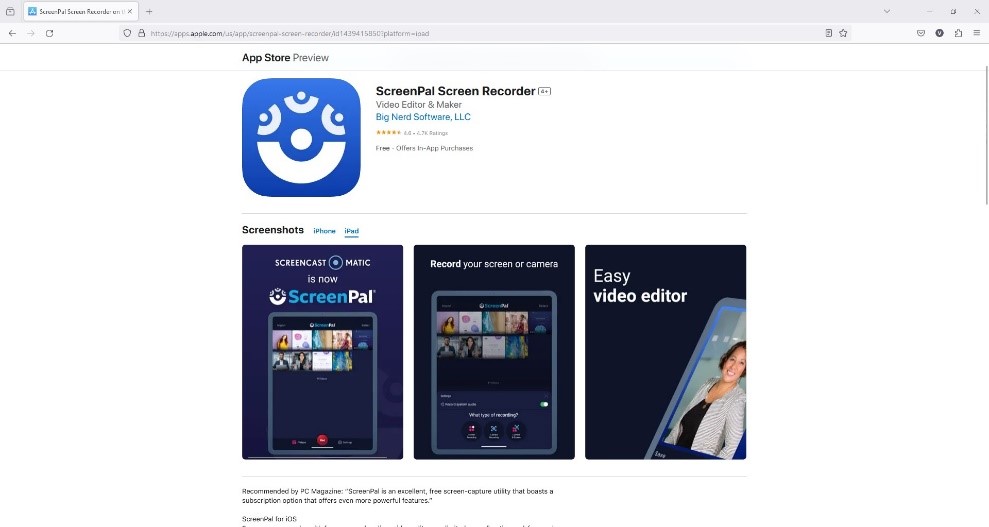
3. ScreenPal Screen Recorder
ScreenPal Screen Recorder has a screen recorder for iPad, Face Cam, and audio under one roof. In addition, the app also has a built-in video editor, making it a complete package.
Pros
- ScreenPal records audio from the microphone and system audio
- Comprises a huge library of filters, elements, stock music, and text presets
- The recorder generates sharable links for videos
Cons
- Some users experience random UI freezes while using the app
- Many advanced features become available only with the paid subscription
Price
- Free
- Screen Recorder Deluxe: $34.99 per year via in-app purchases
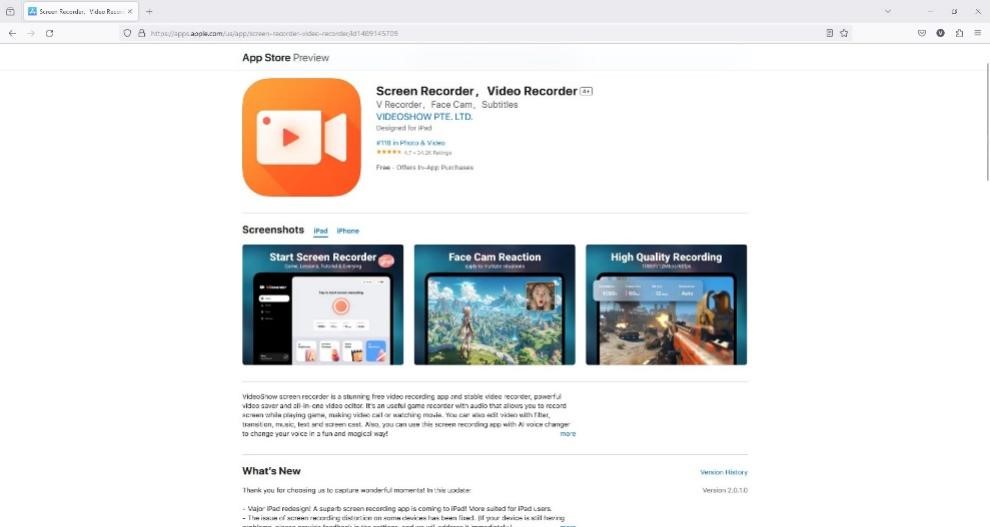
4. Screen Recorder, Video Recorder
In addition to screen record iPads, Screen Recorder, Video Recorder also uses AI algorithms to auto-generate subtitles for the audio.
Pros
- Built-in AI-powered subtitle creator
- Integrated voice changer
- Comprises suspended teleprompter
Cons
- You must pay for the VIP subscription to unlock advanced features
- You require a VIP subscription to produce professional outputs
Price
- Free
- Screen Recorder – VIP: $59.99 per year via in-app purchases
5. Screen Recorder: Go Record
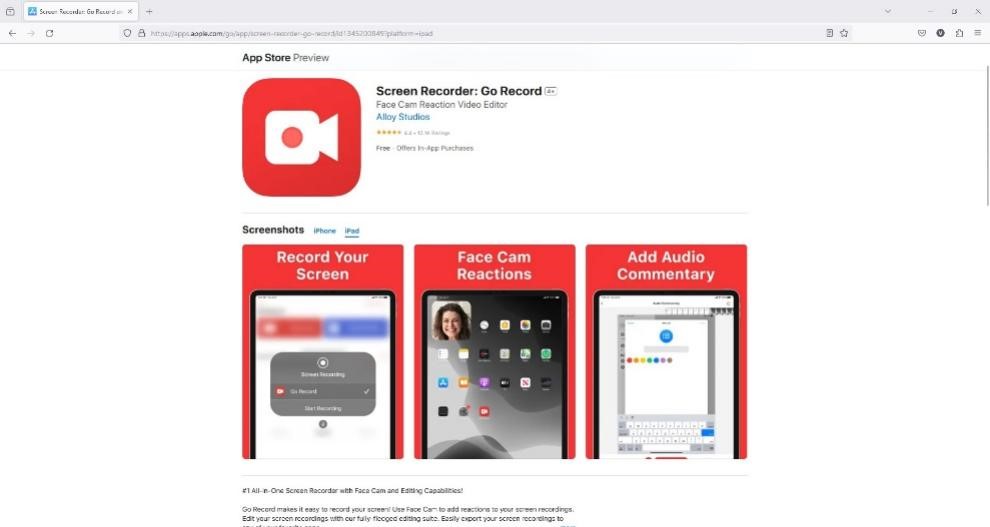
With the Face Cam integration, Screen Recorder: Go Record allows you to become more expressive when recording the screen for the audience.
Pros
- Comprises a built-in video editor for basic post-production
- This recording app allows capturing audio narrations
- Supports devices as old as running iOS 11
Cons
- Sometimes Face Cam fails to work
- You must subscribe to the paid version to add reactions using Face Cam
Price
- Free
- $12.51 via in-app purchases
Part 3: Best Free Screen Recorder for Windows and Mac – Recommended
Learning how to screen record on an iPad is easy, and several tools are available to help you. However, many people find the post-production part extremely challenging, as the process requires an in-depth understanding of a video editing application like Adobe Premiere Pro, DaVinci Resolve, etc. Because of the steep learning curve, most social media influencers and vloggers hire someone else for video editing.
Luckily, now you have a robust alternate solution called HitPaw Edimakor that offers an intuitive interface and self-explanatory options for convenient post-production tasks. Furthermore, the AI-powered video merger allows you to edit your iPad screen recordings automatically and produce professional outputs in a few minutes if not seconds.
The best part is that HitPaw Edimakor also has a built-in screen recorder. Therefore, if you ever plan to record a computer screen or mirror your iPad on your PC, you don’t need to search anywhere else. You can follow the steps in this section to use HitPaw Edimakor screen recording and video editing to create videos for personal sharing or commercial circulations and broadcasts:
Step 1: Set the Region of Interest for Edimakor Screen Recorder
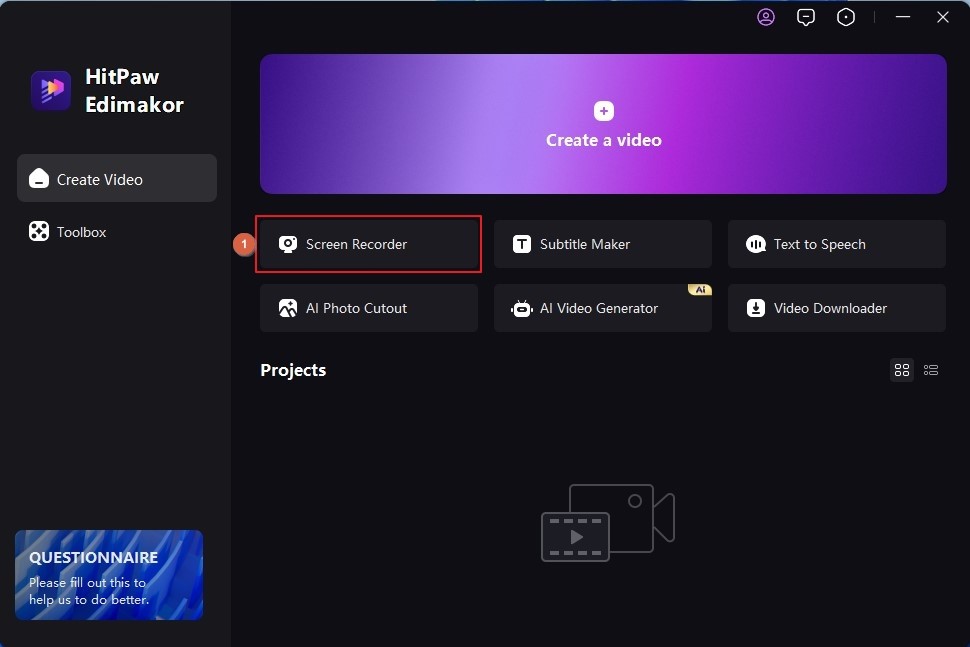
Launch HitPaw Edimakor and click Screen Recorder on the first screen.
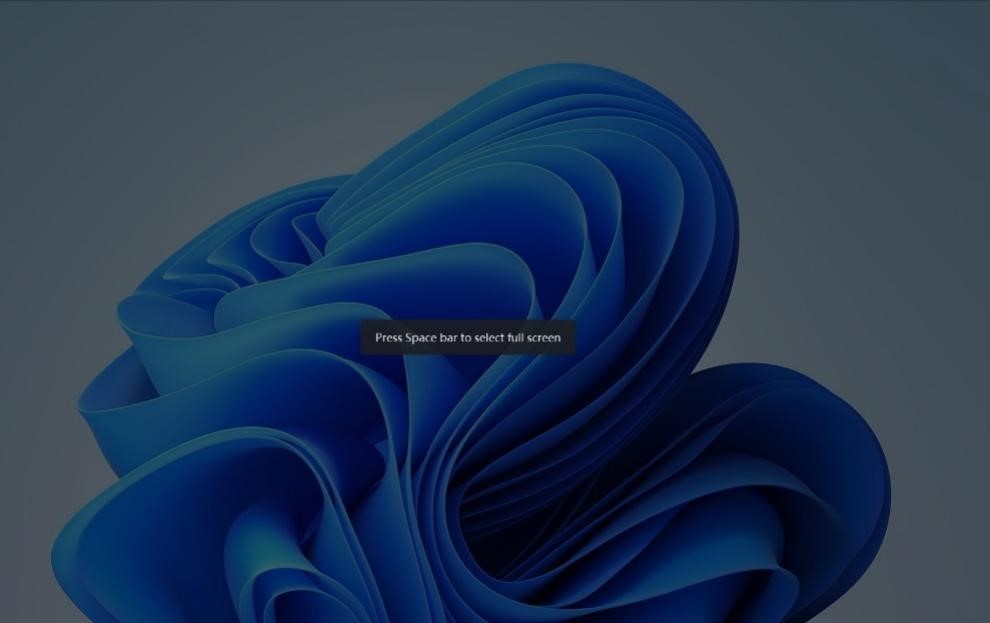
Press the Spacebar on your keyboard to set the whole computer screen as the region of interest. Alternatively, drag the mouse over the area you want to record without capturing any other element or portion of the window.
Step 2: Define Recording Preferences
On the Recording panel, click to turn off the Microphone, Webcam, and Mouse Pointer features, and leave the Speaker option enabled. This ensures that Edimakor doesn’t record any distracting elements. This approach comes in handy when recording a TV show for offline viewing.

On the other hand, if you’re creating instructional or educational interactive tutorials, keeping all or some of these options enabled makes your videos more engaging and appear livelier to the audience.
Step 3: Record the Screen, and Edit and Produce the Video
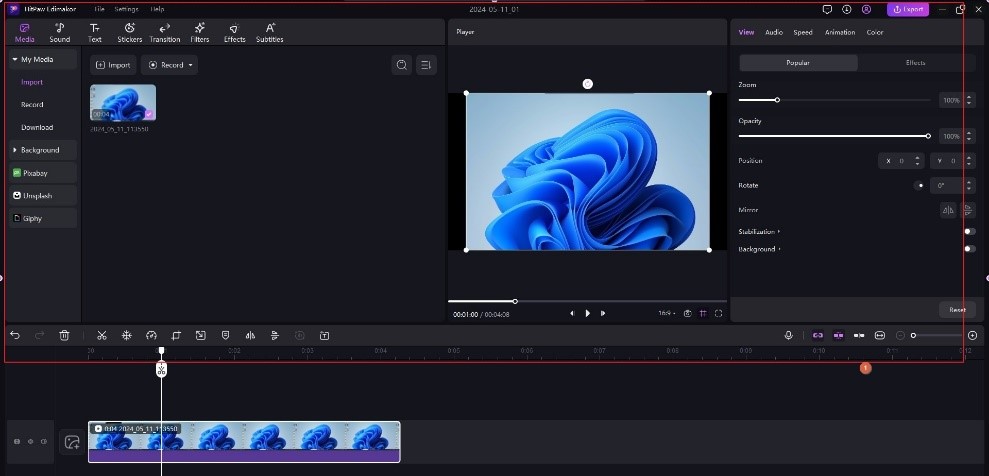
Click the Record button on the Recording panel to begin recording. Press F10 to stop the recording and automatically open Edimakor’s built-in video editor for post-production.

Use the editing options to remove unwanted footage and add filters and effects to the clip. Click Export from the upper-right area, specify output preferences in the Export box, and click Export from the lower-right to export the final video.
Part 4: FAQs on How to Screen Record on iPad
Q1. How long can I screen record on my iPad?
A1. With the iPad's built-in screen recorder, you can record the screen for as long as you want or as much as your device’s storage allows. On the other hand, if you plan to use a third-party application, the recording duration may depend on your subscription plan and/or the limit set by the developer.
Q2. How to screen record iPad with sound Zoom?
A2. To record a Zoom session with sound on iPad, you must have an Enterprise, Business, Pro-, or Education subscription plan. After upgrading your free plan (if it is not already upgraded), you can check the URL for detailed instructions.
Q3. How to stop the screen recording on the iPad?
A3. You must go to the ‘Control Center’ and tap the ‘Screen Recording’ button to stop the recording. On the other hand, when using a third-party app, you must check its help file to understand the process. Note: Swiping your iPad screen from the top-right to the center opens the ‘Control Center’ screen.
Conclusion
Usually, you don’t need a foreign application to screen record an iPad, as iOS has a built-in screen recorder that captures your screen activities with sound. However, when producing videos for commercial distribution, you need a professional video editing program like HitPaw Edimakor that is easy to use, lightweight on your computer, and records, edits, and renders the outputs quickly. Simply put, if you are reading this line, it means you know how to screen record on an iPad and produce quality videos with HitPaw Edimakor.


 HitPaw Univd (Video Converter)
  HitPaw Screen Recorder
 HitPaw VikPea (Video Enhancer)


Share this article:
Select the product rating:
Daniel Walker
Editor-in-Chief
My passion lies in bridging the gap between cutting-edge technology and everyday creativity. With years of hands-on experience, I create content that not only informs but inspires our audience to embrace digital tools confidently.
View all ArticlesLeave a Comment
Create your review for HitPaw articles