How to Record Audio on Chromebook [Full Guide]
Finding how to screen record on chromebook with audio can be a convenient and practical solution for various purposes, whether you're a student, professional, or hobbyist. From capturing lectures and interviews to creating podcasts or music demos, the ability to record audio directly on your Chromebook is exceptional.
Part 1: How to Record on Chromebook With Audio
While recording your Chromebook screen in Vmaker, you have the option to capture both your voice and internal audio. This feature is particularly valuable for educators or anyone creating training videos. Moreover, the complete process of how to screen record with audio on chromebook is provided below.
Step 1: Installing and Sign Up for the Vmaker Chrome Extension
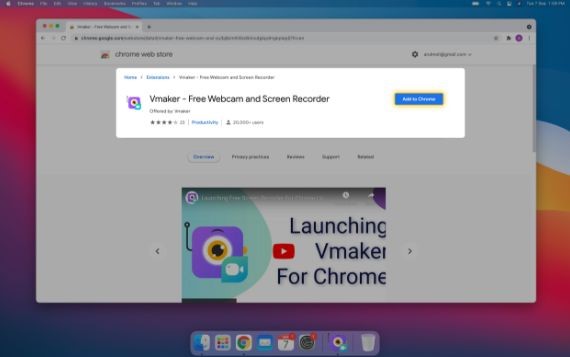
To begin, open the Chrome browser on your Chromebook, and type Vmaker screen recorder. Click on the extension, then choose Add to Chrome. After installing the extension, activate it from the Chrome toolbar. Sign up for a Vmaker account with your email address or Facebook account.
Step 2: Configure Recording Settings
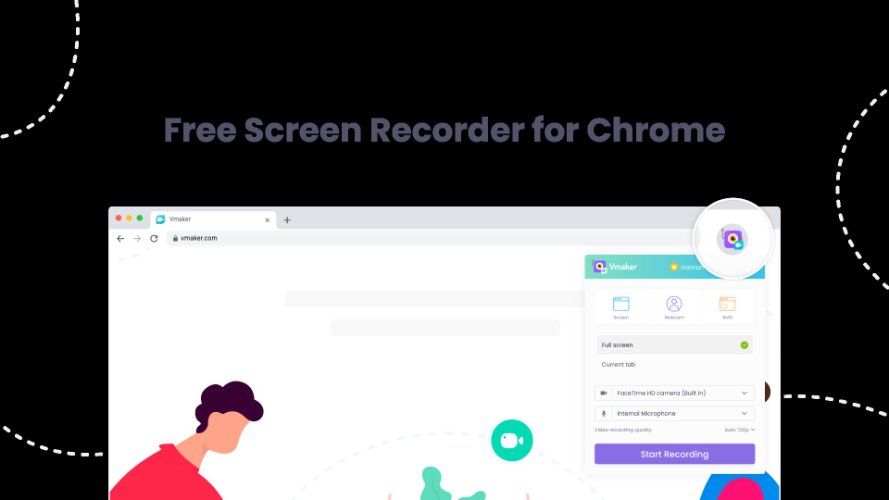
After signing up, customize the recording settings to your liking. Select your preferred recording mode from options such as screen, webcam, or both. Choose the recording region, whether it is the entire screen, a selected window, or a custom size. Additionally, turn on the microphone and select the audio source for your recording.
Step 3: Begin Recording and Utilize Features
Once you've selected the recording settings, you may begin recording your screen. To activate the recording interface, click the Vmaker extension icon. To improve the professional image of your films, you may modify additional parameters such as screen annotation, region or element blurring, etc
Step 4: Stop Recording and Save
To access recording controls, click on the Vmaker extension icon after completing the recording process. To terminate the recording session, click on the Stop Recording button.
Part 2: How to Record an Audio File on Chromebook(Only Audio)
Audacity is the finest free audio recorder for Google Slides for Chromebooks. Audacity can also be used to know how to record on chromebook with audio.
Step 1: Install and Download Audacity
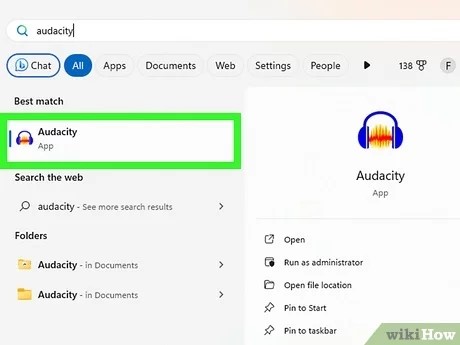
Using your preferred browser, begin by downloading Audacity from its official site. Installing the application on your computer is as simple as following the prompts and carefully following all of the instructions.
Step 2: Record Audio
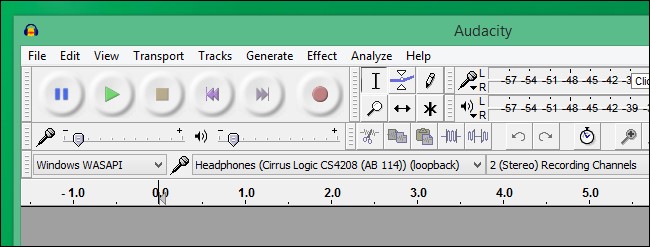
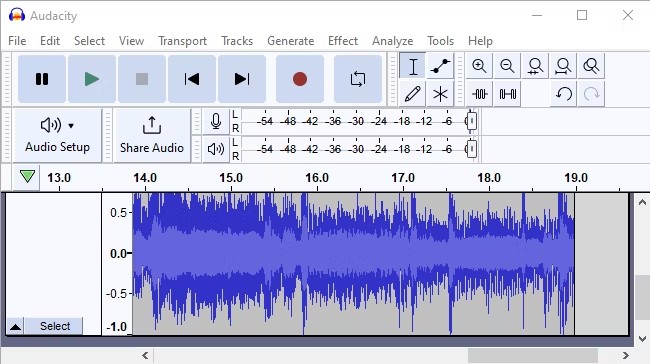
Select your microphone from the toolbar while Audacity is open to ensure that it is properly configured for recording. When you are ready to start audio recording, click the red circle button on the toolbar.
Step 3: Edit the Recording
After recording your audio, use Audacity's editing capabilities to fine-tune and enhance it as needed. To achieve the desired result, you may eliminate any unneeded bits, adjust the volume, and add additional effects.
Step 4: Export and Upload
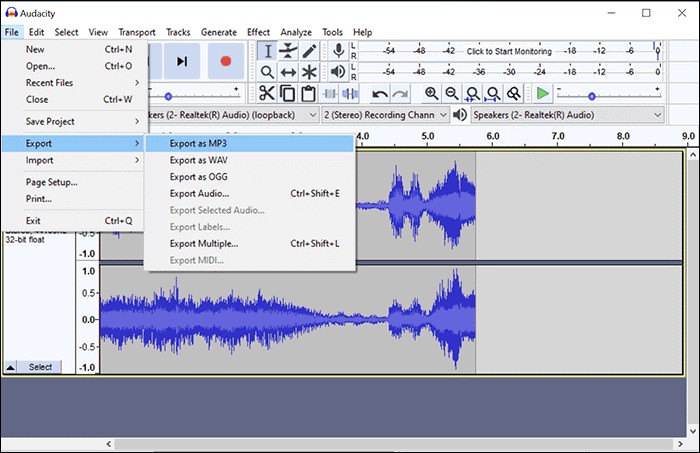
Once you're satisfied with your recording and understand how to record audio for Google Slides on Mac, save it to a file type (for example, WAV). Next, open Google Slides and select Insert then Audio to immediately add your recording to your presentation.
Part 3: How to Record Audio on Chromebook Without Extension
Vocaroo offers a user-friendly audio recording experience with no downloads or sign-ups required. The process of how to screen record on chromebook with internal audio using Vacaroo is provided below.
Step 1: Access Vocaroo
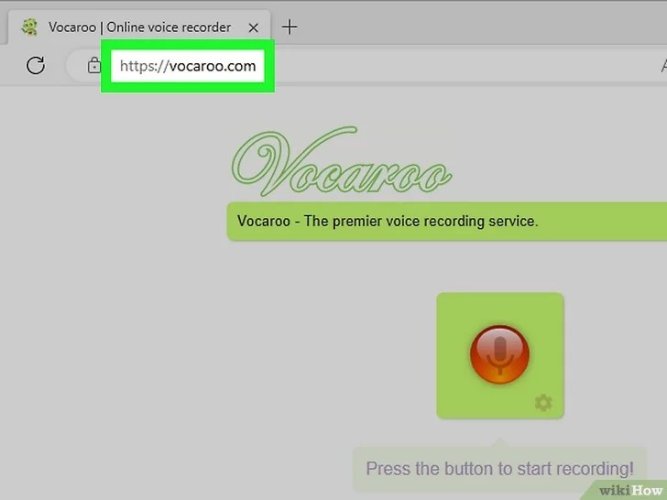
To begin, open the web browser on your Chromebook and visit the Vocaroo website. Vocaroo requires no downloads, installs, or sign-ups. However, to guarantee that the recorder works well, you must have a reliable internet connection.
Step 2: Start Recording
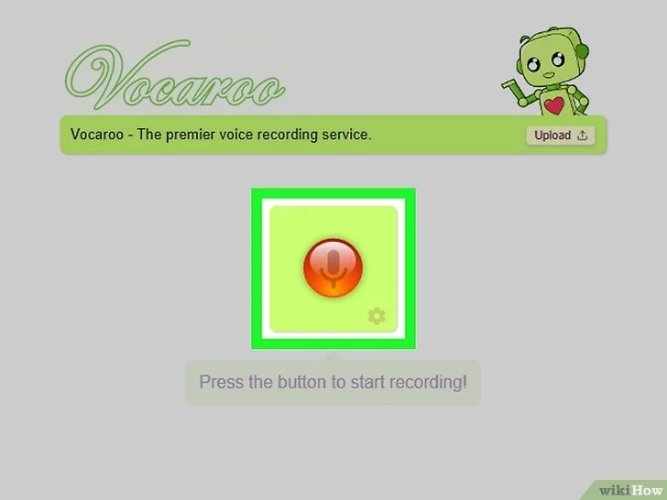
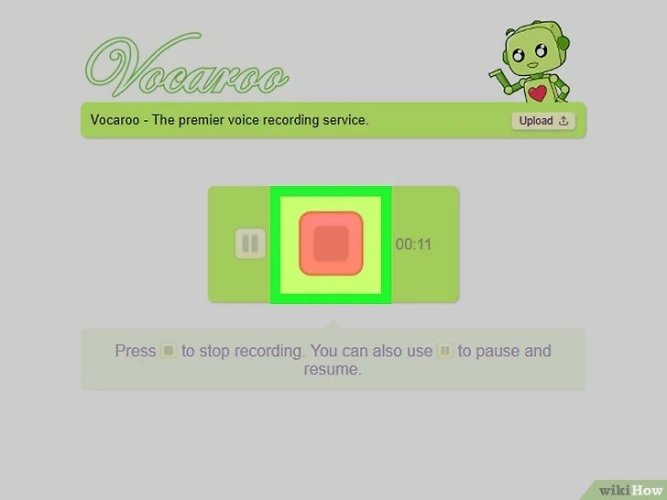
Once on the Vocaroo website, look for the obvious red microphone button. It is prominently displayed in the centre of the page. Click this button to start recording your audio. Depending on your browser settings, you may need to allow Vocaroo to access your microphone.
Step 3: Stop Recording
To end the recording, simply click the red button again. This step will complete the recording procedure. Alternatively, if you need to halt the recording and continue it later, click the halt symbol.
Bonus Tip: How to Record Audio on Windows & Mac
Here are the steps to learn how to audio record on Windows & Mac by using a perfect tool named HitPaw Edimakor:
Step 1: Open HitPaw Edimakor
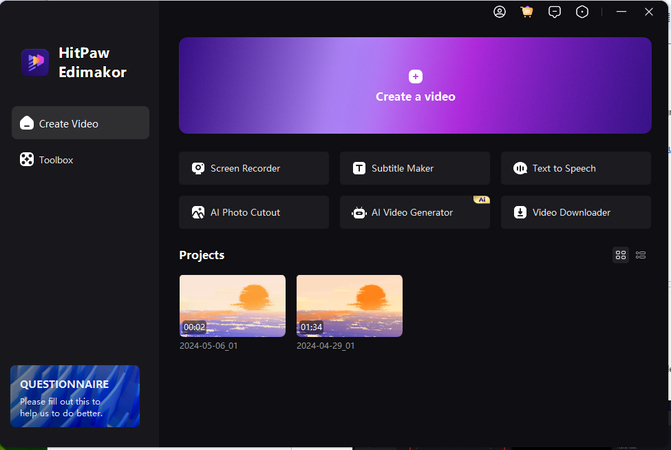
Open HitPaw Edimakor on your Mac or Windows computer to begin the process of recording audio on PowerPoint. After finding the software on your desktop or in the programs folder, double-click it to launch it.
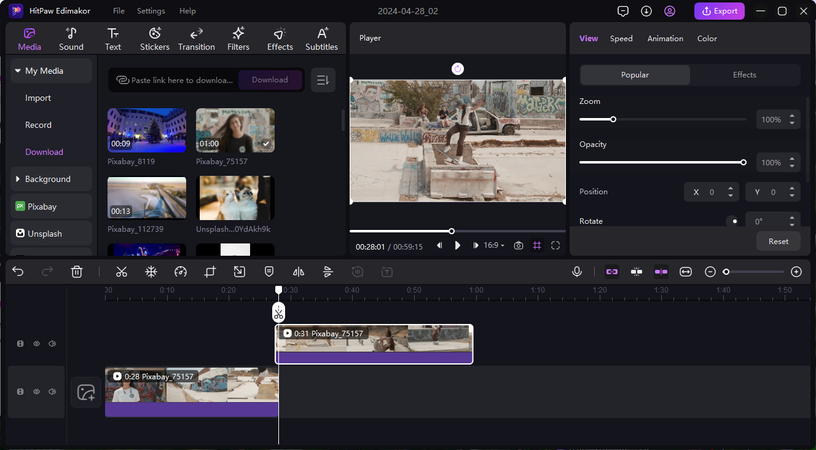
Step 2: Select the Record option under the Media Tab
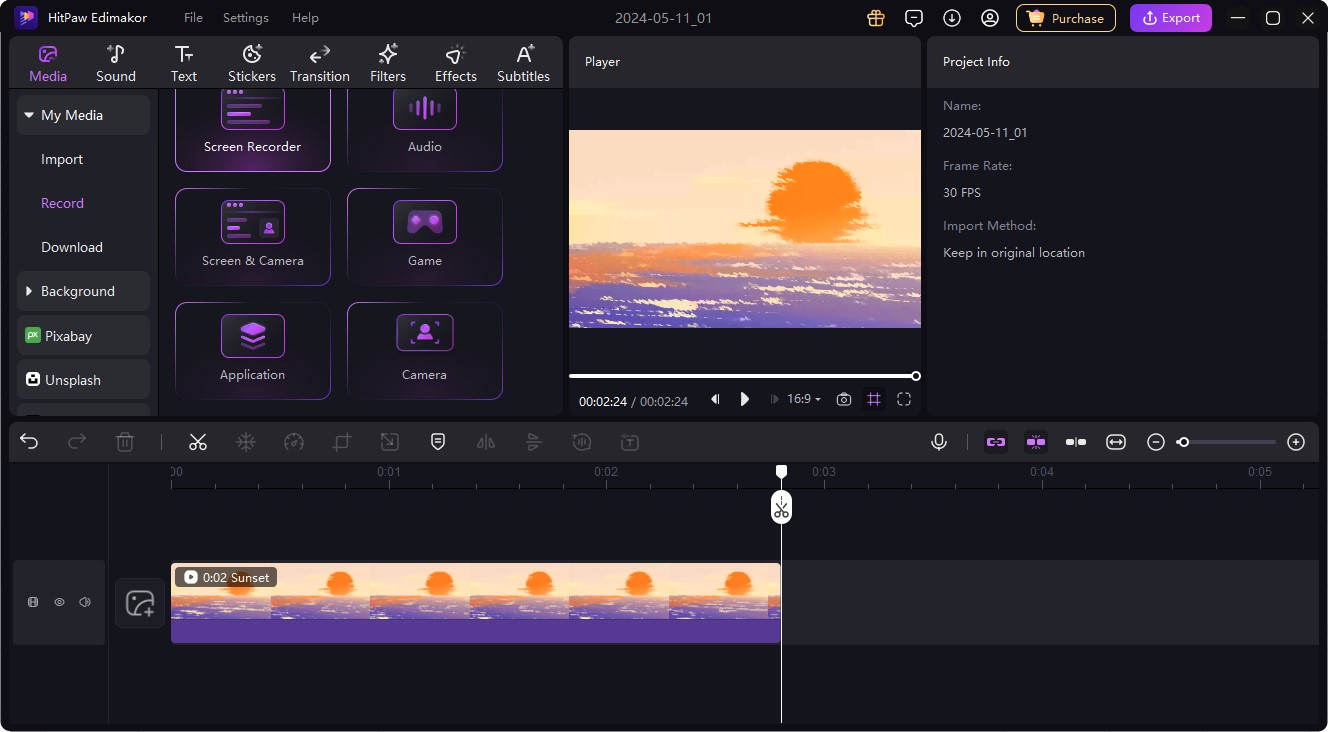
Navigate to the Media tab inside the HitPaw Edimakor interface. To utilize the screen recording feature, select the Audio option from there.
Step 3: Start Recording
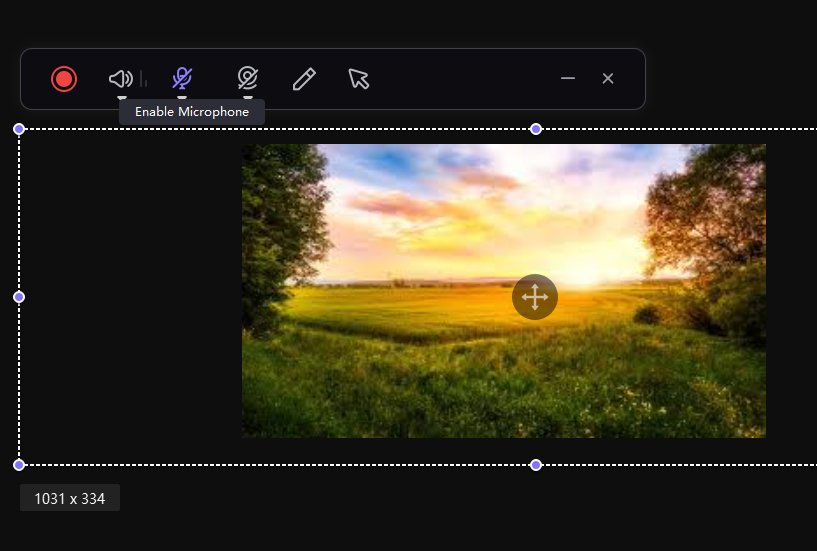
When you click the Record button, HitPaw Edimakor will prompt you to select your recording options, such as audio input sources and recording parameters. Make sure the microphone option is turned on.
Step 4: Use Editing Options
After you've finished recording audio on Google Slides, HitPaw Edimakor provides a variety of editing options to improve the quality of your recording.
Step 5: Export Audio
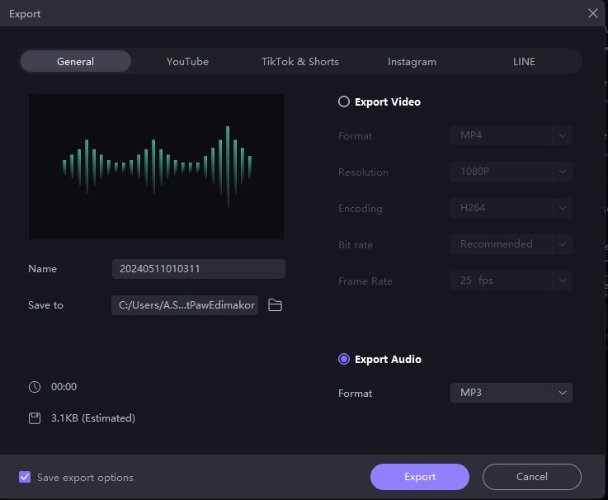
After you've mastered your editing skills and learned how to record audio on Google Slides, it's time to export your audio recording from HitPaw Edimakor. Go to the software's export menu and choose the desired audio format and quality parameters.
Final Words
Recording audio on your Chromebook is straightforward with the right tools and techniques. Whether you're capturing lectures, conducting interviews, or creating music, you can follow these steps on how to record audio and video on chromebook to ensure successful recordings. HitPaw Edimakor is a perfect tool for recording audio and video on a Chromebook.


 HitPaw Univd (Video Converter)
  HitPaw Screen Recorder
 HitPaw VikPea (Video Enhancer)

Share this article:
Select the product rating:
Daniel Walker
Editor-in-Chief
My passion lies in bridging the gap between cutting-edge technology and everyday creativity. With years of hands-on experience, I create content that not only informs but inspires our audience to embrace digital tools confidently.
View all ArticlesLeave a Comment
Create your review for HitPaw articles