After Effects for Face Tracking: How to Make
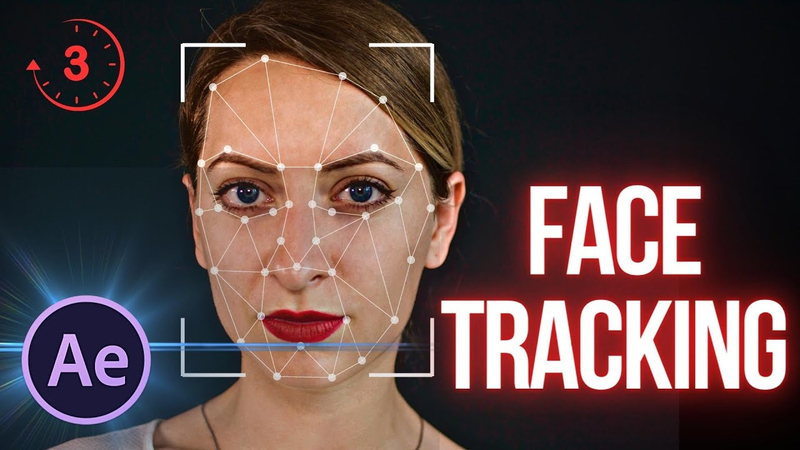
After Effects for Face Tracking is a powerful feature. It helps character creators bring their characters and animations to life by adding movements and expressions. This tool is capable of identifying and tracking human faces with a high amount of accuracy; it thus allows facial features to be isolated and manipulated solo. Be it selective color correction, blurring, or attaching dynamic elements, face tracking opens the way for endless creative possibilities. Master this transformative technique and get ready to bring hugely detailed animation into your world.
How to Make Face Tracking in After Effects
After Effects Face Tracking proves to follow several steps in order to assure a perfect human face detection and tracking. Below is a detailed guide to help run you through the processes:
Step 1: Import Your Footage
- Select File> Import> File, then choose the footage to use in the project.
- Drag the chosen footage from the Project panel towards the Composition; it forms a new layer within that composition
Step 2: Position the Time Indicator
- Move the current time indicator (CTI) to a frame that shows a good front erect view of the face you want to track.
Step 3: Draw a Mask
- Thin out a closed mask cursorily around the face, making sure to cover the eyes and mouth. That describes the search region to be used in locating facial features.
Step 4: Select Tracking Method
- Open the Tracker panel by selecting Window > Tracker.
- Select one of the following two tracking methods:
- Face Tracking (Outline Only): Browse for all of the other features except for the outline of the face.
- Face tracking (Detail Features): When you are detecting the face to show detailed features like an eye, nose, mouth for measuring purposes.
Step 5: Analyze footage
- In the tracker panel move the forward or backward button to track frame by frame. Click on the analyze button which processes all the frames.
Step 6: Refine and review
- After tracking one needs to analyze the data one's tracking in the composition.
- It is possible to go even further and fine tune the tracking by using key frames and effect control points.
Step 7: Applying Effects/Adjustments
- By using the tracking data one can apply effects to the face only but not to the other part of the body. Change the color of the eyes, VFX into huge exaggeration of mouth movement or to stick elements to the tracked points.
Step 8: Export Tracking Data (Optional)
- If needed, this detailed tracking data can be exported to Adobe Character Animator for more advanced animation work.
It is best to choose a frame in which the face is well exposed and its eyes are positioned directly at the camera. This should result in better detection and tracking of the face.
FAQs of After Effects Face Tracking
Here are the three most asked questions around After Effects Face Tracking:
1.What is Face Tracking in After Effects?
Face Tracking within After Effects allows one to really track the human face—one can apply effect selectively to the face, track specific parts like the pupils, mouth, and nose, and measure facial features. This is probably going to be the most useful in tasks such as color correction, blurring of faces, or creating character detail animations.
2.How do I use the feature Face Tracking?
To access Face Tracking, do as follows At the Window menu, we can access the Face Tracker Panel. The Tracker Panel will not become active until you draw a mask around the face and select it. Now, the two different options available for tracking are 'Outline Only' track of the face outline and 'Detailed Features' tracking to have detailed facial features.
3.Is there any way to do anything for increasing the precision of Face Tracking?
Yes, you can increase tracking accuracy simply by initiating on a frame that was taken while the head was facing forward and upright. Better tracking performance can also be achieved with correct lighting, exposure, and camera positioning. If you enable the 'Detailed Features' option, you should initiate the track on a frame which has captured a sharp, frontal view of the face.
The Best Convert and Edit Videos Software
HitPaw Univd (HitPaw Video Converter) is known by users to have all the functions needed for personal and professional uses. It swaps videos and audios back and forth across over 1,000 formats for them to be capable of running on devices. The editing functions are easy, supporting video cutting and merging functions to intensify creators' inventiveness. HitPaw Speed is said to be up to 50 times faster than ordinary converters. It offers first-class lossless quality to save the integrity of your media. With a user-friendly experience and frequent updates, HitPaw Univd is brought into the forefront line as reliable and efficient for all requirements of video conversion and editing.
Watch this Video and Know More
Features of HitPaw Voice Converter
HitPaw Univd - All-in-one Video Solutions for Win & Mac
Secure Verified. 254,145 people have downloaded it.
- 120X AI Video Converter—It is equipped with AI-powered technology, which converts videos, music, DVDs, and images much faster.
- Lossless Music Converter: Supports the conversion of music from Apple Music, Spotify, and YouTube Music without any quality loss.
- Strong Video Downloader: HitPaw Univd offers a feature for downloading online videos, movies, and music from over 10,000 websites.
Secure Verified. 254,145 people have downloaded it.
Steps to use HitPaw Univd
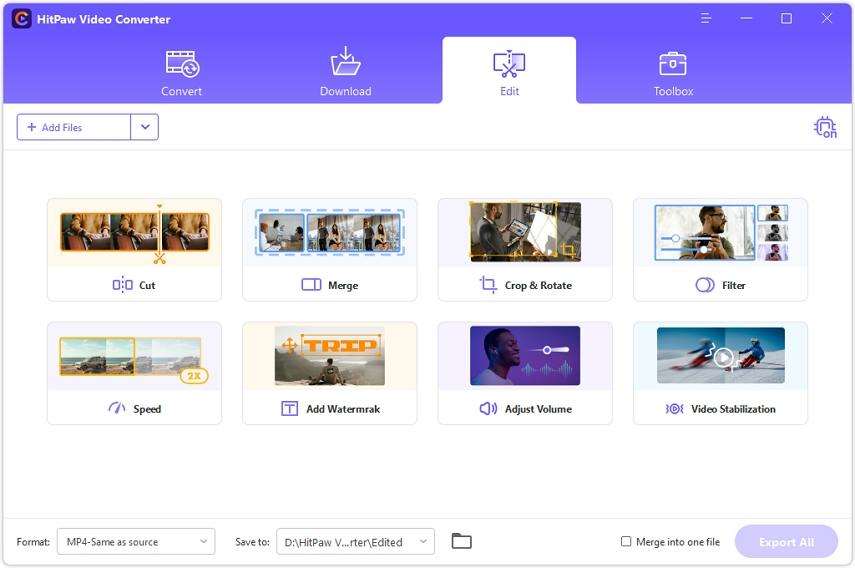
Step 1: Select the Cut feature, add your video, and use the timeline to split it at desired points. Merge clips by checking “Merge into one file” and export.
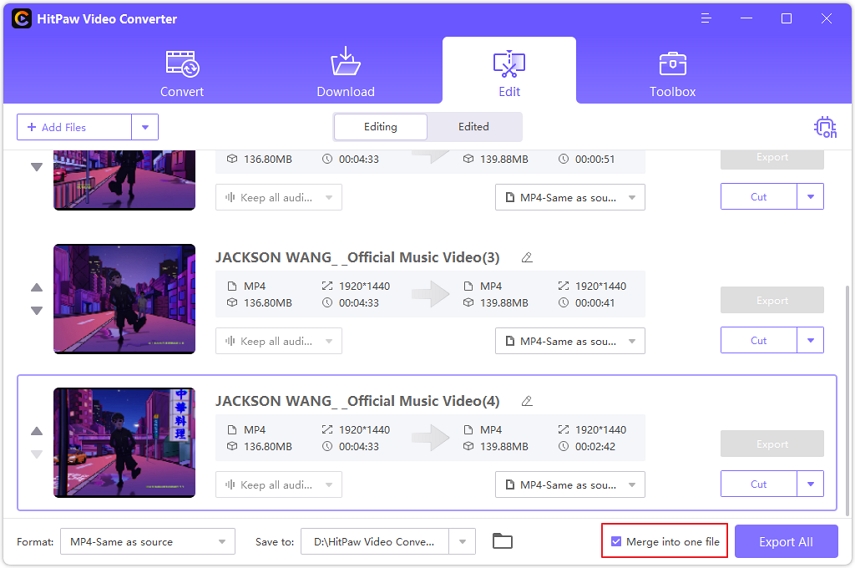
Step 2: Add multiple videos, select an output format, check “Merge into one file,” and click Export All to combine them.
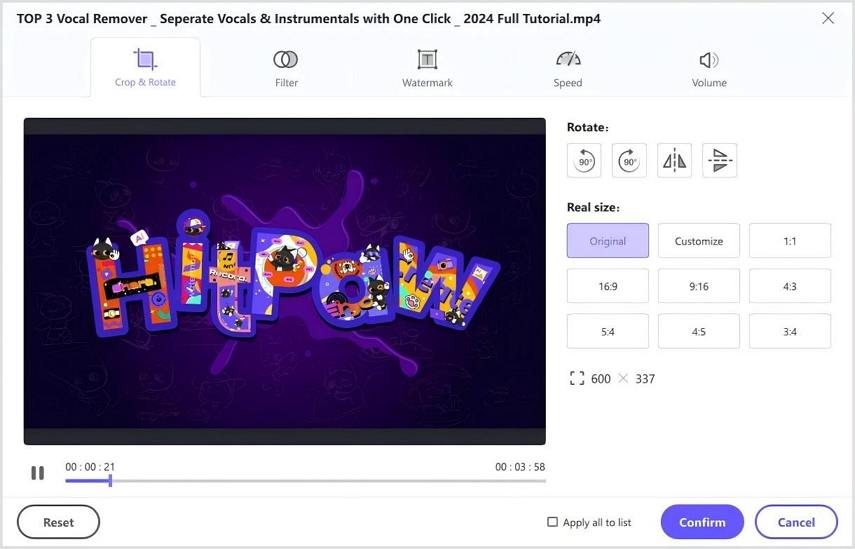
Step 3: Rotate your video as needed, crop by adjusting the frame or selecting a preset ratio, then preview and export.
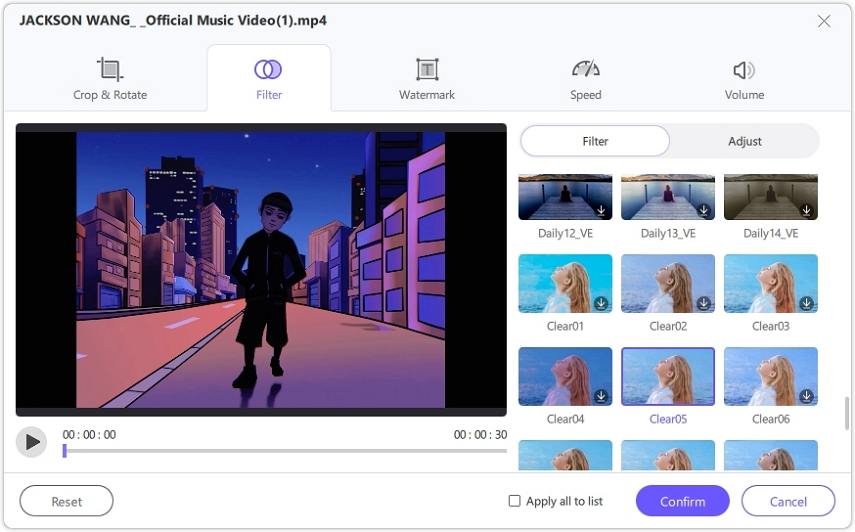
Step 4: Apply preset filters to your video, adjust brightness, contrast, and other settings, and choose an output format to export.
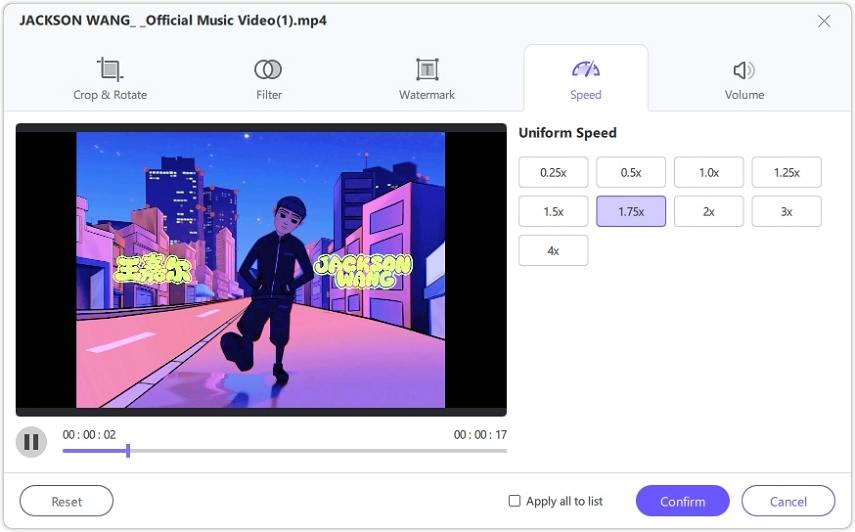
Step 5: Adjust video speed between 0.25x and 4x, preview the effect, and apply changes to all files if needed before exporting.
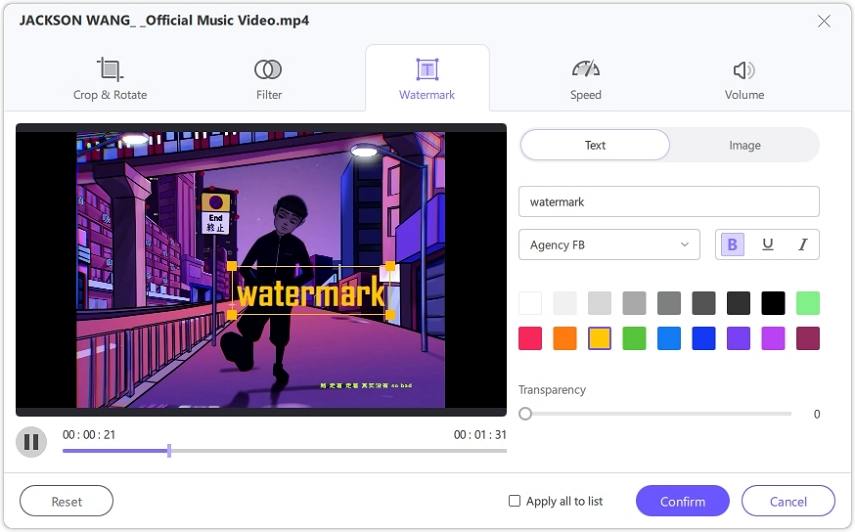
Step 6: Add text or image watermarks, adjust their position and transparency, and apply them to all videos if needed before exporting.
Conclusion
Lastly, After Effects Face Tracking has an in-store, highly proficient face tracking feature for detail and creative manipulation of facial features in video content. As established, it enables the user to track certain facial parts, like the pupils, mouth, and nose, making any changes or effects applied very accurate. Its ability to export detailed tracking data to Adobe Character Animator makes this tool even more versatile. Although After Effects itself is a great tool, HitPaw Univd serves as one of the most efficient solutions for users needing to convert edited videos into various formats.


 HitPaw Edimakor
 HitPaw FotorPea
 HitPaw VoicePea


Share this article:
Select the product rating:
Daniel Walker
Editor-in-Chief
My passion lies in bridging the gap between cutting-edge technology and everyday creativity. With years of hands-on experience, I create content that not only informs but inspires our audience to embrace digital tools confidently.
View all ArticlesLeave a Comment
Create your review for HitPaw articles