Comprehensive Interpretation of What is Feathering in Photoshop
Drawing or photos often need a softening effect around the edges, called Feathering in Adobe Photoshop. It is kind of a kind of simple process that proved useful for softening edges, blending images, or creating localized adjustments to the images. You can soften the photo's edge courtesy of the Photoshop feathering.
If you know more about ''What is feathering in Photoshop'' and how to access the feather shortcut in Photoshop, dive into this brilliant guide to get all the required information.
Part 1. What is Feathering in Photoshop?
A feather refers to the soft edges. You blend images, add localized adjustments to give objects, or eliminate the hard edges by using the soft edges beside a selection. You can also use the Feather to fade the image's parts, make cutouts look more fascinating, and blend brush adjustments. You can achieve the feathering in Photoshop using the selections or brush tool.
Part 2. Where is the Feather Shortcut in Photoshop?
If you want to save time during the feather selection Photoshop process, you can opt for the Feather shortcut in Photoshop. Instead of selecting the Feather manually, you can click the ''Shift+F6 to put the things in order.
Here's the step by step guide to use the Feather in Photoshop Shortcut to feather the image's edges.
Step 1
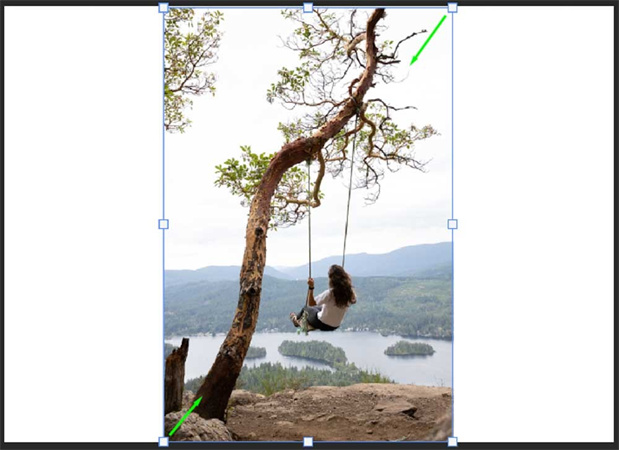
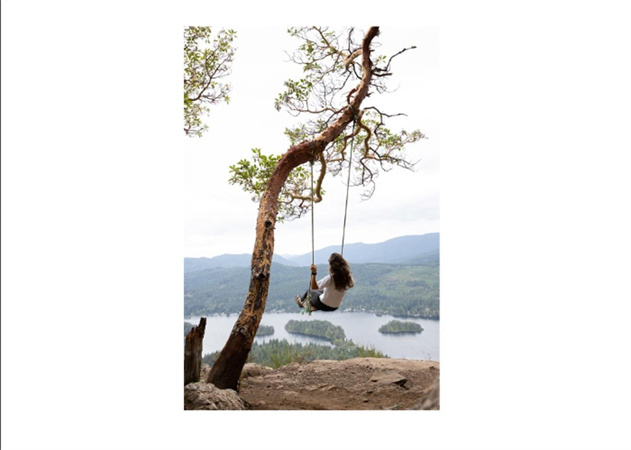
Launch Adobe Photoshop and press the Control+N to generate the new file in Adobe Photoshop. Next, you can import the photo into the timeline of Adobe Photoshop. You can click the Control+T icon to activate Adobe Photoshop's free transform tool.
Step 2
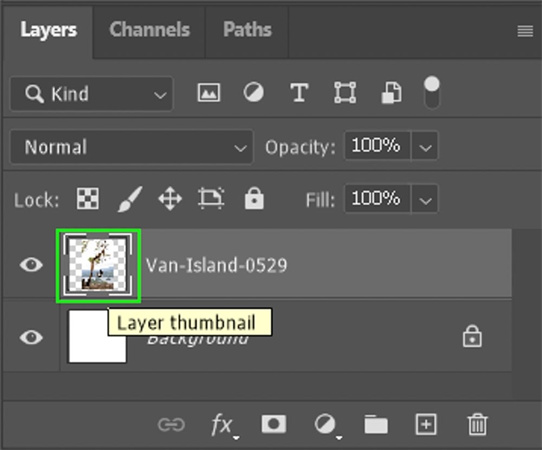
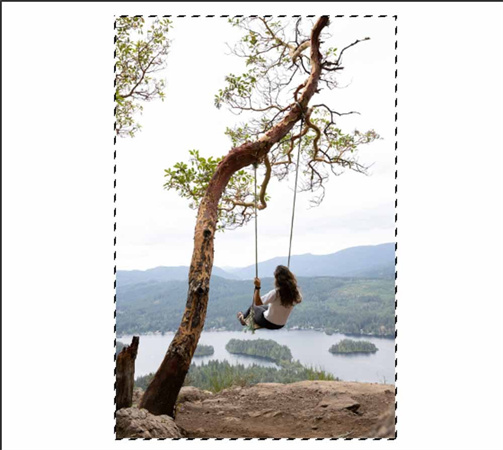
Click the Control button on the Windows PC and press the image layer's thumbnail. Doing so will assist you to select the image you'd like to edit.
Step 3
Navigating the Feather settings will ask you to follow a couple of steps. You can avoid following all these steps and use the Shift+F6 Feather shortcut in Adobe Photoshop to launch the Feather Selection Window.

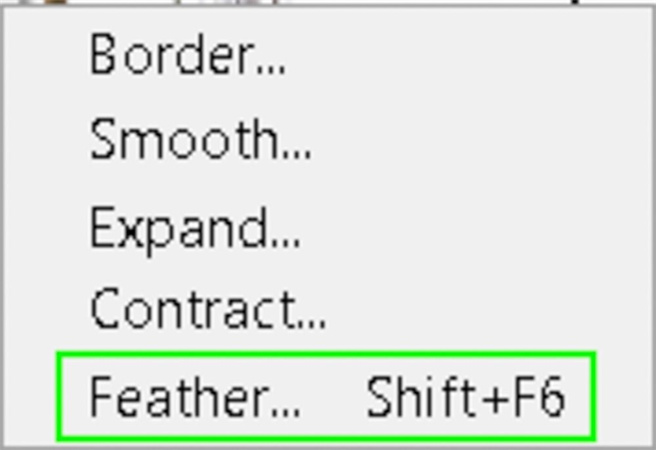
Step 4
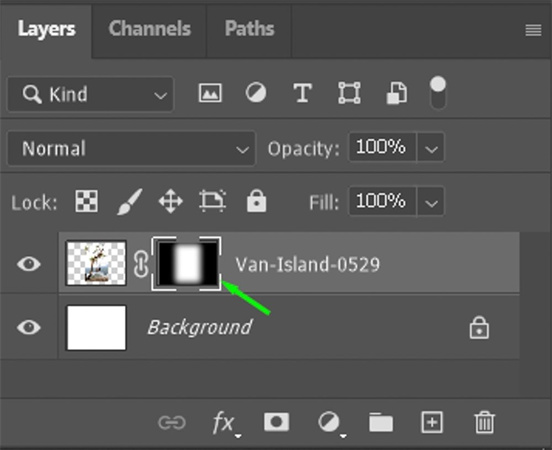
Now, you can choose the amount of feathering applied to the image. You can set the Feather Selection to 100 pixels, and once you're done with it, you can download the photo onto the PC.
Part 3. The Best PC Tool to Enhance Photos with HitPaw FotorPea
The shortcomings with the images you've clicked will always remain unless you go into editing the images. Unfortunately, instead of improving the image quality, various photo editors end up damaging it further.
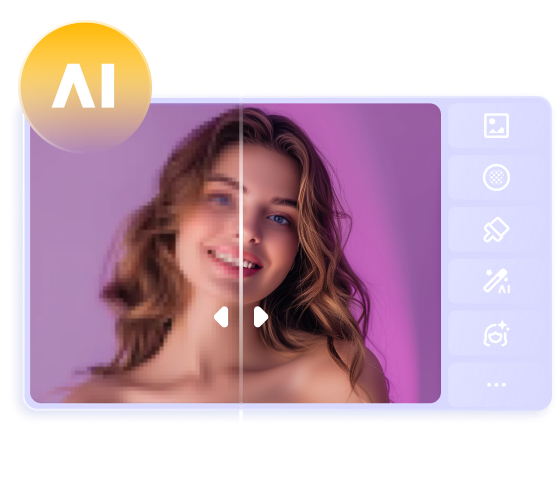
Fortunately, you won't find such an issue with the HitPaw FotorPea as it is a high profile and professional tool to upscale the image quality. With the 6 absolutely eye catching and remarkable AI models, taking the quality of the images to the next level has become simpler than you think.
There are various things to like about the HitPaw FotorPea. Apart from offering AI powered technology, HitPaw FotorPea ensures that the quality of images doesn't get tinkered while editing. Hence, whether you're struggling with the annoying blur or are dealing with old photos, HitPaw FotorPea makes the images look heartening and sensational. Another thing to like about the HitPaw FotorPea is that it allows you to process multiple images simultaneously and upscale various images simultaneously.
Features- It is the best AI image enhancer for Mac and Windows.
- You can enhance the resolution and image quality automatically.
- It allows you to remove the noise from the images.
- You can make the photos look less blurry.
- It enables you to upscale and enlarge the photos without causing image quality loss.
- You can upscale the image quality automatically.
- It blesses you with the 6 eye catching AI models.
- HitPaw FotorPea doesn't compromise the quality of the images
- It allows you to resize the images automatically.
- Compatible with the Mac and Windows
Here's the step by step guide to learn how to upscale the image quality through HitPaw FotorPea.
Step 1:Navigate the webpage of the HitPaw FotorPea and then download the software on your computer without wasting any time. Next, you must install the software and start the program afterward. Click the Choose File button to import the photo you want to upscale.
Since HitPaw FotorPea supports multiple image formats, it is compatible with image formats like TIFF, WEBP, JPG, PNG, etc. Moreover, HitPaw FotorPea also enables you to import more than photos into the timeline of the HitPaw FotorPea.
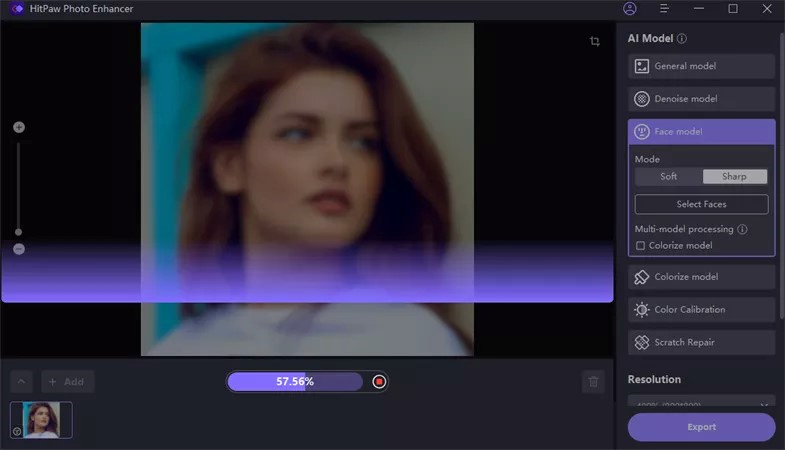
Step 2:HitPaw FotorPea prompts the 6 outstanding AI models, including the denoise Model, general Model, colorize Model, color calibration model, etc.
General Model will allow you to upscale the real scene images, including the flowers, animals, buildings, landscape, etc. The Denoise Model fixes the low light or high ISO images. You can eliminate the blur from the images courtesy of the Face Model.
If you're struggling with black and white images, Colorize Model will assist you in out the colors into the images. You can use the color calibration model to fix the unexposed images.
Step 3:After applying the preferred AI model, you must hit the Preview button to explore the file on the computer. Previewing the photos before downloading them assists you to make some more necessary changes to it.

Part 4. FAQs of Feather Image Photoshop
Q1. What is the difference between blurring an image and feathering an image?
A1.
Feathering and blurring look fairly similar but are two completely different tools. Feathering means softening your image's hard edges, allowing it to gradient in the other image or background.
Blurring, however, helps you blur any part of the image, making it hazy and blend. Feather only affects the opacity, so the object's edges will get more transparent. Blur, on the other hand, averages both the opacity and colors, taking the neighboring pixels.
Q2. How do you reduce feathering in Photoshop?
A2.
Reducing or removing the feathering in Adobe Photoshop is quite simple, as you'll only need to act upon the guidelines listed below to reduce the feathering in Adobe Photoshop.
Step 1. After creating a selection, you must click the Q tip to navigate to the quick mask mode.
Step 2. Bring up the Levels dialog by pressing the Ctrl+L. You can remove the Feather by dragging the right and left sliders. After pressing the Q again, you'll need to confirm the levels and exit the quick mask mode once you're done.
If doing this doesn't help you to reduce the feathering, you can look at the HitPaw FotorPea, which allows you to eliminate all the shortcomings from the image, making it look wonderful and stunning.
Takeaways
Those who ask ''what is feathering in Photoshop'' can take notes from this post as we've revealed all the relevant aspects regarding Photoshop feathering.
This post also tells you about the feather shortcut in Photoshop and how to apply the Feather in Photoshop selection. HitPaw FotorPea is the most recommended tool for enhancing the quality of the Images. It uses the 6 outstanding AI models to enhance the image quality without causing photo quality loss.



 HitPaw VikPea
 HitPaw Watermark Remover

Share this article:
Select the product rating:
Daniel Walker
Editor-in-Chief
My passion lies in bridging the gap between cutting-edge technology and everyday creativity. With years of hands-on experience, I create content that not only informs but inspires our audience to embrace digital tools confidently.
View all ArticlesLeave a Comment
Create your review for HitPaw articles