How to Vector Trace an Image in Various Platforms with Easy Solutions
Vector tracing usually refers the processing of a picture from raster to vector. We also call it as vectorization or image tracing. Generally, the vector tracing images are used for printing or company logo for its independent resolution and can be scaled without losing quality.
Even though it has a wide application in daily life, many people still have no idea how to vector trace an image. So here we offers a detailed guide to solve this in various platform.
Part 1: Why We Need to Trace Raster to Vector
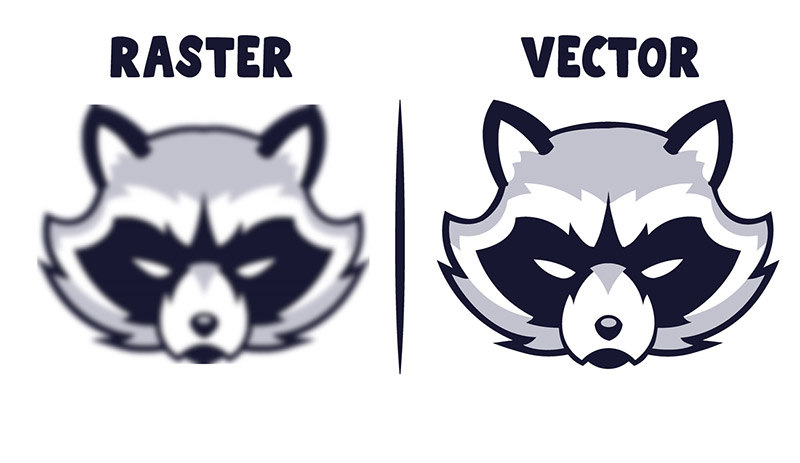
Raster and vector are all a kind of picture format that is used in digital life. But the former one usually is made of pixels, while the latter one comes from paths and curves. So the two formats are applied for different situations. Following is their difference.
| Raster | Vector | |
|---|---|---|
| Format | JPG, PNG, BMP, GIF | SVG, EPS |
| Shape | pixel | paths |
| Data | bitmap | detection & imitation |
| Resize | affect resolution | independent resolution |
| Application | most online photos | designs, logos, printing |
From the comparison, it's clear that, when you want to create a design and scale it without losing quality, converting a raster image to vector file is a better choice.
Part 2: How to Use AI Vector Tracing on Desktop
Using Adobe Illustrator
The most common and easy way to create vector tracing images is to use the Adobe Illustrator. The photo tool makes it easier to sketch and draw the lines of a image you want to vectorize. Different options in the tool may cause different effect.
So here we'll share the method step by step.
- Step 1: Import the raster image into the Illustrator.
- Step 2: After selecting the image, go to the menu of Properties - Quick Actions.
- Step 3: Firstly click the "Crop Image" button to select the area you wan to vectorize. After choosing, click "Apply".
- Step 4: Then click the "Image Trace" to customize the type you want to trace the image. Each options depend on your needs. Here we take "Black and White Logo" as example.
- Step 5: Now you can preview the effect of AI vector trace. And click the right icon of "Trace panel" to adjust the face you want.
- Step 6: Click "Expand" and the image is AI vectorized. Click on the item and you can remove the line.
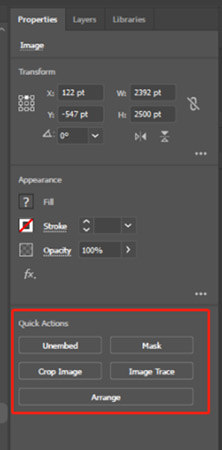
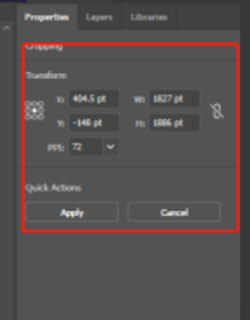
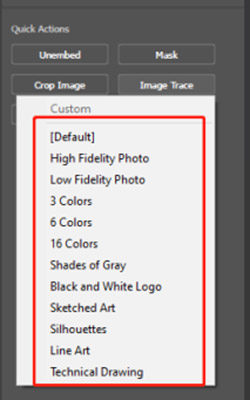
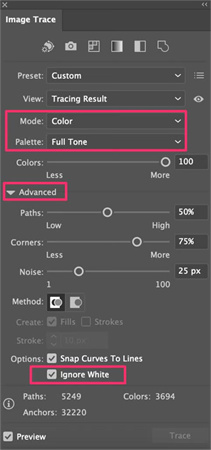
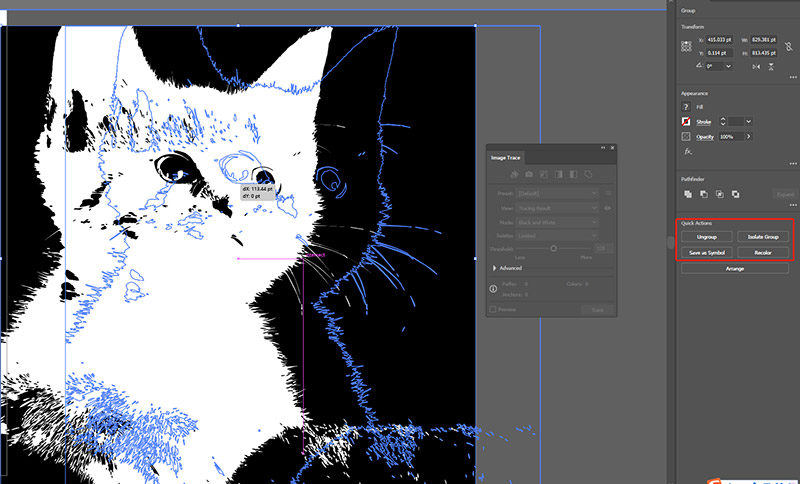
After all this done, you can remove the background or change color as you want. The AI vector tracing image can be scaled without compromising its quality. And also you can add it to any pictures or photos you want to make it different.
Pros
- Easy selection button to create vector.
- Multiple choice to meet different needs.
- Can adjust the tool and shape any time.
Cons
- Need to install the software.
- Difficult to learn the tool and each effects.
Part 3: How to Use AI Vector Trace an Image Online
From the above part, we know how to trace a image by software tool. But just as we know, raster and vector are different formats. Is it possible to convert photo to trace by file converter? The answer is of course. It's much easier to get images for vector tracing. Next we will learn together.
1. Convertio
Convertio works on converting multiple files including images, videos and audio file for more than 300+ formats. And the vector art tracing is actually the conversion from JPG/PNG/GIF/BMP to SVG. So use such tool to trace raster to vector is an ideal choice online.
Here is the detailed steps on conversion.
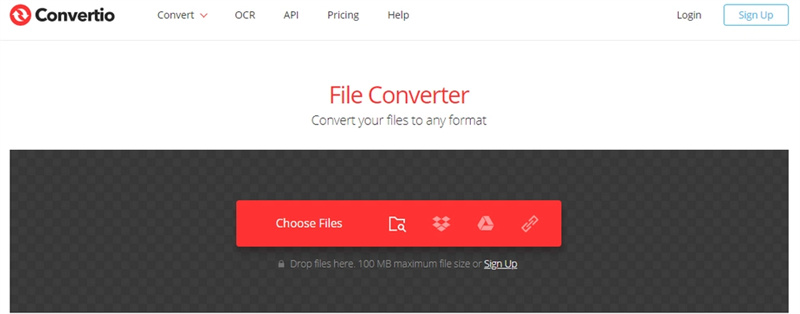
- Step 1: Upload the picture that will be vectorized.
- Step 2: Choose the output format Image - SVG by clicking the scroll bar.
- Step 3: After choosing, click the "Convert" button to start converting.
- Step 4: Wait for a few seconds to download the file to check the effect.

Pros
- Easy to convert.
- No needs of installation.
Cons
- Can't adjust the effect.
- Have to resort to another tool to apply the output image.
- Only output black and white color.
2. Vectorizer.AI
Another online choice is to use Vectorizer.AI, which is especially to trace raster to vector. The process also applies the AI transformation from pixels to vector format. After you start the processing, the system will automatically analyze the image and convert it into geometric shapes.
Following is the steps to convert photo to trace.
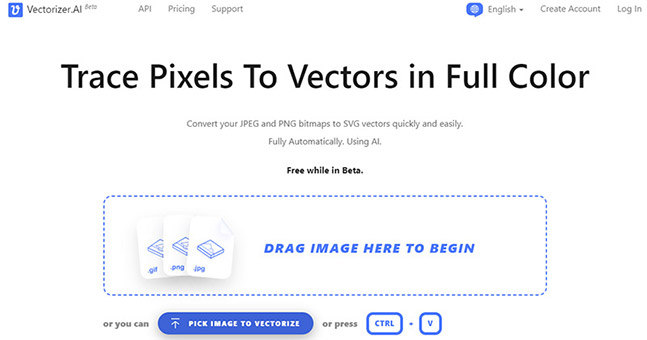
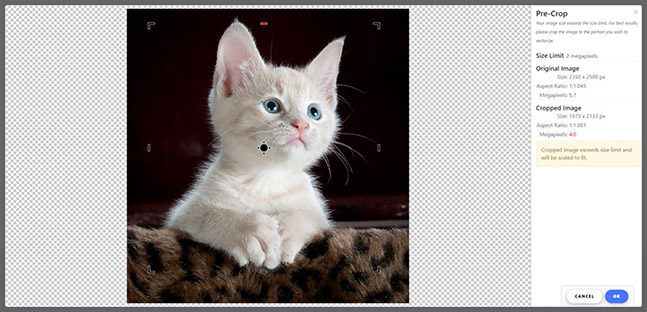
- Step 1: Upload the bitmap image of JPG/PNG/GIF formats.
- Step 2: Select the area you want to vectorize in the image by the rectangular frame.
- Step 3: Click "OK" button on the down-right corner. And wait for the processing.
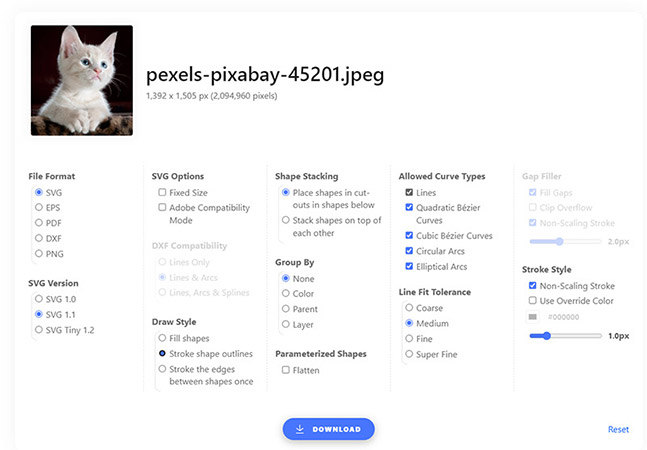
- Step 4: After it's completed, you can click the top-left "Download" to choose the output format as you need. The picture you get now can be scaled up without getting blurry.
Pros
- No need of sign-in to use.
- Free to try the function of web Beta version.
- Can choose the color and output formats.
Cons
- Doesn't support to adjust the details by hand.
- Can't process a batch of photos at the same time.
- The processing speed is slower.
- Limited input formats.
From the above content, we have learned how to use AI to vectorize the image to get a vector graphic. Such geometric feature can keep clear and stay clasp even if you zoom it in or out.
But what if we just want to upscale a photo without losing quality? Can we do this and still keep it on JPG format to share? For this intention, we can resort to the robust photo enhancer software.
Part 4: Best Alternative to Create Images for Vector Tracing
HitPaw FotorPea, as an AI-based image enhancer, can be used on both Windows and Mac. Except its basic function of improving the photo quality by AI technology, the photo enhancer app is an ideal tool to enlarge and upscale the photo without quality loss as you want. Also, you can use the versatile software to make your old photo clear and bring more life back to it.
Highlights of HitPaw FotorPea
- Easy and fast to enlarge the photo without compromising the quality.
- Supports to upscale the image resolution up to 4K/8K.
- One touch to bring blurry photos back to clear one.
- AI automatically enhance the image quality to save energy.
- Supports a batch of processing to save your time.
Steps to Enlarge Photos with Quality Losslessly
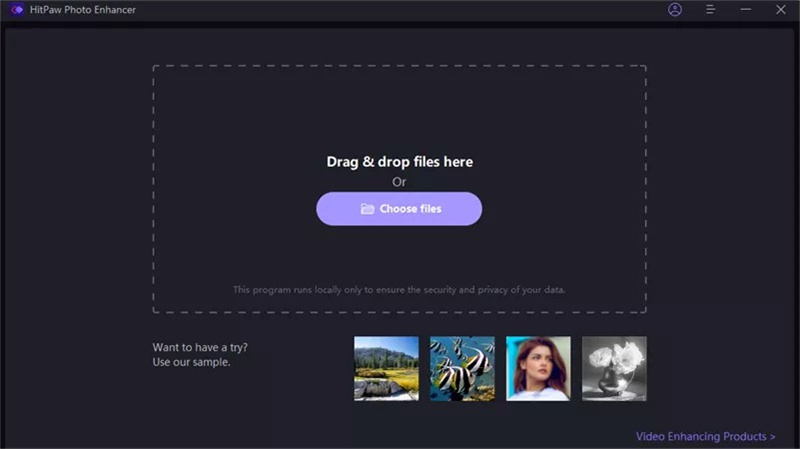
- Step 1: Install the software to you PC.
- Step 2: Run it, and paste the photo you want to enlarge here.
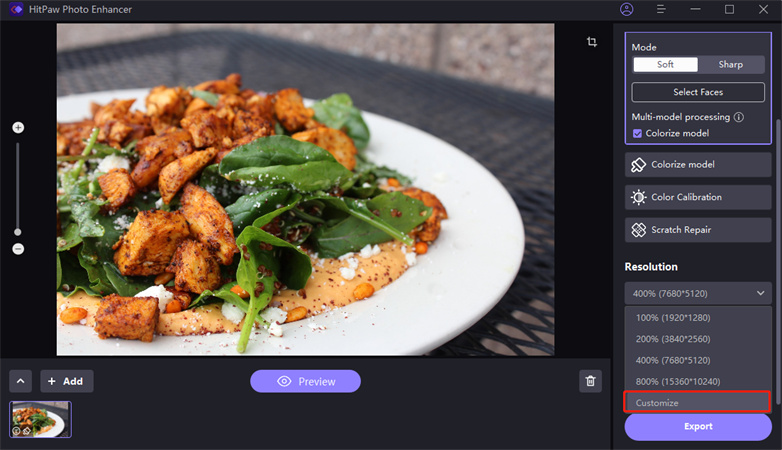
- Step 3: Go the down-right Resolution menu. Then click the scroll bar to choose the 2x/4x/8x. Or you can customize the size by yourself.
- Step 4: After choosing, click "Preview" to see the effect.
- Step 5: If you want to apply other AI model, you can choose click the right menu. After getting the desired effects, click "Export" to download the image.
Part 5: FAQs about Vector Art Tracing
Q1. What does it mean to vectorize a photo?
A1. Vectorization refers to the processing of redrawing the lines of items in the photo and filling the shapes with different color you want. And the output format is usually made of paths instead of pixels.
Q2. Is a PNG a vector file?
A2. No, the PNG file is actually a raster, usually seen on our photograph picture. If you scale up the PNG, the photo will become pixelation and blurry.
Final Thoughts
The passage lists various steps to create vector tracing images in different platforms. No matter using software to deline the photo, or AI trace the image automatically, the final results is to get a shape of the items and scale up at any size with losing quality.
But the output format is usually hard to open and share in daily life. If we want to keep the popular format and enlarge the photo at the same time, resort to an outstanding software such as HitPaw FotorPea would be a best alternative. Using it also can make your photo lively and improve its quality losslessly.


 HitPaw Watermark Remover
  HitPaw VikPea (Video Enhancer)

Share this article:
Select the product rating:
Daniel Walker
Editor-in-Chief
My passion lies in bridging the gap between cutting-edge technology and everyday creativity. With years of hands-on experience, I create content that not only informs but inspires our audience to embrace digital tools confidently.
View all ArticlesLeave a Comment
Create your review for HitPaw articles