[Full Guideline] How to Use Snapseed Remove Object
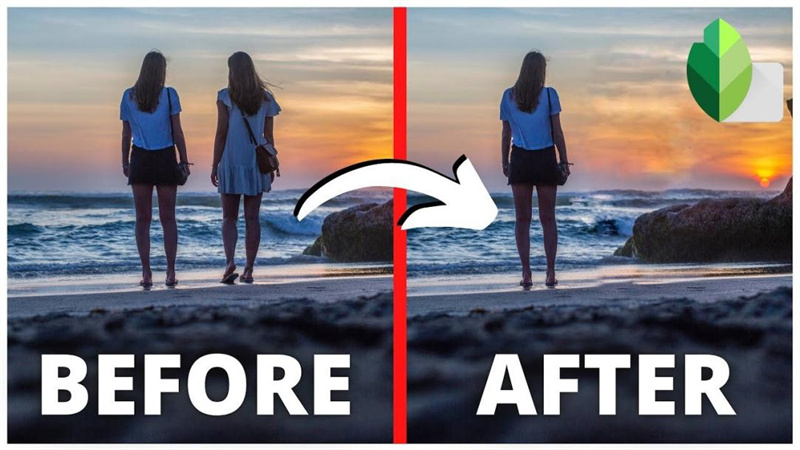
Having the right shot is critical in today's fast-paced world of digital photography. However, it is fairly unusual for photographs to be captured with unwanted elements or distractions that detract from the overall beauty of the photograph.
But don't worry, since Snapseed, Google's amazing picture editing program, comes to the rescue with its "Remove Object" option. In this post, we'll look at how to remove Objects' Snapseed tool to efficiently turn your photographs into visually stunning masterpieces.
Part 1. How to Use Snapseed Remove Object
In this comprehensive guide, we will walk you through the step-by-step process of using Snapseed's Remove Object tool effectively. Learn how to remove an object from a photo in Snapseed with ease and precision.
1. Snapseed Remove Object
The "Remove Object'' tool is one of the most popular tools in Snapseed, and it's easy to use. Learn how to remove objects from photos in snapseed.
Steps:1. Open the photo that you want to remove an object from in Snapseed.

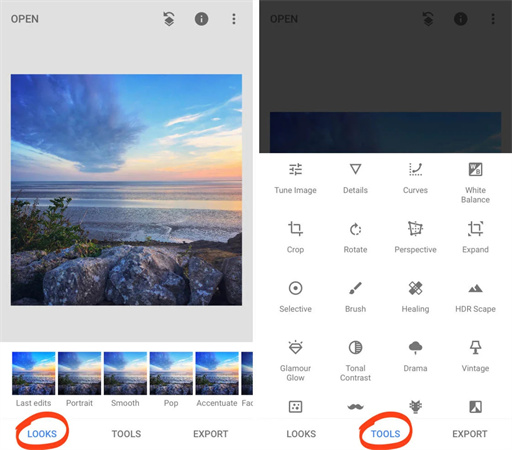
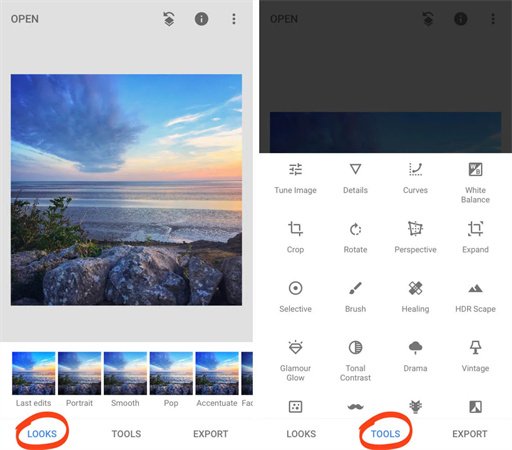
2. Tap on the Tools icon at the bottom of the screen.

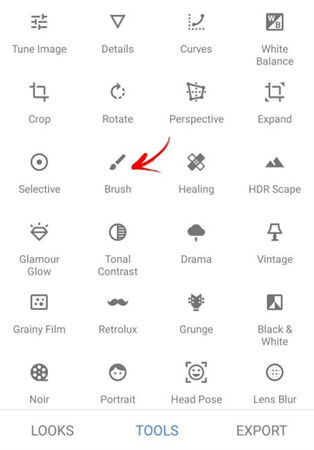
3. Scroll down and tap on Remove Object.

4. Use the brush to select the object that you want to remove.

5. If you need to, you can adjust the size and opacity of the brush.
6. Once you're happy with your selection, tap on Remove.
7. Snapseed will automatically remove the object from your photo.

2. Snapseed Remove Background Object
Snapseed is a free picture editing software that works on both Android and iOS smartphones. It includes a number of picture editing tools, including the Healing tool. Learn how to Remove Background Objects in snapseed.
Steps:1. Open the Snapseed app and import the photo that you want to edit.

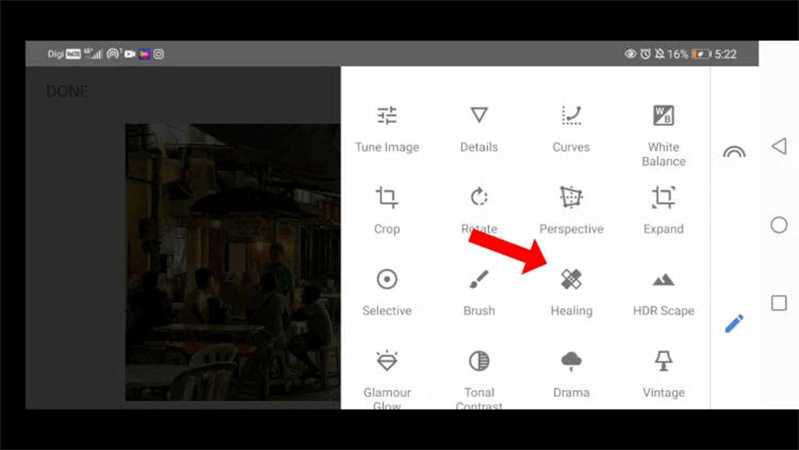
2. Tap on the Tools icon at the bottom of the screen.

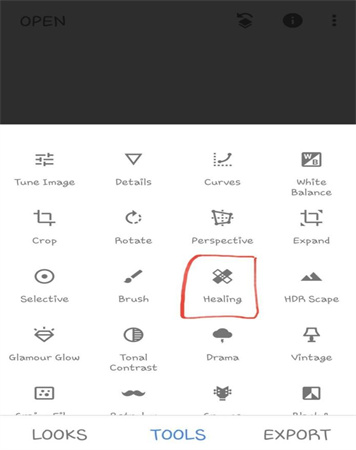
3. Select the Healing tool.

4. Tap on the background area that you want to remove.

5. The Healing tool will automatically replace the object with the surrounding pixels.
6. If the results are not perfect, you can adjust the size of the Healing tool or the opacity of the brush.
7. Once you are satisfied with the results, tap on the Tick icon.
Part 2. The Best Alternative to Remove Objects and Background on PC with HitPaw Photo Object Remover
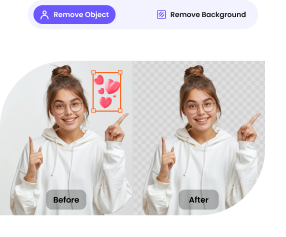
HitPaw Photo Object Remover is a powerful AI-powered tool that can remove unwanted objects and backgrounds from photos quickly and easily. It is a great alternative to other popular tools, such as Photoshop and GIMP, as it is more user-friendly and does not require any prior editing experience.
Features:- Smart Object Elimination
- Interface that is simple to use
- Processing in Batches
- Retouching Instruments
- Undo/Redo Capability
- High-Quality Results
- Brush Sizes That Can Be Changed
- Wide Format Compatibility
- Updates on a regular basis
- Available on Mac and Windows
Step 1: Install HitPaw Photo Object Remover.
Step 2: Upload the photo you'd like to erase the unwanted objects from.

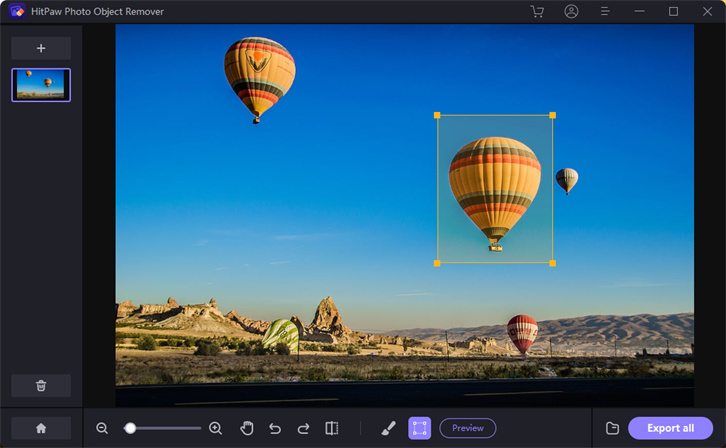
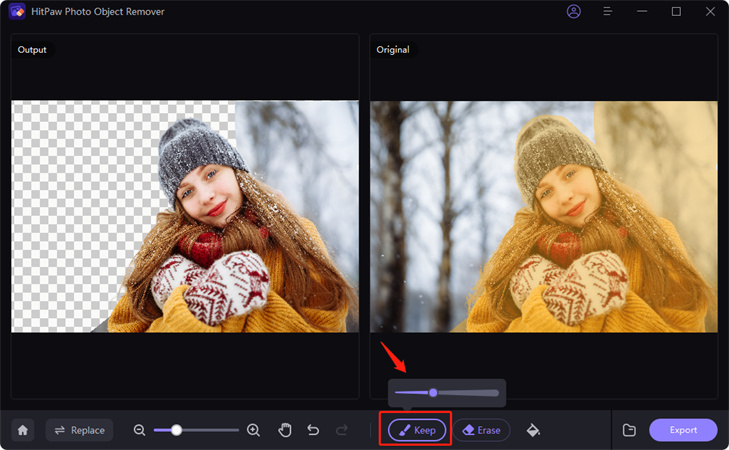
Step 3: Create the selection boxes or manually point out the person/object/area you'd want to remove.


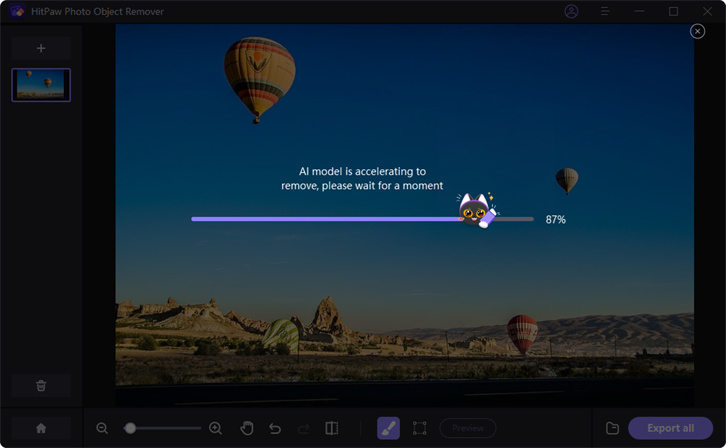
Step 4: Preview and Export the Photo: Click "Preview" to remove object from the photo. Then you can browse the path for saving, and click "Export All" and save the final photo(s) to your computer.


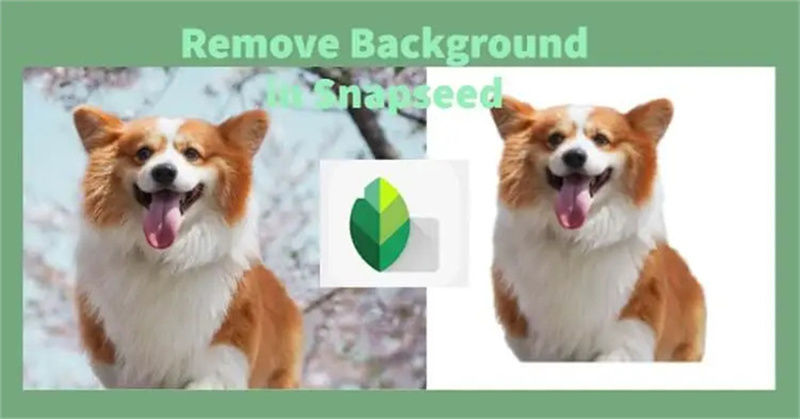
Here are the steps on how to remove backgrounds and change background colors in photos:
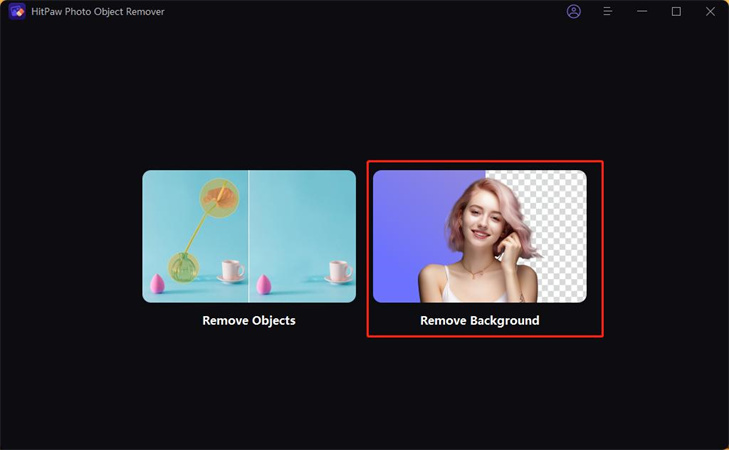
Step 1. Access HitPaw's Background Remover Tool

Step 2. Upload Your Photo: Click on the "Upload" or "Choose File" button to select the photo you want to edit.
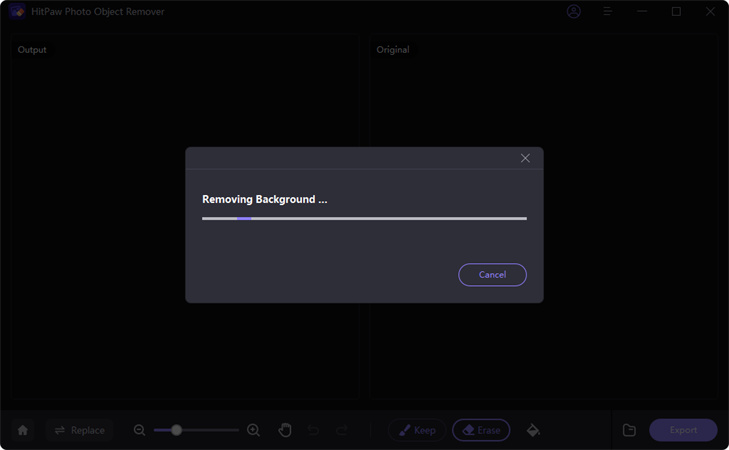
Step 3. Awaiting Automatic Recognition of Removing the Background

Step 4. Refine the Edges (Optional):After the background has been removed, you may see some rough edges or spots that require more refining. HitPaw may have an "Edit" or "Refine Edges" option, allowing you to manually edit and clean up any blemishes surrounding the subject to make it appear more natural.


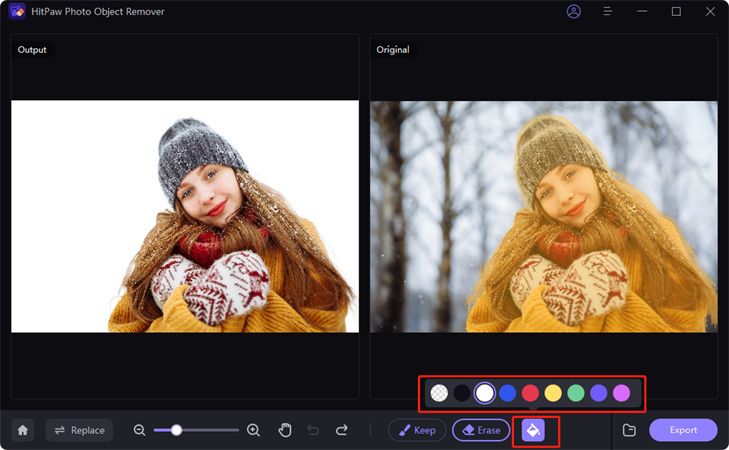
Step 5. Choose a New Background Color: You will be presented with a color palette to choose the desired background color.

Step 6. Save or Download Your Edited photo

Part 3. FAQs of Snapseed Remove Object
Q1. How do you delete large objects in Snapseed?
A1. To delete large objects in Snapseed, open the app, choose the photo, go to the Healing Tool, select the object, drag to cover it, and tap the Tick icon.
Q2. How do you use the magic eraser in Snapseed?
A2.
1.Open the app and load the photo.
2.Tap Tools > Healing.
3.Paint over the object to remove it.
4.Tap the checkmark to save the changes.
Conclusion
With the step-by-step Snapseed's Remove Object guidelines, expert tips to embrace the power of Snapseed and take your photo editing journey to new heights!
Moreover, HitPaw Photo Object Remover is a user-friendly tool that removes unwanted objects and backgrounds from photos. It's easy to use and also lets you change the background color. A great alternative to complex tools like Photoshop and GIMP.







 HitPaw Edimakor
 HitPaw VikPea (Video Enhancer)
Share this article:
Select the product rating:
Daniel Walker
Editor-in-Chief
My passion lies in bridging the gap between cutting-edge technology and everyday creativity. With years of hands-on experience, I create content that not only informs but inspires our audience to embrace digital tools confidently.
View all ArticlesLeave a Comment
Create your review for HitPaw articles