[Full Guide] Learn How to Smooth Edges in Illustrator
Picture this: you've poured your creative energy into an artwork or graphic design project in Adobe Illustrator, carefully crafting those edges to perfection. But wait, there's a twist. Your beautifully smoothed edges have somehow led to unexpected blurriness in your images. Frustrating, right?
Fear not, for we have a solution that combines the power of AI with simplicity to rescue your images and elevate your design game. In this article, we'll not only guide you through the process of achieving smooth edges in Adobe Illustrator but also show you how to tackle the common issue of image blurriness that can sometimes accompany it. By the end, you'll be equipped with the knowledge to create visually stunning graphics and the perfect tool to ensure they stay sharp and captivating. Let's dive in.
Part 1: What is Smooth Edges?
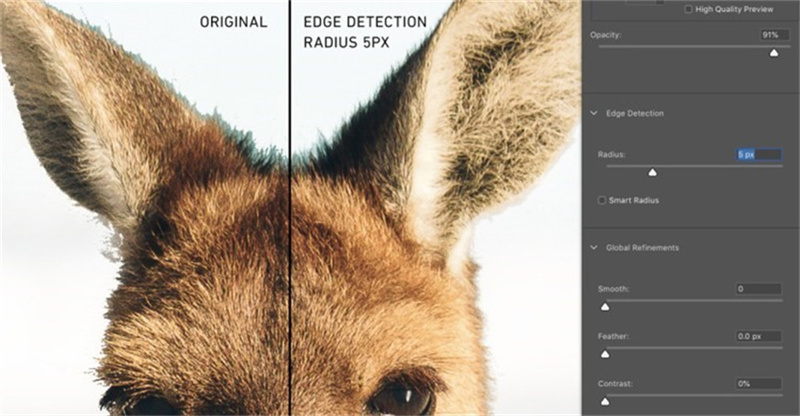
Before we dive into the nitty-gritty of using Adobe Illustrator to create smooth edges, let's first establish what smooth edges are and why they matter. In the realm of digital design, smooth edges refer to the clean and polished contours of an image or object. These edges exude a sense of professionalism, making your artwork appear sleek and refined.
In many design contexts, including logo design and picture editing, smooth edges are essential. In their hands, even the most ragged and jagged picture may become a work of art. In digital design, having perfectly rounded corners may make or break a project's overall visual attractiveness.
Part 2: How to Smooth Edges in Illustrator?

Now that we know why it's so important to have rounded corners, let's dive in and find out how to make it in Adobe Illustrator. The following is a detailed procedure that will show you how to use this powerful instrument to make clean cuts.
Step 1: Launch Adobe Illustrator
To begin your journey to smoother edges, open Adobe Illustrator on your computer. Ensure you have the image or object you want to work on ready and loaded into the software.
Step 2: Select the Smooth Tool
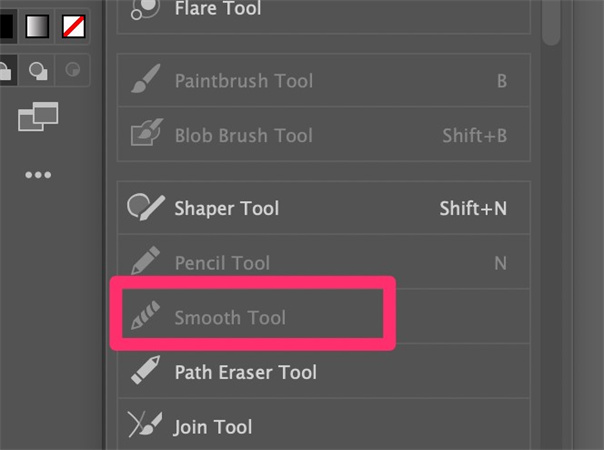
In Illustrator, you have a dedicated tool known as the "Smooth Tool." This tool is your secret weapon for achieving those clean, flawless edges. You can find it in the toolbar, often nestled with other brush-like tools.
Step 3: Adjust the Smoothness
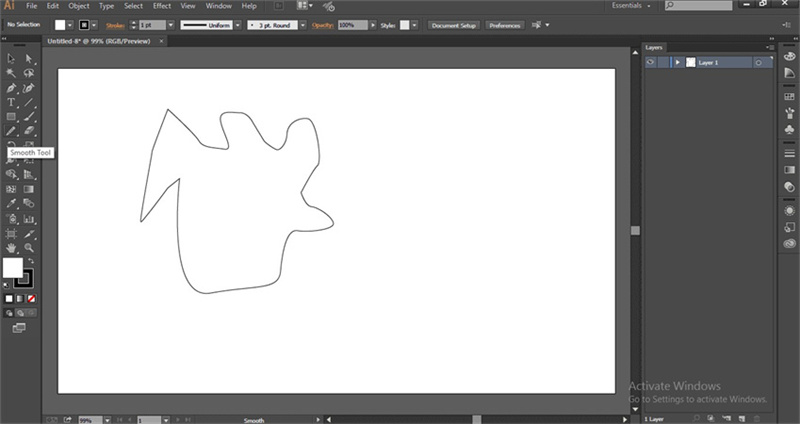
Adjusting the smoothness level of the tool to your preference is a must before you begin the smoothing process. The smoothness slider lets you adjust how much of a smoothing effect is applied. Adjust the sliders and settings until the transition is as seamless as you want it to be.
Step 4: Apply the Smooth Tool
With your settings dialed in, it's time to put the Smooth Tool to work. Carefully trace along the edges of your image or object, ensuring that you follow the contours closely. As you do this, you'll notice the jagged edges gradually transform into silky smooth lines.
Step 5: Fine-Tune and Save
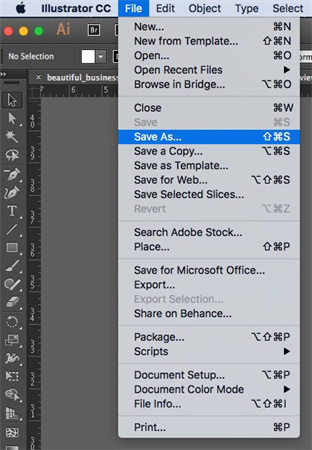
Once you've completed the smoothing process, take a moment to review your work. If any areas require further refinement, you can continue to use the Smooth Tool to make adjustments. Once you're satisfied with the results, save your work to preserve those beautifully smooth edges.
Part 3: Ultra-tips: AI Enhancer to Fix Blurry Images After Adobe Illustrator Smooth Edges
So, you've followed the steps to achieve those perfect smooth edges in Adobe Illustrator, but there's a catch - your images have become blurry in the process. Don't worry; we've got a solution for you! Enter HitPaw FotorPea, your go-to AI photo enhancer to rescue those blurred images.
Why Choose HitPaw FotorPea?
HitPaw FotorPea stands out as an exceptional AI enhancing tool, equipped with an array of features that can effortlessly restore clarity and quality to your images. Let's delve into what makes HitPaw FotorPea the top choice for fixing blurry images after using Adobe Illustrator's smooth edges feature.
- Multiple AI Models
- Upscale to 4K Resolution
- Mature AI Technology
- Simple and Clean Interface
HitPaw FotorPea boasts a variety of AI models, each designed to tackle specific image enhancement needs. Whether you need to sharpen details, reduce noise, or adjust color balance, this tool has you covered. These AI models ensure that your images regain their original vibrancy.
One of HitPaw's standout features is its ability to upscale images to 4K resolution. This means your once-blurry images can achieve stunning clarity and detail, making them suitable for a wide range of applications, from printing to online use.
HitPaw's AI technology is tried and tested, making it a reliable choice for image enhancement. The mature algorithms behind this software have been refined to deliver consistent and impressive results.
One of the most significant advantages of HitPaw FotorPea is its user-friendly interface. You don't need to be a tech wizard to use it effectively. The intuitive layout ensures a smooth and hassle-free experience, even if you're new to image enhancement.
How to Use HitPaw FotorPea
Getting started with HitPaw FotorPea is a breeze. Here are the specific steps to enhance your images and bid farewell to blurriness:
Step 1.Download and Install:Begin by downloading and installing HitPaw FotorPea on your computer. You can find the software on their official website here. After installation, launch HitPaw FotorPea.
Step 2.Import Your Image:Click on the "Choose Files" button to import the image you want to enhance.

Step 3.Choose an AI Model:Select the AI model that best suits your enhancement needs. You can experiment with different models to achieve the desired results and get the smooth edges.

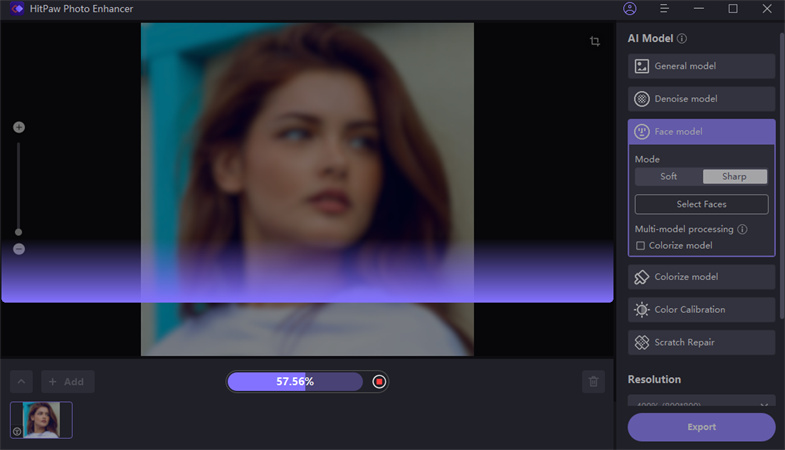
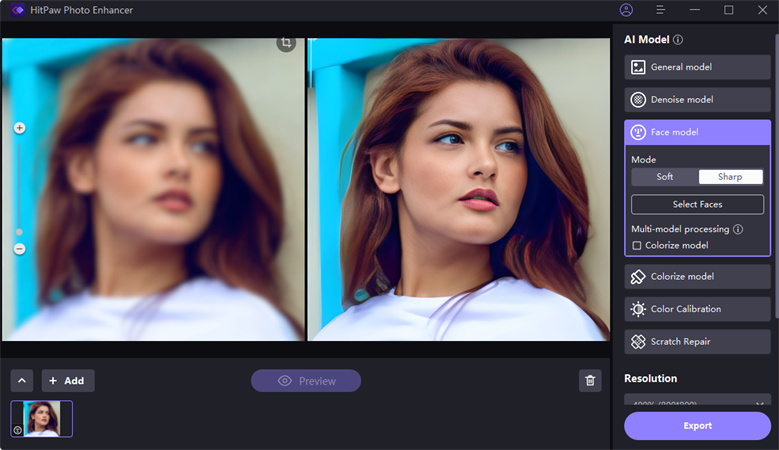
Step 4.Enhance Your Image:Click on the "Preview" button and let HitPaw's AI technology work its magic. The software will analyze and enhance your image, reducing blurriness and improving overall quality.

Step 5.Preview and Save:Once the enhancement is complete, preview the improved image to ensure it meets your expectations. If you're satisfied, save the enhanced image to your preferred location.

Part 4: FAQs of Smooth Edges Illustrator
You may have queries while you learn Adobe Illustrator smooth edges. To guarantee a smooth experience, let's answer some common questions.
Q1. How do I smooth an outline shape in Photoshop?
A1. While our primary focus is Adobe Illustrator, it's worth mentioning that Photoshop offers similar tools for smoothing edges. In Photoshop, you can achieve this effect by using the "Blur" or "Feather" options. Experiment with these settings to refine your outlines in Photoshop.
Q2. What is pixel smoothing?
A2. In the realm of digital photography, one commonly employ this technique to enhance the quality of an image involves the elimination of unsightly jagged edges and curves. One of the methods employed involves the introduction of pixels possessing distinct hues to the perimeters of various entities, thereby facilitating a gradual assimilation with the surrounding background. Particularly in the realm of typography and graphics, wherein the precision of clean lines and corners holds utmost significance, this particular approach assumes paramount importance in the creation of digital content of superior quality that captivates the discerning eye.
Q3. Where is the Smooth tool of Adobe Illustrator?
A3. You can locate the Smooth Tool in Adobe Illustrator within the main toolbar, usually grouped with other brush-like tools. It features a distinctive icon resembling a spiral. Click on this tool to access its smoothing capabilities and start perfecting your edges.
Bottom Line
In conclusion, achieving smooth edges in Adobe Illustrator is an essential skill for graphic artists and designers, but the process can sometimes lead to image blurriness. When that happens, HitPaw FotorPea comes to the rescue with its advanced AI technology and user-friendly interface. It not only fixes blurry images but also offers additional enhancements, including upscaling to 4K resolution.
Don't let image blurriness dampen your creative spirit. Try out HitPaw FotorPea today and experience the transformation of your images firsthand. Visit their official website here to download the software and start enhancing your images with ease. Your digital artistry deserves nothing but the best, and HitPaw FotorPea is here to deliver just that.



 HitPaw Watermark Remover
  HitPaw VikPea (Video Enhancer)


Share this article:
Select the product rating:
Daniel Walker
Editor-in-Chief
My passion lies in bridging the gap between cutting-edge technology and everyday creativity. With years of hands-on experience, I create content that not only informs but inspires our audience to embrace digital tools confidently.
View all ArticlesLeave a Comment
Create your review for HitPaw articles