[Sloved] How to Remove Background in Illustrator 2025
Finding reliable software for unwanted image backgrounds also comes in handy. For that matter, using the remove background illustrator has many advantages.
It is a remarkable graphic design and professional sketching software for vector photos, including logos and illustrations. Adobe Illustrator can also remove the logo and white background without Photoshop. You can find out how to remove background in Illustrator after taking the notes from this guide.
Part 1. How to Remove Background in Illustrator?
There are two terrific and reliable ways to remove background from image illustrator, and both of the remarkable ways are mentioned below.
Method 1. Use Image Trace to remove background on Illustrator
Before opting for the remove background illustrator through Image Trace, you'll need to ensure this software can apply to the images. Image Trace works wonderfully when removing the background of simple photos.
Step 1.
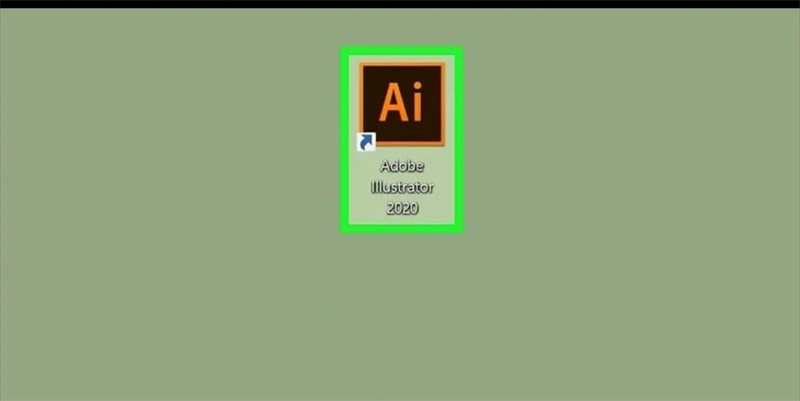
First, you'll need to launch Adobe Illustrator on your PC after downloading it from the official website.
Step 2.
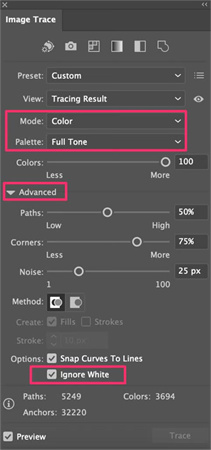
Select the Image Trace after clicking on the 'Windows' icon. Once the new window pops, altering the settings is easy.
Select Color after adjusting the Mode. Next, you'll need to select the number of colors of your photo you'd want to erase the background from. After altering the parameters, click the 'Trace' icon.
Step 3.
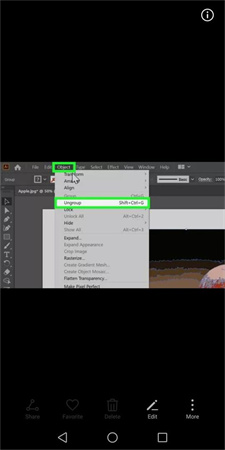
Choose the Expand icon after moving the mouse to turn the photo into a vector shape. You must also display the vector part's anchor points in due course. Next, you'll need to search for the 'Object' pop-up window icon with the 'Ungroup' option in the 'Object'' icon.
Step 4.
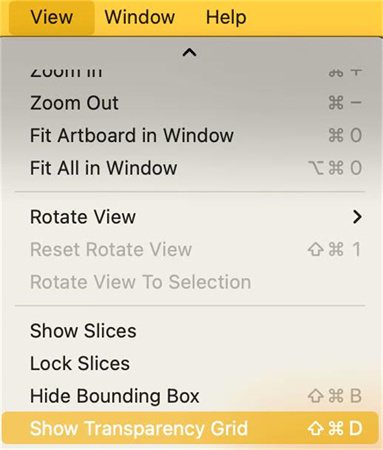
Tap on the 'View' icon before finding the 'Show Transparency Grid' to get the transparent pixel checkerboard view to acquire the whole image; upon using the Adobe Illustrator remove background.
Step 5.
Press the Select icon, move the mouse to choose the background part you want to remove, and click the 'Delete' icon.
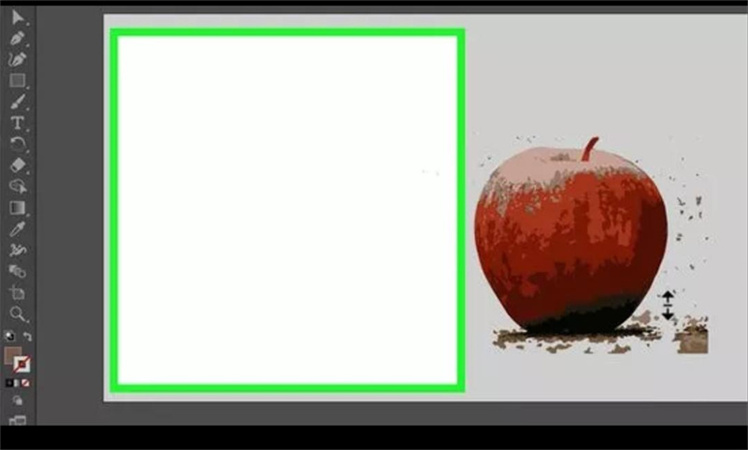
Doing so assists you in removing the part of the image you'd like to eliminate. After finishing the remove background illustrator, you can tap on the File icon and select the 'Save As' icon to save the transparent background photo.
Upon acting upon the steps mentioned in this post, you'll be able to know how to remove background in Adobe Illustrator.
Method 2. Use Pen Tool (Clipping Mask) to remove background on Illustrator
Another reliable way to remove background from Image Illustrator is by using the Pen Tool. Follow the insight guide below to know how to delete background in Illustrator through Pen Tool.
Step 1.
First, you'll need to upload the photo to Adobe Illustrator to begin the editing process.
Step 2.
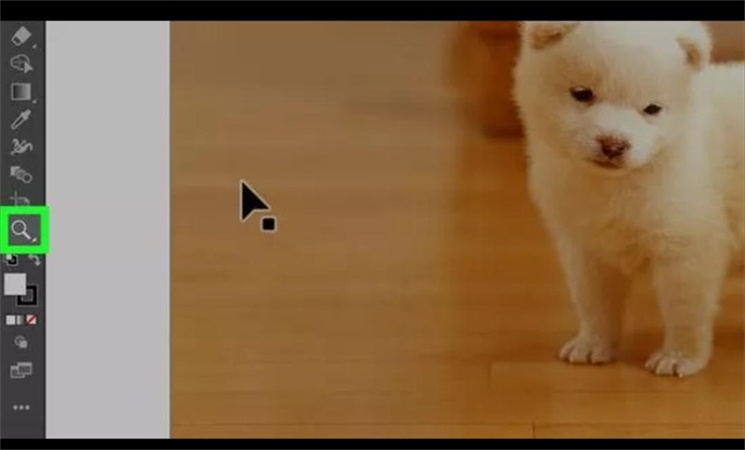
To make your Pen Tool work appropriately while handling the photo's details, you can rely upon the toolbar's Zoom tool to delete the image background.
Step 3.
Navigate to the left dashboard and choose the Pen Tool. Then, you can use the Pen Tool to outline your photo into your foreground as required.
Next, tap on the object you'd like to Preserve on your image background and fully use anchoring points produced by each click while outlining. Complete the proceedings by pressing the first anchor point.

Step 4.
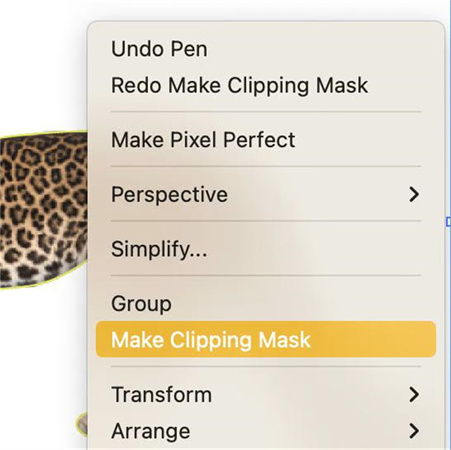
Once all the objects are selected, you'll need to tap on the 'Make Clipping Mask' icon that will erase all the things outside your outlined foreground objects.
Part 2. What to do when you can't Remove Background in Illustrator?
There are some instances in Adobe Illustrator where you can't remove background Illustrator. You're trying to remove image background on a Raster Image via Erase. Unlike Photoshop, you can't eliminate the image background using the Eraser Tool in Illustrator as it doesn't support erasing a Raster image.
1. You forget embedding the (Vector) Image
While downloading the stock vectors online, you might forget to embed the image when importing it to Illustrator. This way, you won't be able to remove background from image illustrator.
2. The Object Image is locked
If your image is locked, Illustrator won't support erasing the image. If you're struggling with these scenarios and can't opt for Adobe Illustrator remove background, you can look at the HitPaw Photo Object Remover, which is a better alternative to Adobe Illustrator.
Features of HitPaw Photo Object Remover
- It helps you to erase objects and backgrounds from an image
- Offers the intuitive user interface
- Restore the old photos via Inpainting
- Comes up with the AI Neural networks
- 100% safe
- Step 1. Download HitPaw Photo Object Remover
- Step 2. Import Photo
- Step 3. Locate the Box Selection Tool or Brush Tool
- Step 4. Paint the object out or frame it
- Step 5. Modify Your Selection
- Step 6. Preview and Export the Photo
On your Windows computer, download HitPaw Photo Object Remover.
To add the picture you want to remove things from, click the picture box in the center. Alternatively, you could just put the picture into the edit box.

The program's bottom has the Brush or Box Selection tool.

The object that needs to be removed from your photo can be painted out or framed.
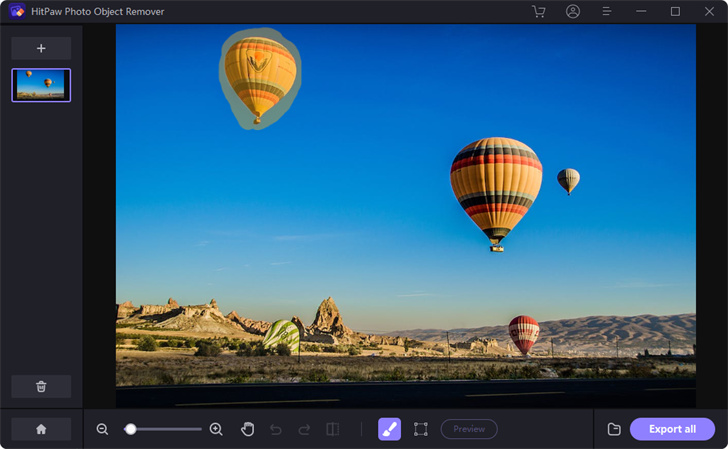
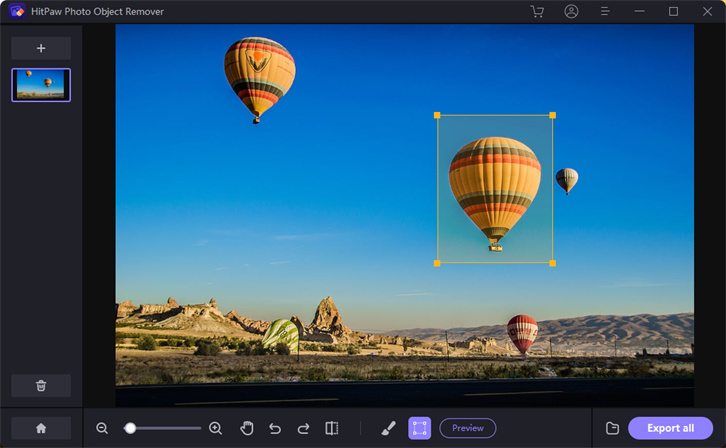
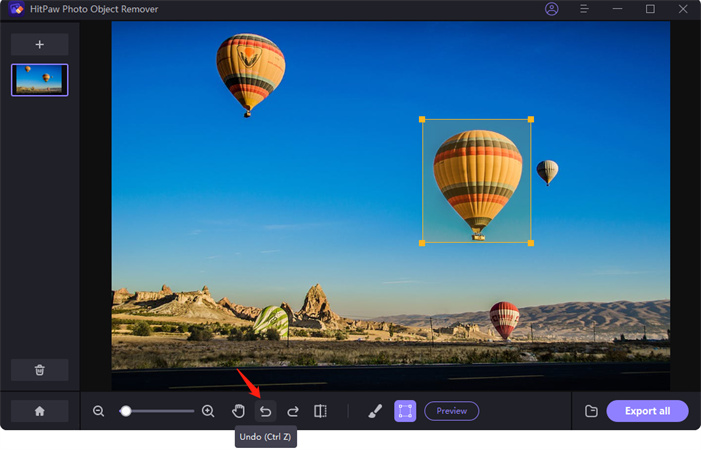
After choosing a frame, the chosen area will be highlighted. The remove area, add, and reduce selection can be changed as needed. By using the "Undo" button, you can reselect the object if you're not happy with the current selection zoom.
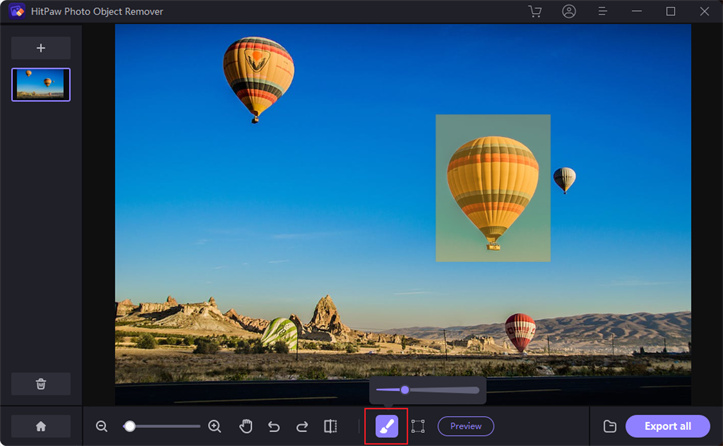
Additionally, by moving the size bar, you can change the Brush Size.
To remove an object from the photo, click "Preview". The last photo(s) will then be saved to your computer once you click "Export All" and browse the route for saving.


Part 3. FAQs of Adobe Illustrator Remove Background
1. How do I make white background transparent in Illustrator?
If you're considering to white background transparent in Illustrator, all you need to do is follow the guide below.
1. Navigate to the Menu bar in Adobe Illustrator and select the File. Next, tap the Export icon in the File Menu and choose the Export option.
2. Select the PNG icon after visiting the 'Save as type' menu bar. Tap on the Export icon to make the PNG options appear.
3. Navigate to the PNG options' Preview section and ensure that Background Color is Transparent Tap on the 'OK' icon to complete the proceedings.
2. How to cut out an image in Illustrator?
Cutting an image in Illustrator is pretty simple, as following the simple guide can put things in order.
1. Tap on the image after launching the photo in Adobe Illustrator, and upon clicking the picture, a Crop image option will appear. Next, select Quick Action after hitting the Properties Panel.
2. Tap on the Crop Image, and this will make the crop frame appear on the image. You can resize the frame by moving to the reposition.
3. Tap on the Apply icon to start cutting the cropped image.
Final Words
If you don't know how to remove background in Illustrator, this post has some excellent notes. We've listed the steps in detail to use remove background illustrator.
Unfortunately, sometimes Illustrator doesn't allow you to remove background on Illustrator, and in that situation, HitPaw Photo Object Remover is helpful.


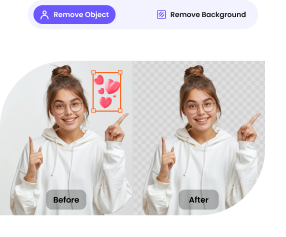
 HitPaw Video Object Remover
 HitPaw Watermark Remover
  HitPaw VikPea (Video Enhancer)



Share this article:
Select the product rating:
Daniel Walker
Editor-in-Chief
My passion lies in bridging the gap between cutting-edge technology and everyday creativity. With years of hands-on experience, I create content that not only informs but inspires our audience to embrace digital tools confidently.
View all ArticlesLeave a Comment
Create your review for HitPaw articles