6 Tips For Taking Professional Photos You Should Not Miss
Creating the images isn't a difficult thing, as you can use multiple devices to produce eye catching photos. The question here is whether producing a professional photo is an easier task. Unfortunately, creating a professional picture isn't as simple as you might have been thinking as several things are needed to be in the place to take professional pictures.
Luckily, this post reveals how to take professional photos by introducing 6 highly reliable tips about taking a professional portrait photo.
Part 1. What Is A Professional Photo?
A professional photograph is created for the personal brand or could be created for the infographic resumes. Creating a professional photo for job networking websites is also common. When you take a professional picture, the focus remains on the upper body, including the shoulders and head.
While taking professional photos, you'll need to ensure that you don't end up creating blurry or noisy images. To access the highly professional portrait photo, you can look at the tips listed below.

Part 2. 6 Tips Or Taking Professional Photos
1. Adjust the lighting for a better professional photograph
Lighting is one of the most defining factors behind the efficiency of the professional picture. If you've arranged the proper lighting focusing on the subject, the possibility of producing a highly professional portrait photo is great.
-Portraits lit from the front You can check the position of the lighting regularly to ensure that all the lighting objects are placed properly in the corresponding positions. You are recommended to put the lighting in front of the subject this way; the lighting will be inserted into the face of the subject while clicking the image.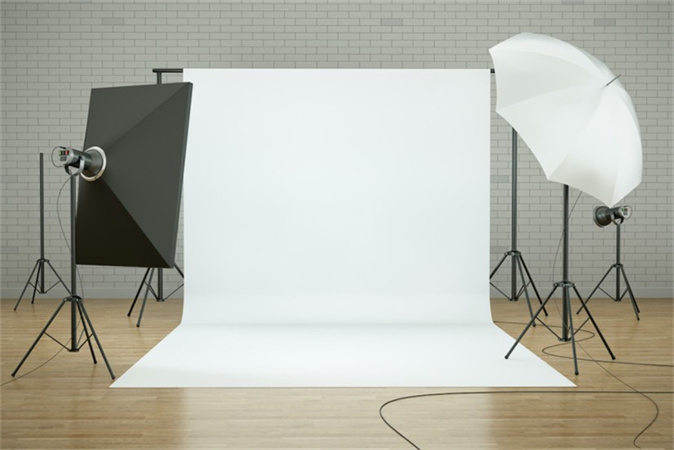
Regardless of how much effort you put into managing the artificial lighting, it can't compete with the natural light. Hence, if there is a possibility that you could get professional photos taken in natural light, you must go for it.
This way, you've got the luxury of producing the images with no blur, and you won't see any shortcomings in the picture. Hence, going for natural light rather than artificial light has more benefits while getting professional pictures taken.
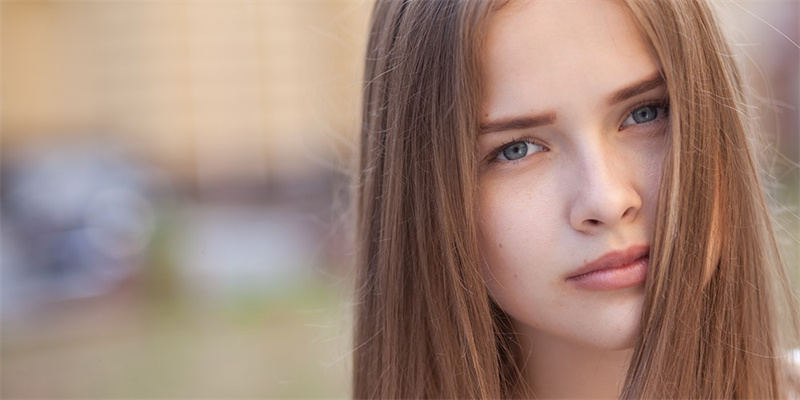
2. Ensure that at least 60% of the frame is your face
Taking a picture of you standing at the top of a mountain works wonderfully for multiple social media platforms, but it isn't recommended when you want to let people know about you and how you look. Hence, you must aim that your face fills up 60% of the frame. You can crop the picture from above the head or on top of the shoulder so that the face remains in most parts of the frame.

3. Professional photo need to be sharp
A professional photo can't look blurry, and there must not be any unwanted objects placed in the photo. No one bothers seeing blurry or noisy images, and especially if you're creating a professional portrait photo for business purposes, it must be sharp and elegant. Hence, you must pay huge attention to the shutter speed, lens quality, focus, and camera stability to make the professional portrait photo look sharp.

4. Learn your focus modes of the camera
If you don't know about the focus modes of your camera, you can't create a professional-looking photo. It implies that you must be able to know everything about the two focuses of the camera, including the manual focus mode and autofocus mode, to click the eye pleasing and top notch images.
5. Pay attention to the surroundings
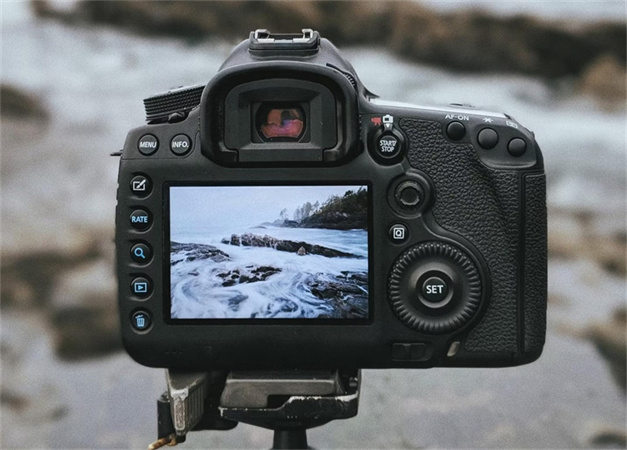
You won't help your cause of creating a magnificently professional photo if you don't pay attention to the surroundings while clicking the images. If distracting objects appear in the background of the images, you won't be able to get professional photos taken appropriately.
These will surely challenge the credibility of the taken images so removing the unwanted objects from the background is important while taking professional photos.
6. Get professional portrait photo with editing software
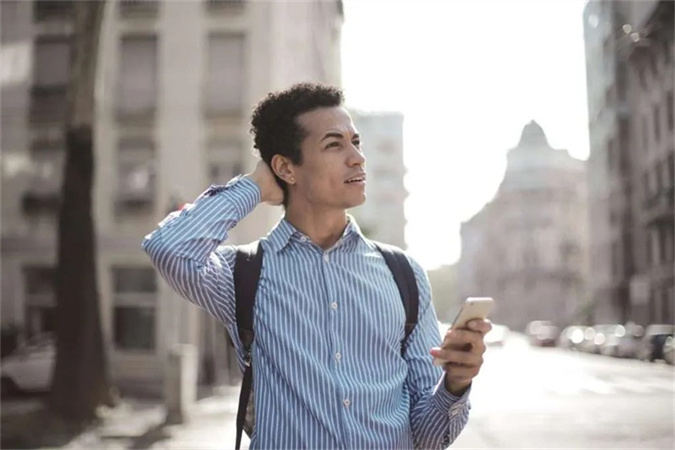
After clicking the images, there might be some avoidable shortcomings appearing on the images. Hence, you can look at the third party tool to eliminate that shortcoming and make the images look exciting and professional. You must go for the photo editing tool that doesn't affect the image quality while editing it.

Part 3. The Best Tool to Upscale Images With HitPaw FotorPea
You almost can't create the perfect picture in one go, as producing top notch and professional photo is only possible when you decide to edit them appropriately. Luckily, with the HitPaw FotorPea, you've found the gem of an editing tool that takes the quality of the professional portrait photo to the next level.
The significance of the HitPaw FotorPea is such that apart from enhancing the image quality, it also enables you to eliminate unwanted objects or backgrounds from the images. Another thing to like about the HitPaw FotorPea is that it is powered by AI technology, meaning you can upscale the image quality automatically. Moreover, HitPaw FotorPea also helps you to process multiple images simultaneously and you can perform the editing operations on these images in one go.
Features
- Helps you to edit the images automatically
- Doesn't mess up the image quality
- Offers a simple user interface
- Lets you explore the 7 outstanding AI models
- Enables you to remove annoying objects from the images
- Allows you to rip apart the annoying background from the picture
Here's the step by step guide to using the HitPaw FotorPea.
Enhancing the image quality-
Step 1.
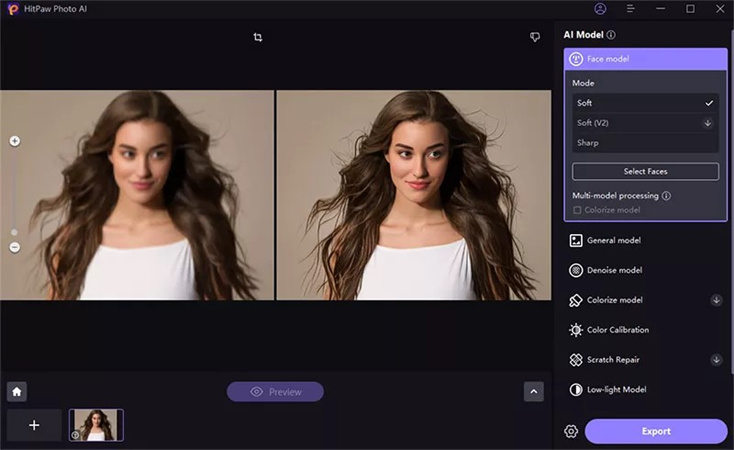
After jumping into the official webpage of the HitPaw FotorPea, you'll need to install the tool and start the program without wasting any time. Enter into the timeline of the HitPaw FotorPea and select the AI Enhancer. Next, click on the Choose File button to import the photo you'd like to improve the quality of. HitPaw FotorPea is compatible with multiple image formats, including TIFF, WEBP, JPG, PNG, etc.

-
Step 2.
HitPaw FotorPea presents you with 7 outstanding AI models, including the General Model, Face Model, Denoise Model, colorize model, color calibration, low light model, and scratch Repair Model. You can apply any preferred AI Model to enhance the image quality.

-
Step 3.
Press on the Preview icon to review the changes made by the HitPaw FotorPea, and you can then download the images by pressing the Export icon.

-
Step 1.
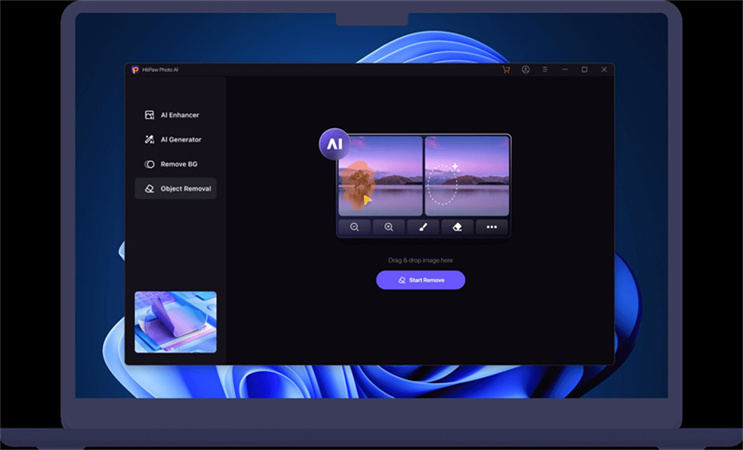
Start the HitPaw FotorPea on your computer and select the Object Removal button. Next, you'll need to choose and upload the photo you'd like to erase the unwanted objects from.

-
Step 2.
Now, you can rely upon the brush to select the unwanted objects you're going to delete from the image.

-
Step 3.
Once you've eliminated the unwanted objects from the photos, you'll need to press the Preview button to review the change. Next, hit the Export icon to download the photo into the selected folder of the file.

Final Words
Clicking the professional photo could ask you to put in a lot of hard yards. Luckily, we've listed the 6 brilliant tips that help you take professional photos to perfection. After acting upon the listed tips, you can learn how to take professional photos in a few moments. Upscaling the professional photo is necessary, and we've recommended the HitPaw FotorPea as the perfect way to enhance the image quality.
Apart from enhancing the image quality, HitPaw FotorPea also allows you to remove unwanted objects or image backgrounds.




 HitPaw Edimakor
 HitPaw Screen Recorder
 HitPaw VikPea (Video Enhancer)


Share this article:
Select the product rating:
Daniel Walker
Editor-in-Chief
My passion lies in bridging the gap between cutting-edge technology and everyday creativity. With years of hands-on experience, I create content that not only informs but inspires our audience to embrace digital tools confidently.
View all ArticlesLeave a Comment
Create your review for HitPaw articles