How to Effectively Optimize Images for Faster Web Performance
Have you ever wondered why some websites load faster than others or why some images look crisp and clear, while others appear blurry or pixelated? The secret behind the speed and clarity of images lies in optimizing images for the web. In this guide, we'll walk you through the importance of image optimization for websites, and provide you with essential tips to make your images load faster, look better, and enhance user experience.
Part 1. What is Image Optimization?
Image optimization refers to the process of reducing the size of an image without sacrificing its quality. This makes the image load faster while still appearing crisp and clear on the screen. The right image optimization strategies help reduce page load times, improve SEO, and ensure a better user experience. Compressing images for websites is one of the most common techniques used in this process, ensuring your images aren't bogging down your site's performance.
Part 2. Why Do I Need Image Optimization?
- Fast Loading Times: Optimized images load faster, which is crucial for keeping your visitors engaged. Faster pages mean lower bounce rates and higher user satisfaction, encouraging people to explore more of your website.
- Improved SEO: Search engines reward fast-loading websites with better rankings. Proper image optimization contributes to a faster page speed, helping improve your SEO. Since Google and other search engines prioritize user experience, optimized images can positively impact your website's visibility.
- Enhanced User Experience: No one likes to wait. Optimized images offer a smooth browsing experience, which means visitors are less likely to leave your site out of frustration. The quicker your images load, the more likely users are to stay, interact with your content, and convert into customers or subscribers.
Part 3. 5 Best Tips to Optimize Images for Web
Optimizing images for your website might seem complicated at first, but it's quite simple with the right tools and strategies. Here are five of the best ways to ensure your images are fully optimized for the web:
Tip 1. Save Images in the Proper Colour Space
Choosing the correct colour space for your images can play a vital role in image quality and file size. Colour spaces like RGB (Red, Green, Blue) are ideal for digital displays, while CMYK (Cyan, Magenta, Yellow, Black) is typically used for print. Saving images in the appropriate colour space ensures that they display accurately on screens without unnecessarily increasing the file size.
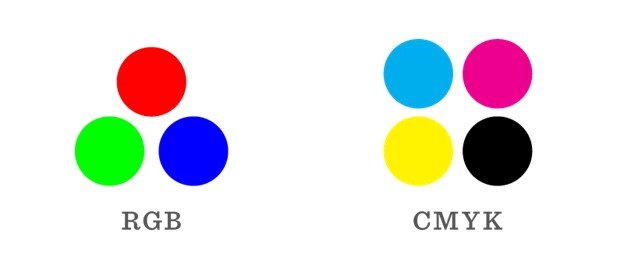
Using RGB colour space for web images ensures faster load times and a more accurate representation of colours. This small step can make a huge difference in improving your images' quality and performance.
Tip 2. Compress Image Sizes
For web use, it is recommended to keep image file sizes under 2MB (2048 KB) to ensure quick page loading while maintaining clarity. Image quality depends on factors like file size and compression settings. By applying 70-80% compression, you can typically achieve a balance between small file size and good visual quality.
HitPaw Univd (HitPaw Video Converter) is a powerful software not only allows you to compress and resize images but also supports image conversion. You can reduce the file size of your images without sacrificing quality, making your website load faster.
HitPaw Univd - All-in-one Video Solutions for Win & Mac
Secure Verified. 254,145 people have downloaded it.
- Fast Compression: Compress images quickly without compromising quality.
- Multiple Formats Supported: JPEG, PNG, WebP, TIFF, and more.
- Simple Interface: Easy for both beginners and professionals.
- Custom Settings: Adjust the compression ratio for specific demands.
- Batch Processing: Compress multiple images simultaneously.
Secure Verified. 254,145 people have downloaded it.
Step-by-Step Guide to Compress Images
HitPaw Univd provides an easy and efficient way to compress images for web while maintaining optimal quality. Here's a step-by-step guide to using the image compressor feature:
Step 1: Install and Launch HitPaw Univd
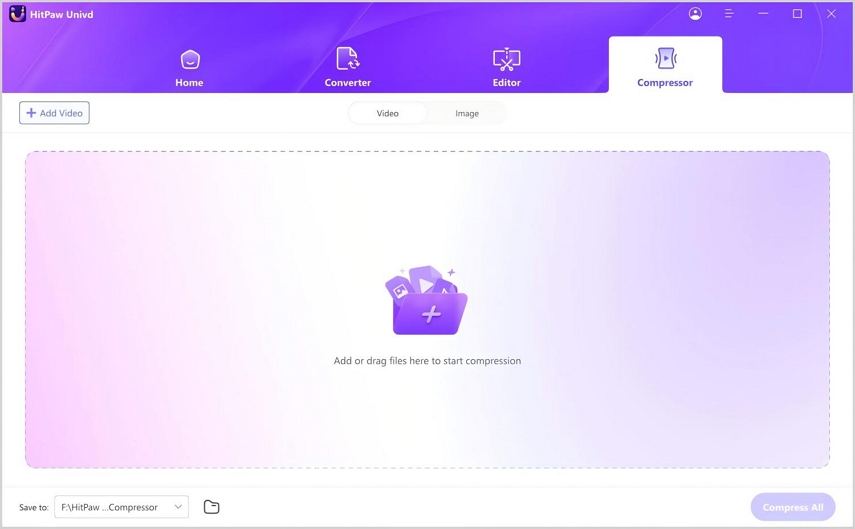
First, download and install the HitPaw Univd on your computer. Once installed, open the software and navigate to the Video/Image Compressor feature from the Toolbox section.
Step 2: Add Your Image
Next, click on the Add Image button to upload the image(s) you wish to compress. You can select multiple images at once if needed. If you want, you can rename the image by clicking on the pen icon next to the file.
Step 3: Select the Compression Settings
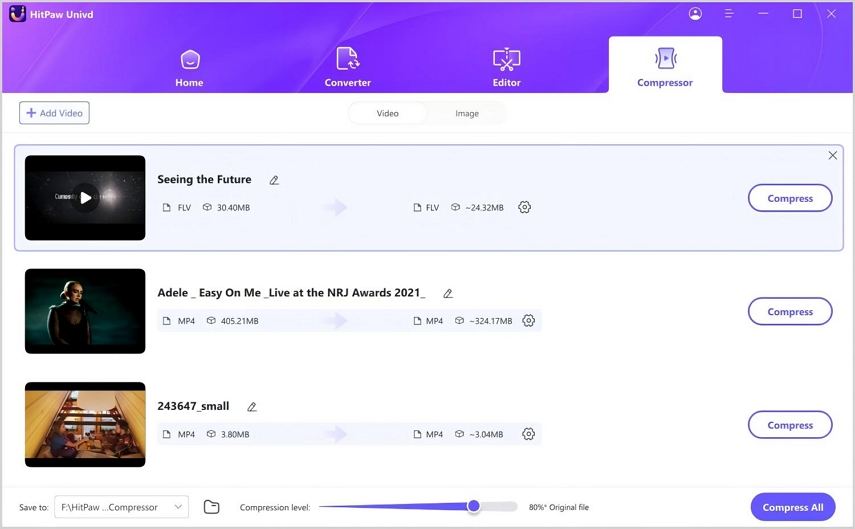
Click on the gear icon next to the image file to open the compression settings. From here, you can choose an appropriate compression level and quality for the image. If you want to apply the same compression settings to all images in the list, simply check the "Apply all to list" option. This ensures that the chosen compression level will be applied to every image you've added.
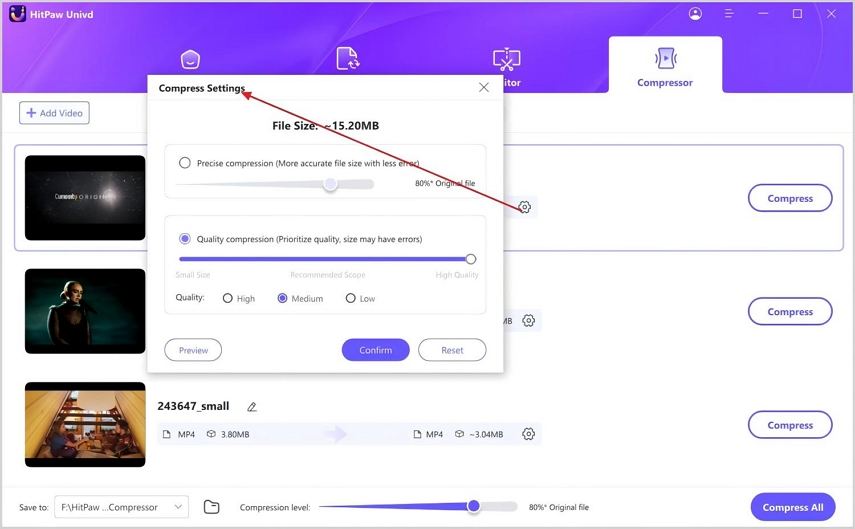
Once you've made your selection, click the Confirm button to save your settings. On the bottom left, you'll see the option to adjust the compression level-typically, a medium compression level is recommended for a balance between quality and file size. You can also see the expected size of the images before and after compression in the file list.
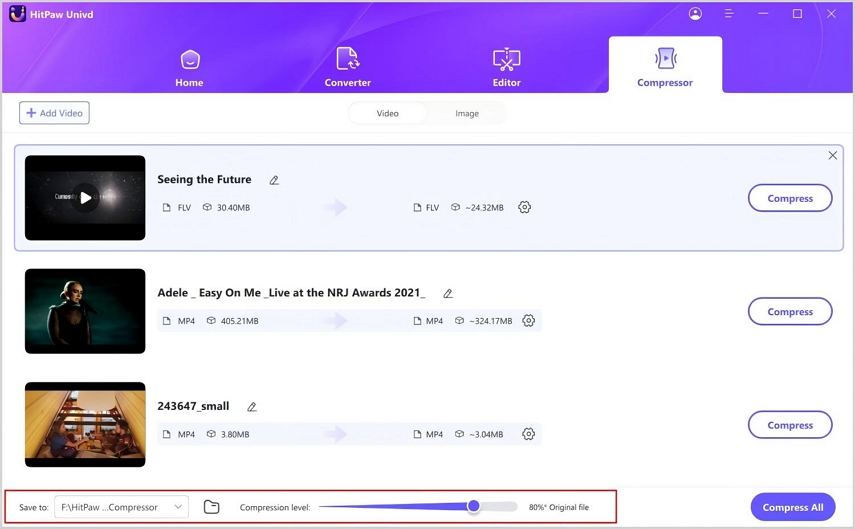
Step 4: Start Compression
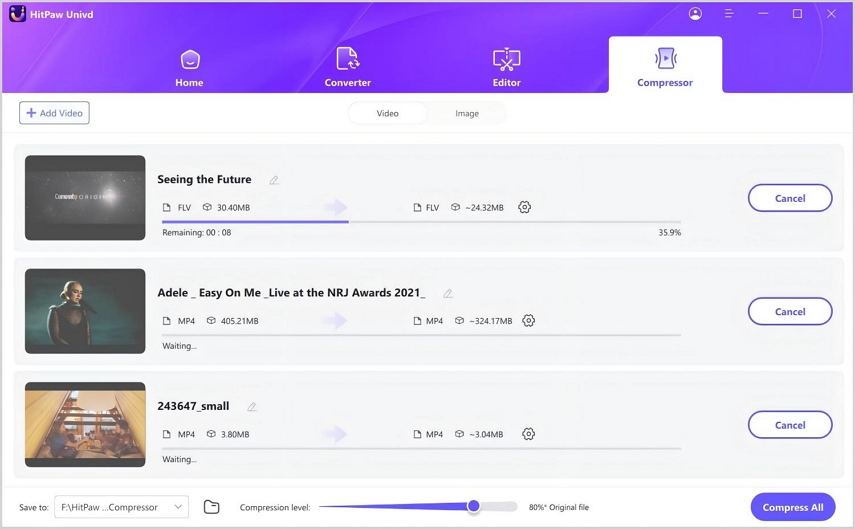
Finally, click the Compress button to begin compressing the image. After the process is complete, you can easily access the compressed image(s) from the output folder.
Tip 3. Choose the Right File Format
Choosing the right file format is essential to balance quality and file size. Here's a breakdown of the most common file formats and how they affect your website's performance.
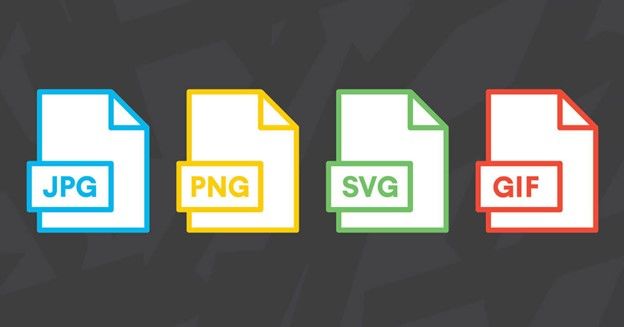
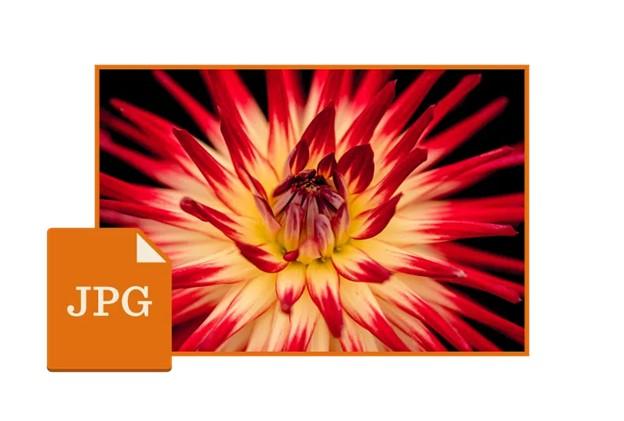
1. JPG (JPEG)
JPEG is one of the most commonly used formats for photographs and images with many colours. It provides a great balance between high-quality visuals and reduced file size, making it ideal for images that don't need transparency.
Pros
- High-quality compression with minimal quality loss.
- Smaller file size, making it ideal for large images.
- Widely supported across all browsers.
Cons
- Lossy compression (some quality is sacrificed during compression).
- Not suitable for images with transparency.
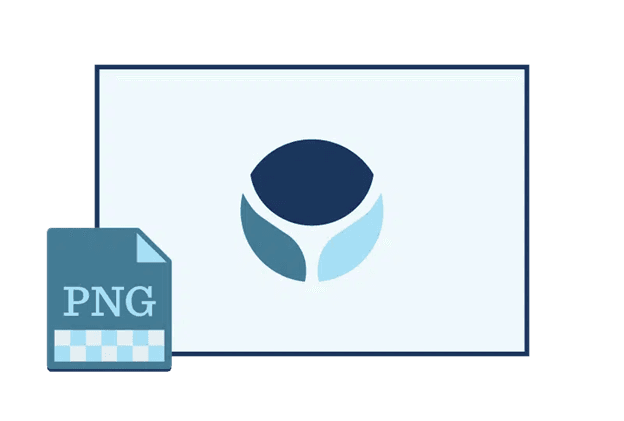
2. PNG
PNG is perfect for images with transparency or images that require a higher level of detail, like logos or illustrations. Though the file size may be larger compared to JPEG, the quality remains impeccable.
Pros
- High-quality images with no loss of data.
- Supports transparency, which is ideal for logos, overlays, and web elements.
- Great for images with text and sharp edges, preserving clarity.
Cons
- Larger file sizes compared to JPEG, which may impact load times.
- Not ideal for photographs or images with many colours.
3. GIF
GIF is a widely used format for images with limited colours, animations, and simple graphics. It supports transparency but is limited to 256 colours, making it less suitable for complex images.
Pros
- Supports animations, making it perfect for simple, looping videos or effects.
- Good for simple graphics and illustrations like buttons and icons.
- Smaller file sizes for basic images, helping improve website loading speed.
Cons
- Limited to 256 colours, making it unsuitable for high-quality images or detailed photographs.
- Not ideal for complex images that require a broad colour range, such as gradients or subtle textures.
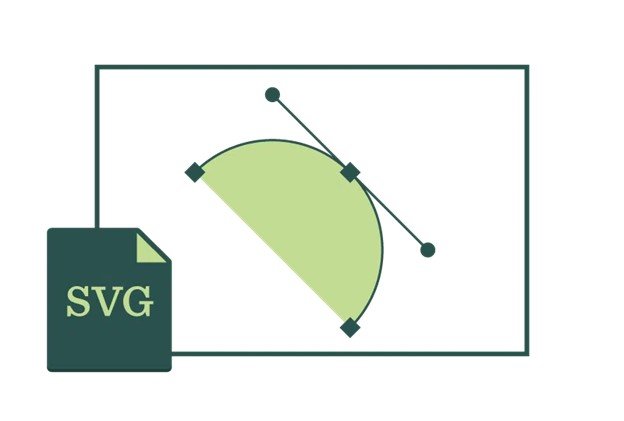
4. SVG
SVG (Scalable Vector Graphics) is a vector format ideal for web use. Unlike raster images (JPEG, PNG), SVGs are made up of lines, shapes, and text, making them infinitely scalable without losing quality. They are perfect for logos, icons, and simple illustrations.
Pros
- Scalable without losing quality, ideal for responsive web design.
- Small file sizes for simple graphics and illustrations.
- Can be edited directly in code, making it easy to modify.
Cons
- Not suitable for photographs or images with complex details.
- May require more advanced technical skills to create and optimize compared to other formats.
Tip 4. Optimize for High-Resolution Screens with Multiple Image Sizes
With mobile devices becoming the primary means of accessing digital content, they now feature screens with much higher resolution compared to traditional desktop displays. These high-density screens, often referred to as HiDPI, Retina, or high pixel density (over 200 pixels per inch or PPI), deliver more vivid and detailed visuals.
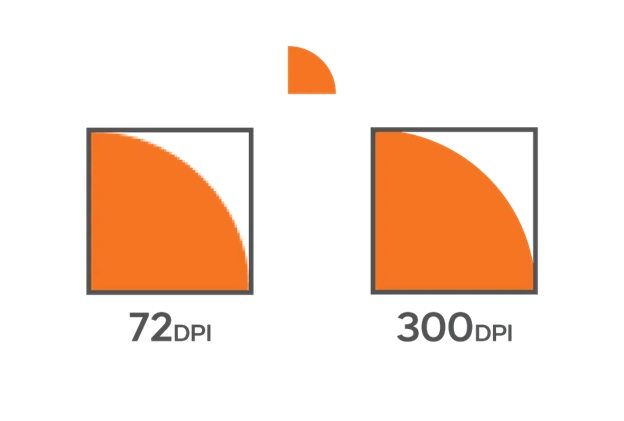
In contrast, desktop displays usually have a resolution of 72 PPI. When a 72 PPI image is viewed on a mobile device, it appears less sharp than when viewed on a desktop, as the image lacks the pixel density needed to match the clarity of high-resolution screens.
To ensure that images appear sharp across both mobile and desktop devices, graphic design software like Adobe Photoshop and Illustrator offers two primary options:
- 1. Export with @2x or @3x resolution:This technique generates image versions that are 2x or 3x the original size (i.e., 200% or 300% of the image's initial resolution). On mobile devices, the browser will automatically display the higher-resolution version, ensuring the image remains clear without disturbing the layout.
- 2. Export at a higher pixel resolution:Another option is to increase the resolution, such as saving the image at 96 or 150 PPI. While this boosts image clarity on high-resolution screens, it also results in larger file sizes due to the additional pixels added.
Tip 5. Increase Small Image Dimensions by 115% for Better Clarity
Sometimes, smaller images can appear pixelated or blurry, especially on high-resolution screens. If you've ever tried to zoom in on a small image only to see it become unclear or fuzzy, you know how important image clarity is. Increasing the image's dimensions by around 115% can improve clarity and make the image appear crisper.
This method works well for images that need to maintain high quality, such as product images or detailed graphics. By slightly enlarging the image, you allow for more pixels to display, which helps improve the image's sharpness, especially when viewed on larger screens or in high-definition formats.
Conclusion
By following these 5 tips, you can ensure that your website's images are optimized for performance, quality, and speed. Remember, compressing images for websites, choosing the right file formats, and using efficient tools like HitPaw Univd are all integral steps in ensuring your website performs at its best.



 HitPaw VoicePea
  HitPaw VikPea (Video Enhancer)
 HitPaw FotorPea


Share this article:
Select the product rating:
Daniel Walker
Editor-in-Chief
My passion lies in bridging the gap between cutting-edge technology and everyday creativity. With years of hands-on experience, I create content that not only informs but inspires our audience to embrace digital tools confidently.
View all ArticlesLeave a Comment
Create your review for HitPaw articles