Unleash The Power of Masking Images
In today's visually-driven world, images play a pivotal role in conveying messages, emotions, and stories. To make these images truly stand out, professionals and enthusiasts alike are turning to a technique known as image masking. In this article, we'll dive deep into the art of masking images, exploring what it is, how it's done, and addressing some common questions that often arise.
Part 1. What is Masking Images?

Masking images is an essential concept in the realm of graphic design and image manipulation. At its core, it involves isolating and manipulating specific portions of an image while leaving the rest unaffected. Think of it as a digital version of creating intricate stencils to paint with precision. To fully grasp the concept, let's take a closer look at its applications.
When we talk about masking images, one of the most prominent players in the field is Google's AI image generator. This revolutionary technology takes image masking to new heights, enabling users to seamlessly remove or replace backgrounds, enhance subjects, and add artistic elements. It's a tool that exemplifies the power and potential of image masking.
Part 2. Comprehensive Image Masking Tutorials | How To Do It?
Now that we understand the essence of masking images, let's delve into the practical aspects of how it's done. Adobe Photoshop, a household name in graphic design, offers a plethora of tools for masking images effectively. Below, we've outlined a step-by-step guide to walk you through the process:
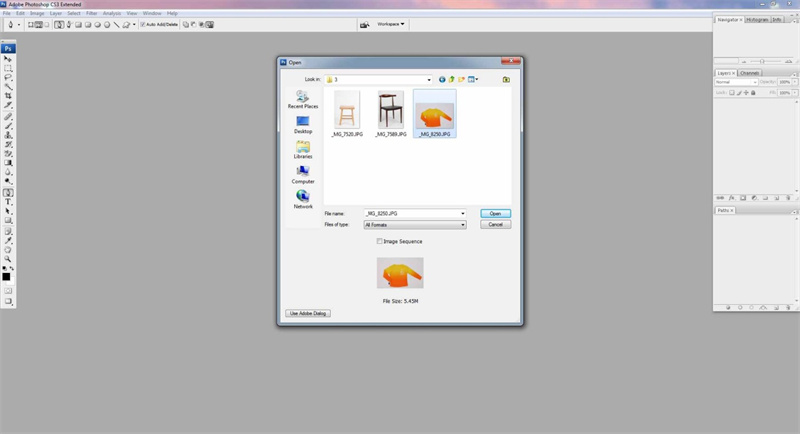
Step 1: Select Your Image
Begin by opening your image in Photoshop. Choose an image that could benefit from selective adjustments or background removal. This could be a portrait, product photo, or any image where you want to isolate certain elements.
Step 2: Duplicate the Layer
To avoid making irreversible changes to your original image, duplicate the layer. This will serve as your working copy, allowing you to experiment without fear of damaging the original.
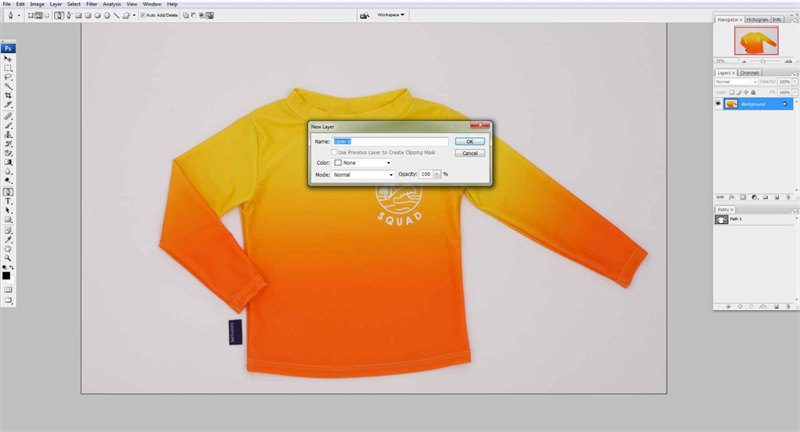
Step 3: Create a Layer Mask
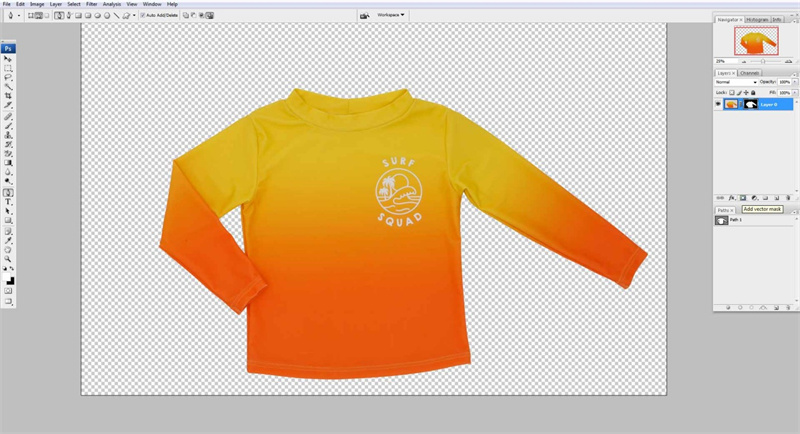
With your duplicated layer selected, click on the layer mask icon at the bottom of the Layers panel. This will create a mask linked to your layer.
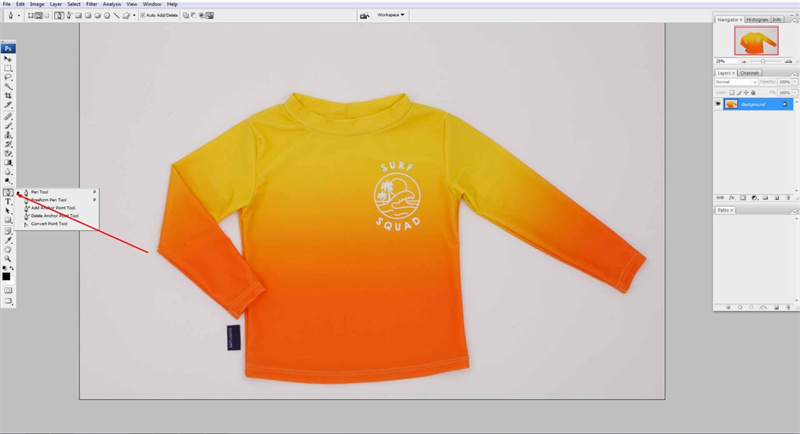
Step 4: Paint on the Mask
Now comes the creative part. Use the Brush tool to paint over the areas of the image you want to hide or reveal. Black conceals, while white reveals. You can adjust the opacity and hardness of the brush for precise control.
Step 5: Refine and Fine-Tune
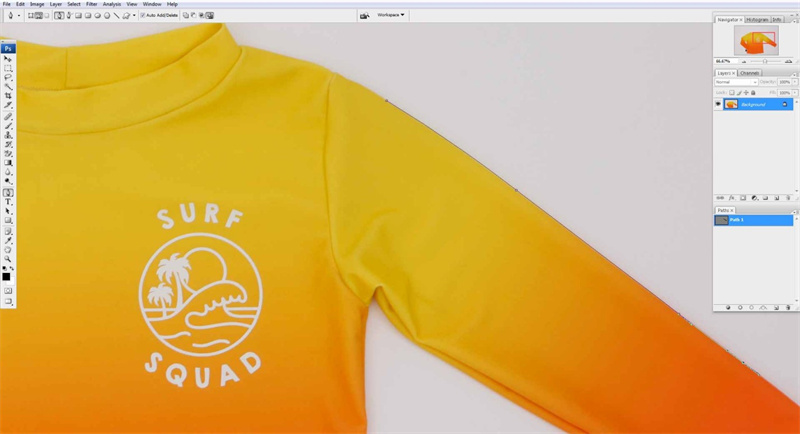
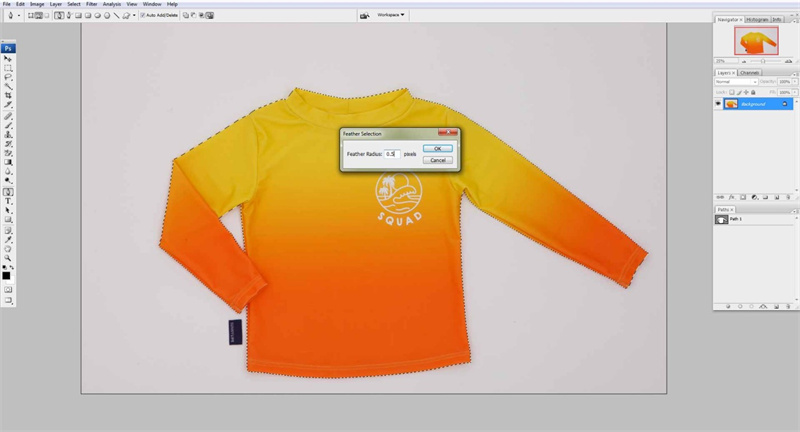
Refinement is the key to achieving professional results. Zoom in, take your time, and use a variety of brush sizes to work on intricate details. You can also use filters, adjustments, and blending modes to enhance the masked elements.
Step 6: Save Your Work
Once you're satisfied with the results, save your image in a format that supports transparency, such as PNG. This will preserve the masked areas, making it easy to overlay them onto other backgrounds or use them in various projects.
By following these steps and practicing, you'll unlock the potential of image masking in Adobe Photoshop, giving your creative projects a professional edge.
Part 3. FAQs of Masking Images
Like with any expertise or method, inquiries naturally emerge. We will now tackle a selection of the commonly posed queries regarding the practice of image masking.
Q1. How do I mask a picture in a photo?
A1. Concealing an image within another photograph entails utilizing software such as Photoshop to separate the main subject from its surroundings. This process entails crafting a mask that designates the visible and concealed portions of the image, enabling the seamless amalgamation of various photo components into a unified composition.
Q2. Is it hard to Photoshop a person into a picture?
A2. Creating a composite image by seamlessly integrating a person into a picture can present challenges, particularly when aiming for a lifelike outcome. This endeavor demands meticulous consideration of factors such as lighting, perspective, and shadows. Nevertheless, through dedicated practice and the application of effective methods, you can attain remarkable and convincing results.
Q3. What is masking in design?
A3. In the world of design, masking refers to the process of concealing or revealing specific parts of an image or design element. It's a technique used to create visually appealing effects, such as blending images, creating gradients, or applying textures selectively. Masking allows designers to exercise precise control over the visual impact of their creations.
Part 4. Ultra-tips: AI Enhancer to Fix Blurry Masking Images
When it comes to perfecting your masking images, one of the ultimate tips in your toolbox is the HitPaw FotorPea. This AI-powered photo enhancer is highly recommended for its exceptional capabilities in enhancing the quality of images and pictures. Let's delve into why HitPaw FotorPea stands out and how you can use it to take your masking images to the next level.
Why Choose HitPaw FotorPea?
AI Enhancing Power
HitPaw FotorPea harnesses the power of cutting-edge AI algorithms to breathe new life into your images. It goes beyond conventional image enhancement techniques, using AI models to automatically detect and improve various aspects of your photos.
Upscale to 4K ResolutionOne of its standout features is the ability to upscale images to 4K resolution. This means your masking images, even if they started out with lower quality or resolution, can be transformed into stunning high-resolution creations. Perfect for those who demand the utmost clarity and detail.
Mature AI TechnologyHitPaw FotorPea is built on mature AI technology, ensuring consistent and impressive results. Whether you're enhancing a portrait, product photo, or any other image, you can rely on its AI-driven enhancements to deliver exceptional outcomes.
Simple and Clean InterfaceUnlike complex software that may have steep learning curves, HitPaw FotorPea prides itself on its user-friendly interface. It's designed to be straightforward and intuitive, making it accessible to both beginners and experienced users.
How to Use HitPaw FotorPea
Using HitPaw FotorPea is a breeze, thanks to its user-friendly design. Here's a quick guide on how to enhance your masking images with this powerful tool:
Step 1. Download and Install:Visit the official HitPaw FotorPea website and download the software. Follow the installation instructions to set it up on your computer. After installation, launch HitPaw FotorPea.
Step 2. Add Your Image:Click the "Choose Files" button to select the image you want to enhance. The software will load the image into its workspace.

Step 3. Choose Enhancement Options:You'll find various enhancement options on the interface. Select the ones that best suit your image enhancement needs. You can upscale the resolution, improve sharpness, and enhance colors, among other adjustments.

Step 4. Preview and Save Your Enhanced Image:Hit the "Preview" button to see a preview of the enhancements applied to your image. If you're satisfied, click "Apply" to save the enhanced image. Choose a destination folder on your computer to save the enhanced image. HitPaw FotorPea will process the image and save it with the improvements you selected.

Bottom Line
In the world of image masking, achieving crisp and sharp results is essential, and that's where HitPaw FotorPea truly shines. By combining the prowess of AI technology with its user-friendly interface, it empowers you to fix blurry masking images and elevate them to a professional level.
Don't wait any longer to experience the magic of HitPaw FotorPea. Visit the official website and take the first step toward enhancing your masking images like never before. Your visuals deserve the best, and with HitPaw FotorPea, you're one step closer to perfection. Try it today and witness the transformation for yourself!



 HitPaw Watermark Remover
  HitPaw Edimakor
 HitPaw VikPea (Video Enhancer)


Share this article:
Select the product rating:
Daniel Walker
Editor-in-Chief
My passion lies in bridging the gap between cutting-edge technology and everyday creativity. With years of hands-on experience, I create content that not only informs but inspires our audience to embrace digital tools confidently.
View all ArticlesLeave a Comment
Create your review for HitPaw articles