[Detailed Guide] How To Use Inkscape Remove Background From An Image
Thus, looking at the Inkscape remove background makes sense, enabling you to remove the image background quickly. Inkscape makes everything simple and won't cause any image quality loss, making it effortless to rip apart the image background.
Read this post to learn how to remove background in Inkacape.
Part 1. How To Use Inkscape Remove Background From An Image
Inkscape comes up with more benefits than any other tool as it comes up with more enhanced and eye catching features than the rest of the tools. The best thing about Inkscape is that it maintains the original quality of the images by ensuring that nothing is compromised, making the photos look flawless.
Although you can argue that Inkscape's interface could be better for newbies looking to rip apart the image background without prior knowledge, it is still worth trying.
Here's the step by step and detailed guide below to learn how to remove background in Inkscape.
1.First, all you need to do is install Inkscape after visiting the official website of this remarkable tool. Next, you'll need to launch the software to initiate the proceedings. Move into the file menu and import the photo you want to edit. After importing the image, you'll need to drag it to the timeline of Inkscape.

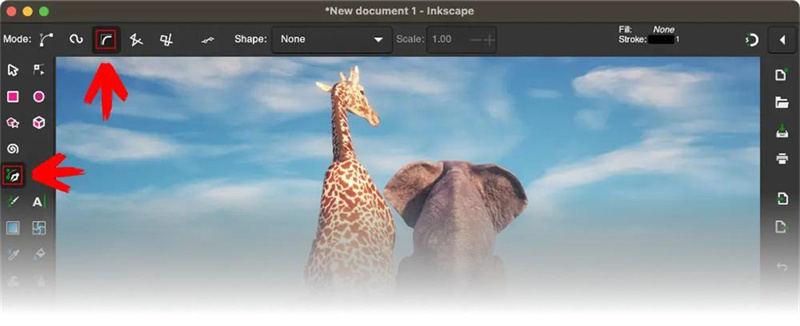
2.The Trace Bitmap feature is unavailable if you want to remove background in Inkscape of a complete image. You can navigate to the left toolbox and select the Bazier Tool.
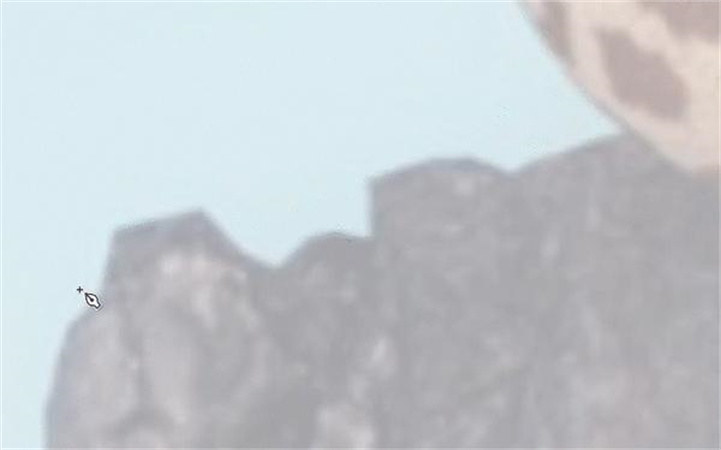
3.In this phase, you can outline your main object until the ending mode and starting node coincide. Once the outline turns into a selection, you can refine your selection by adding the anchor points to your outline before adjusting them.

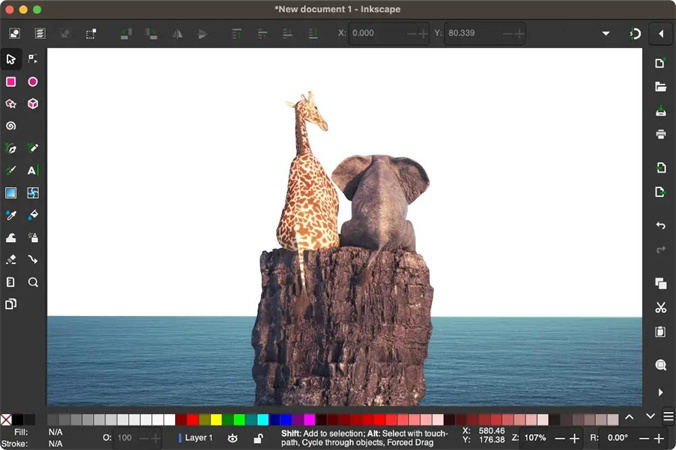
4.Navigate to the toolbox and tap the ''Select and Transform'' icon. Press and hold the Shift key on the keyboard and visit the ''Object'' menu. Click on the Set icon after hitting the Clip icon, and that's all you need to do to learn how to remove a background in Inkscape. Next, you can save the photos in PNG format after putting everything in order.

Part 2. How to Remove White Background in Inkscape
Opting for the Inkscape remove white background is also quite possible courtesy of the professional features of the Inkscape. Erasing the white background through Inkscape is slightly different from erasing the other.
Dive into the complete and detailed guide below to learn to use the Inkscape remove white background technique.
1.After installing and launching Inkscape on your PC, click the File menu icon and select the Import option. This way, you can import the photo from which you'd like to remove the background.
Tip:
If you want to witness the background removal process appropriately, you can draw the rectangle with various colors before importing the image with a white background.
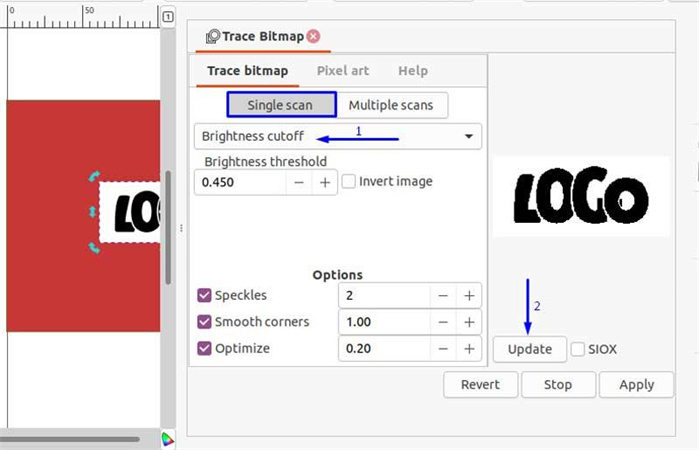
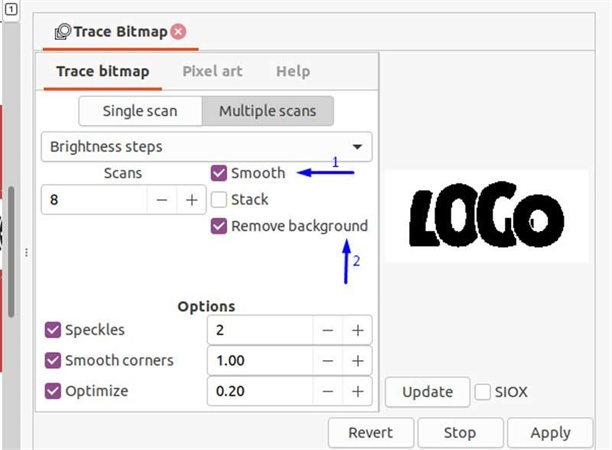
2.Select the Trace Bitmap after navigating to the ''Path menu''. After entering the Trace Bitmap panel, tap on the Single Scan and select the Brightness cutoff. Tap the Update icon to make the photo appear in the white and black scale.

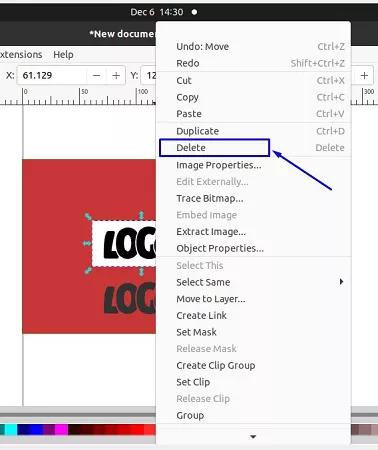
3.Tap the Multiple Scans icon and check the Remove Background and Smooth boxes afterward. Tap on the Apply button after hitting the Update icon. After clicking on your main object, you'll need to press the ''Delete'' button.

Part 3. The Best PC Alternative to Remove Background from Image with HitPaw Photo Object Remover
Looking at the Inkscape remove background is worth your attention; hundreds of people love going that way. Unfortunately, new users won't enjoy using Inkscape as it has a tricky user interface. Hence, looking for the Inkscape alternative is the way to go, and that enables you to remove the image background effortlessly.
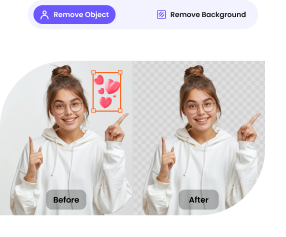
HitPaw Photo Object Remover has wonderful AI technology that stimulates removing the background from the images and automatically looks simple and joyful. Apart from erasing the background from the images, HitPaw Photo Object Remover also allows you to apply the eye catching colors to the background making the image look flawless.
Features:- It lets you eliminate the annoying background from the photos in a few clicks.
- It helps you to alter the background color quickly.
- Erase the objects from the images quickly.
- Allows you to identify unwanted objects before dismantling them automatically.
- Comes up with the simple user interface.
Here's the step by step guide to learn how to remove background from the photo via HitPaw Photo Object Remover.
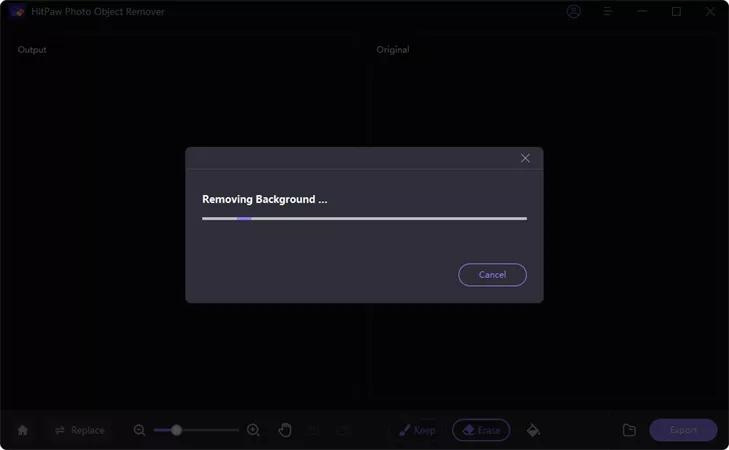
Step 1: Visit the official website of the HitPaw Photo Object Remover and install the software afterward. Next, you must launch the HitPaw Photo Object Remover and click the Remove Background icon.

Step 2: Upon uploading the image, HitPaw Photo Object Remover will automatically rip apart the background from the photos. Next, you can see the difference between input and output photos.


Step 3: You can customize the original image and select the part of the photo you'd like to keep by hitting the Keep icon.

Step 4: Tap the ''Erase'' icon to select the area you want to remove.

Step 5: After customizing the image background, you can choose the desired background color.

Step 6: Tap on the Preview icon and then press the Export button to download the photo on PC. Reviewing the photos before getting them downloaded enables you to make some last-time adjustments without uploading the images from scratch.

The Takeaway
Adopting the Inkscape remove background will help you to get rid of the unwanted image background, keeping the original quality of your images intact. Unfortunately, Inkscape offers a hectic user interface, and newcomers enjoy using it to eliminate the image background.
Hence, HitPaw Photo Object Remover emerges as the best alternative to the remove background Inkscape as it helps you to dismantle the image background automatically.





 HitPaw Edimakor
 HitPaw VikPea (Video Enhancer)


Share this article:
Select the product rating:
Daniel Walker
Editor-in-Chief
My passion lies in bridging the gap between cutting-edge technology and everyday creativity. With years of hands-on experience, I create content that not only informs but inspires our audience to embrace digital tools confidently.
View all ArticlesLeave a Comment
Create your review for HitPaw articles