[Step-by-step Guide] How to Remove the Background of a Picture in Word
Adding images to documents in Microsoft Word can visually enhance your work and help convey key information. However, the background of an inserted image may be distracting or unprofessional. Fortunately, Word provides a simple way to remove background of picture in word right within the app. This allows you to isolate the main subject and eliminate clutter.
In this step-by-step guide, you'll learn how to remove the background of a picture in Word on both Windows and Mac. We'll cover adjusting image transparency settings, using the built-in Remove Background tool, and cropping away extraneous background areas. Read on to improve the professionalism of your Word files with a few easy edits and learn how to remove background from picture in word.
Part 1. How to Remove the Background of a Picture in Word
Removing distracting or unnecessary backgrounds from images in Word is easy thanks to the built-in Remove Background tool. In just a few clicks, you can delete the background while keeping the main subject intact.
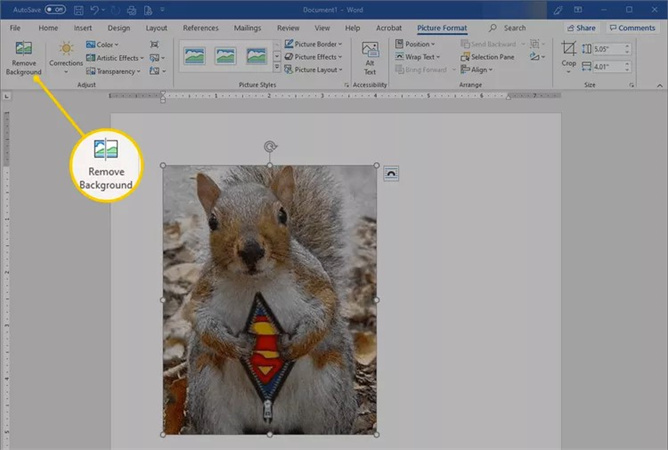
After inserting an image into your Word document, follow these steps to know how to remove a picture background in word:
- 1.Select the image you want to edit.
2.On the Picture Format tab (or Format tab in older versions), click "Remove Background."

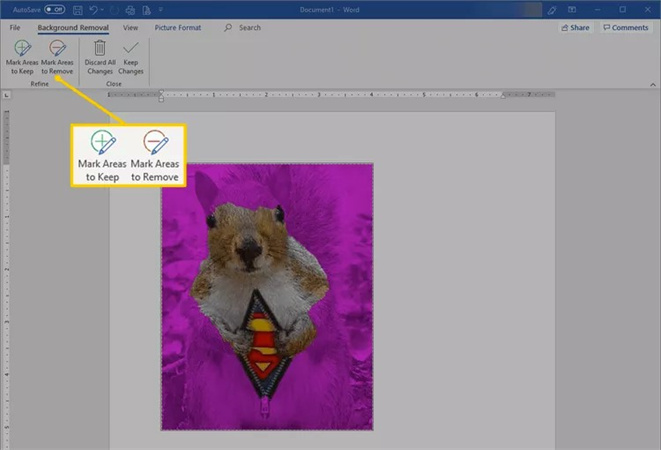
- 3.Take a look at the magenta highlight. This shows the areas Word thinks should be deleted.
- 4.If you want to keep any of the magenta sections, click "Mark Areas to Keep." Then, select those parts of the image to remove the highlighting.
5.To mark more areas for removal, click "Mark Areas to Remove." Select any additional parts of the image you want to delete.

- 6.Once you've highlighted everything you want to remove in magenta, click "Keep Changes."
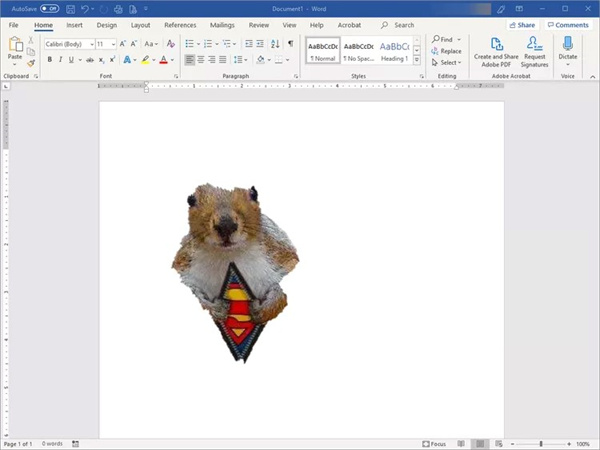
7.The edited image will now appear without the background.

- 8.If you're not happy with the result, go back to the Picture Format tab and tweak the background removal settings. So, this is how to remove background from a picture in word.
Part 2. The Best Alternative to Remove Image Background with HitPaw Photo Object Remover
Looking for a powerful yet easy way to remove backgrounds and objects from your photos? Is it difficult for you to understand how to remove background in picture in word? If so, then try an easier alternative.
HitPaw Photo Object Remover is an AI-powered software that makes editing photos a breeze. With just a few clicks, you can erase distractions, change backgrounds, and restore old images.
FeaturesSome of the impressive features of HitPaw Photo Object Remover include:
- AI Technology - Advanced artificial intelligence accurately detects backgrounds, objects, and flaws for instant removal. No tedious manual editing required.
- Background Removal - Instantly delete and replace backgrounds with the color of your choice. Great for product shots, portraits, and more.
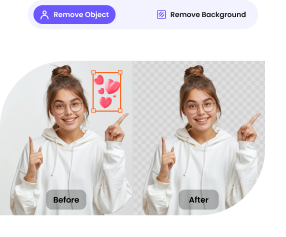
- Object Removal - Easily remove unwanted people, clutter, text, and blemishes from any photo. The AI identifies objects to erase.
- Photo Restoration - Repair old, damaged photos by removing stains, creases, scratches, and grain. Bring new life to vintage images.
- Beginner-Friendly - Simple one-click edits make photo editing accessible for anyone. No complex tools to learn.
- Fast Processing - Quickly get professional results thanks to GPU acceleration and neural networks.
To get started with HitPaw, download and install the software on your Mac or Windows computer. After launching the app, follow these steps:
Step 1:First, open the photo you want to edit. On the HitPaw interface, choose "Remove Background" mode. The software will automatically detect and erase the existing background using AI technology.

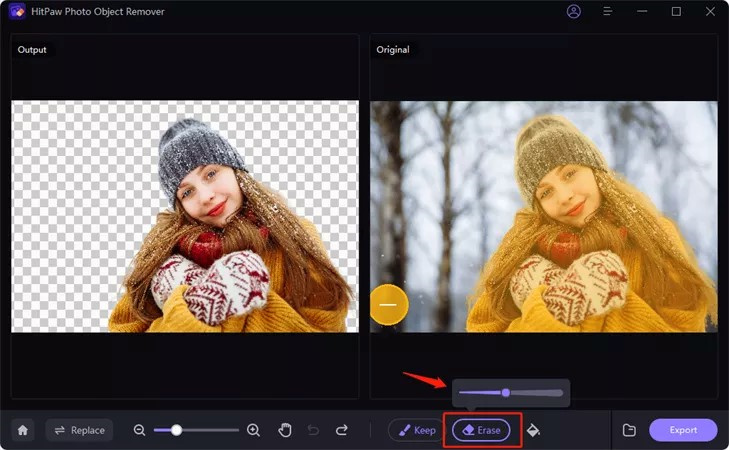
Step 2:Next, use the Keep tool to paint over any important foreground areas you want to preserve, like a product or person. This tells HitPaw not to remove those parts.

Step 3:If any leftover background areas remain, use the Erase tool to paint over them and remove the remnants.

Step 4:Once the background is completely removed, you can pick a new background color or image to replace it. Click the color picker to select a solid color or import a background photo.

Step 5:In the end, preview how the photo looks with the new background. When you're satisfied, export the edited photo to apply the changes.

Part 3. FAQs of How to Remove Background from Picture in Word
Q1. Can I change the background of a photo in Word?
A1. Yes, it is possible to change the background of a photo in Word. The Remove Background tool built into Word allows you to delete an existing photo background and replace it with a new color or picture. After inserting the image, use the Remove Background button on the Picture Format tab. Mark areas to remove, choose a new background, and preview the change.
Q2. How do I remove background color from copy in Word?
A2. To remove a background color from copied text in Word, first paste the text where you want it. Then select the pasted text and access the Font dialog box under the Home tab or Font section. Go to the Shading tab, choose No Fill as the background color, and click OK. This will remove any colored background from the copied text.
Final Thoughts
Removing distracting backgrounds from images in Word documents helps give your files a polished, professional look. While Word has a built-in Remove Background tool, it can be tricky for you to learn how to remove background of a picture in word.
The AI-powered HitPaw Photo Object Remover provides an easier alternative. With HitPaw, erasing backgrounds takes just a click rather than meticulous selections. For fast, flawless photo editing, HitPaw Photo Object Remover beats manual methods. The AI does the hard work for you, whether you're a beginner or a pro.





 HitPaw Video Object Remover
 HitPaw VikPea (Video Enhancer)


Share this article:
Select the product rating:
Daniel Walker
Editor-in-Chief
My passion lies in bridging the gap between cutting-edge technology and everyday creativity. With years of hands-on experience, I create content that not only informs but inspires our audience to embrace digital tools confidently.
View all ArticlesLeave a Comment
Create your review for HitPaw articles