[Mac&Win] How to Remove Background from Picture in Powerpoint Mac and Windows
PowerPoint is a wonderful tool to create eye catching and breathtaking presentations without putting in the extra effort. Unfortunately, sometimes it might happen that after adding the photo to the PowerPoint interface, you don't like the image's background.
Since you can't go to another tool to remove the image background, as it might take extra time, finding a way to remove it in PowerPoint is handy. The good thing is that this post will reveal a simple guide below to help you learn how to remove background from picture in PowerPoint.
Part 1. How to Remove Background from Picture in Powerpoint on Mac
If you don't like the image background and would love to remove it on PowerPoint, there is good news for all Mac users. Mac enables you to erase the background from the image on PowerPoint without affecting the image's quality.
You can watch out for the step by step guide listed below to learn how to remove a picture from background in PowerPoint on Mac.
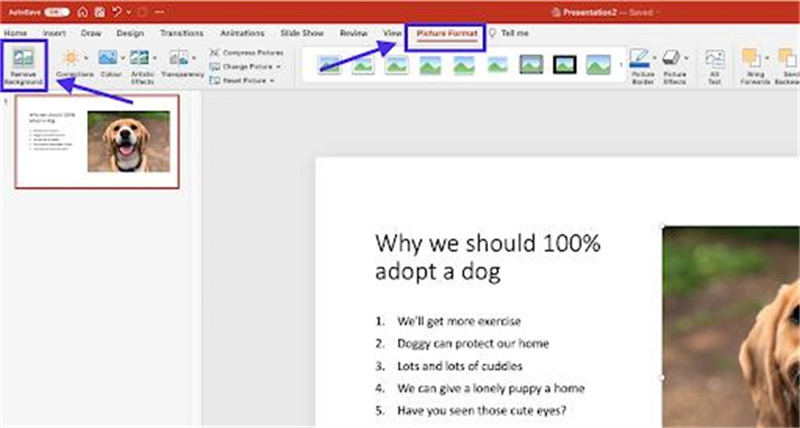
1.To begin with, you'll need to launch the Presentation in your PowerPoint and select the photo you'd like to remove the background from. After visiting the Picture Format tab, select the ''Remove Background'' icon.

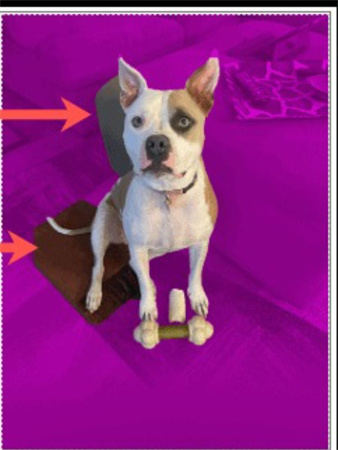
2.Now, PowerPoint will remove the background from the photo automatically. You can click on the Keep Changes icon to save all the changes. But, the issue here is that the background areas, like furniture and floor, still need to be completely removed. So what are you going to do now?
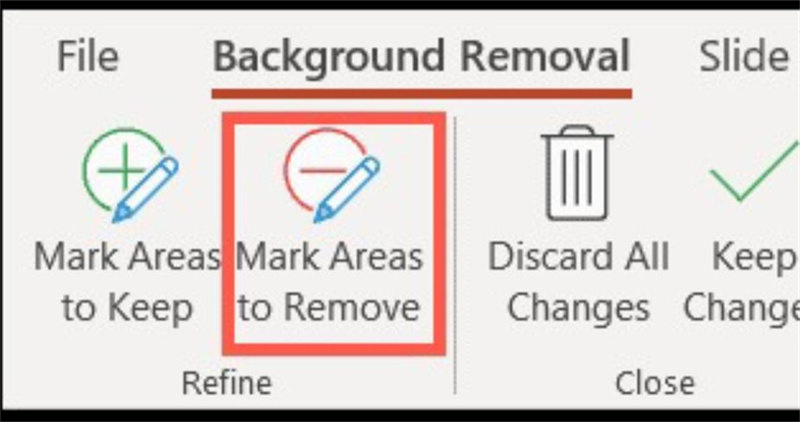
3.Tap the Mark Areas to Remove icon and rely on the pencil to draw the area you want to remove.


4.Now, you can see that the dog's tail is colored. You can again tap on the ''Mark Areas to Keep'' icons and then choose the area you'd like to delete.

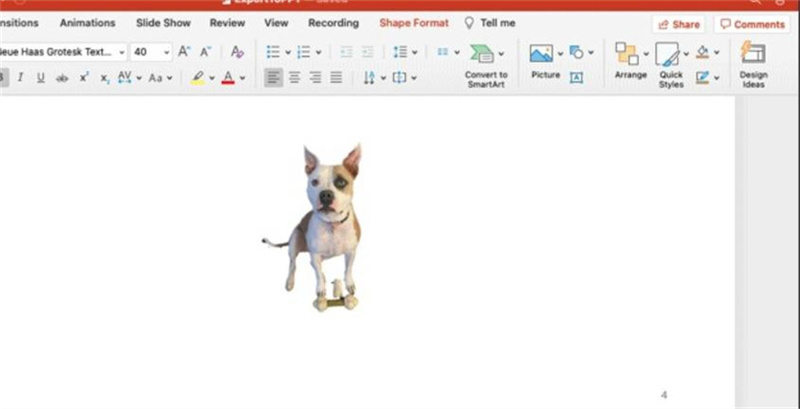
5.Once you remove the background from the image, click the ''Keep Changes'' icon.

Part 2. How to Remove Background from Picture in Powerpoint on Windows
Removing the background from an image is also pretty manageable on Windows 10. For that matter, you can rely upon the remove background tool of PowerPoint to get things done. The best aspect to like about PowerPoint is that it doesn't mess up the overall quality of the Presentation while removing the background from the images.
Here's the step by step guide to learning how to remove a background from a picture in PowerPoint on Windows.
1.Launch the PowerPoint and press on your picture after selecting it.

2.Navigate to the Picture Format icon and click on the Remove Background icon. Now, PowerPoint tends to highlight or select the parts of your photos it recognizes as background.

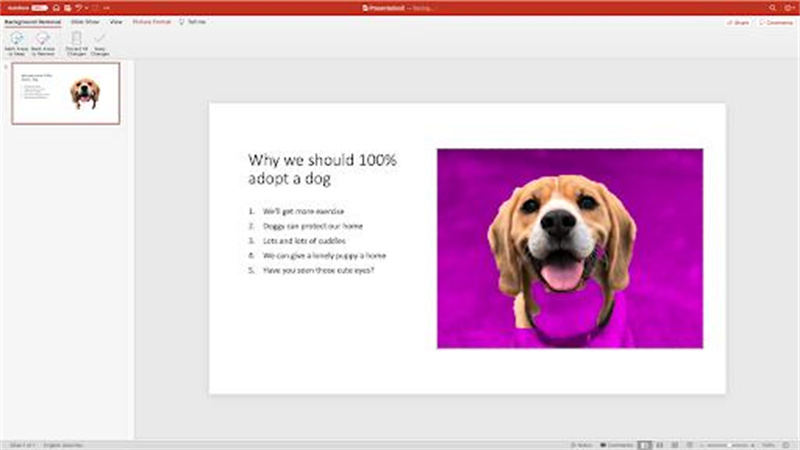
3.Now, you'll see the image looks like this. The purple area shows that the previous background of the image has been removed. Although purple covered the background area, it also made the neck of the dog disappear. Thus, we'll try to customize the object of the photo we'd like to keep.

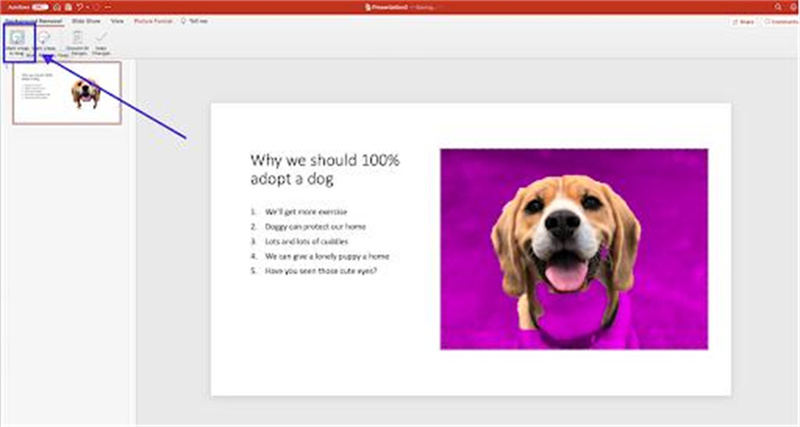
4.Visit the left hand corner of your menu and choose the Mark Areas to Keep. Now, you can select the part of images you'd like to keep and not allow them to get deleted with the background.
To do it, you can drag the part of the area you'd like to keep and highlight the area.

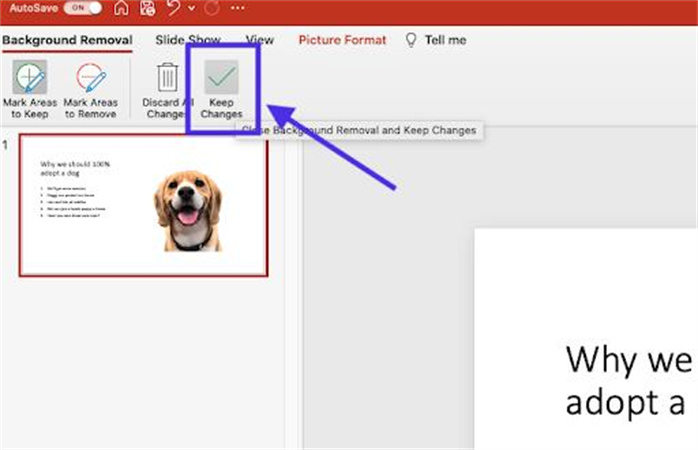
5.If you're satisfied with the results and don't want further changes to the photo, click on the Keep Changes icon.

Part 3. The Best PC Tool to Remove Image Background with HitPaw Photo Object Remover
Apart from taking extra time, removing the image background on PowerPoint could end up causing the quality loss of the image. Thus, looking at the HitPaw Photo Object Remover to dismantle the image background automatically makes sense.
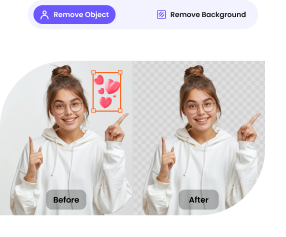
HitPaw Photo Object Remover is powered by AI, and it identifies the background area automatically, ripping it apart in a few moments HitPaw Photo Object Remover also empowers you to customize the image wonderful after erasing the image background, making it the best image background remover.
Features:- It enables you to eliminate the image background through the AI recognition technique.
- You can change the photo background color with one click.
- HitPaw Photo Object Remover also helps you get rid of unwanted objects quickly.
- It makes locating the unwanted and annoying objects in your photo look effortless.
- You can eliminate the clutter, person, or shadow without putting in the hard yards.
- It comes up with the intuitive user interface.
Here's the step by step guide to learn how to remove background from picture in PowerPoint via HitPaw Photo Object Remover.
Step 1: Install the HitPaw Photo Object Remover on your Mac or Windows and start the program immediately. Click on the ''Remove Background'' icon and then upload the photo you'd want to remove the image background from.

Step 2: Once the image is imported into the main interface of the HitPaw Photo Object Remover, it will start erasing the image background automatically. You can watch out for the difference between the output and input on your right and left sides.


Step 3: You can click the Keep icon to customize the area of the original image you want to keep.

Step 4: If you intend to remove some parts from your original image, click the ''Erase button''. You can now drag the size bar to customize the Brush Size.

Step 5: Choosing the background color is made possible by the wonderful features of the HitPaw Photo Object Remover, as you can select the preferred color quickly.

Step 6: Preview the image output, and once you're satisfied with it, tap on the ''Export'' icon to download the photo.

Conclusion
Struggling with annoying image backgrounds isn't something to take pride in. Luckily, PowerPoint enables you to rip apart the image background quickly without affecting the overall quality of the Presentation. We have listed the step by step guide to help you learn how to remove background from picture in PowerPoint on Mac and Windows.
But if you're looking for better and quick results, take the HitPaw Photo Object Remover on board. It is a sensational and the most recommended way to dismantle any image background automatically.






 HitPaw VikPea
 HitPaw Watermark Remover


Share this article:
Select the product rating:
Daniel Walker
Editor-in-Chief
My passion lies in bridging the gap between cutting-edge technology and everyday creativity. With years of hands-on experience, I create content that not only informs but inspires our audience to embrace digital tools confidently.
View all ArticlesLeave a Comment
Create your review for HitPaw articles