Why Do My Photos Look Grainy? Look How to Fix Grainy Photos!
Image grain is a noise in your pictures and how visually distorted your pictures look. Photography at all levels is a skill, especially learning how to fix a grainy photo requires you to know the right techniques before you start this.
Those who don’t know about grainy images consider it’s a fault in their cameras. However, that’s not the case even. Speaking of the reasons, you can definitely fix your visually distorted images. Let’s learn together how to fix grainy photos.
1. Why Are My Photos Grainy? Reason of Causing a Grainy Photo
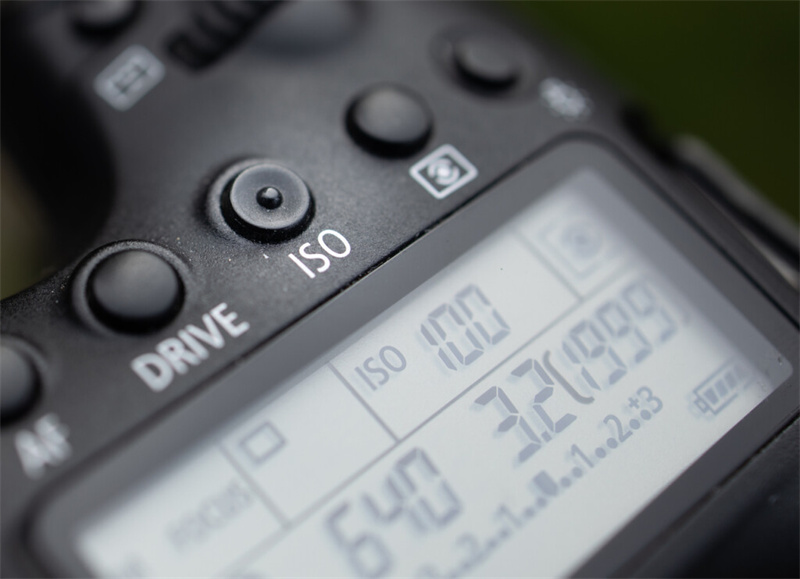
That being said, the reason of why are my photos grainy is not your camera. Luckily there are other reasons you can fix. The main reason is the high ISO settings of your camera. Making it precise for you, this ISO camera setting is responsible to control the sensitivity of your camera’s sensor to incoming light.
When its sensitivity increase, your photos become brighter and look grainy. Moreover, you also need to choose the shutter speed and aperture to balance the exposure. There are two different types of grainy photos.
Shot Noise
This kind of noise is not related to ISO but it will affect the amount of grain in your photo. Shot noise occurs in your photos due to the light reflecting from your object in your environment. That light travels from your object to the camera sensor where the camera records it.
So, we can say this noise is due to the inconsistency and randomness in the light patterns which create a grainy effect in your photos.
Digital Noise
Digital noise in your photos occurs due to the high ISO settings. When the sensitivity of the sensor increases, more randomness in picking the light from the scene happens. This ultimately leads to heavy image distortion or discoloration of your images.
It’s difficult to tell the difference between both since both appear to be the same. We can also say both interchangeably work.
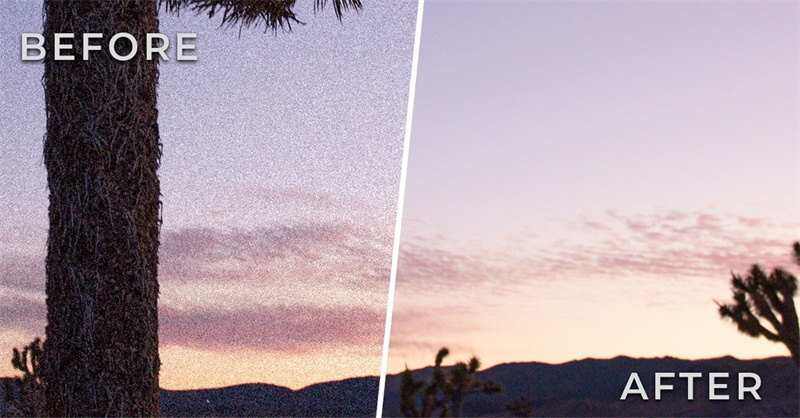
2. Top Solution! One Click to Automatic Fix Grainy Photos Clearly!
As you know the possible reasons for grainy images, there are many factors that you can control and there are others you cannot. You end up with grainy photos even with good ISO settings.
In such cases, you should know the possible ways to upscale these images so they look visually appealing. You will never run out of photo enhancers in the market since there are plenty of options. We have boiled down these options to one and that is HitPaw FotorPea (formerly known as HitPaw Photo Enhancer and HitPaw Photo AI).
This is the best AI-based software that fix grainy photos in a matter of seconds. In just one click you get a good-looking image regardless of how visually distorted it was. This AI software comes with a bunch of editing features that are integrated into its AI models so no manual editing is needed. Everything happens in one click.
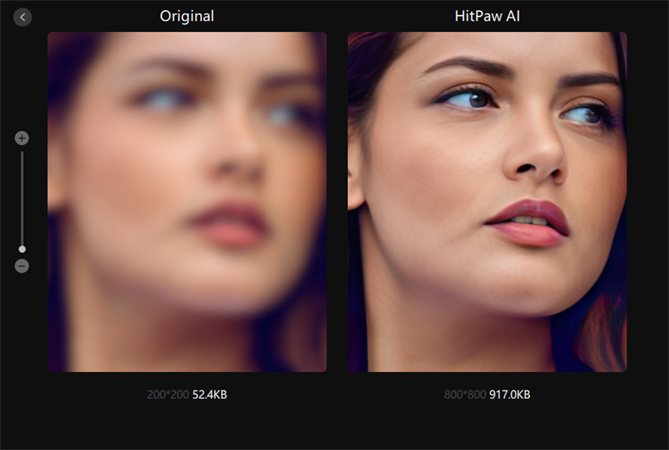
- AI one-click enhance
- 4 AI models
- Customize your photo size to 2K/4K/8K
- Support batch enhancing
Here is how to make a photo less grainy using HitPaw FotorPea
-
Step 1.Download and launch HitPaw FotorPea.
-
Step 2.Import your image clicking on “Choose files”.

-
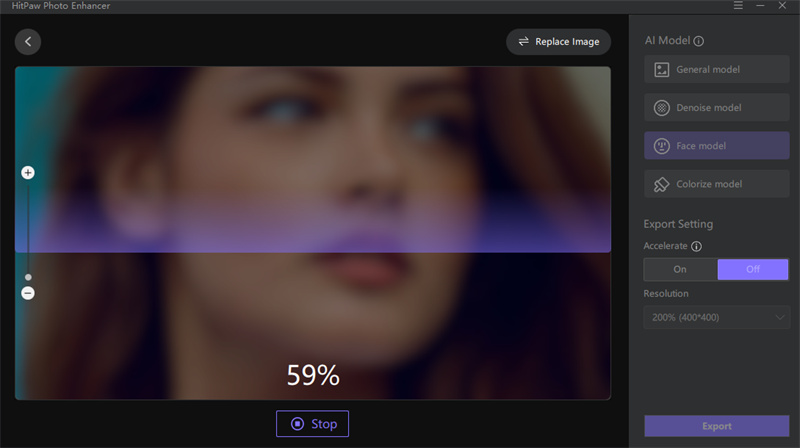
Step 3.Next select Denoise model from the 4 AI models. This model works best for high ISO or low light images.
-
Step 4.Click “Preview” button to process the images. You can also preview the effect.

-
Step 5.Click “Export” option to save the photo
3. How to Fix Grainy Photos in Lightroom
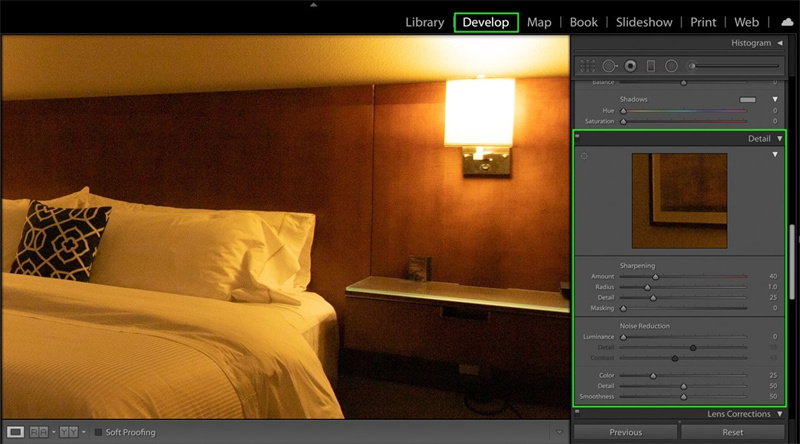
Apart from using an upscaler, you can also use lightroom to fix grainy photos. You just need to make few adjustments in the details panel using Lightroom. Here is how to fix grainy photos in Lightroom.
- Launch Lightroom > Go to Develop module > open detail panel by scrolling down the page. There is where you need to make adjustments for noise reduction and sharpening.
- Click on noise reduction sliders and you will see various options including luminance, color, smoothness. You will see default values. Make adjustment as you like.
- Drag each slider to different level where you see best result. You can make the luminance and color slider to 100 and then bring back to zero. Later you can readjust the best level to retain as much details as possible.
- Once you are done with luminance and color sliders, now work with details and smoothness sliders to reduce the noise level.
4. How to Make a Photo Less Grainy in Photoshop
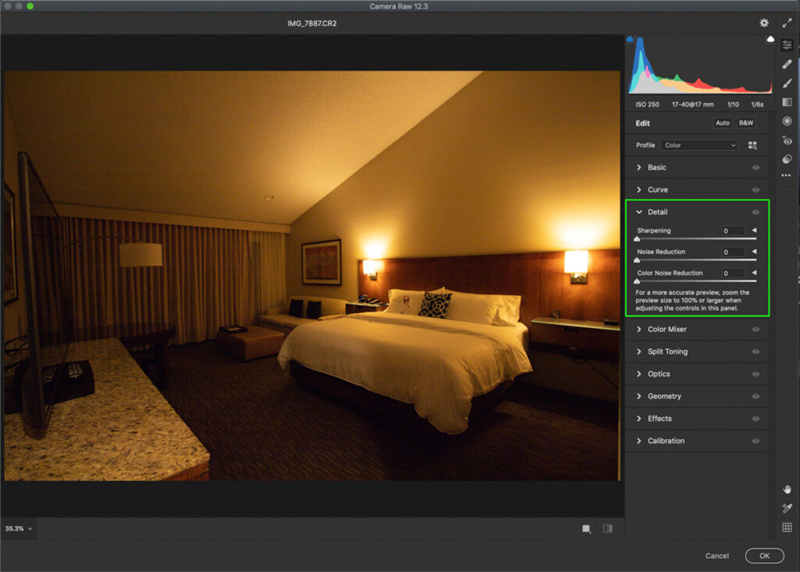
Apart from fixing reducing noise through lightroom, you can also use Photoshop software to fix grainy photos. You can opt for Camera raw way to fix photos in photoshop. This process is beginner-friendly. Here is how to make photos less grainy from detail panel in Camera raw.
- First select your image layer > Click on “Filter” > Convert for Smart Filters. There you will find out why this option is important.
- Next head over to Filter > open Camera Raw. It will look similar to lightroom since both works a lot similar. Open the details panel from the adjustment tab.
- In detail panel you will see three options, sharpening, noise reduction and color noise reduction. You don’t need to deal with the sliders a Camera raw streamlines the whole process. Adjust the settings to have a best medium for noise reduction while retaining the details. Click “OK”.
- As you converted the layer to smart object, you will see camera raw adjustments as a smart filter. This is an easiest way to fix photos.
Conclusion
Nothing comes as frustrating as seeing your photos totally boring with zero details. Moreover, getting a grainy photo is due to the high ISO settings which disrupt the details. Even after a lot of tries, if you still see your photos grainy then it’s better to upscale them using HitPaw FotorPea. All that in just one click and no need to make manual adjustments.




 HitPaw Watermark Remover
  HitPaw Univd (Video Converter)
  HitPaw VikPea (Video Enhancer)


Share this article:
Select the product rating:
Daniel Walker
Editor-in-Chief
My passion lies in bridging the gap between cutting-edge technology and everyday creativity. With years of hands-on experience, I create content that not only informs but inspires our audience to embrace digital tools confidently.
View all ArticlesLeave a Comment
Create your review for HitPaw articles