6 Best Christmas DIY Photoshoot Ideas for Better Recording
Christmas is a wonderful time of the year when people celebrate with their loved ones, exchange gifts, and enjoy festive food and music. Among the many traditions that accompany this festival occasion, the art of capturing these cherished moments through photography stands out prominently.
However, the trend has changed now, and in this digital age where social media has become an integral part of life, recording these celebrations through DIY Christmas photos has gained immense popularity. This article will delve into innovative and creative tips for enhancing your Christmas DIY photoshoot to make it more vivid and captivating.
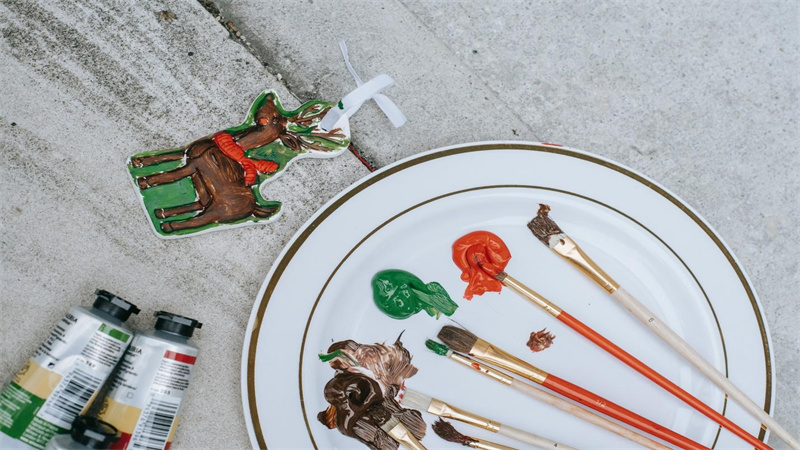
Part 1: 6 Tips for Christmas Photo DIY
1. Using social media
Embrace the digital spirit of the season by using social media platforms like TikTok, Instagram, and Snapchat. These apps have introduced a range of Christmas-themed filters and effects that you can apply to your photos and videos and make them more festive and fun. You can infuse festive vibes and add a unique and playful essence to your DIY Christmas Photos by using filters such as sparkle, snowflake, gingerbread, Santa hats, and other holiday elements.

2. Using Christmas stickers
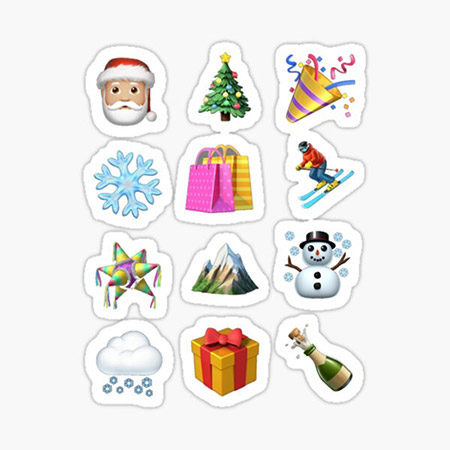
Another way to DIY your Christmas photos is to use Christmas stickers. You can find many apps that offer a variety of stickers that you can add to your photos, such as PicsArt, Canva, or Adobe Spark. These apps offer an extensive array of Christmas stickers and overlays, allowing you to decorate your photos creatively. You can choose from different categories, such as lights, ornaments, gifts, wreaths, or traditional holiday elements like Santa hats, reindeer antlers, and snowflakes, to enhance your photos and make them more festive and cheerful.
3. Coordinate colors and outfits
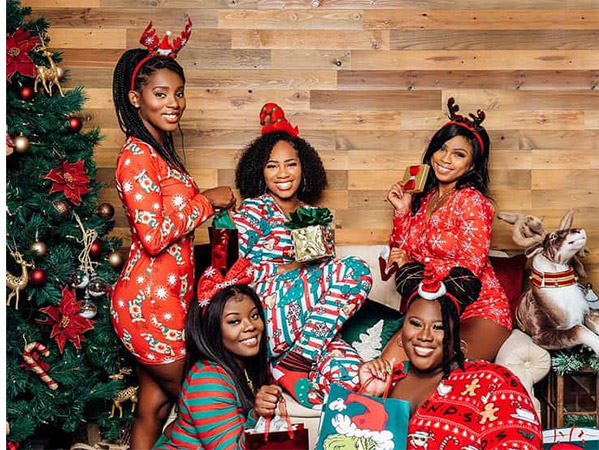
One of the most important tips for taking great DIY Christmas photos is to coordinate your colors and outfits. Coordinating colors and outfits among the participants is crucial because it creates a harmonious and pleasing look and adds an aesthetically pleasing appeal to your photos. So when choosing the sweater or your attire, choose from the traditional colors, such as red, green, white, and gold, or go for something more modern and trendy, such as pink, blue, or purple. You can also mix and match different patterns and textures, such as plaid, knit, or velvet, to create some contrast and interest. This unified visual theme will make your Christmas DIY pictures visually striking.
4. Avoid strong light when outside
If you want to take your Christmas photos outdoors, you need to pay attention to the lighting. While natural light is often preferred for outdoor shoots, harsh sunlight can add unflattering shadows or cause overexposure. Therefore, make sure to avoid strong and direct light, such as the sun or a flash, as it can create harsh shadows and glare on your photos. Instead, go for soft and diffused light, such as the golden hour, the blue hour, or a cloudy day, as it will create a warm and cozy atmosphere for your photos. Following this will give you a romantic and dreamy effect for your photo.

5. DIY Backdrop with Christmas Ornaments
If you are planning to take your Christmas photos indoors, you need to create a backdrop that can set the scene and mood for your photos. You can DIY your backdrop with some simple and inexpensive Christmas ornaments, such as hanging baubles, wreaths, lights, garlands, balls, stars, and other decorative items. You can hang them on the wall, the ceiling, or the window and create a stunning and magical festive background for your photos.
6. Using a Christmas Frame
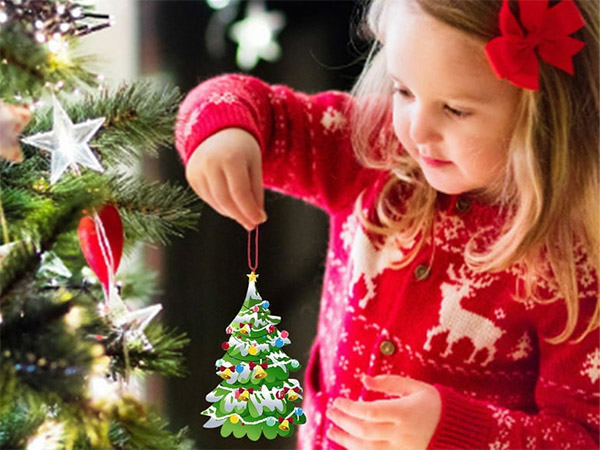
Last but not least, enhance the presentation of your Christmas photo by using a Christmas frame. There are multiple apps, such as Fotor, PicMonkey, or PhotoGrid, that offer a variety of frames that you can apply to your photos. Besides this, you may also add some physical frames to add a touch of elegance and festivity to your photos. While choosing the frame, make sure to select a design with snowflakes, candy canes, holly, and more to elevate the visual appeal of your picture.

Part 2: Bonus Tip for Christmas Picture DIY
In instances where you have clicked DIY Christmas Photos but are not satisfied with their light or poor quality, a photo refinement tool such as HitPaw FotorPea may help a lot.
What is HitPaw FotorPea?
HitPaw FotorPea is a powerful and easy-to-use tool that you can use to enhance your already-captured photos in seconds. Whether you want to improve the clarity, brightness, contrast, or color of your photos, HitPaw FotorPea can help. Besides this, it can also remove noise, blur, and artifacts from your photos and make them more smooth and sharp.

Highlights of HitPaw FotorPea:
- AI-powered photo enhancement algorithms
- Easy-to-use Interface
- Versatile and flexible
- No registration is required.
- Batch Processing
- Secure and reliable
If you are wondering how to enhance and refine your DIY Christmas photo using HitPaw FotorPea, here are the detailed steps:
-
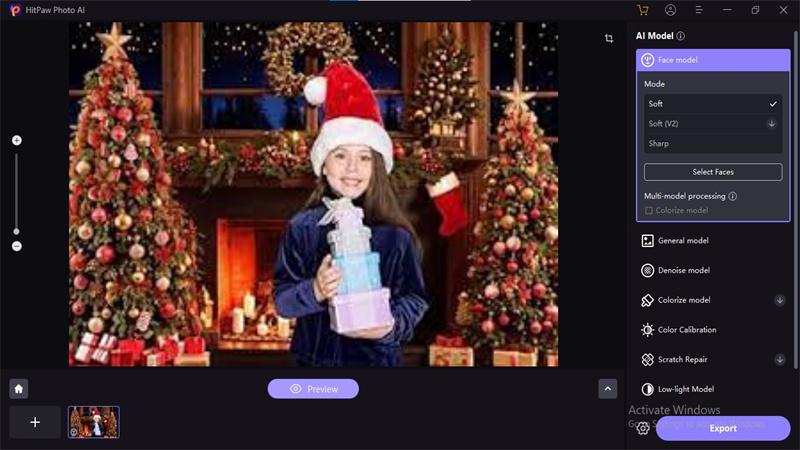
Step 1: Launch the software and select “Ai Enhancer” from the main interface. Click on “Choose File" and select the image that you want to enhance
-
Step 2: Launch the software and select “Ai Enhancer” from the main interface. Click on “Choose File" and select the image that you want to enhance

-
Step 3: Now select the desired Ai Model from the list and Click on “Preview”.

-
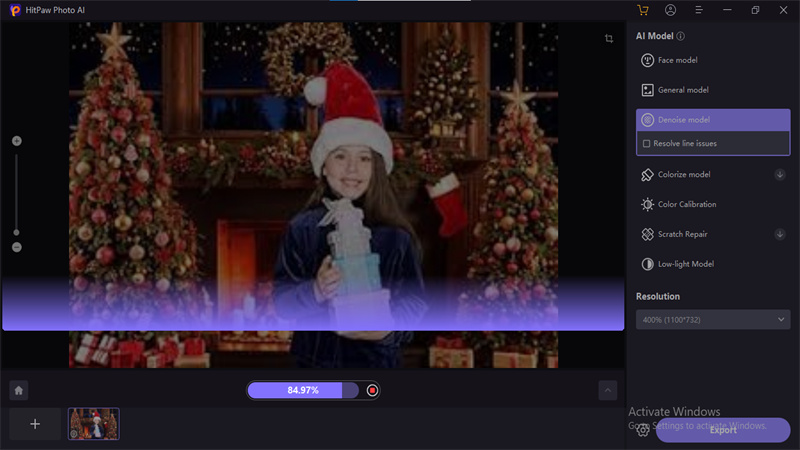
Step 4: After clicking on Preview, wait for few seconds and let the AI do its work.

-
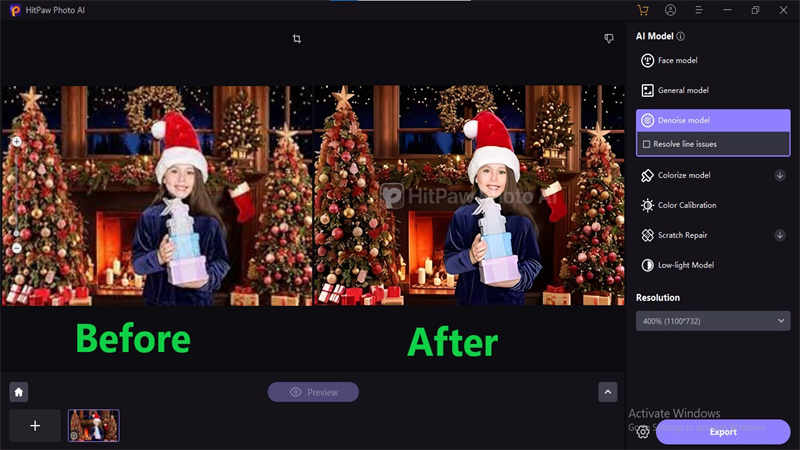
Step 5: Now preview the edited image and Compare the before and after version. If you are satisfied with the enhanced image, click on Export and save it to the desired location.

That’s it. You have successfully enhanced your DIY Christmas photo using HitPaw FotorPea. You can see how the tool removed the blurriness and improved the brightness, contrast, and color of the photo to make it look clear and beautiful.
Part 3: FAQs about DIY Christmas Photo Ideas
Q1. How do you make a picture look Christmasy?
A1. You can make a picture look Christmassy by adding some festive elements, such as lights, ornaments, stickers, filters, or frames, to your photo. Besides this, you can also add Christmas-themed filters, stickers, or backdrops to your photo to evoke a festive ambiance and instantly elevate the holiday spirit of the image.
Q2. How can I take pictures of Christmas at home?
A2. You can take pictures of Christmas at home by creating a backdrop with some Christmas decorations, coordinating your colors and outfits, and using natural or artificial light. Along with indoor decoration and optimal lighting, make sure to use creative angles to capture cozy and festive moments at home.
Final Thoughts
As you embark on your DIY Christmas photo journey, remember that the true essence lies not only in the technicalities but in the emotions captured within each frame. In this article, we have shared some creative DIY family Christmas photo tips that can inspire your imagination and creativity. Using these tips, you can elevate your photographic prowess and encapsulate the essence of joy, warmth, and festivity that Christmas brings.
However, if your pictures are still not up to par and require some refinements, make sure to use HitPaw FotorPea. Powered by advanced AI algorithms, this versatile photo enhancement tool offers a convenient way to enhance the quality of your photos and create standout memories. Try it now and feel the difference. Happy photographing and Merry Christmas!



 HitPaw Edimakor
 HitPaw Video Object Remover
 HitPaw VikPea (Video Enhancer)



Share this article:
Select the product rating:
Daniel Walker
Editor-in-Chief
My passion lies in bridging the gap between cutting-edge technology and everyday creativity. With years of hands-on experience, I create content that not only informs but inspires our audience to embrace digital tools confidently.
View all ArticlesLeave a Comment
Create your review for HitPaw articles