How to Digitize Old Photos: Best Methods for Preserving Memories
Looking to preserve family’s photos for future, securing them from the risks of fading or tearing? If so, scanning old photographs is the best solution to protect these memories for the years to come. With time, physical photos deteriorate because of moisture and handling, but high-quality versions can be created using them.
Using a reliable tool is the solution to ensure that your family's history stays vibrant for generations to come. Therefore, this article is a complete guide for those who need to secure their precious moments from harm through various methods and tools.
Part 1. The Importance of Digitizing Your Photo Legacy
By choosing to turn old photos into digital formats, you open up endless opportunities to preserve and cherish your family’s legacy. Therefore, turning old pictures into lasting digital files offers massive importance, and here are the reasons why:
1. Preventing Damage and Loss: Physical photographs are susceptible to fading and damage, whereas digital copies are immune to these issues, offering lasting alternatives.
2. Easy Sharing and Accessibility: Digital pictures can be quickly shared with families and friends through messaging platforms, ensuring accessibility across different devices.
3. Restoring Damaged Photos: With digitization, you can restore old damaged photos and bring them back to their original vibrancy and clarity.
4. Safeguarding Memories: Old photos are invaluable treasures, and digitizing them ensures that they are preserved for future generations while maintaining their quality over time.
Part 2. What Preparation Should be Made for Scanning Old Pictures?
After understanding the importance of digitization, preparing to scan old pictures digitally is essential in effectively preserving your cherished memories. Taking the time to repair and arrange your photos beforehand will make the digitization process smoother, so here are some essential tips to consider:
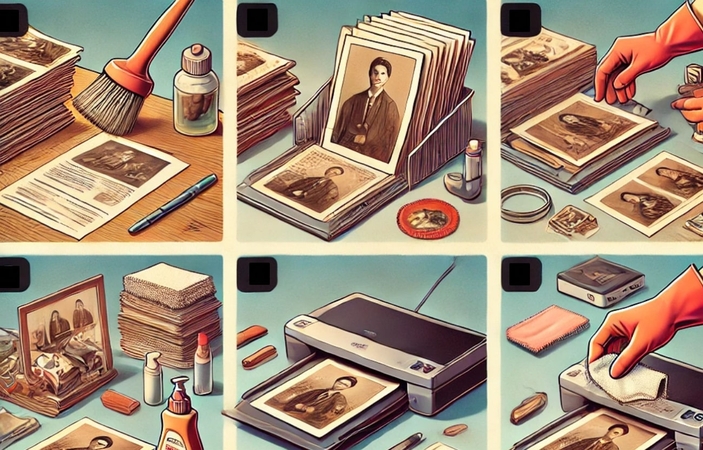
1. Check for Damage: Inspect your photos for tears and flatten their curled edges using a heavy book or acid-free tape for minor repairs.
2. Organize and Clean Photos: Sort the images according to the categories and gently clean each photo using a soft microfiber cloth before scanning.
3. Select Scanning Order: Choose a scanning order logically, such as by event or dates, and maintain a clear sequence with sticky notes to keep track of your orders.
4. Remove Photos from Albums: Consider removing photos from adhesive albums or frames before scanning, as residues or glares can affect the scan quality.
5. Handle with Care: Try using gloves for particularly old or delicate photographs to make sure they stay clean for accurate scanning results.
Part 3. Transforming Memories: Scanning Old Photos at Home
A scan old photos service can provide convenience when using a scanner at home, as it allows you to handle and customize the process according to your needs. Therefore, to achieve professional quality results at home, follow the guidelines below and preserve your family's precious moments.
1. Choose the Right Scanner: To ensure professional outcomes, invest in flatbed scanners that are particularly designed for photo scanning and provide color accuracy. Look for models with a resolution of at least 6000 DPI and features like color correction and dust removal.
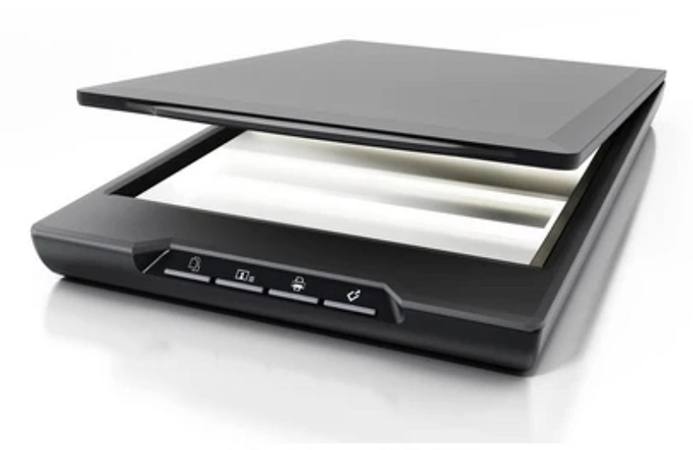
2. Resolution and Format Settings: Set the resolution to 300-600 DPI for digital viewing and sharing or if you plan to restore the images. Furthermore, always save the images in TIFF format for maximum quality and use JPEG format if you need smaller files for easy sharing.
3. Batch Scanning Options: Various modern scanners allow you to scan multiple photos simultaneously, saving time. However, when scanning images at home, make sure that photos are placed evenly on the scanner bed without overlapping each other.
4. Enhance Scanned Images: Once you're done with scanning, use a proper photo editing tool to enhance the quality of your images. By adjusting the brightness, contrast, and color, you can effectively restore your faded photos to their original vibrancy.
Part 4. Reviving Memories: Scanning Old Photos With Apps
For those who prefer to digitize their photos on the go, using an image scanner app on their smartphone is a quick and convenient solution. However, scanning old photographs with popular apps like Google PhotoScan and Photomyne ensures professional outcomes. They guide you from capturing multiple angles of your photos to stitching them together to produce glare-free and high-quality scans.
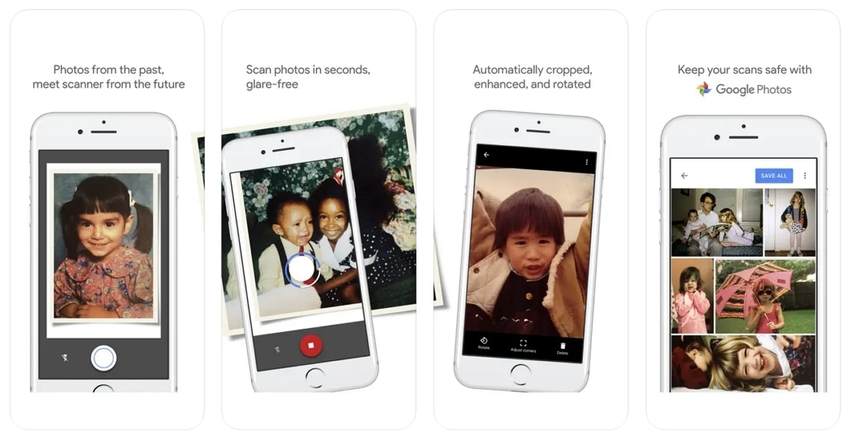
Moreover, apps like Google Photoscan automatically enhance the color and sharpness of your images while ensuring they look their best. With Photomyne, you can scan multiple photos simultaneously, allowing users to quickly capture several images and organize them in digital albums.
Tips for Quality Results
1. Always hold your phone directly above the photo and avoid tilting, as stability is the key when scanning images with a smartphone.
2. Take advantage of the app's features, like automatic cropping and image enhancement, to make high-quality scanned photos.
3. Use natural light if possible, or set up a soft light source to avoid any harsh reflection on the scanned images.
4. Gently wipe your photos and make sure they are dust-free for clear-looking scanned images.
Part 5. Enhancing Scanned Images With Top Tools
Once you’ve scanned old pictures into digital format, the next step is to enhance and restore them to preserve the details of your cherished memories. Hence, with the following powerful tools, you can improve the quality of your scanned photos and use them later:
This versatile online tool, known for its AI-driven features, enables users to achieve quick and quality results with accuracy. With the help of AI, users can improve details like colors and resolution within a few minutes. Moreover, using its scratch repair feature, one can demolish unnecessary scratches in old pictures.
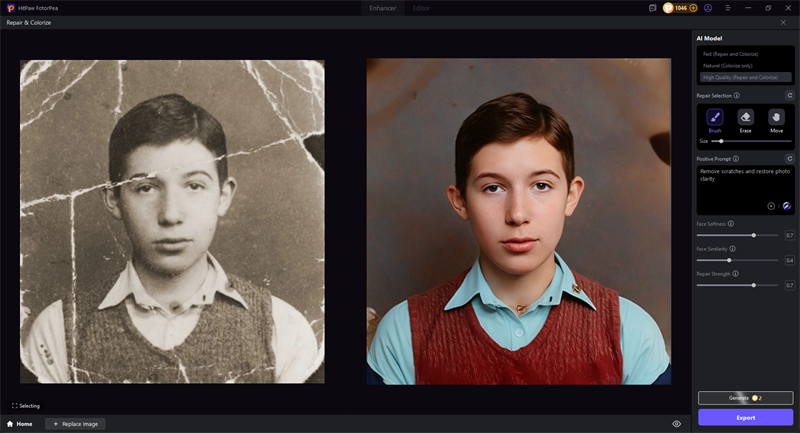
To add colors to your black and white images, its colorized model tool can be considered. Furthermore, if your images lack saturation or are underexposed, its low-light model can be beneficial for this purpose. To reduce graininess or noise, toggle denoise features and improve your picture quality.
AI Tools to Restore Old Photos by One Click
2. IPiccy
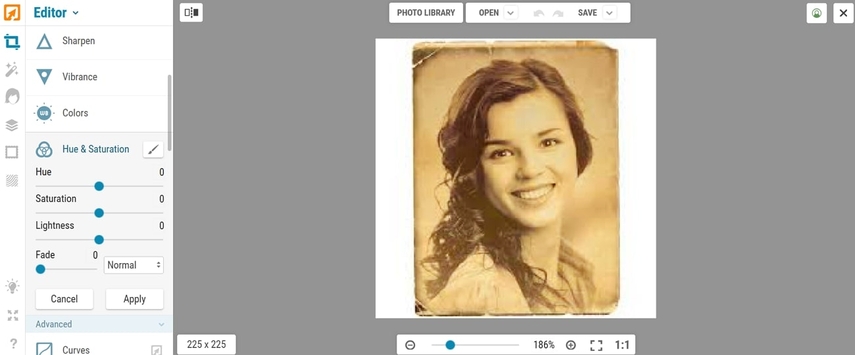
After scanning old photographs, you can edit your photos through this online editor, as it provides users with endless tools for enhancing their images. It offers users colors and saturation features that allow them to adjust the color defects in their images. With the help of its auto-fix tool, your old, scanned picture can be enhanced automatically, as the tool recognizes and fixes all the damages itself.
3. PhotoDiva
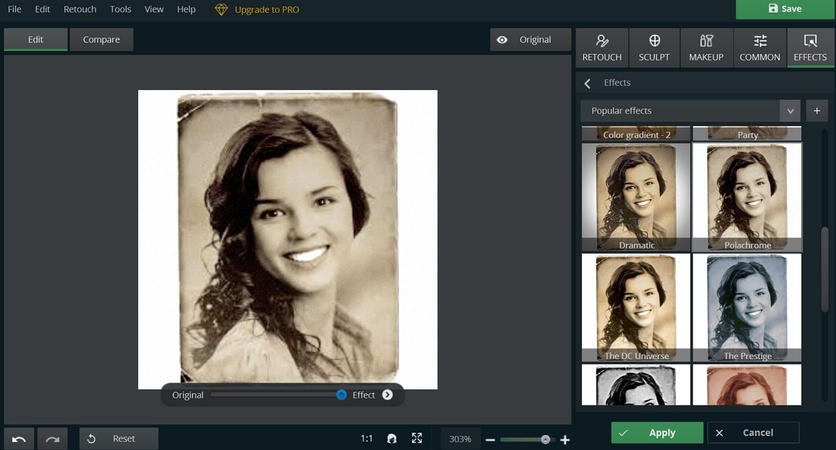
This AI-powered editing software specializes in enhancing and restoring scanned photos, particularly portraits and older images. Its AI assistance helps users add various effects to their images to uplift their visual impact. Moreover, you can enhance your image output by whitening the teeth and removing blemishes.
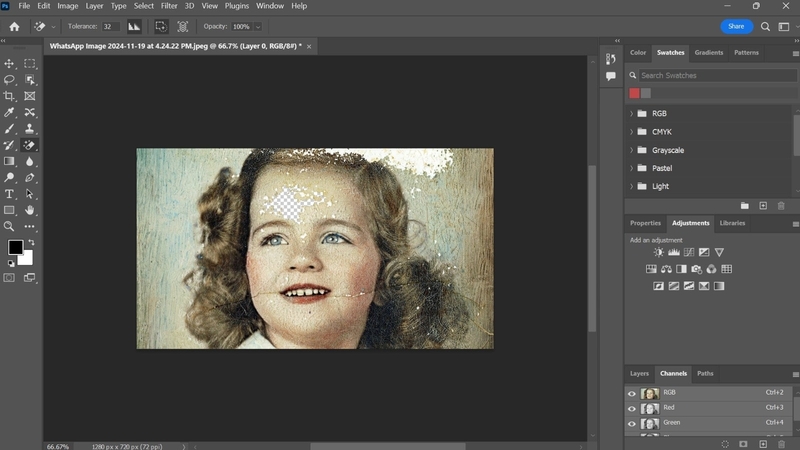
This widely used photo editing software provides users with advanced tools for enhancing their images after they have scanned old pictures into digital. With its retouching tools, like a healing brush and clone stamp, you can effectively eradicate all the blemishes from your vintage images. Moreover, this tool gives users precise control over color correction while altering discolored photos.
5. Photoroom
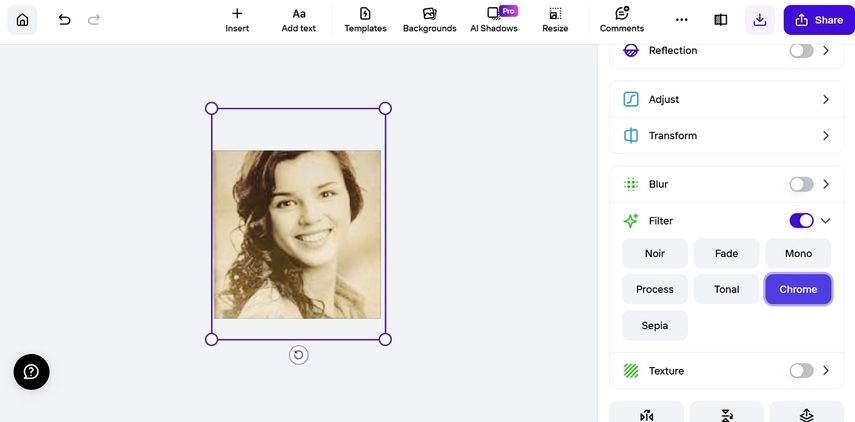
Photoroom transforms your scanned images efficiently with the help of its retouch tool, which enhances the overall look immediately. Furthermore, with various filters, users can transform their old photos into modern-looking images with colors. Its shadows and reflection tools enable one to turn their images into professional portraits.
Part 6. Best Tips to Organize and Back Up Digital Copies of Old Photos
After scanning your old photographs, organizing and backing them properly is highly important to ensure they are preserved for easy access. Therefore, here are some key tips to help you get started with their organization on your device:
1. Create a Folder Structure: Creating a main folder with clear file names and descriptive titles will make searching for specific photos much easier in the future.
2. Use Cloud Storage for Backup: Uploading your photos to a reliable cloud storage service such as Google Drive or iCloud will automatically sync across multiple devices.
3. Backup to External Hard Drives: Besides cloud storage, try backing up your digitized photos on external hard drives or SSDs for a second layer of protection.
4. Use High-Quality File Formats: When scanning photos, save them in high-quality formats that include TIFF or PNG for archival purposes.
Conclusion
To sum up, when you scan old pictures to digital formats, it not only protects valuable family history from fading but also makes sharing easier. With the help of tools like HitPaw FotorPea, you can enhance old photos with minimum effort due to its AI assistance. Moreover, by incorporating various tools like denoise or face models, users can effectively uplift the physical appearance of their scanned images.


 HitPaw Edimakor
 HitPaw VikPea (Video Enhancer)
 HitPaw Univd (Video Converter)

Share this article:
Select the product rating:
Daniel Walker
Editor-in-Chief
This post was written by Editor Daniel Walker whose passion lies in bridging the gap between cutting-edge technology and everyday creativity. The content he created inspires the audience to embrace digital tools confidently.
View all ArticlesLeave a Comment
Create your review for HitPaw articles