How to Clean Old Photographs - Best Techniques and Tools to Protect Your Memories
Every photo captures unique moments to remind you of the time in which that memory was created. These photos are priceless keepsakes; however, as time passes, these treasures show signs of aging. Deterioration in the form of scratches and even discoloration may ruin these photos over time.
Fortunately, technology and new techniques have developed, making old photographs much more accessible. To achieve this, the following article will show you how to clean old pictures and steps that will help you bring the photographs back to their original state.
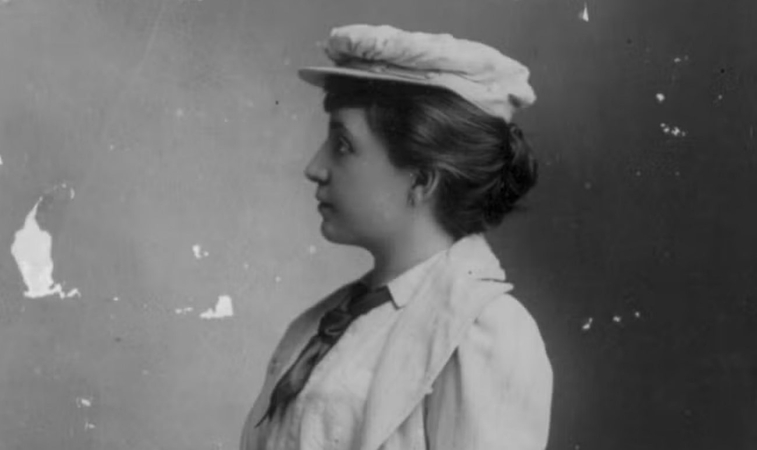
Part 1. Special Techniques to Clean Old Photographs With Care
As you progress into the techniques for restoring old photos, it is important to consider why you have to handle them. Keep in mind the following things when cleaning old images:
1. Handle With Dry Hands: The oils and dirt on your hands can transfer to photographs that can cause smudges or long-term damage. Make sure to handle photos with clean hands or wear cotton gloves to reduce direct contact.
2. Avoid Using Harsh Chemicals: Using abrasive or chemical-based cleaners can lead to discoloration or permanent stains within the images. Old photographs often contain coatings and emulsions that react negatively to harsh substances.
3. Protect Against Physical Damage: Rough handling or using inappropriate cleaning tools can cause scratches, creases, or tears. Even minor physical damage while cleaning old photographs can disrupt the details of a photo and make the restoration process more difficult.
4. Consider Environmental Factors: Cleaning photos in a high-humidity area can lead to mold growth or cause the photos to stick together. Excessive light exposure can also accelerate fading. Choose a clean, dry, and controlled environment for the cleaning process.
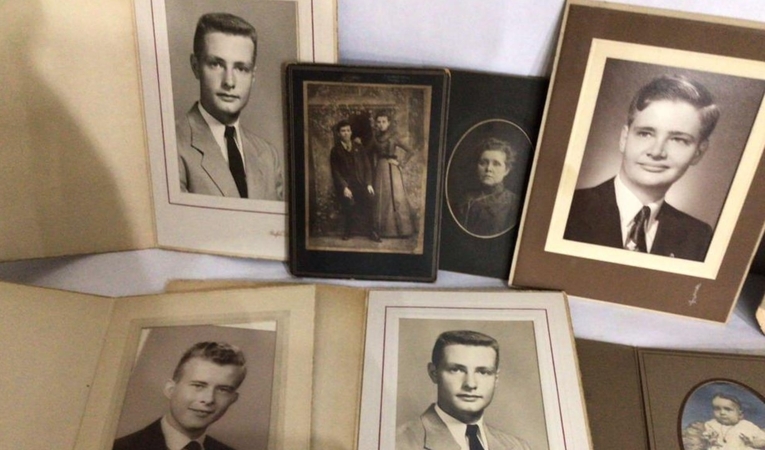
Part 2. Analyzing the Condition of Your Old Photos Before Cleaning
Restoring old photographs requires careful preparation that begins with assessing their condition. This step is crucial to selecting the right approach and preventing further damage. The following section discusses the key factors to consider when evaluating your photos:
1. Check for Physical Damage: Look at the photographs to identify wear and tear signs. Look for cracks, tears, fading, or areas where the emulsion is peeling. While learning how to clean old pictures, handle the affected areas gently to avoid damage.
2. Identify the Type of Photo Material: Different types of photographic materials require special cleaning methods. Glossy photos are more likely to be impacted with scratches, while matte stuff may absorb cleaning solutions more easily.
3. Take Professional Help: Images that are severely damaged should not be cleaned without professional expertise. Attempting to recover them on your own could result in further harm. In such cases, consult a professional conservator for safe handling and restoration.
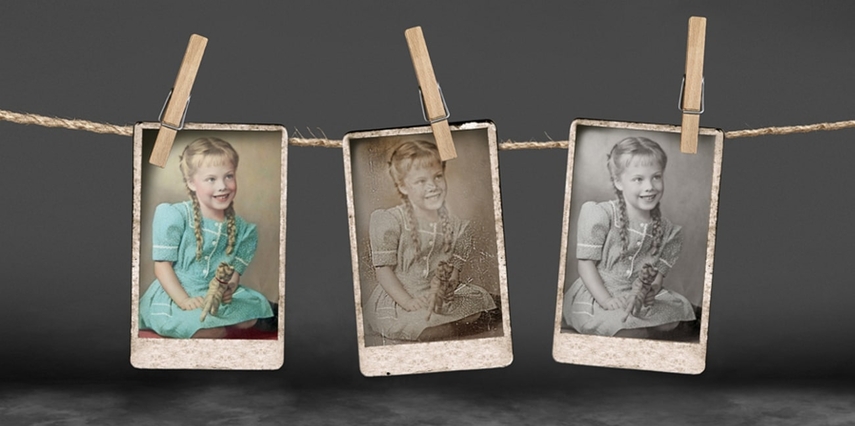
Part 3. Safe Techniques for Cleaning Old Photographs at Home
For easy and effective cleaning, there are several techniques you can use to preserve your old photographs. Each method is designed to be gentle yet thorough to ensure that your photos remain intact during cleaning. Here are some of the safe techniques for cleaning old photographs at home:
1. Dry Dusting: Use a soft brush or a microfiber cloth to dust off any loose particles. Ensure you brush only in one direction, as it helps to avoid scratching. This is the most suitable method for removing light dust without the risk of exposure to moisture or harsh chemicals.
2. Soft, Damp Cloth: For photographs that have smudges or fingerprints, use a soft cloth dampened with a little water or a mild photo-safe cleaner. Gently wipe the photo without applying too much pressure.
3. Spot Cleaning: If your images have visible stains, dampen a cotton swab with distilled water or any cleaning solution. Carefully rub the stained area without rubbing, as this could spread the stain or damage the surface.
4. Air Pressure: Photographs with dust in hard-to-reach corners can benefit from the air pressure technique. Keep the photo in a flat place, and then use a can of compressed air to blow away dust. Hold the can upright and use short bursts to gently blow away the dust without disturbing the photographer's surface.
Part 4. Digitizing and Restoring Cleaned Photos With HitPaw FotorPea
While manual methods for recovering old photographs are reliable, they still have some limitations when it comes to properly restoring damaged photos. Stains, fading, and scratches may remain even after careful cleaning. For these stubborn issues, powerful photo restoration software like HitPaw FotorPea comes into play. This incredible software offers an advanced AI Enhancer with 7 specialized models designed to address different photographic restoration needs.
For example, the Denoise Model helps restore clarity to old images by removing compression artifacts and blurriness. The Colorize Model can also revive back old black-and-white photographs by adding realistic color schemes complementary to the image. After cleaning old photographs, you can even use the Retouch feature to erase unnecessary elements or visible stains, ensuring a flawless finish.

Comprehensive Guide on How to Restore Cleaned Photographs With HitPaw FotorPea
Now that we know about the advanced photo restoration capabilities of HitPaw FotorPea, let's learn how do you clean old photographs with its AI abilities:
Step 1. Find the AI Enhancer Feature
After accessing the updated version of HitPaw FotorPea on your computer, select the “AI Enhancer” feature from the left-side tool panel. Using the “Choose Files” button, import the cleaned image to the tool for further enhancement.

Step 2. Apply Different Photo Restoration Models
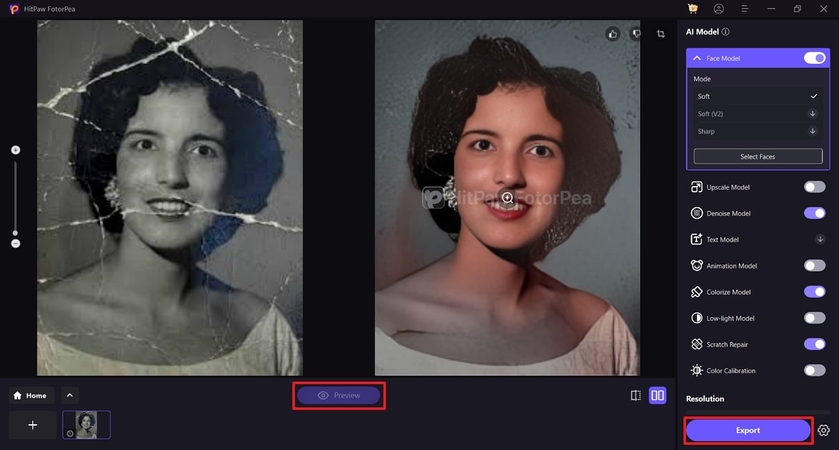
Once your image is imported, navigate to the AI Model panel and expand "Face Model" by tapping on it. Click on the "Select Faces" button to let the AI detect and restore facial clarity. Next, toggle on "Denoise Model" to remove blurriness from the photo. For black-and-white images, enable the "Colorize Model" to bring them to life with realistic color schemes. Finally, activate the "Scratch Model" to repair visible scratches.
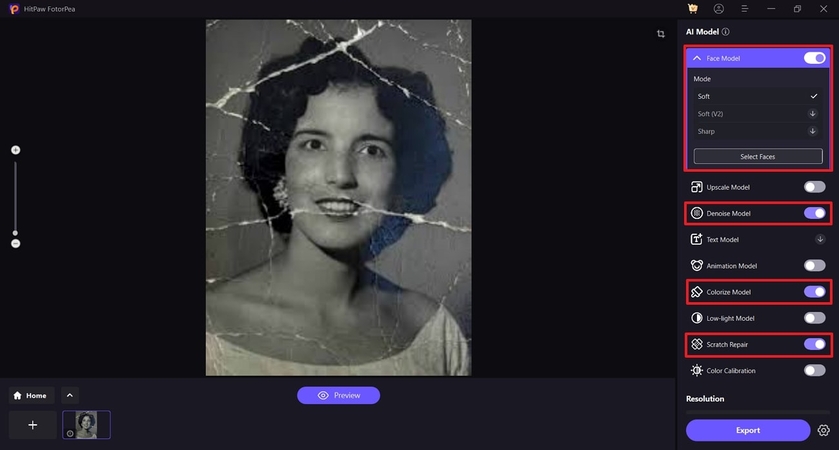
Step 3. Preview the Output and Export
When you've applied the required enhancement models, press the "Preview" button to start the enhancement process. After you are satisfied with the output, hit the "Export" button to save the enhanced image to your device.
Step 4. Open the Enhanced Image With Retouch Tool
While learning how to clean old pictures, go back to the tool's main interface and acquire the "Retouch" feature from the left-side panel. Click on the "Start Remove" button to add the previously enhanced image from your device.

Step 5. Erase Blemishes From the Image
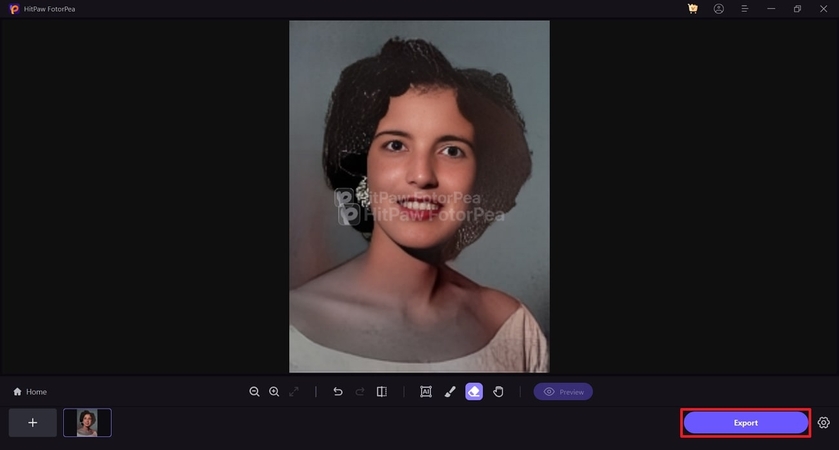
Once your image is imported, opt for the "Brush" tool and drag it over the blemishes that need removal. After highlighting that area, click on the "Preview" button to view the output.

Step 6. Save the Final Digitized Cleaned Photo
Once you receive the results, review the output and apply changes if necessary. If you're satisfied with the final image, press the "Export" button to save the digitized version of the photo to your computer.
Part 5. Tips for Storing Cleaned Photos to Prevent Future Damage
After learning how to clean old photographs, it’s important to ensure they remain protected for years to come. The following section discusses some of the best tips and tricks to assist you in keeping the cleaned images away from the future damage risk:
1. Use Storage Materials: Store photographs in acid-free albums or lignin-free boxes to avoid chemical reactions that can cause deterioration over time.
2. Maintain Optimal Environmental Conditions: Consider keeping photos in a closed environment where they are prevented from excess humidity and direct sunlight exposure to prevent fading or warping.
3. Avoid Frequent Handling: Handle photographs minimally and always with clean hands or cotton gloves to prevent smudges and damage from oils or dirt.
4. Keep Scans of Images: Scan and digitize your photos to create backups. This ensures that your memories are preserved even when the physical copies are lost or damaged.
Conclusion
Cleaning old photographs requires careful attention to preserve cherished memories. While manual methods can restore a photo's appearance, advanced tools like HitPaw FotorPea can further enhance and remove the hard-to-remove damage, such as scratches, fades, and stains. By digitizing old photographs with HitPaw FotorPea, you can ensure that these precious memories are preserved for future generations while maintaining their original charm and quality.


 HitPaw Edimakor
 HitPaw VikPea (Video Enhancer)
 HitPaw Univd (Video Converter)


Share this article:
Select the product rating:
Daniel Walker
Editor-in-Chief
My passion lies in bridging the gap between cutting-edge technology and everyday creativity. With years of hands-on experience, I create content that not only informs but inspires our audience to embrace digital tools confidently.
View all ArticlesLeave a Comment
Create your review for HitPaw articles