Latest Guide to Colorize a Black and White Photo in Photoshop in 2025
Have you ever found an old family photo but it is faded and monochrome? If yes, well, it's time to fill in the colors and breathe a new life into it. You know that black-and-white photos look dull and outdated, while photos with colors make distant memories feel. In this era of digital photography, colorozing the old black and white photos is just a breeze.
With Adobe Photoshop, you can colorize these black and white photos, enhance their emotional impact, and bring them closer to the present. But not sure how to colorize a black and white photo in Photoshop? In this article, we will dive deep into how to colorize black and white photo in Photoshop.
Part 1: How to Color Black and White Photos in Photoshop
Essential Adjustments Before Colorization
Before jumping into how to color black and white photos in photoshop, let first discuss how to prepare your black-and-white photo for the best results. It is important to ensure the best outcome.
Here's how you can do it:
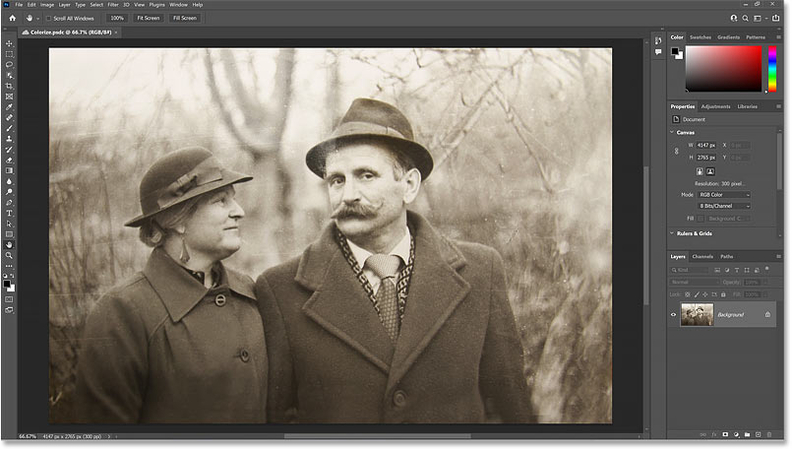
1.Open your image in Photoshop: File > Open > Select your black and white photo.

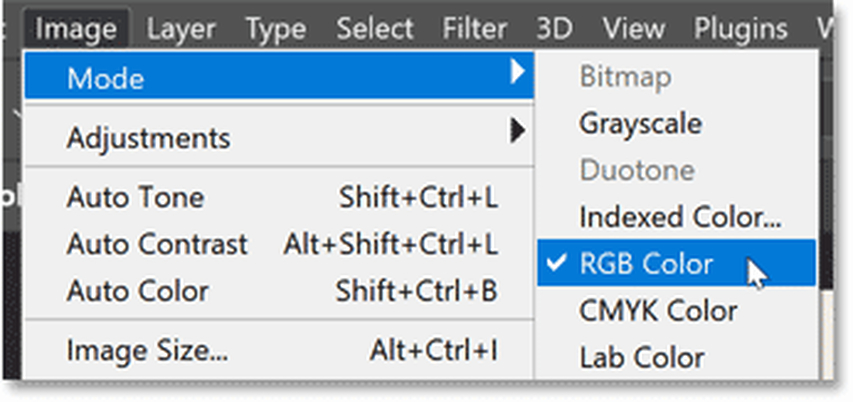
2.Generally, the black and white images are in Grayscale. So make sure the Image is in RGB color mode because colorize filters only work with images that are in RGB colors.

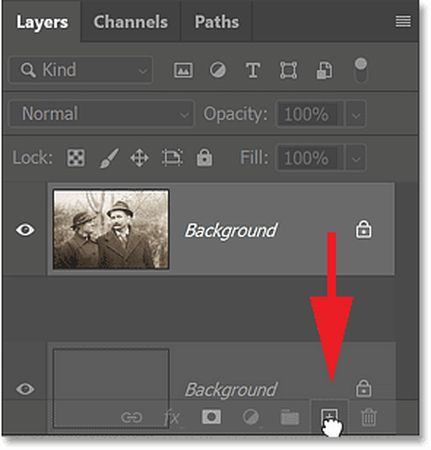
3.Duplicate the background layer: Right-click on the background layer and choose "Duplicate Layer." This preserves your original image.

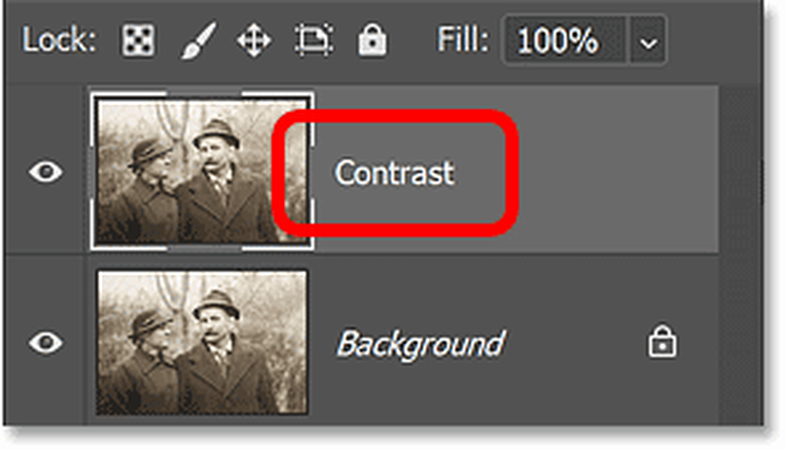
4.To rename the layer, double-click its name to select it, change it to "Contrast," and then press Enter to confirm.

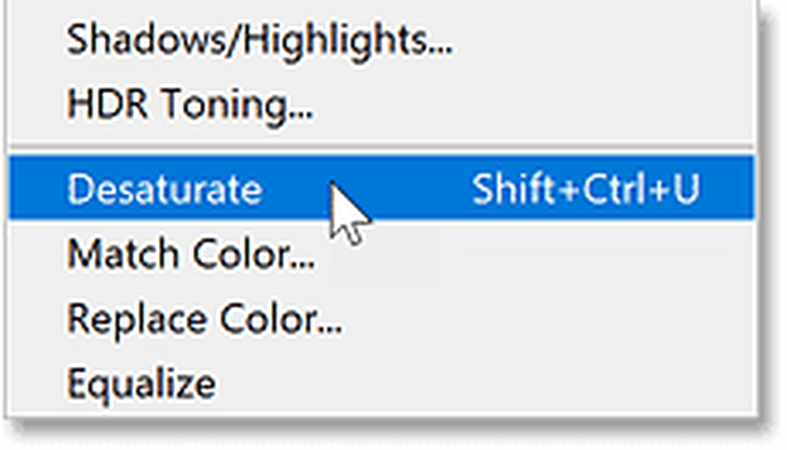
5.Next, if your image has a color tint and you'd like to remove it for better contrast, go to the Image menu, select Adjustments, and then click on Desaturate. This will eliminate the color and convert the image to black and white.

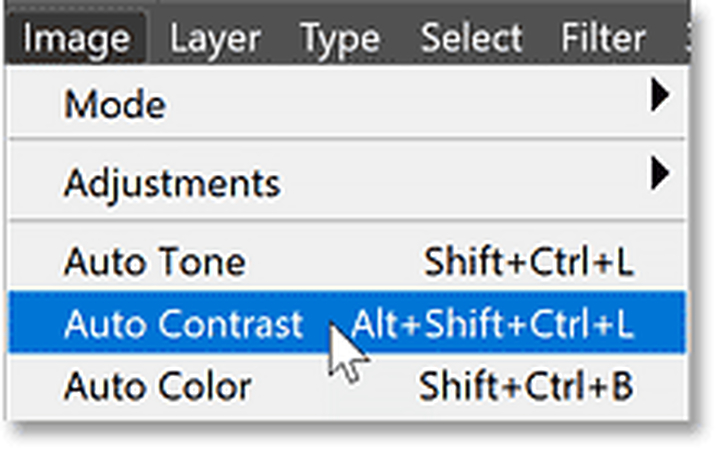
6.To increase the contrast, choose auto contrast filter by going up to image menu and clicking on Auto contrast

Following these steps will lay the groundwork for a successful colorization process. Remember, the cleaner and more detailed your starting image is, the better the results would be.
Utilizing Layers for Effective Color
Now that the image is prepared, let's dive into the colorization process by creating a layer. Here's how you can do it.
1.Create a new layer by clicking the "New Layer" button at the bottom of the Layers panel.
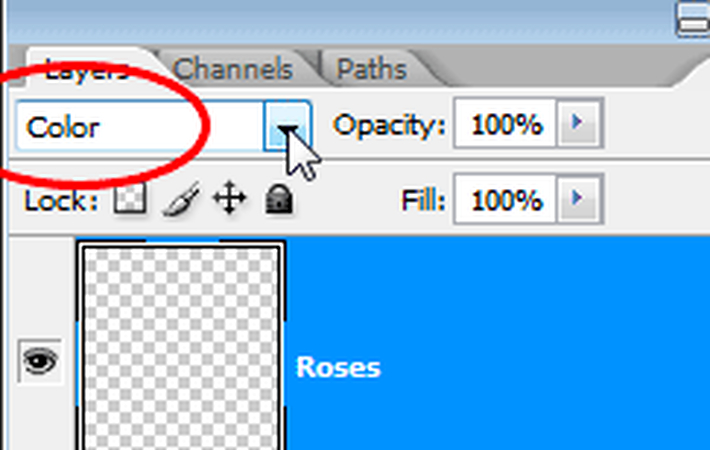
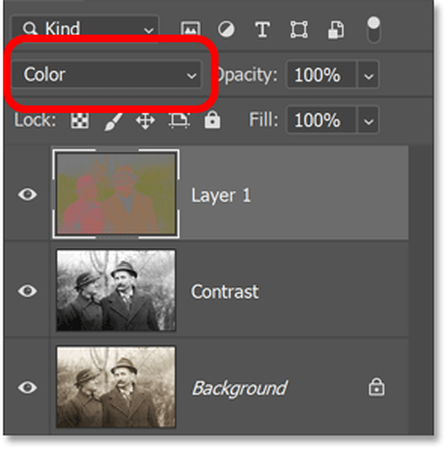
2.Change the new layer's blend mode to "Color" in the Layers panel dropdown.

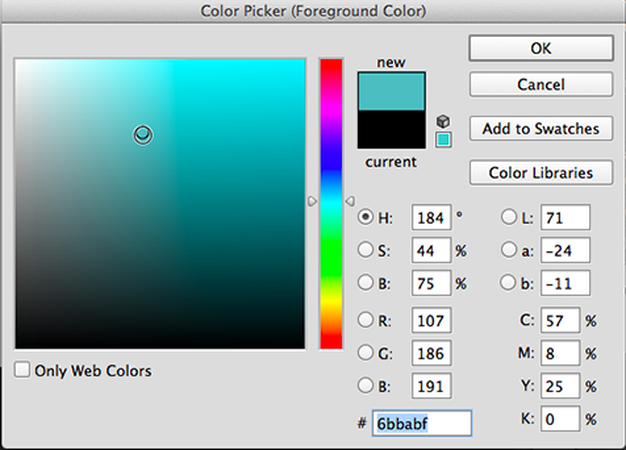
3.Select the Brush tool (B) and pick a color from the Color Picker. Start with larger areas like skin tones or backgrounds.

4.Begin painting over the areas you want to colorize. Don't worry about staying perfectly within the lines; we'll refine this later.
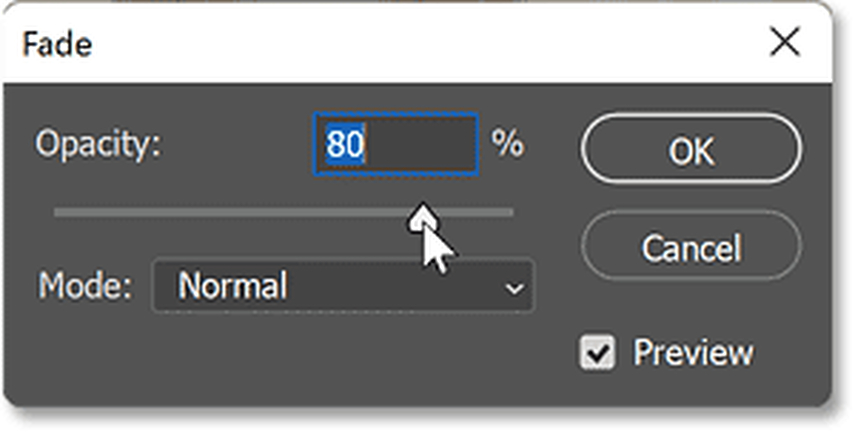
5.Adjust opacity and if the color seems too intense, lower it.

6.Repeat for different colors: Create a new layer for each major color area in your photo.
Remember, using separate layers for different colors will maintain flexibility throughout the process. This approach will allow you to easily adjust or change colors without affecting other parts of the image.
Selecting Areas to Colorize
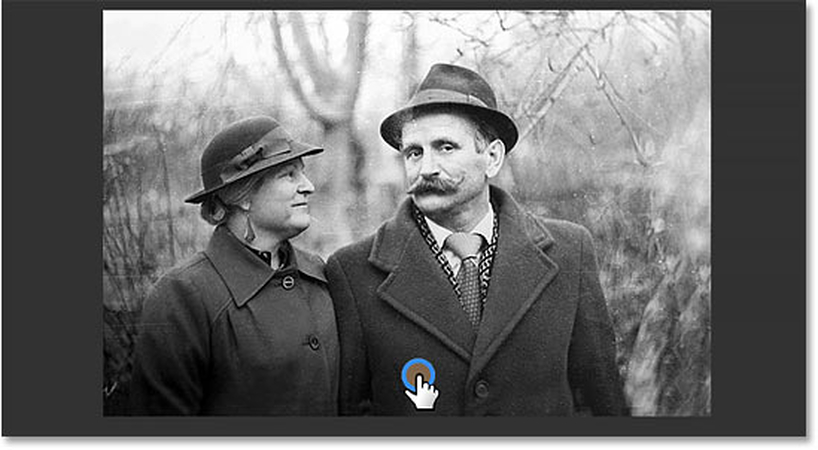
To ensure neat colorization, select specific areas in the photo to isolate them. For more precise colorization, especially in detailed areas, try these techniques:
1.Use the Quick Selection tool to select specific areas like clothing or hair.

2.After making a selection, click "Select and Mask" to fine-tune your selection.
3.With your selection active, add a layer mask to your color layer. This confines the color to the selected area.

4.Use a soft brush to blend colors naturally at the edges of your selection.

5.Try different blend modes like "Soft Light" or "Overlay" for unique effects.

This method ensures precision, especially for complex areas such as facial features or backgrounds. You can also fine-tune colors by going to Layer> Adjustments> Hue/Saturationto match tones perfectly.
Part 2: AI Change Black and White Photos to Color with One Click
While Photoshop offers comprehensive solutions and unparalleled control, sometimes you might want a quicker solution. That's where AI-powered tools like HitPaw FotorPea come in handy. Powered by an advanced AI algorithm, HitPaw FotorPea offers a quicker solution to colorize photos with minimal effort. Using this, users can convert black-and-white photos to color with a single click, and the best thing is you don't require any technical knowledge to operate this.
Some of the features of HitPaw FotorPea include:
HitPaw FotorPea - All-in-one Photo Editing Tool for Win & Mac
Secure Verified. 212,820 people have downloaded it.
- One-click colorization for black and white photos
- Batch processing to colorize old photos
- No steep learning curve for new beginners
- High quality output to make your old photo clear
Secure Verified. 212,820 people have downloaded it.
How to colorize black and white photos with HitPaw FotorPea?
Step 1: Download and Install Hitpaw FororPea
Go to the official website of HitPaw FotorPea and Download the software for you Window or Mac. Then Install it using the onscreen instructions.
Step 2: Upload your Black and White Image
Now, launch the software and from the main menu, select “AI Enhancer.” Next, click on “Choose File” and upload the Black and White image that you want to colorize.

Step 3: Choose AI Model
Here you can select the desired ai model based on your preference. As you are looking to colorize your black and white Photo, select Colorize Model.
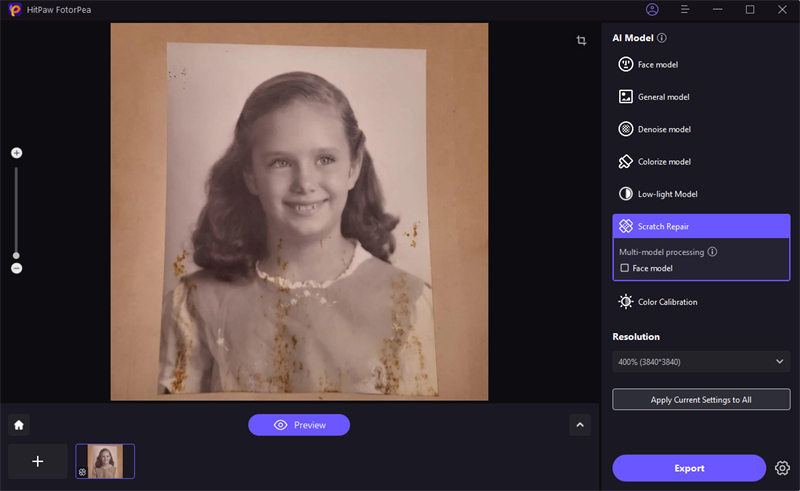
Step 4: Click on “Preview” to start processing
Now click on preview and let the software analyse and process your image. AI will start colorizing it automatically.
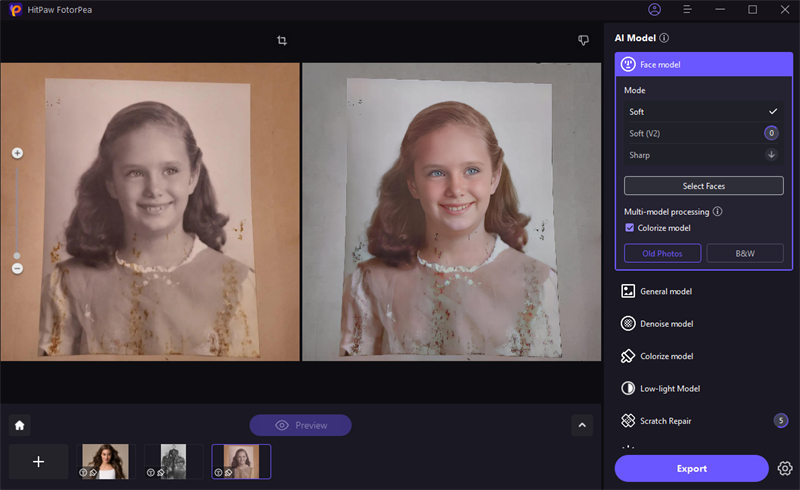
Step 5: Export the Final Image
Once you are satisfied with the outcome, you can now download the colorized photo by clicking on “Export”.
[Video Guide] How to restore and colorize old photos with AI
Part 3: FAQs about Black and White Photos Change to Color in Photoshop
Q1. Can I convert color photos to black and white in Photoshop?
A1. Yes. You can by going to Image > Adjustments > Black & White for quick conversion.
Q2. Does Photoshop offer automated colorization features?
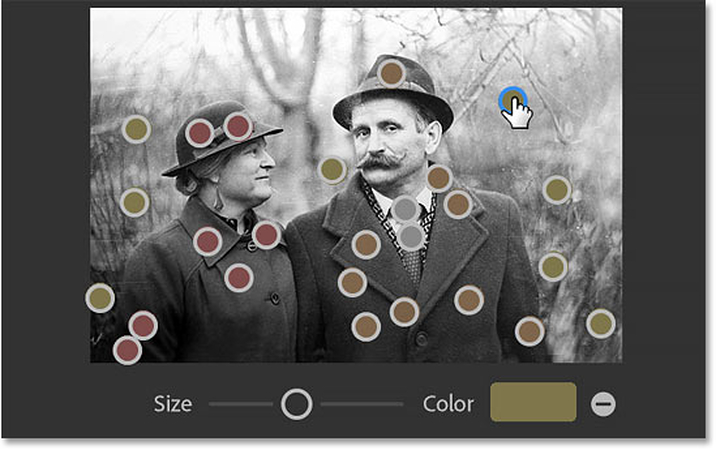
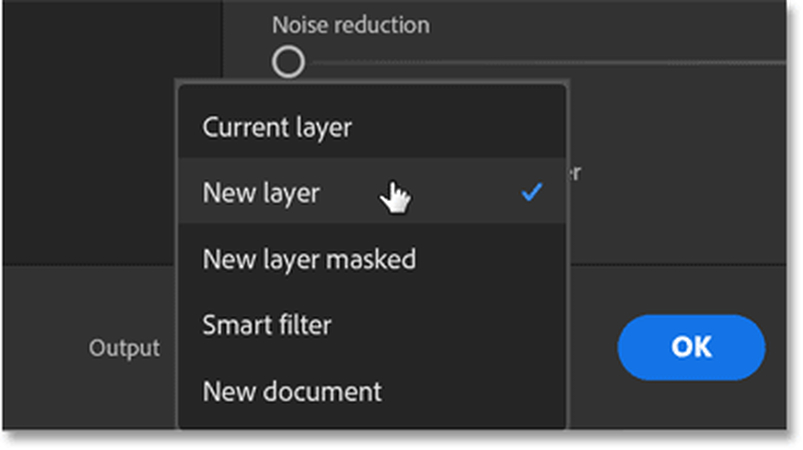
A2. Yes, you can do it using Photoshop's Colorize Neural Filter under Filter > Neural Filters.
Conclusion
In this digital age, coloring black-and-white photos has become easier. By following the steps mentioned in this guide, you can colorize black and white photo in Photoshop and restore the charm of your old photos and preserve the memories for future generations.
However, doing this perfectly may require some practice and basic editing knowledge, but the precision you will get will be unmatchable. But in case you don't have time and you are looking for a quick solution, HitPaw FotorPea can come in handy. This amazing tool offers an excellent alternative for quick, hassle-free colorization using AI technology.



 HitPaw Univd (Video Converter)
 HitPaw VoicePea
  HitPaw VikPea (Video Enhancer)

Share this article:
Select the product rating:
Daniel Walker
Editor-in-Chief
My passion lies in bridging the gap between cutting-edge technology and everyday creativity. With years of hands-on experience, I create content that not only informs but inspires our audience to embrace digital tools confidently.
View all ArticlesLeave a Comment
Create your review for HitPaw articles