Detailed Guide to Compress SWF
Discover the key to efficient SWF optimization with our comprehensive guide to compressing SWF files. Dive into the world of digital compression as we explore four effective tools for streamlining your SWF optimization process.
From reducing file sizes for faster loading times to enhancing performance, these tools offer the perfect solution for maximizing the potential of your SWF assets. Let's embark on a journey to elevate your digital creations with optimized SWF files.
Part 1. How to Compress SWF in Eaze?
Efficient SWF compression is crucial for optimizing file size and enhancing performance, especially in web environments where loading times directly impact user experience. Fortunately, several user-friendly tools simplify the SWF compression process, making it accessible to all users.
These tools, such as Tipard Video Converter, VideoProc Converter, Sothink SWF Decompiler, and SWF File Optimizer, offer intuitive interfaces and robust features to streamline the compression process.
By utilizing these tools, users can effortlessly optimize their SWF files, ensuring faster loading times and improved performance for their digital assets.
1. Tipard Video Converter
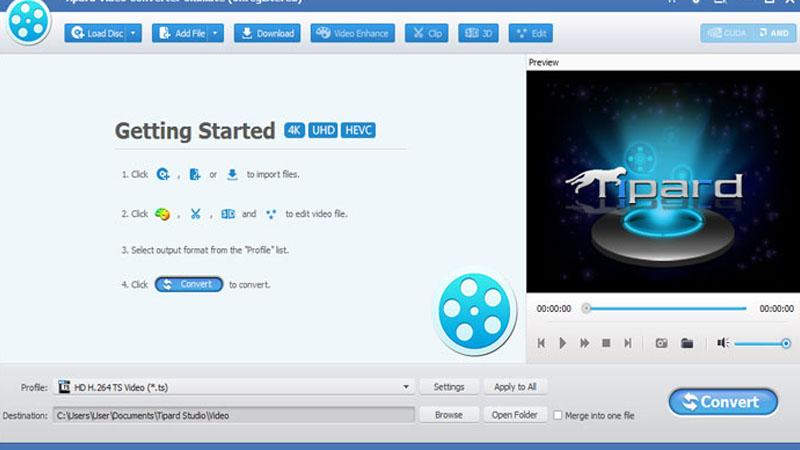
Tipard Video Converter is a versatile software renowned for its comprehensive support of video-related tasks, including SWF compression. With its user-friendly interface and robust features, Tipard Video Converter enables users to efficiently manage and manipulate their video files with ease.
Steps to Compress SWF with Tipard Video Converter:
step 1. Launch the Software: Open Tipard Video Converter on your computer.
step 2. Add SWF File: Click on the "Add File" button and select the SWF file you want to compress.
step 3. Choose Output Format: Select an output format for the compressed SWF file.
step 4. Adjust Settings: Customize compression settings such as resolution, bitrate, and frame rate.
step 5. Start Compression: Click on the "Convert" button to start compressing the SWF file.
step 6. Save Compressed File: Once the compression process is complete, save the compressed SWF file to your desired location.
2. VideoProc Converter

VideoProc Converter is a powerful tool designed for video processing tasks, offering a range of functionalities beyond simple conversion. While it excels in various video-related tasks, including compression and editing, its capabilities also extend to SWF compression, making it a versatile solution for multimedia enthusiasts.
Steps to Compress SWF with VideoProc Converter
step 1. Launch the Software: Open VideoProc Converter on your computer.
step 2. Import SWF File: Click on the "Video" tab and import the SWF file you wish to compress.
step 3. Choose Compression Settings: Select the compression settings such as resolution, bitrate, and codec.
step 4. Preview and Edit (Optional): Preview the compressed SWF file and make any necessary edits.
step 5. Start Compression: Click on the "Run" button to start compressing the SWF file.
step 6. Save Compressed File: Once the compression process is complete, save the compressed SWF file to your preferred location.
3. Sothink SWF Decompiler
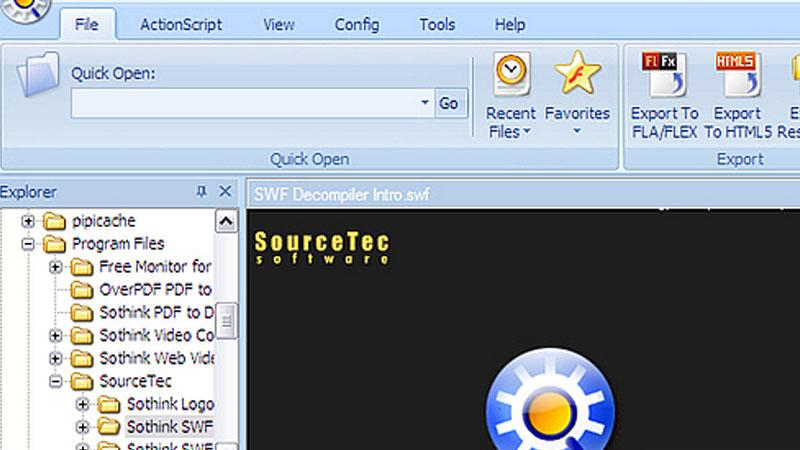
Sothink SWF Decompiler is a specialized tool tailored for decompiling and extracting elements from SWF (Shockwave Flash) files. While its primary focus lies in decompiling SWF files, it also offers features for optimizing and compressing SWF content, providing users with comprehensive SWF management capabilities.
Steps to Compress SWF with Sothink SWF Decompiler
step 1. Launch the Software: Open Sothink SWF Decompiler on your computer.
step 2. Import SWF File: Import the SWF file you want to compress into the software.
step 3. Choose Compression Settings: Navigate to the compression settings and customize options such as image quality and audio bitrate.
step 4. Preview and Edit (Optional): Preview the compressed SWF file and make any necessary edits.
step 5. Start Compression: Initiate the compression process by clicking on the appropriate button within the software.
step 6. Save Compressed File: Once compression is complete, save the optimized SWF file to your desired location.
4. SWF File Optimizer
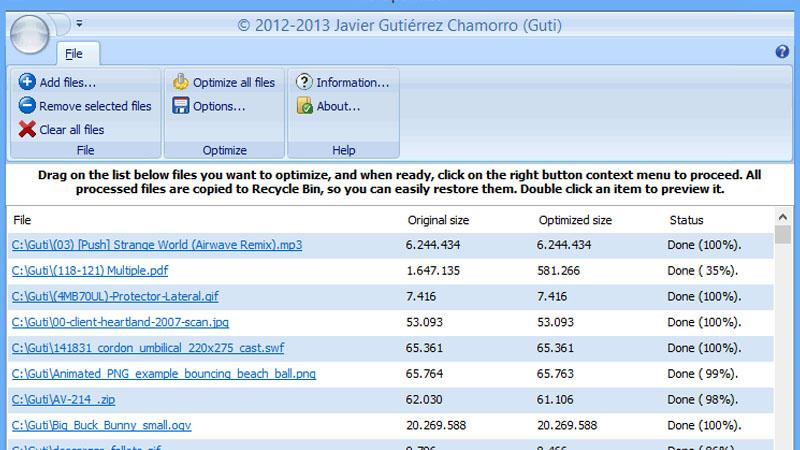
SWF File Optimizer is a dedicated tool focused on optimizing and compressing SWF files to reduce their size while maintaining quality. While its functionality is specific to SWF optimization, it excels in efficiently compressing SWF content to enhance performance and usability.
Steps to Compress SWF with SWF File Optimizer
step 1. Launch the Software: Open SWF File Optimizer on your computer.
step 2. Import SWF File: Import the SWF file you wish to compress into the software.
step 3. Choose Compression Settings: Customize compression settings such as image quality, audio bitrate, and frame rate.
step 4. Preview and Edit (Optional): Preview the compressed SWF file and make any necessary adjustments.
step 5. Initiate Compression: Begin the compression process by selecting the appropriate option within the software.
step 6. Save Compressed File: Once compression is complete, save the optimized SWF file to your preferred location.
By following these detailed steps, you can effectively compress SWF files using the mentioned tools, ensuring optimal performance and file size reduction for your digital assets.
Part 2. Pro-Tips. The Best Tool to Convert Images
When it comes to converting images, HitPaw Univd (HitPaw Video Converter) provides high-speed conversion and consists of a wide range of output formats. HitPaw Univd supports downloads from over 1000 different websites offering its users a seamless experience.
Why Choose HitPaw Univd to Convert Images
- HitPaw Univd provides high-quality outputs and maintains the original quality of the images.
- HitPaw Univd provides fast converting speeds, saving its users their precious time.
- HitPaw Univd provides high-quality outputs and maintains the original quality of the video.
- HitPaw Univd updates regularly and provides reliable customer service.
- HitPaw Univd supports a wide range of output formats, making it compatible with various platforms.
Steps to Convert Images
Step 1. Launch HitPaw Univd on your Mac or Windows system.
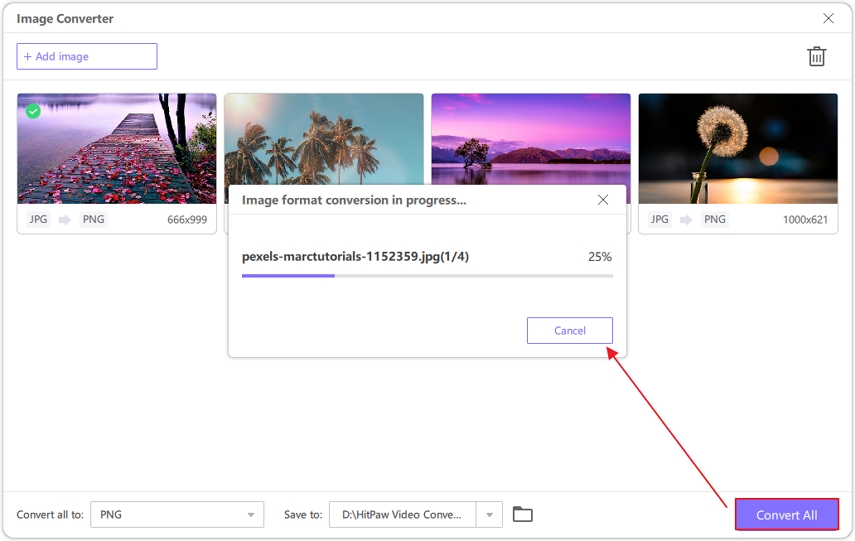
Step 2. Switch to the Toolbox tab. Choose Image Converter function to import the image files you want to convert.
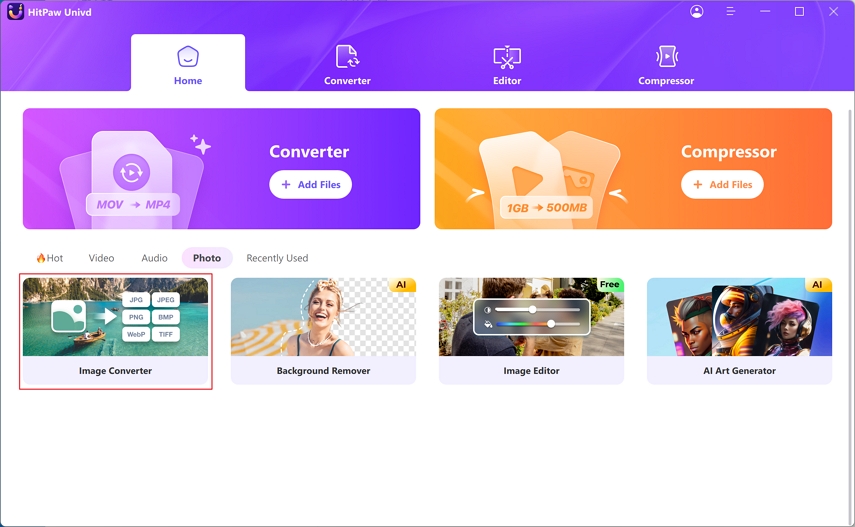
Step 3. When you point to a file, there will be a magnifying glass icon. You can preview the image by clicking the image.

Step 4. In the “Convert all to” option, you can choose an output format for all the imported images.

Step 5. Click the Convert All button to batch convert image to JPG or PNG at high speed.
Watch the following video to learn more details:
Part 3. FAQs of Compress SWF
Q1. Why compress SWF files?
A1. Compressing SWF files reduces their size, resulting in faster loading times for web content, improved user experience, and decreased bandwidth usage.
Q2. Which image format is better than SWF?
A2. While SWF is ideal for interactive multimedia content, image formats such as JPEG or PNG are better suited for static images due to their widespread compatibility and ease of use on various platforms.
Conclusion
In conclusion, mastering SWF compression is crucial for optimizing web performance and enhancing user experience. Consider utilizing HitPaw Univd to streamline the SWF compression process.
Its user-friendly interface and versatile features make it an excellent choice for efficiently compressing SWF files. Elevate your digital creations and ensure optimal performance with HitPaw Univd.


 HitPaw Watermark Remover
  HitPaw Photo Object Remover
 HitPaw VikPea (Video Enhancer)


Share this article:
Select the product rating:
Daniel Walker
Editor-in-Chief
My passion lies in bridging the gap between cutting-edge technology and everyday creativity. With years of hands-on experience, I create content that not only informs but inspires our audience to embrace digital tools confidently.
View all ArticlesLeave a Comment
Create your review for HitPaw articles