Guide to Convert SDR to HDR Davinci Resolve
Converting sdr to hdr davinci resolve can give your videos a real visual punch. To make it seamless, this software has really great tools for adjusting brightness, color depth, and contrast. In this article, I will show you how to get stunning HDR results using DaVinci Resolve step by step and many more besides this.
Part 1. Steps to Convert SDR to HDR Davinci Resolve
DaVinci Resolve can convert your Standard Dynamic Range (SDR) footage into High Dynamic Range (HDR), which vastly improves visual quality. HDR allows for a broader range of colors and brightness intensity, and that means we end up with pictures that are more vibrant, and more lifelike. Here's a concise guide to help you through the conversion process.
Detailed Steps to Convert SDR to HDR Davinci Resolve
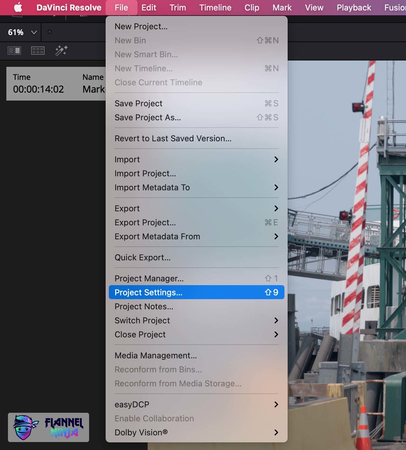
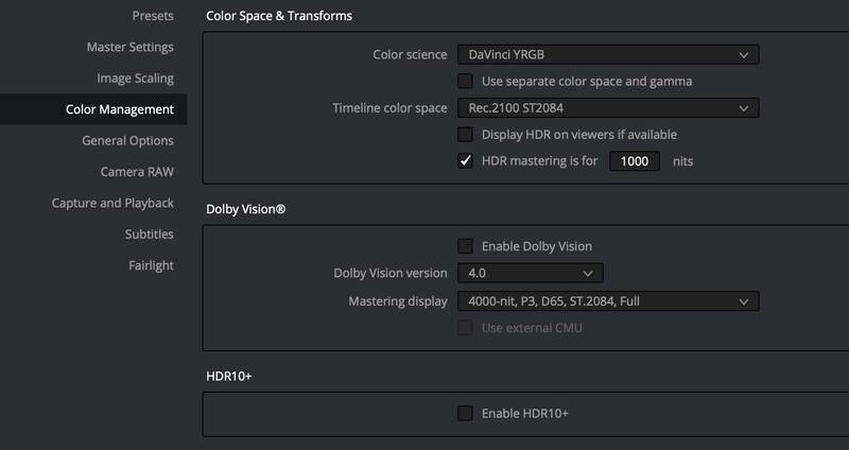
Step 1.Open DaVinci Resolve and create a new project. Head to File > Project Settings, set the timeline resolution (e.g., 4K), and switch Color Science to "DaVinci YRGB Color Managed." Set the Color Space to HDR.

Step 2.Import Media in the Media Pool by right-clicking and selecting import media for your SDR clips.
Step 3.In the Media Pool, right-click, select Create New Timeline, and configure it to match your settings.

Step 4.Drag SDR Clips into the newly created timeline.
Step 5.To enhance exposure and contrast and to bring out highlights and shadows, go to the Color Page and use Color Wheels.

Step 6.After that, open the Color panel, find the HDR palette, and adjust sliders for highlights, midtones, and shadows.

Step 7.Click on the Deliver tab, Set export settings, set Color Space to HDR and Data Levels to "Full," and pick your file format.
Part 2. 7 Alternatives to Davinci Resolve to Convert SDR to HDR
While DaVinci Resolve is excellent at converting SDR to HDR, other software does video enhancement as well. Let's take a look at seven alternatives, strengths and weaknesses.
1. Adobe Premiere Pro
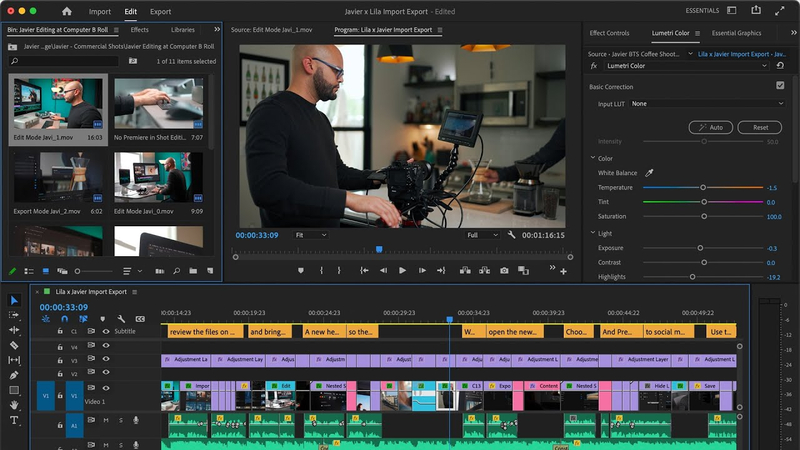
A widely used video editing software, Adobe Premiere Pro offers full HDR support.
Pros
- A barrage of extensive color grading tools.
- Fully integrated with other Adobe products.
- It supports a variety of formats.
Cons
- More steep learning curve for beginners.
- Subscription-based pricing can be very costly.
- It may require high system specifications for optimal application.
2. Final Cut Pro
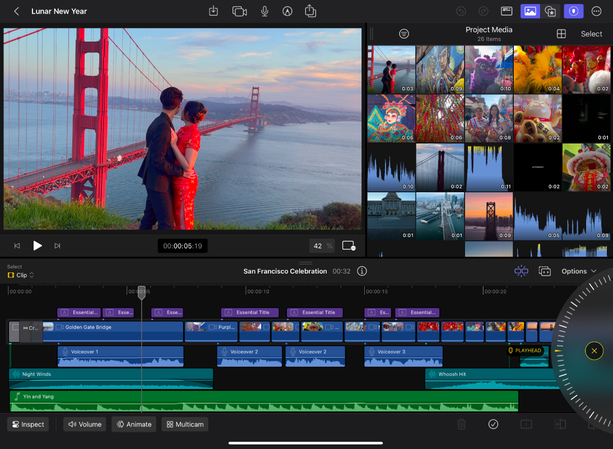
Apple's professional video editing software, Final Cut Pro, is known for offering an easy to use and powerful features.
Pros
- For macOS optimized, to achieve a smooth performance.
- Editing with the Magnetic Timeline feature is simplified.
- Easy HDR adjustments with robust support.
Cons
- Exclusive to macOS users.
- Higher upfront cost on some competitors.
- Fewer collaboration features than cloud-based software.
3. Avid Media Composer
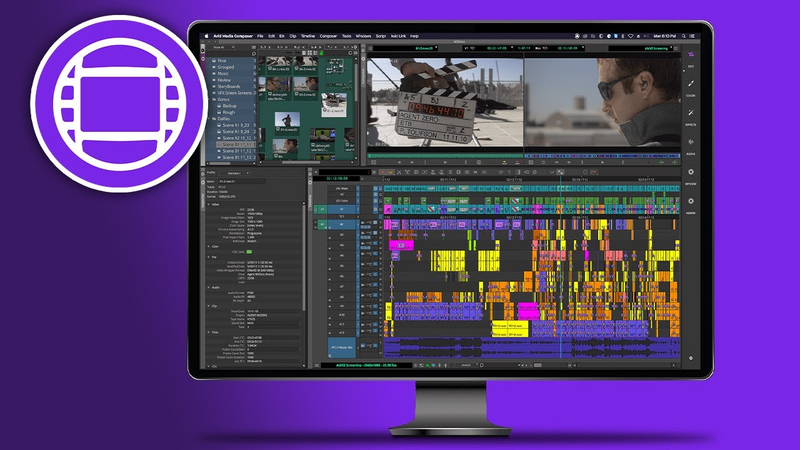
Avid Media Composer is a professional video editing tool loved by many in the film and television industry.
Pros
- Team projects that have powerful collaboration features.
- Complete media management tools.
- Professional workflows get vital support.
Cons
- New users may also need help with the complex interface.
- Licensing costs are usually higher.
- Fewer HDR tools are available than competitors.
4. HitFilm Express

HitFilm Express is free video editing software for indie filmmakers with powerful features.
Pros
- Robust editing tools in the free version.
- A good range of visual effects options is available.
- Support and tutorial community around.
Cons
- There is less limited HDR support than paid software.
- The more extreme learning needs for beginners.
- You need to pay for some advanced features.
5. CyberLink PowerDirector
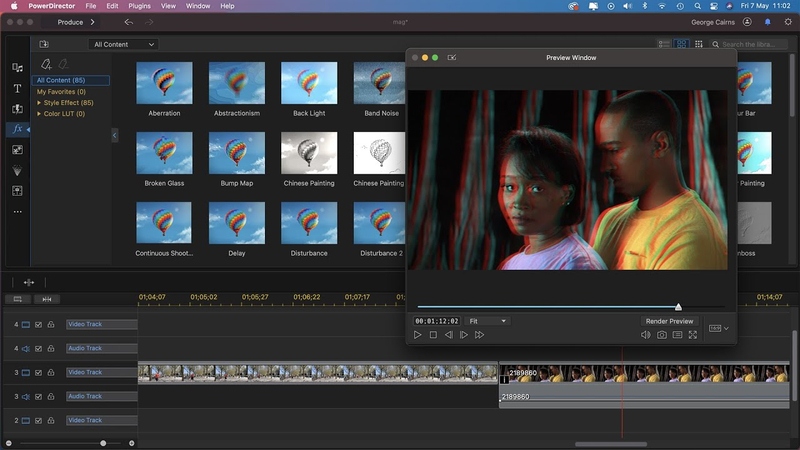
CyberLink PowerDirector is a software that has a simple and powerful user interface and good video editing.
Pros
- An intuitive interface that's easy to navigate.
- Low rendering times and excellent performance.
- Built in effects and templates, a substantial array of.
Cons
- Without the limited advanced tools for 3D color grading.
- It may not be appropriate for professional-grade projects.
- Only the more expensive versions have some features for their user-friendly interface and robust video editing capabilities.
6. Edius Pro
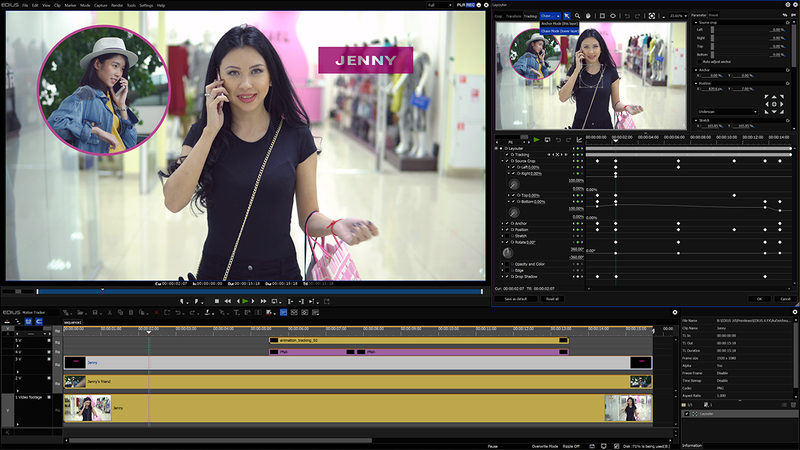
Known for being fast and versatile, Edius Pro is professional editing software.
Pros
- Minimal rendering, real-time editing.
- It supports many formats and resolutions.
- Workflow that is suitable for different projects.
Cons
- New users have a need more intuitive interface.
- Image quality comparable to competitors.
- The initial cost of the software is high.
7. Magix Vegas Pro
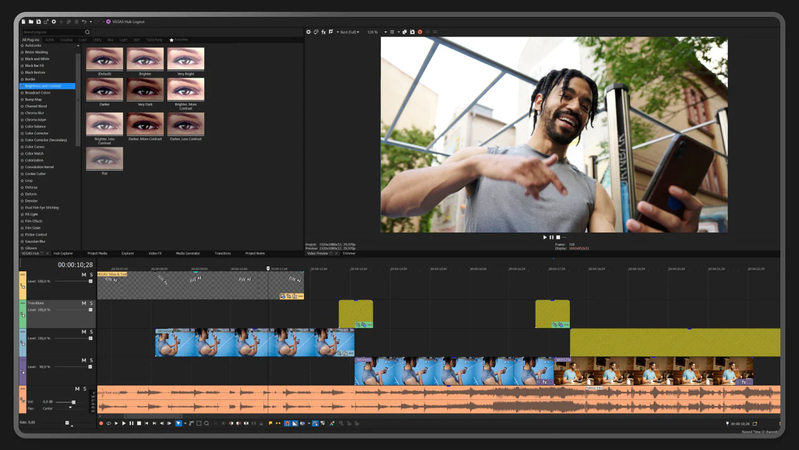
If you are new to video editing then Magix Vegas Pro is a popular video editing software that provides power tools for beginners and professionals.
Pros
- Drag and drop interface.
- Complete audio editing features.
- Showcase of 4K and HDR video.
Cons
- Reported stability issues on some systems.
- Limited team collaboration features in team projects.
- Pricing structure may need to be clarified to some users.
Part 3. Pro-Tips. Best Video Enhancer Free Try
HitPaw VikPea (formerly HitPaw Video Enhancer) is a good choice for users to enhance their videos without lengthy editing skills. Besides the powerful editing software, it's also easy to use and delivers excellent results. With this user-friendly tool, advanced AI technology is leveraged to improve video quality automatically. It allows you to convert your videos up to 4K or even 8K with no effort.
HitPaw VikPea, whether you're a novice or an old hand, makes the enhancement process easy, you can concentrate on the creation of outstanding content. It's an excellent solution for anyone looking to improve their video projects because of its straightforward interface and powerful features.
Why Choose HitPaw VikPea
- Improves resolution and quality by itself automatically.
- User-friendly for all skill levels.
- It improves several videos at once to save time.
- View changes to see and choose to satisfy.
- It produces impressive HDR results, adding to viewer engagement.
Steps to Enhance Video
Step 1.The first thing to do is to download the HitPaw VikPea program on its official website.
Step 2.To import the file directly or to drop the video after installation, select the Choose File option. HitPaw VikPea supports more than thirty input formats, including MP4, AVI, MOV, MKV, and M4V.

Step 3.This video quality enhancer is robust with a bunch of AI models – General Denoise Model, Animation Model, Face Model, Colorize Model, Color Enhancement Model, Frame Interpolation Model, and Stabilize Model.
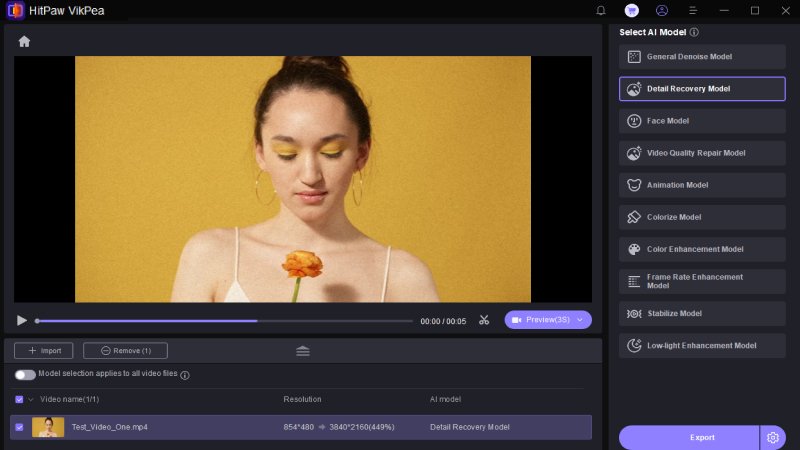
Step 4.Once the video has been uploaded, you click Preview the video before you begin the process. It could take a few moments. When you are happy with the improved video, click the Export option to save it.

NOTE: The premium version is needed to export the enhanced video.
Learn More about HitPaw VikPea
Conclusion
It's definitely worthwhile to convert sdr to hdr davinci resolve, which can raise your video quality and viewer engagement levels. There are many tools out there to fulfill your keen needs, but HitPaw VikPea is the easiest to use and has many potent AI capabilities. If you're searching for a quick and effective way of enhancing your videos up to a higher level, such as 4K or 8K, it's an excellent choice.



 HitPaw Univd (Video Converter)
 HitPaw VoicePea
  HitPaw FotorPea


Share this article:
Select the product rating:
Daniel Walker
Editor-in-Chief
My passion lies in bridging the gap between cutting-edge technology and everyday creativity. With years of hands-on experience, I create content that not only informs but inspires our audience to embrace digital tools confidently.
View all ArticlesLeave a Comment
Create your review for HitPaw articles