Catalog
This is the tutorial of how to use HitPaw Univd's(HitPaw Video Converter) compressor feature to compress videos and images at optimal quality.
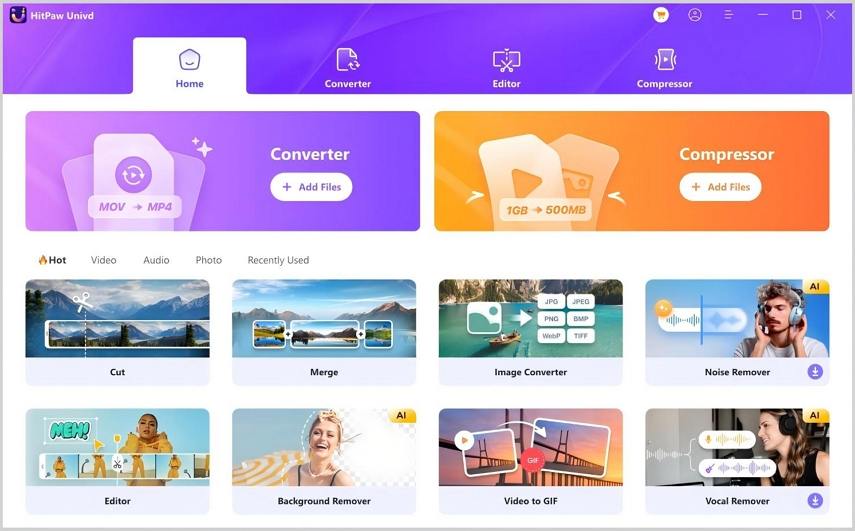
Firstly, please install and launch HitPaw Univd on computer. Choose Compressor feature from the main interface.
Part 1: How to Compress Videos in HitPaw Univd
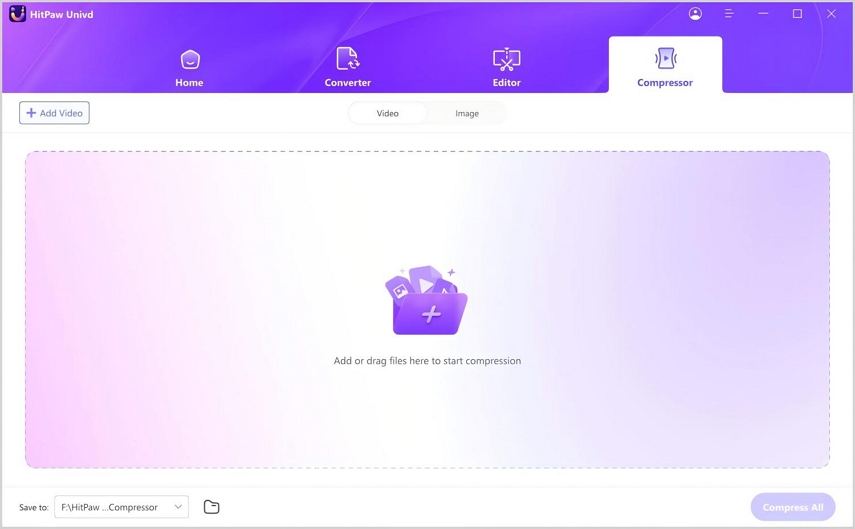
Step 1. On the main interface, click “+” sign to add video(s) to the program. You can rename the video title by clicking the pen icon.
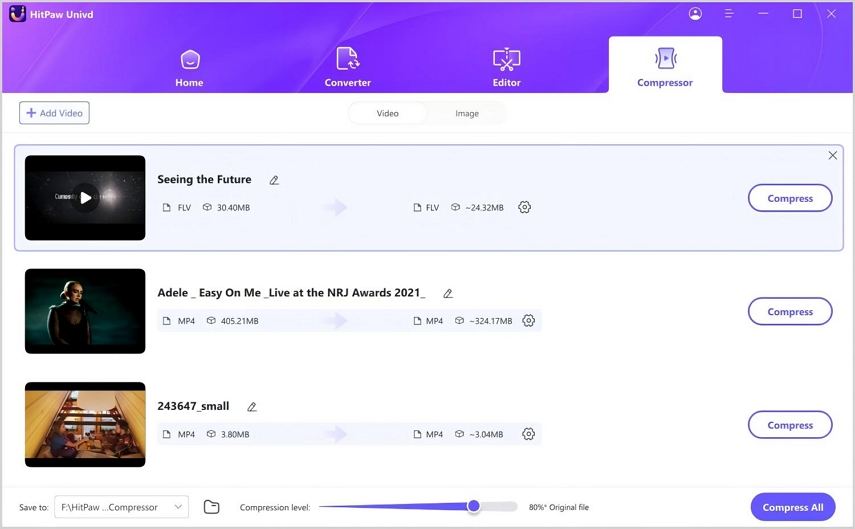
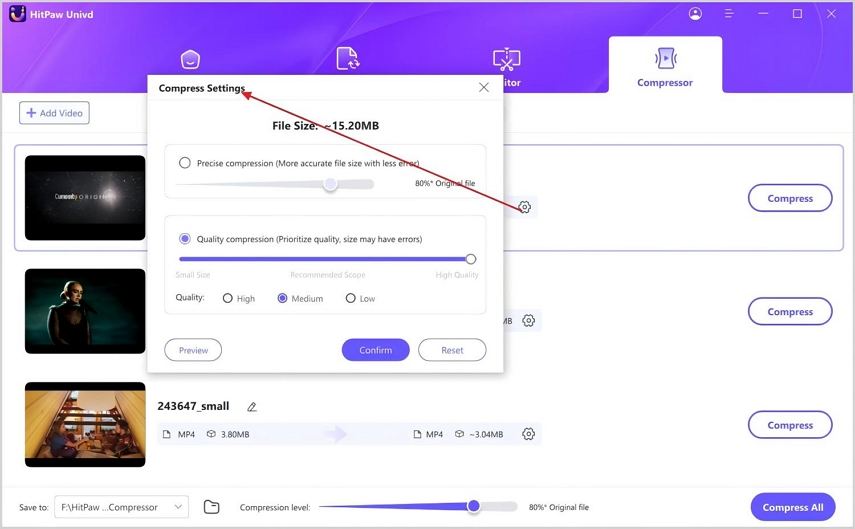
Step 2. Click the gear icon next to the file to open the Compression Settings menu.
Precise Compression: Select this option to compress the video to a specific file size (e.g., 15.20MB) with minimal error.
Quality Compression: Choose this to prioritize video quality, though the final size may vary slightly. Ajust the compression level (High, Medium, or Low) to balance quality and file size.
Click the “Preview” button to preview the compression effects. Click the Confirm button to save your settings.
To batch compress video files, choose a compression level from the bottom left. It will apply to all files in the list. The recommended compression level is medium. The size of the video before and after compression can be seen in the file list.
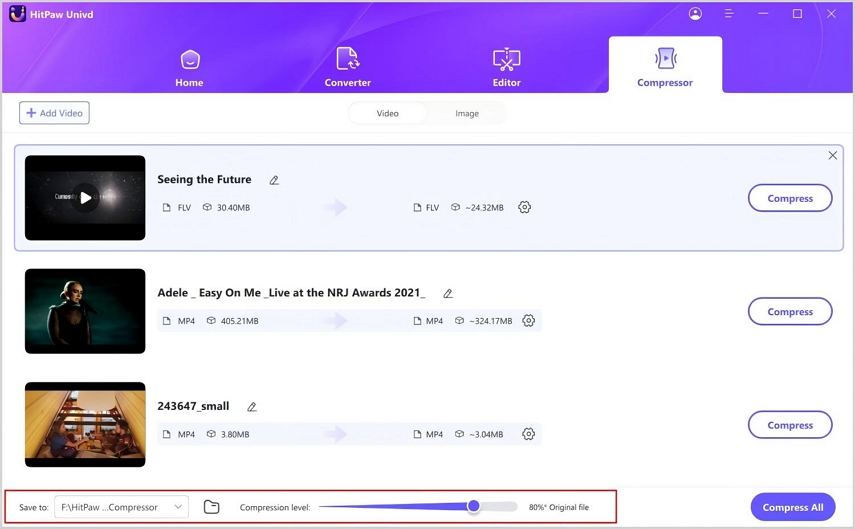
Step 3. Click the Compress button to start compressing the target file or click the Compress All button to compress all files at once.
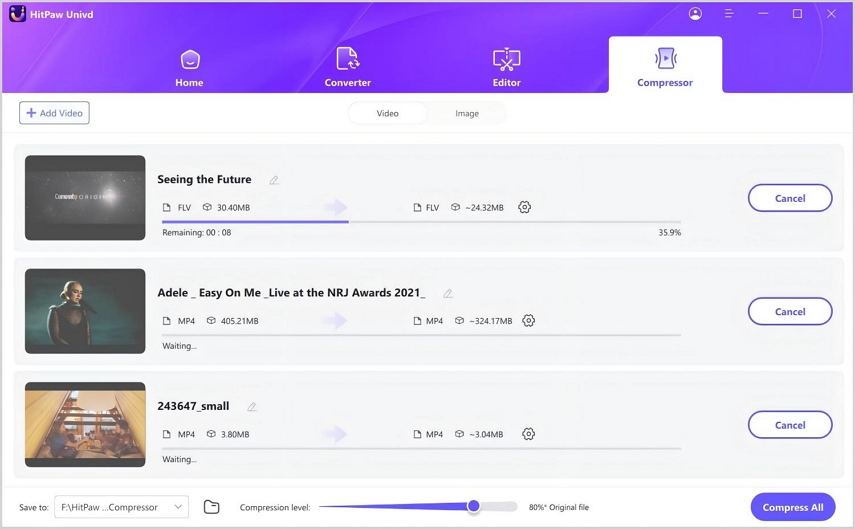
When the compression is finished, you can access the compressed video(s) in the output folder.
Part 2: How to Compress Images in HitPaw Univd
Step 1. Choose Compressor feature from the main interface. Click “+” sign to add to add image(s) to the program.
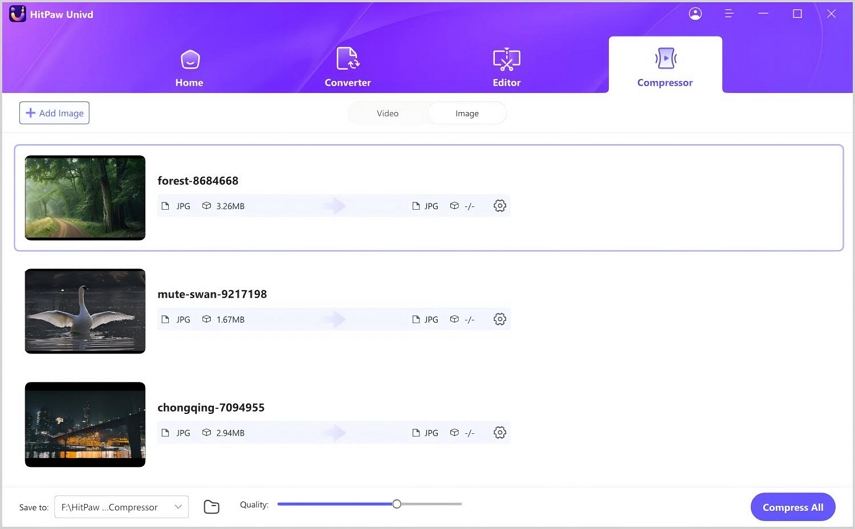
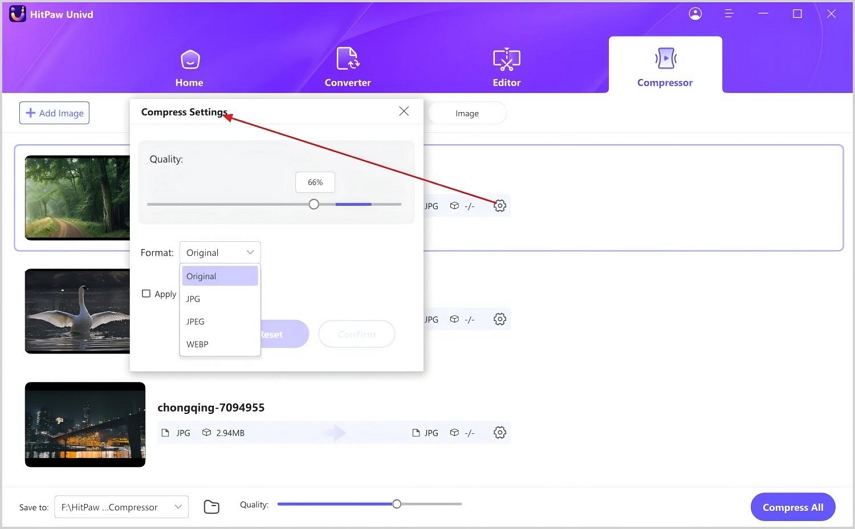
Step 2. Click the gear icon on a file, and choose an appropriate compression level and quality for that file. You can also choose the export file format from “Original”, “JPG” “JPEG”, and “WEBP”.
When you check the “Apply all to list” option, the compression level will apply to all images in the list. Click the Confirm button to save your settings.
To batch compress image files, choose a compression level from the bottom left. It will apply to all files in the list. The recommended compression level is medium. The size of the video before and after compression can be seen in the file list.
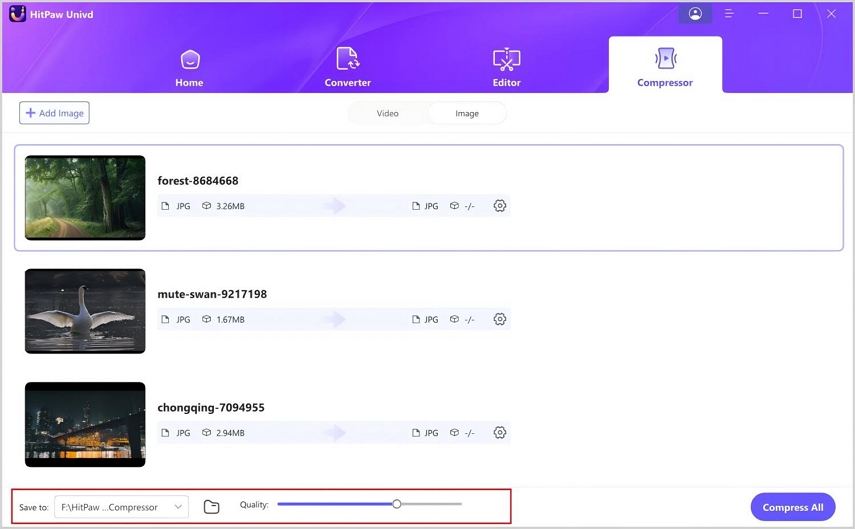
Step 3. Click the Compress All button to start compression all images at once.
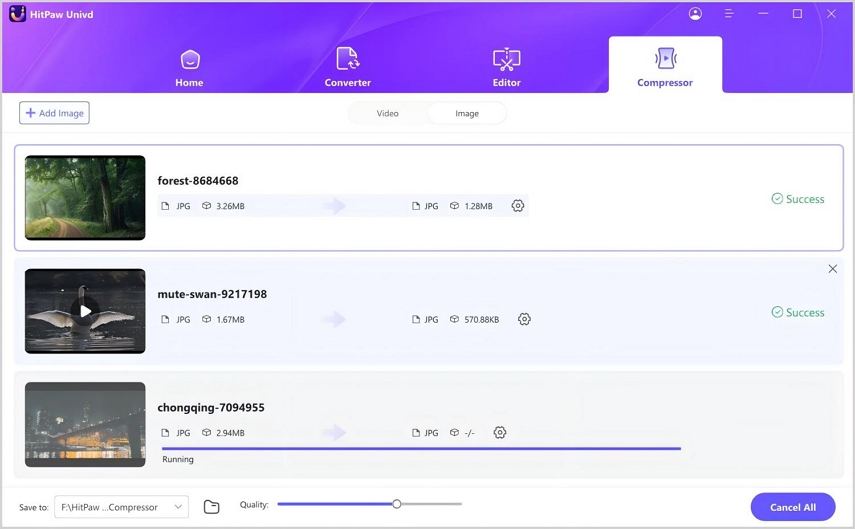
When the compression is finished, you can access the compressed image(s) in the output folder.


