Catalog
This tutorial will tell you how to burn DVD and blu-ray from videos in HitPaw Univd (HitPaw Video Converter).
Step 1: Choose DVD Burner Feature
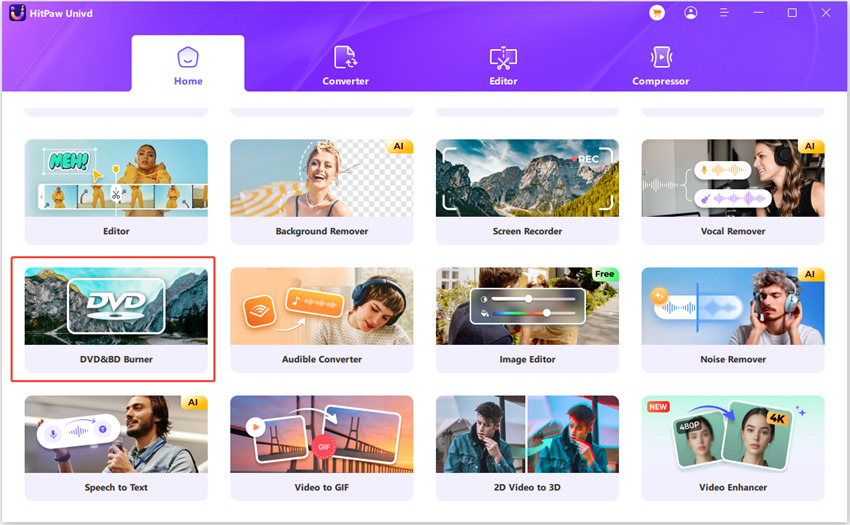
Launch HitPaw Univd and choose DVD Burner feature on the home page.
Step 2: Add Videos
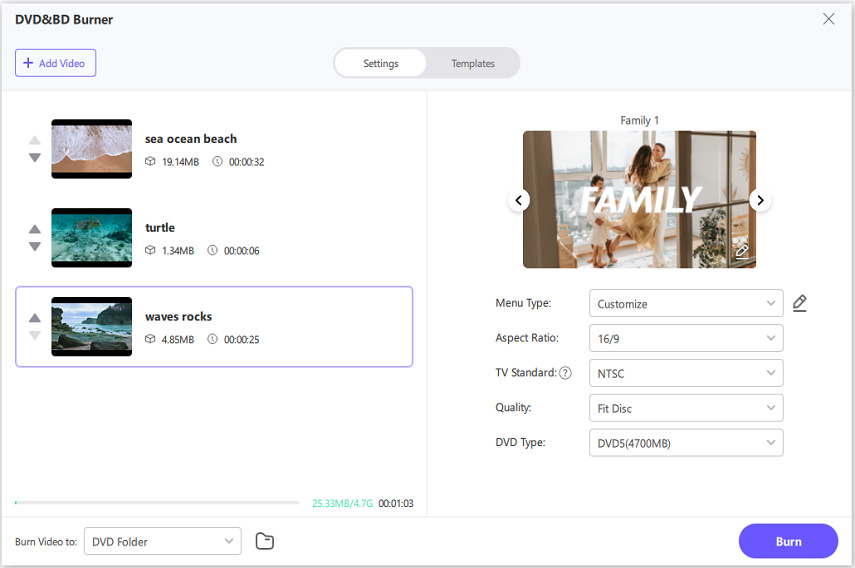
Now, you can add or drag videos to HitPaw DVD Burner interface.

Step 3: DVD Settings
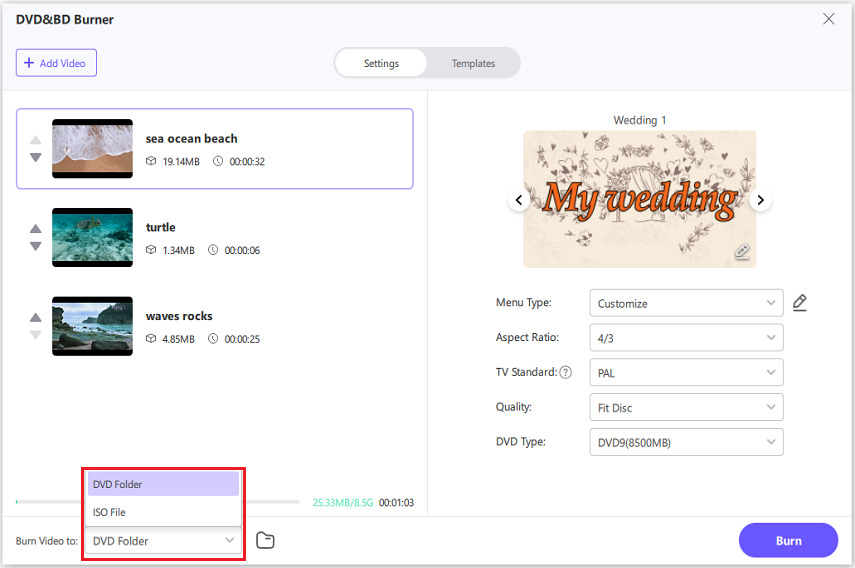
On the Setting panel, you can set up DVD label (requires you insert a blank disc). Select a DVD menu.
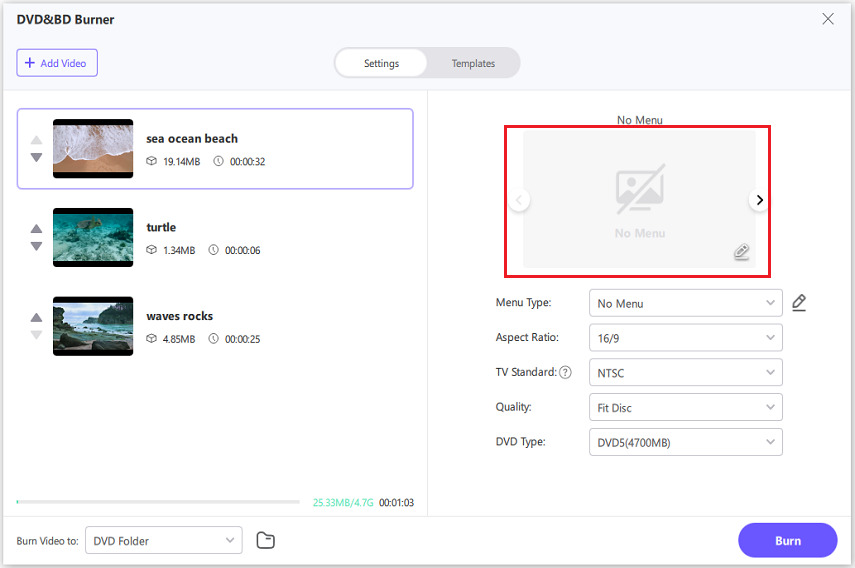
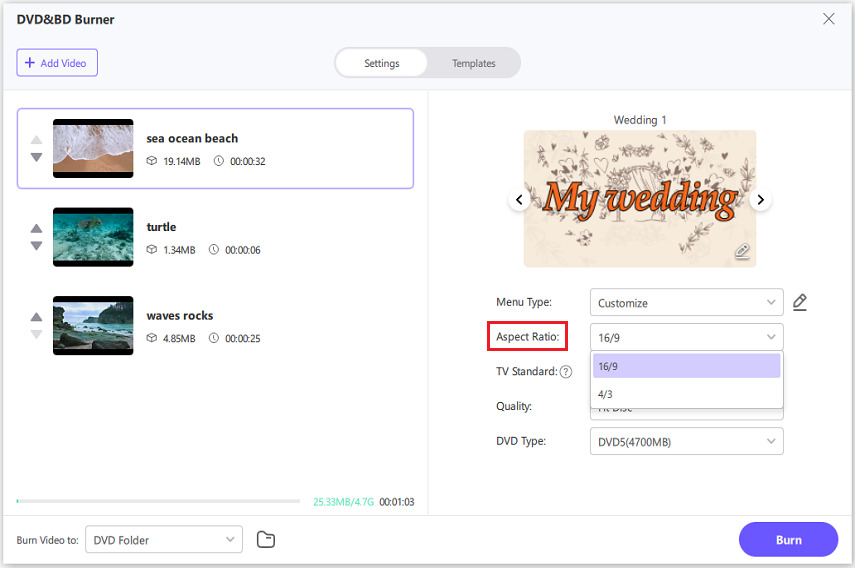
Choose the desired aspect ratio. The 16:9 aspect ratio, also known as widescreen, is best for video because it is 78% wider than it is tall. Meanwhile, the 4:3 aspect ratio is better for photography, since it's only 33% wider than it is tall, and better for printing.
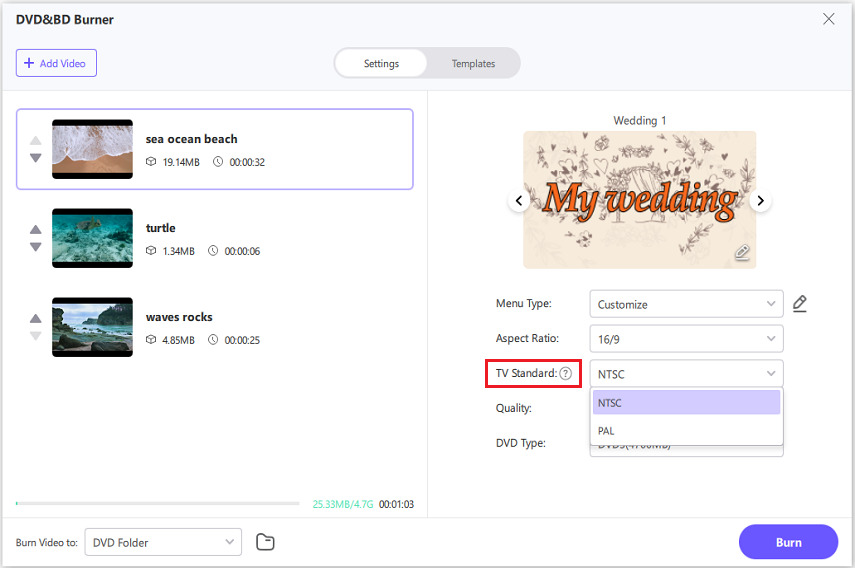
Select a TV standard (NTSC or PAL). NTSC is the video standard commonly used in North America and most of South America. And PAL is the video standard which is popular in most of the European and Asian countries.
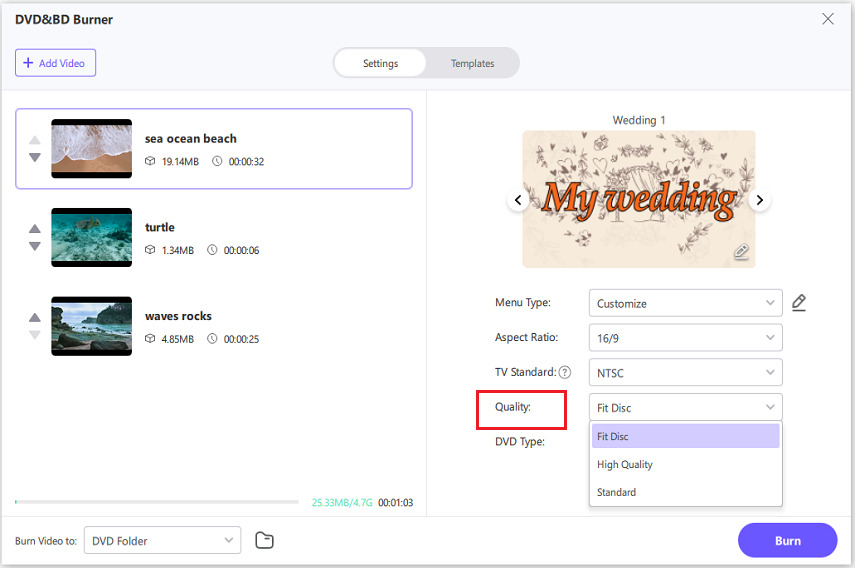
Select a suitable DVD quality. The higher quality, the larger is the output DVD file.
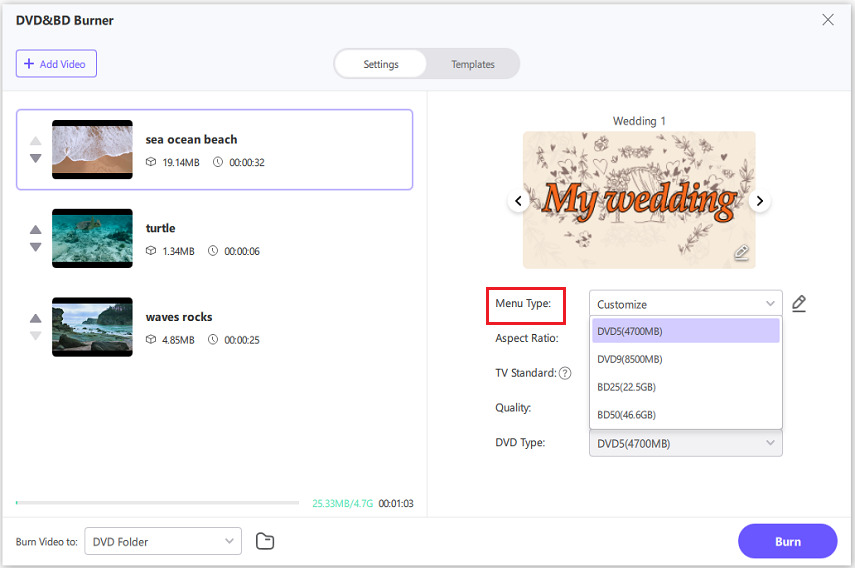
Select a suitable DVD type. HitPaw Univd supports both DVD and blu rays. DVD-5 is a single-layer DVD that can hold up to 4.7GB of data (approximately 120-133 minutes of video, depending on compression). DVD-9 is a double-layer, single-sided DVD that can hold up to 8.5GB of data (approximately 240 minutes of video, depending on compression). While, a BD-25 is a single layer disc and can hold up to 25 GB of data or HD/SD video. A BD-50 is a dual layer disc and can hold up to 50 GB of data or Video. For a BD-25, this translates into approximately 4 hours of HD video or 11 hours of SD video.
Step 4: Customize DVD Template & Menu
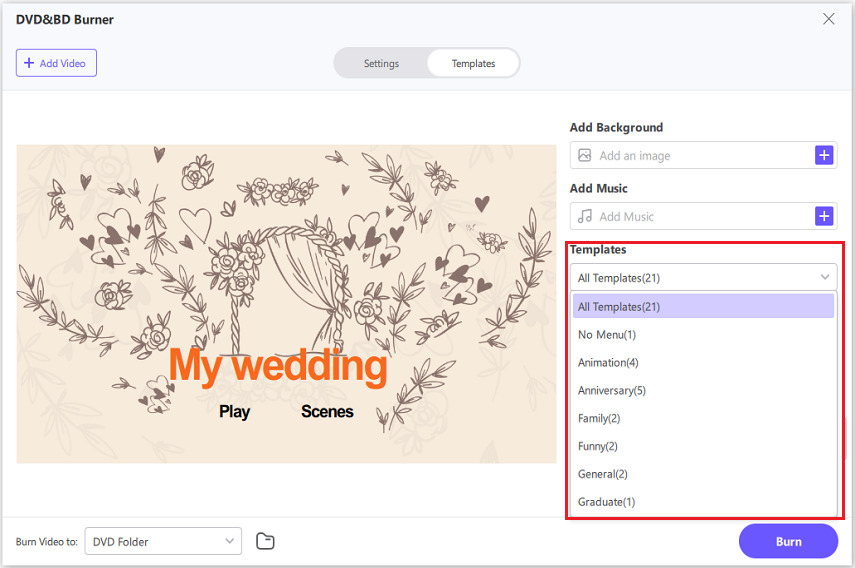
Switch to the Templates tab, you can select a preferred DVD template from the Templates drop-down menus.
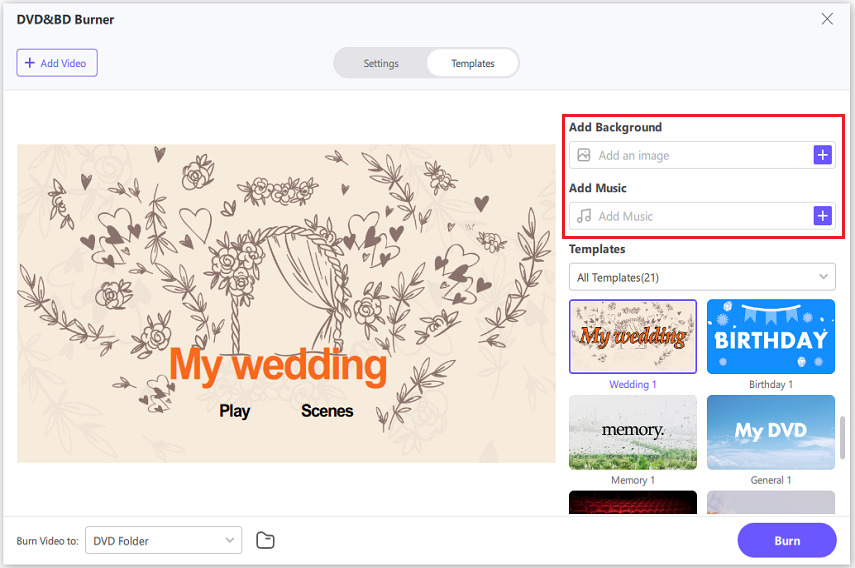
After selecting an DVD template, you can customize DVD background, add background music, customize DVD title, etc.
Step 5: Preview DVD Slideshow
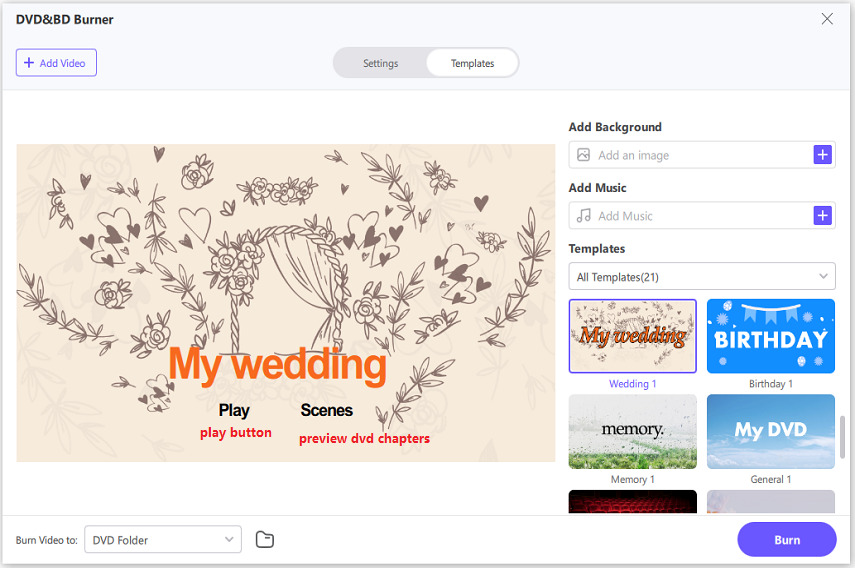
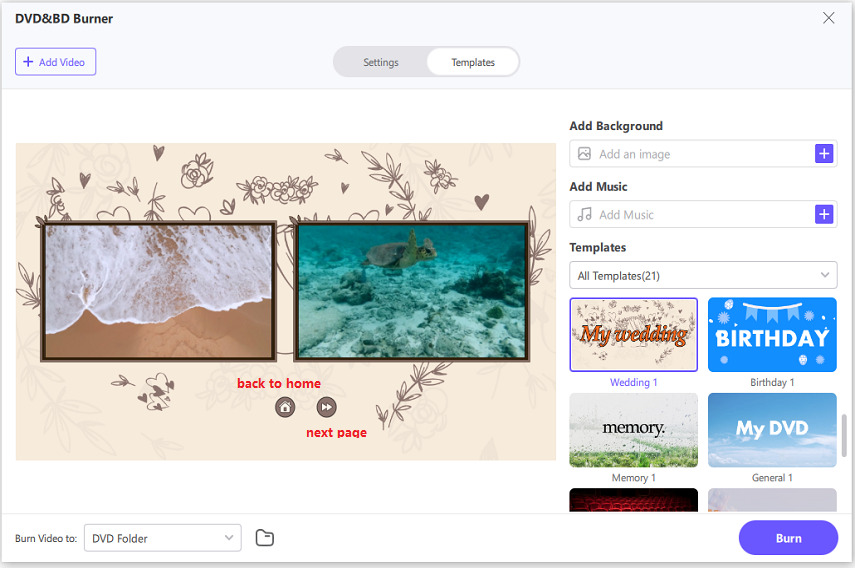
Now, you can click play button to play DVD, or click the Scenes to preview DVD chapters.
Step 6: Burn MP4/AVI/MKV/MOV to DVD/ISO/Folder
Once you're satisfied with the DVD preview, back to the Settings tab, and select an output file type (DVD disc, DVD Folder or ISO File).
Step 7: Start Burning Videos to DVD
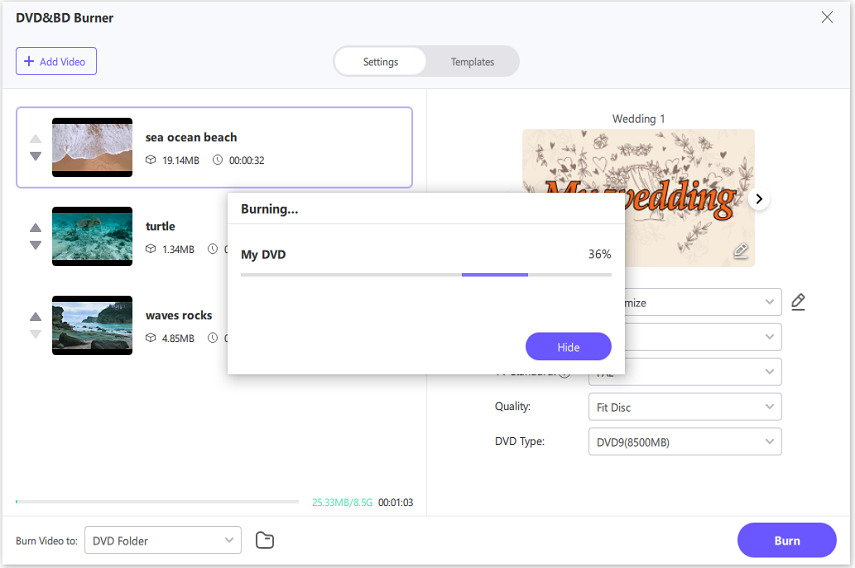
Finally, click the Burn button to start burning the videos to DVD at fast speed.
Step 8: Access to the Created DVD File
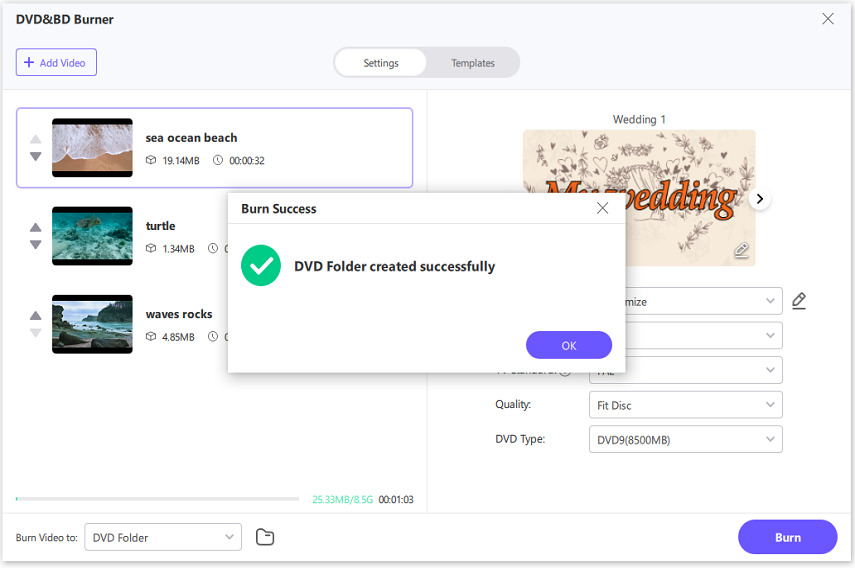
Once the burning process completes, you can play the DVD disc or DVD folder.
