Everything You Need to Know ahout GoPro FX Reframe
Returning from an epic adventure with a GoPro capturing every breathtaking 360-degree moment, only to realize that your footage needs a cinematic twist. Whether you're an outdoor enthusiast or a creative professional, the transformation from immersive 360 footage to a traditional, engaging video is essential. This is where GoPro FX Reframe comes into play-empowering users to convert wide-angle experiences into perfectly framed shots. With tools like the Go Pro FX reframe plugins designed for Premiere Pro, editing becomes not just easy but also fun.
Part 1. What is GoPro FX Reframe?
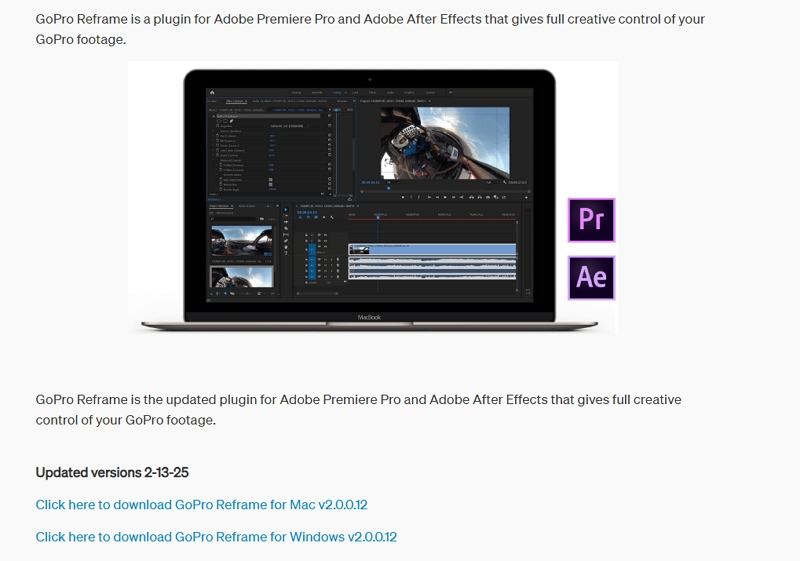
FX Reframe is an innovative plugin for for Adobe Premiere Pro and After Effects developed by GoPro that automatically reframes 360 footage, converting it into traditional, non-360 videos or photos. By analyzing each frame, this tool smartly reframes your video to highlight the most important subjects and actions, ensuring that every moment is showcased perfectly. It is a game-changer for content creators who want to bring out the cinematic quality of their adventures without spending hours manually adjusting every clip.
FX Reframe Support and Compatibility:
- Platform: Works seamlessly with Adobe Premiere Pro.
- Operating Systems: Compatible with both Windows and macOS.
- Cameras: Supports various GoPro models, ensuring a wide range of footage is optimally reframed.
- Integration: Easily integrates with other video editing tools, making it a versatile addition to your creative workflow.
For further details, you can refer to the official guide on [GoPro FX Reframe].
Part 2. How to Download and Install GoPro FX Reframe Plugin on Premiere Pro?
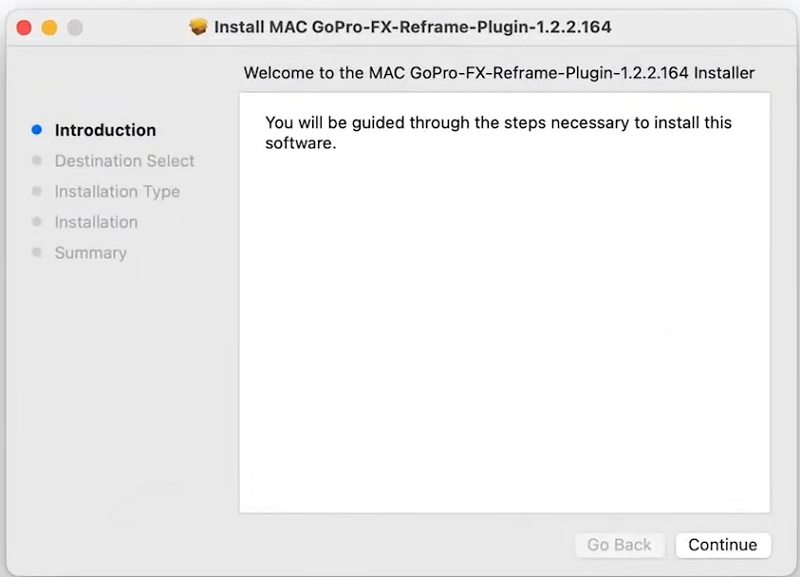
To enhance your editing capabilities, follow these simple steps to install the GoPro FX Reframe plugin (also known as the gopro reframe plugin) on Adobe Premiere Pro:
1.Navigate to the GoPro community forum to access the GoPro FX Reframe download.
2.Click on the download link to get the installer package for the GoPro FX Reframe plugin.

3.Save the installer to your computer and extract the downloaded files if needed.

4.Open Adobe Premiere Pro and go to the Plugins directory.
5.Copy the extracted files into the Premiere Pro plugins folder, ensuring that the GoPro FX Reframe Premiere Pro installation is complete.
6.Close and reopen the software to enable the new plugin.Check the effects panel for the gopro reframe plugin to confirm that it is installed correctly.
Part 3. Common Issues of GoPro FX Reframe Plugin
While the GoPro FX Reframe plugin offers a robust solution for reframing footage, some users have reported issues that can hinder workflow efficiency. These challenges can range from minor glitches to significant disruptions during critical editing sessions.
When using GoPro FX Reframe in your editing suite, it's important to be aware of potential issues:
GoPro FX Reframe crashes on Premiere Pro
In some cases, the plugin may cause unexpected crashes in Premiere Pro. This can be due to compatibility issues or conflicts with other installed plugins.
Installed a GoPro Reframe FX plug-in but it's not showing up in Premiere's effects panel
If the plugin isn't visible, it might indicate an incomplete installation process or an incompatibility with your current version of Premiere Pro.
Cannot Launch Premiere Pro after Installing FX Reframe
Some users have experienced problems launching Premiere Pro after the installation, which could be a result of corrupted files or system conflicts.
Understanding these common issues is essential for effective troubleshooting and ensuring that your editing experience remains smooth and productive.
Bonus Tip: Best Auto Reframe Tool to Change Aspect Ratio of GoPro Videos
For those looking to take their video editing to the next level, consider using HitPaw Univd which has leading Auto Reframe tool that perfectly complements the capabilities of GoPro FX Reframe. It is especially valuable when you need to convert widescreen footage into formats such as 16:9, 9:16, 1:1, 4:3, and 3:4 without sacrificing quality.
Univd also offers a comprehensive video converting and editing platform designed to simplify the process of adjusting video dimensions, making it a favorite among professionals and beginners alike.
- Effortlessly adjusts your video frames with minimal manual input.
- Guarantees clear and professional video output every time.
- Simplifies complex editing tasks for beginners and pros alike.
- Tailors your video for all popular social media platforms.
- Offers a range of creative enhancements to perfect your footage.
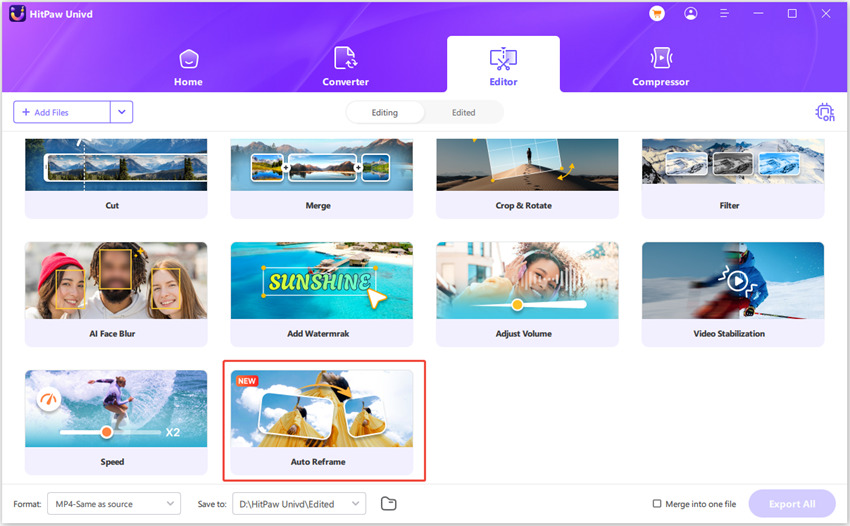
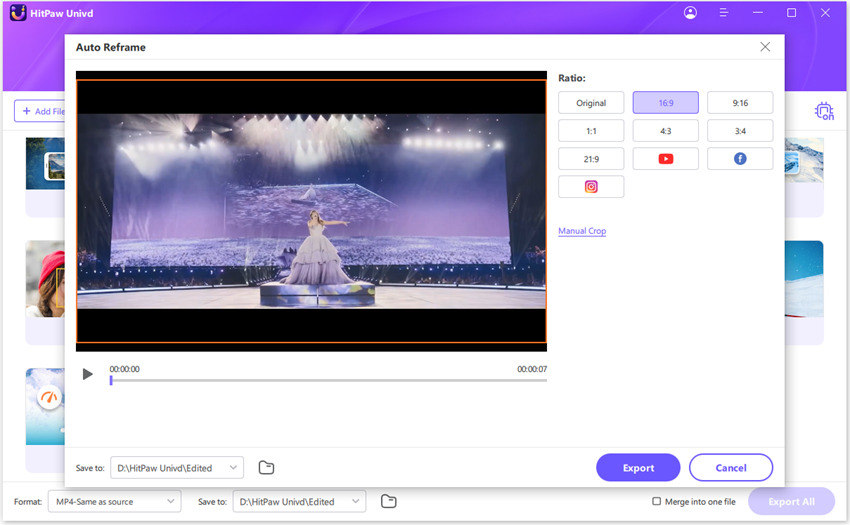
Step 1.Launch HitPaw Video Converter on your computer, switch to the Editor Section, and select Auto Reframe to access the video ratio converter tool.

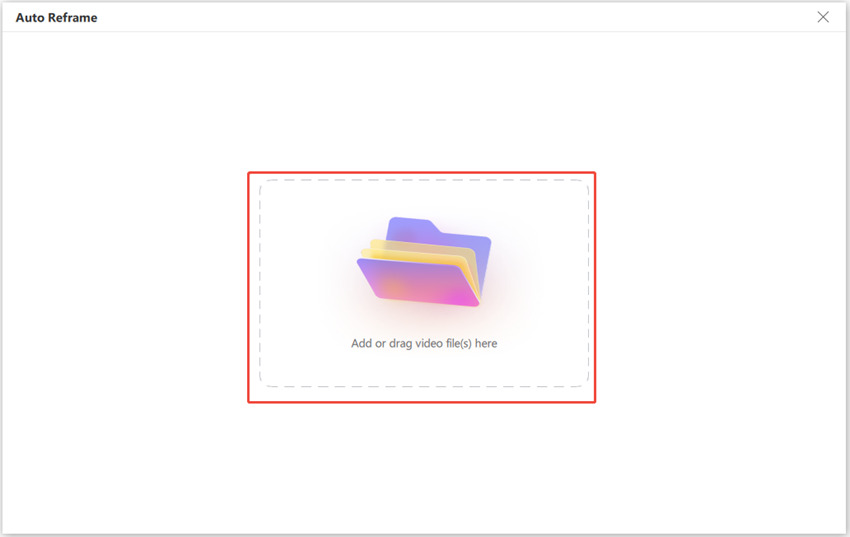
Step 2.Add or drag the video into the main interface to import the video which you plan to change video dimension.

Step 3.Choose your preferred aspect ratio from the list. HitPaw supports various options tailored for social media, including 16:9, 9:16, 1:1, 4:3, 3:4.

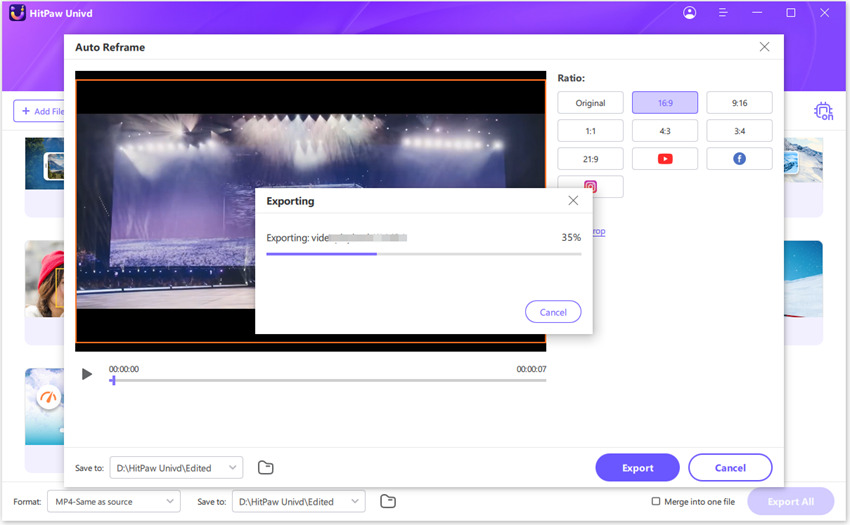
Step 4.Once the aspect ratio is set, click Export to begin resizing your video. After processing, the converted video will automatically appear in the Save Folder, ready for use.

Conclusion
In conclusion, the GoPro FX Reframe tool is a must-have for anyone looking to transform immersive 360-degree footage into engaging, cinematic videos. With an easy download process, simple installation steps for GoPro FX Reframe Premiere Pro, and a clear understanding of common issues, creators can streamline their editing workflow significantly. Additionally, leveraging tools like HitPaw Univd for auto reframing further elevates your video content, ensuring each project is polished and professional.




 HitPaw VoicePea
  HitPaw VikPea (Video Enhancer)
 HitPaw FotorPea

Share this article:
Select the product rating:
Daniel Walker
Editor-in-Chief
My passion lies in bridging the gap between cutting-edge technology and everyday creativity. With years of hands-on experience, I create content that not only informs but inspires our audience to embrace digital tools confidently.
View all ArticlesLeave a Comment
Create your review for HitPaw articles