Mastering Packshot Photography: Guidelines for Perfect Packshot
Packshot photography plays an essential role in showcasing products to their fullest potential. Whether you're running an e-commerce store or launching a product campaign, high-quality product images are key to attracting customers and driving sales. In this guide, we’ll walk you through everything you need to know about packshot photography—from the basics to advanced techniques—so you can create product photos that truly shine.
Part 1. What is Packshot Photography?
Definition and Purpose of Packshot Photography
Packshot photography refers to the process of taking high-quality, professional images of products, typically used for commercial purposes. These images are usually straightforward, clean shots of the product on a plain or simple background, designed to highlight the features and details of the product. Packshots are commonly used in online shops, advertisements, catalogs, and brochures.
The primary purpose of packshot photography is to provide customers with a clear, true-to-life representation of the product. This allows potential buyers to see exactly what they are purchasing, which can significantly influence their buying decisions.
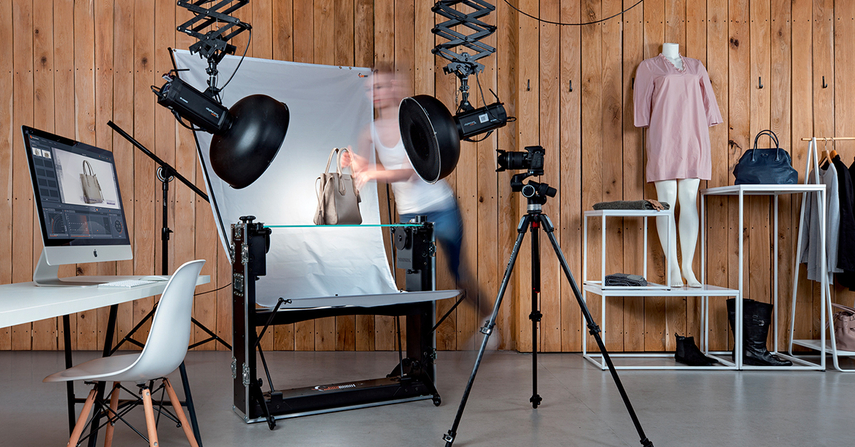
Importance of High-Quality Product Images for E-commerce and Marketing
In e-commerce, product images are the first interaction a customer has with your brand and product. Clear, detailed, and well-lit images make products look more attractive, professional, and trustworthy. On the other hand, poor-quality images can have the opposite effect, leaving customers questioning the authenticity and quality of your products.
Part 2. 5 Essential Packshot Tips
1. Key Elements of a Successful Packshot
A successful packshot involves several key elements that work together to create a visually appealing image.
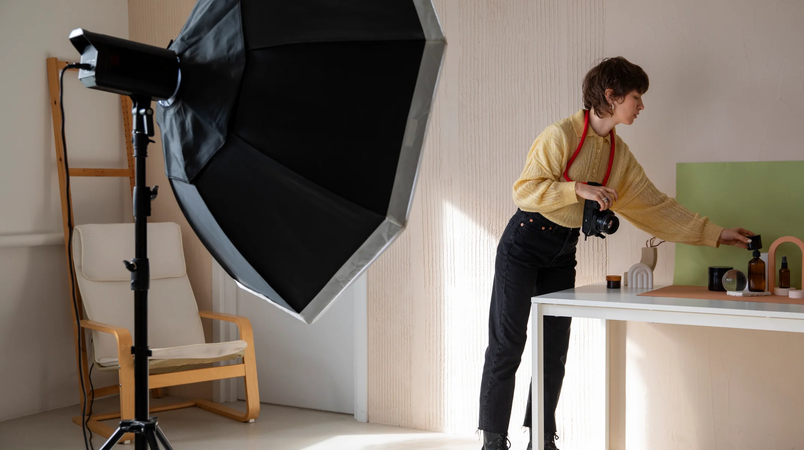
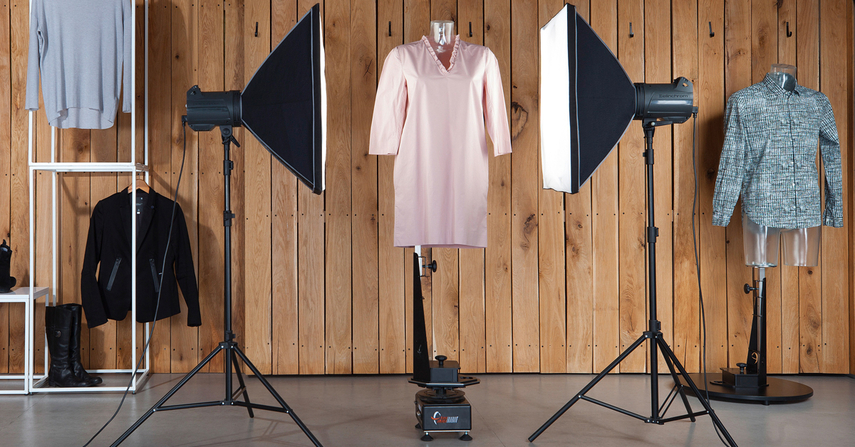
- Lighting: Proper lighting is crucial to capture the true colors, textures, and details of a product. Use soft, even lighting to avoid harsh shadows or reflections. Natural light is ideal, but professional softboxes can also work wonders.
- Background: A clean, uncluttered background helps the product stand out. White or neutral-colored backgrounds are the most common for packshots, ensuring that nothing distracts from the product itself.
- Composition: Place the product at the center of the frame, ensuring it’s the main focus. Consider the rule of thirds to achieve a balanced, visually pleasing shot.
- Focus and Depth: Make sure the product is in sharp focus, especially if it has intricate details. Use a shallow depth of field to blur the background, emphasizing the product.
2. Essential Tools and Equipment for Packshot Photography
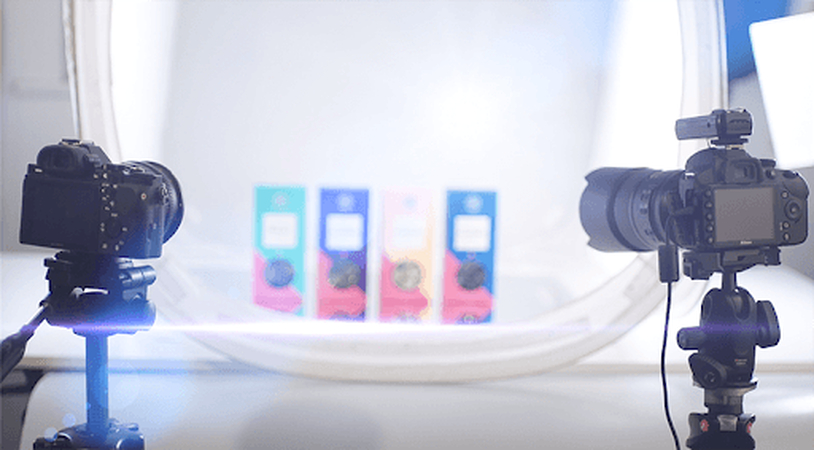
- Camera: A DSLR or mirrorless camera with manual settings will give you full control over exposure and focus, ensuring high-quality images. Smartphones with advanced cameras can also be used if they support manual control.
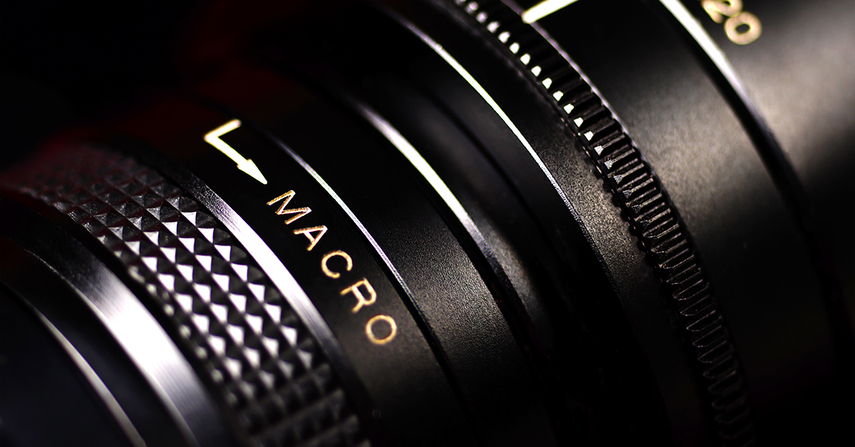
- Lenses: A macro lens or a standard 50mm lens is ideal for capturing product shots with sharp details and clear focus. The lens should provide enough focal length to frame the product properly.
- Tripod: To ensure steady shots, a tripod is essential. This eliminates camera shake, which is especially important for close-up shots of smaller products.
3. Packshot Photography Techniques & Tips
- Manual Settings: Use manual mode on your camera to control exposure, aperture, and shutter speed for optimal results. Adjust the ISO to avoid grainy images.
- White Balance: Proper white balance settings ensure that the colors of your product appear natural and true-to-life.
- Focus: Ensure your product is in perfect focus, especially when capturing details such as logos, textures, or intricate patterns.
- Angle & Perspective: Shoot from different angles to highlight the product’s best features. A slightly elevated angle often works well for most products, but try different perspectives to see what works best for yours.
4. Different Types of Packshot Photography
While traditional packshot photography often uses a simple white background, there are several variations to consider based on the style or context of your product:
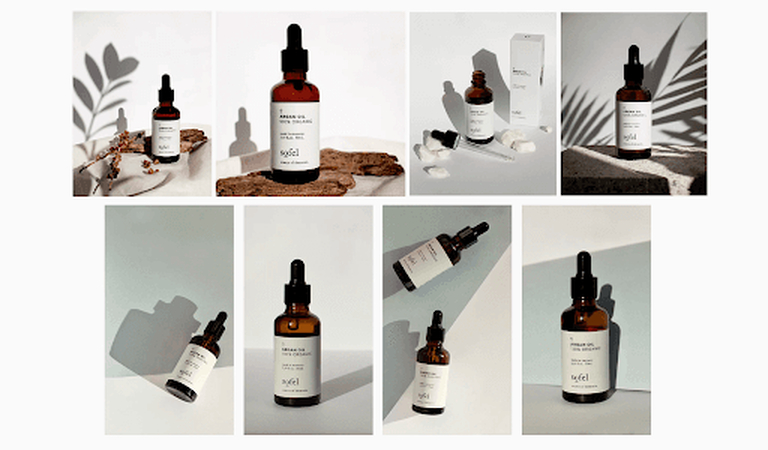
- White Background Packshots: Clean, minimalist shots with a solid white background are perfect for e-commerce sites and product catalogs.
- Lifestyle Packshots: These packshots place the product in a real-world context, such as showing a bottle of perfume on a vanity table, to help customers envision how the product fits into their lives.
- 360-Degree Packshots: A rotating, interactive view of the product, allowing customers to see it from all angles.
- Detail Shots: Close-up photos that highlight specific features, such as the texture of fabric or the stitching on leather goods.
5. Common Mistakes to Avoid in Packshot Photography
While it’s easy to fall into common traps, being aware of these mistakes can help ensure your packshot photography is top-notch:
- Poor Lighting: Inconsistent lighting can create unwanted shadows or overexposed areas. Always use soft, diffused lighting for even illumination.
- Cluttered Backgrounds: A busy background can distract from the product. Stick to simple, clean backdrops to maintain focus on the product.
- Blurry Images: Avoid using high ISO or slow shutter speeds that can cause motion blur. Always use a tripod for steady shots, especially in close-up photography.
- Incorrect White Balance: Incorrect white balance can distort the true colors of your product, making it appear unnatural. Make sure to set the white balance according to the lighting conditions.

Part 3: The Best Tool to Beautify Packshot Photography with HitPaw FotorPea
After capturing your perfect packshot, it's time to make it even better. Post-processing is where you can fine-tune your images for that polished, professional look. One of the best tools for enhancing your packshots is HitPaw FotorPea, an easy-to-use AI photo editor that can help elevate your product photos.
Features
- Remove distracting backgrounds, adjust colors, and fine-tune lighting to highlight your product.
- Enhance product images in just one click
- Remove unwanted defects with ease
- Allows you to fix the blurred images
- Compatible with Mac and Windows
- Eliminate the noise from photos quickly
- Process multiple photos simultaneously
Steps to remove image backgournd to highlight the product
Step 1. Download HitPaw FotorPea.
Step 2. Upload your product image into HitPaw FotorPea.

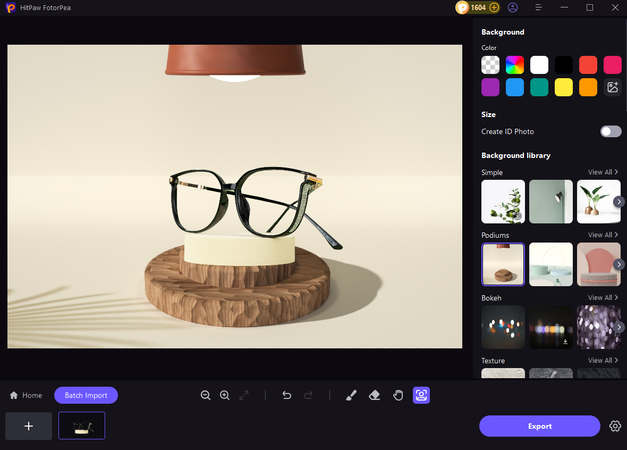
Step 3. Use the background removal tool to eliminate any unwanted distractions and make your product stand out. When you upload an image, AI will automatically detect the removal of the background. You can preview when processing is complete and make more detailed adjustments.

Step 4. You can choose to remove the background, replace it with a solid color background or the background provided in the template. This adds highlights and makes your product stand out more.
Final Words
In this guide, we’ve covered everything you need to know to master packshot photography, from the basic techniques to the best tools for editing. With the right approach, equipment, and post-processing tools like HitPaw FotorPea, you can create professional-looking product images that will make your e-commerce listings and marketing materials shine.
If you're looking to enhance your packshots further, HitPaw FotorPea is the perfect solution for removing backgrounds and beautifying your product photos with just a few clicks. Start using it today and take your product photography to the next level!


 HitPaw Edimakor
 HitPaw VikPea (Video Enhancer)
 HitPaw Univd (Video Converter)


Share this article:
Select the product rating:
Daniel Walker
Editor-in-Chief
My passion lies in bridging the gap between cutting-edge technology and everyday creativity. With years of hands-on experience, I create content that not only informs but inspires our audience to embrace digital tools confidently.
View all ArticlesLeave a Comment
Create your review for HitPaw articles