How to Burn DVD with VLC Media Player
Are you looking for a way to burn your videos to a DVD using the popular VLC media player? While VLC does not offer a direct DVD-burning feature, it is possible to achieve this through a multi-step process. In this comprehensive guide, we will explore how to burn DVD from VLC and provide you with a step-by-step walkthrough. However, we will also introduce an alternative solution which streamlines the process and offers a more user-friendly experience for burning DVDs.

Part 1. How to Burn DVD with VLC: The Complete Process
Before we dive into the steps, it's essential to understand the two main DVD formats: NTSC and PAL. Here's a table that outlines the differences between the two:
| Category | NTSC Format | PAL Format |
|---|---|---|
| Availability in Country | USA, Canada, Mexico, and other parts of the Americas | Europe, Asia, Africa, and other regions |
| Encapsulation | MPEG PS, up to 10.08 Mbps | MPEG PS, up to 10.08 Mbps |
| Video Format | MPEG-2 Video (MP2V), up to 9.8 Mbps | MPEG-2 Video (MP2V), up to 9.8 Mbps |
| Resolution | 720x480 (Full D1), 704x480, 352x480 (Half D1), 352x240 (same as VCD) | 720x576 (Full D1), 704x576, 352x576 (Half D1), 352x288 (same as VCD) |
| Frame Rate | 29.97 FPS | 25 FPS |
Now, let's go through the steps to burn DVD from VLC:
Step 1:Launch the Command Prompt on Windows or Terminal on Mac, and navigate to the directory where you installed the VLC media player.
Step 2:Enter the following command, modifying the parameters according to your requirements:

Step 3:Download and install DVDHive, then run it and go to "Options" > "Add" to select the MPEG files you created in the previous step.
Step 4:After adding the MPEG files, select "Hive" to create an ISO image from these files.
Step 5:Right-click on the ISO image and select "Windows Disc Image Burner" (or use Utility Disk on Mac). Plug in a blank disc into the drive and choose it as the target.

Step 6:Click the "Burn" button to initiate the DVD-burning process.
While this method allows you to burn DVD from VLC, it involves a significant amount of effort and technical knowledge. Fortunately, there is a more straightforward alternative that simplifies the process.
Part 2. Best Alternative to Burn DVD with VLC
If you're looking for an easy way to burn DVDs, HitPaw Univd (HitPaw Video Converter) is an excellent choice. This powerful yet user-friendly software simplifies the process, offering a wide range of features and customization options to create professional-quality DVDs with ease. With its intuitive interface and advanced capabilities, HitPaw Univd is the ultimate solution for all your DVD-burning needs.
Key Features of HitPaw Univd
- Burn videos directly to DVD/Blu-ray discs, ISO files, or DVD folders.
- Customizable DVD menu creation with various templates and personalization options.
- Support for batch conversion and burning of multiple videos simultaneously.
- Compatibility with various disc types, including DVD-5, DVD-9, BD-25, and BD-50.
- GPU acceleration for faster conversion and burning speeds.
- Rip DVD/Blu rays to digital formats
Step-by-Step Guide to Burn DVD with HitPaw Univd
This tutorial will guide you through the process of burning videos to DVDs and Blu-rays using the HitPaw Univd.
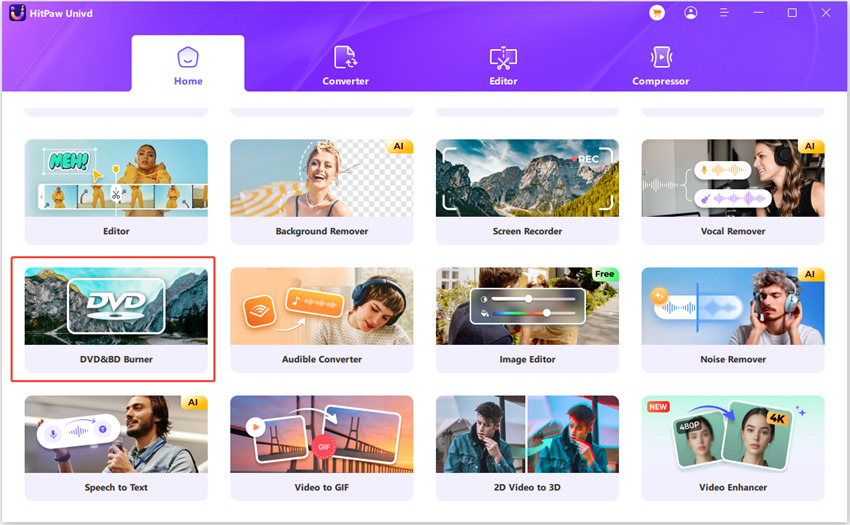
Step 1.After launching HitPaw Univd, navigate to the Toolbox and select the "DVD Burner" feature.

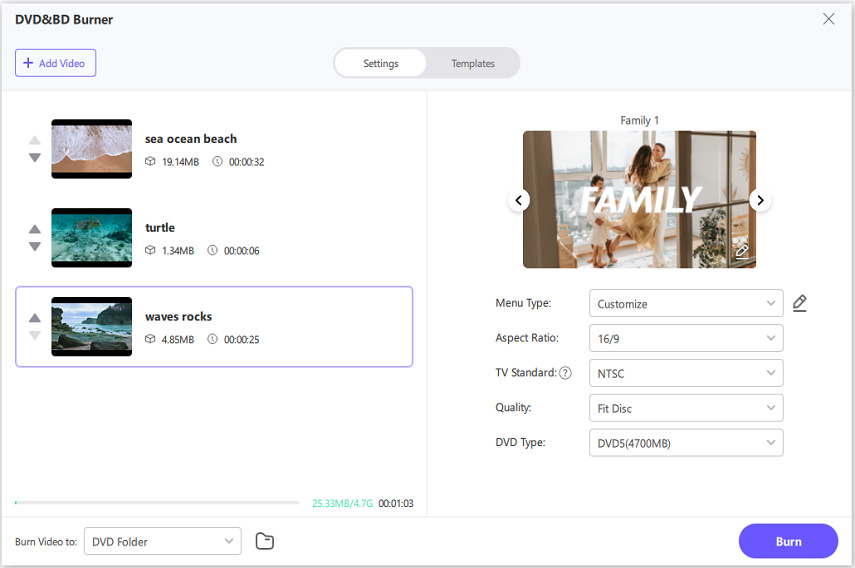
Step 2.Click the "Add Files" button or simply drag and drop your video files into the HitPaw DVD Burner interface.

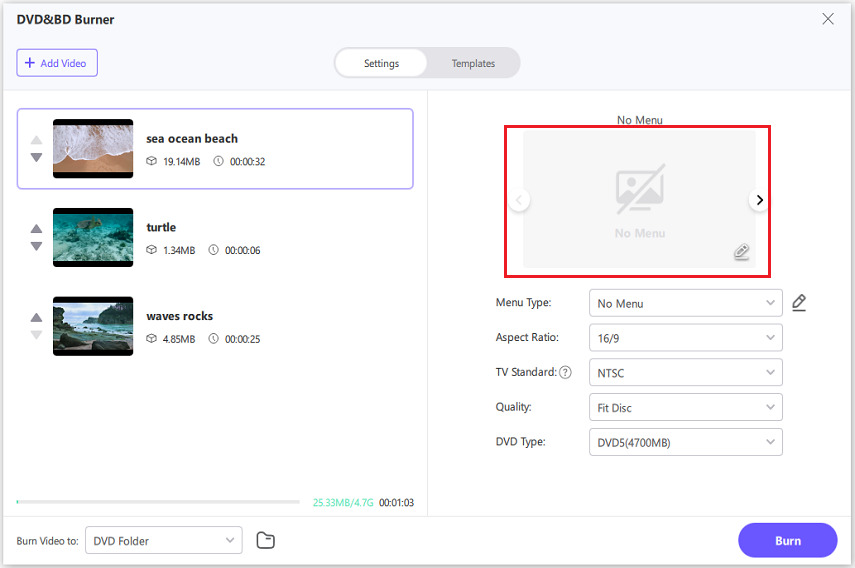
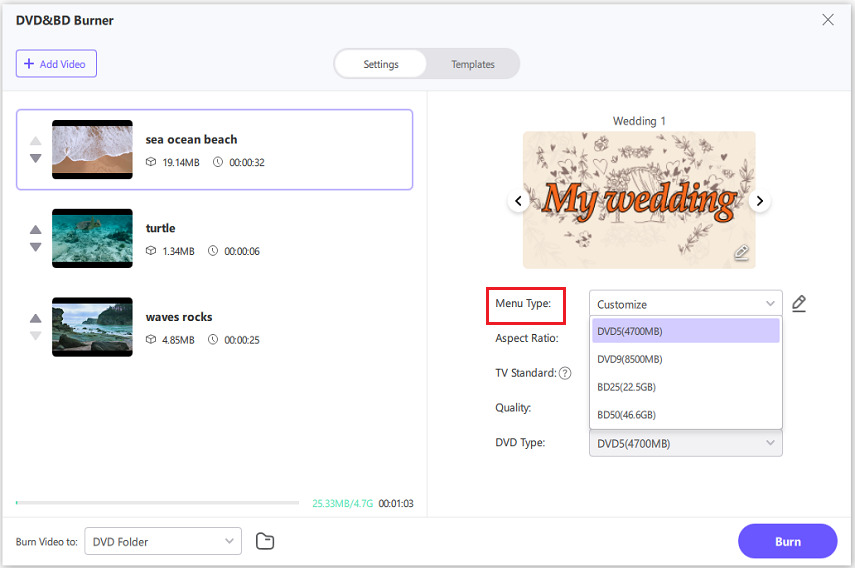
Step 3.In the Settings panel, you can personalize your DVD preferences. Set a label for your DVD (requires a blank disc to be inserted). Choose a menu template for your DVD.

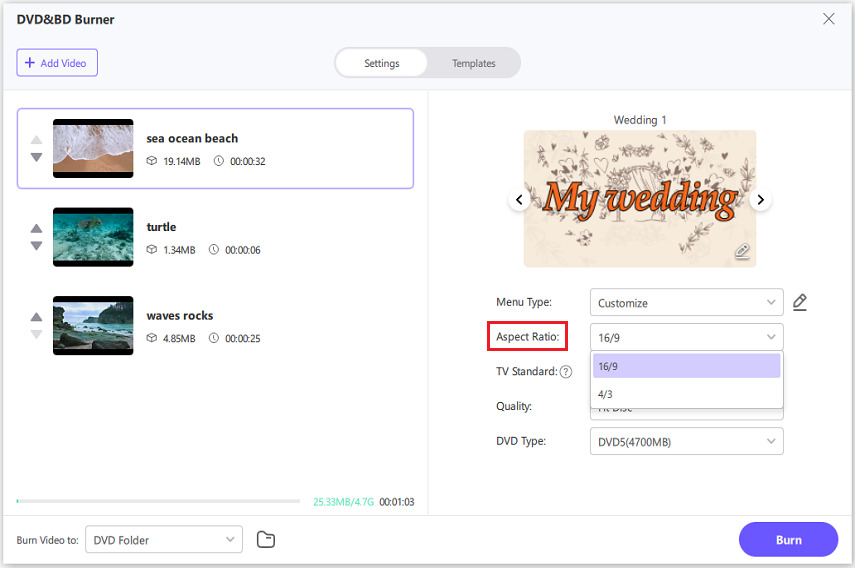
Decide on the desired aspect ratio. The 16:9 widescreen ratio is optimal for video content as it provides a wider viewing experience. Alternatively, the 4:3 standard ratio is better suited for photography and printing purposes.

Step 4.Specify the DVD type you want to create. HitPaw Univd supports both DVDs and Blu-rays. DVD-5 is a single-layer disc that can hold up to 4.7GB of data (approximately 120-133 minutes of video, depending on compression). DVD-9 is a double-layer, single-sided disc with a capacity of up to 8.5GB (around 240 minutes of video). For Blu-rays, BD-25 is a single-layer disc that can store up to 25GB of data or HD/SD video (approximately 4 hours of HD video or 11 hours of SD video), while BD-50 is a dual-layer disc with a capacity of up to 50GB.

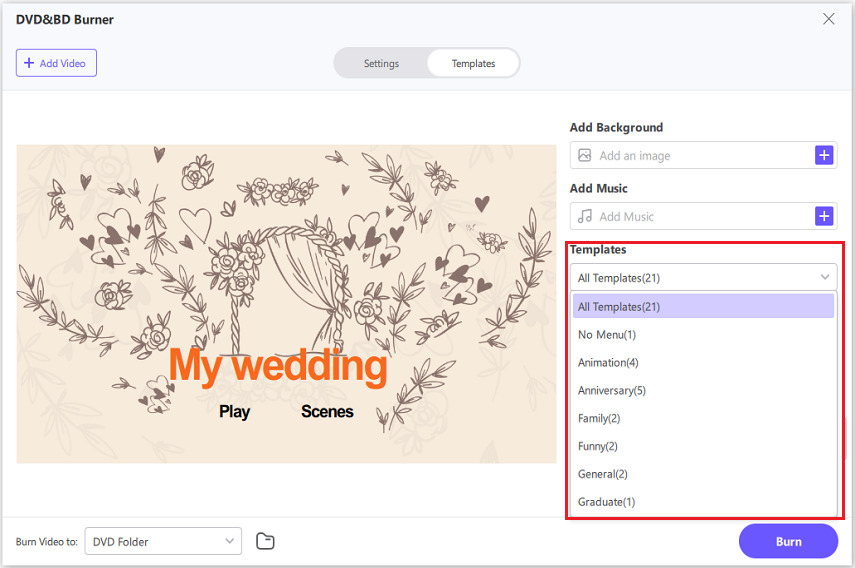
Step 5.Switch to the Templates tab and select a preferred DVD menu template from the drop-down menus.

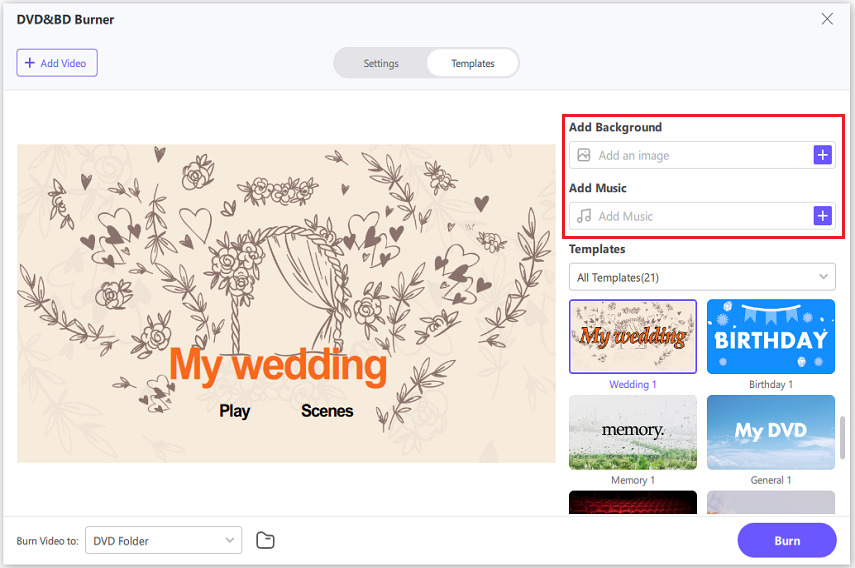
After choosing a template, you can further customize the DVD background, add background music, and modify the DVD title.

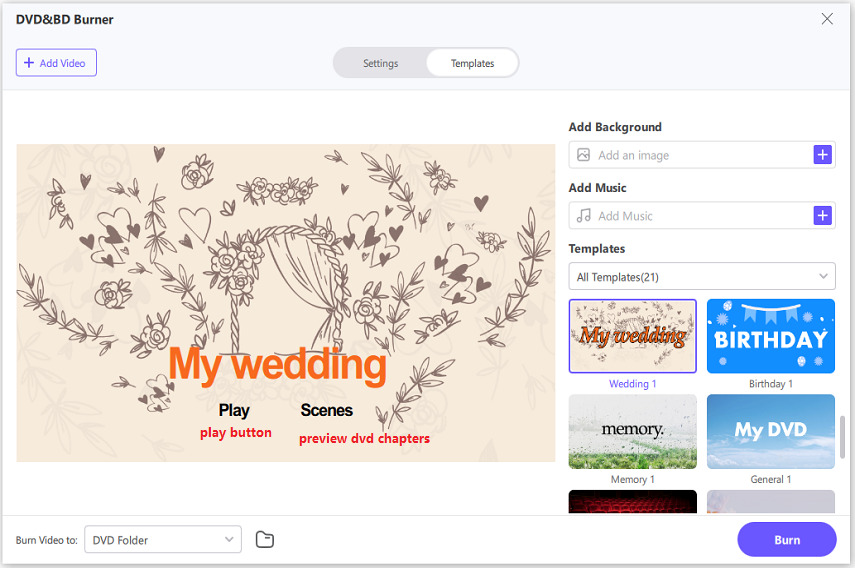
Step 6.Click the play button to preview your DVD, or navigate through the scenes to ensure everything looks as desired.

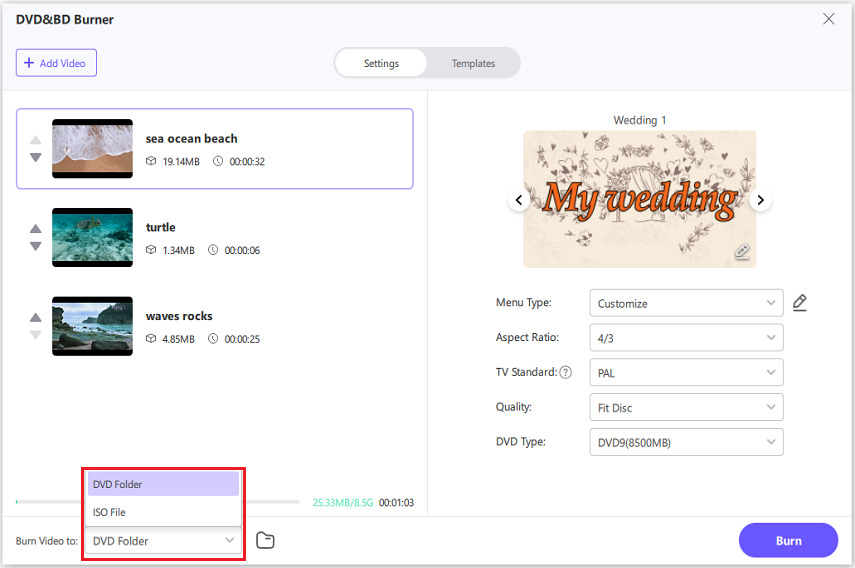
Step 7.Once you're satisfied with the DVD preview, return to the Settings tab and select the desired output file type: DVD, DVD folder, or ISO file.

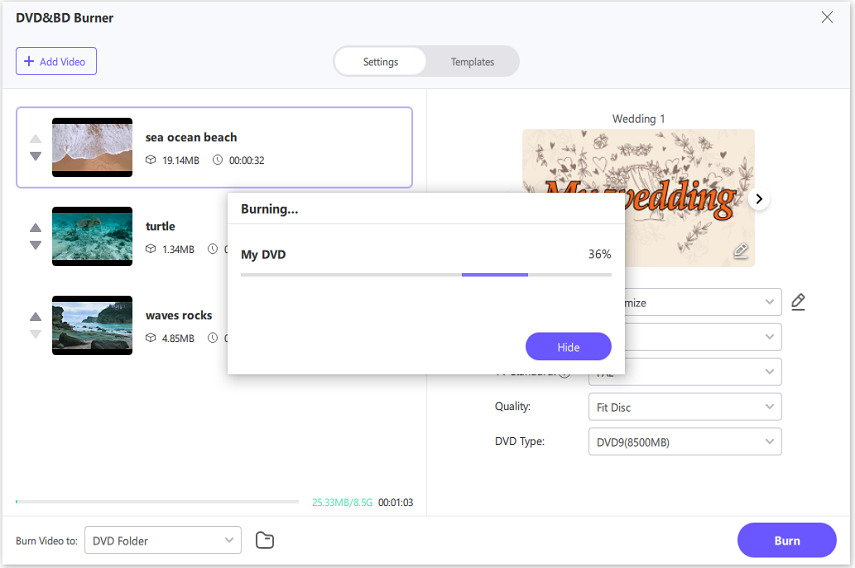
Step 8.Finally, click the "Burn" button to initiate the process of burning your videos to the selected DVD format at a fast speed.

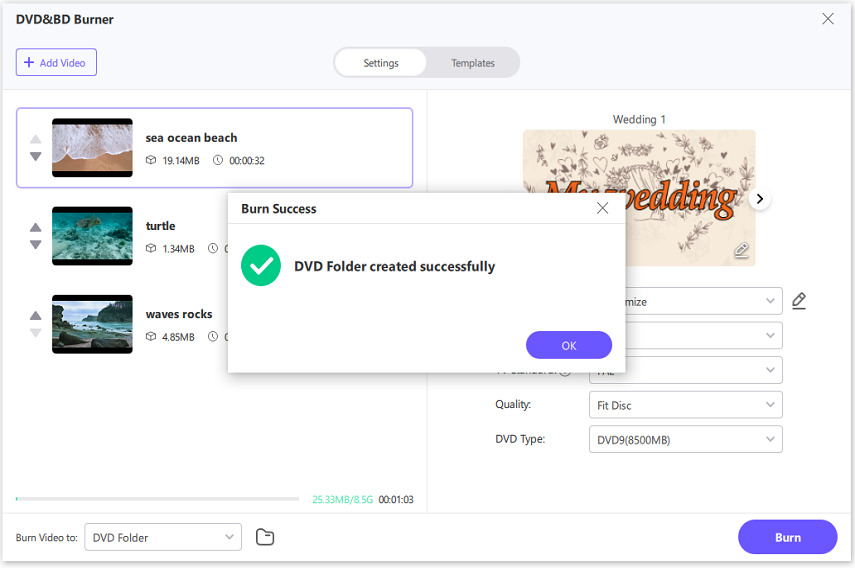
Step 9.After the burning process is complete, you can access and play your newly created DVD or DVD folder.

Conclusion
While the VLC media player offers the capability to burn DVDs, the process can be complex and involve multiple technical steps. HitPaw Univd provides a streamlined and user-friendly alternative, allowing you to burn DVDs with ease, customize menus, and leverage advanced features like video editing and GPU acceleration. Whether you're a seasoned pro or a beginner, this comprehensive guide has equipped you with the knowledge to create professional-quality DVDs using both VLC and HitPaw Univd.



 HitPaw VikPea
 HitPaw Watermark Remover

Share this article:
Select the product rating:
Daniel Walker
Editor-in-Chief
My passion lies in bridging the gap between cutting-edge technology and everyday creativity. With years of hands-on experience, I create content that not only informs but inspires our audience to embrace digital tools confidently.
View all ArticlesLeave a Comment
Create your review for HitPaw articles