How to Fix AirPods Noise Cancelling Not Working
AirPods are known for their nifty feature that blocks out pesky background noise, making your music or calls crystal clear. This magic is called Active Noise Cancellation, or ANC. ANC uses microphones to listen to the world around you and then works its charm to silence unwanted sounds. It's like having a personal noise guardian for your ears.
But what happens when this guardian takes a coffee break and noise cancellation stops doing its job? Well, that's where our topic comes into play. We're here to unravel the mystery of AirPods Noise Cancelling not working as it should.
We'll explore the common hiccups and glitches that can cause your ANC to malfunction and leave you at the mercy of background noise. Here are nine effective solutions to get your AirPods back to their noise-canceling best. Let's dive in and silence the noise!
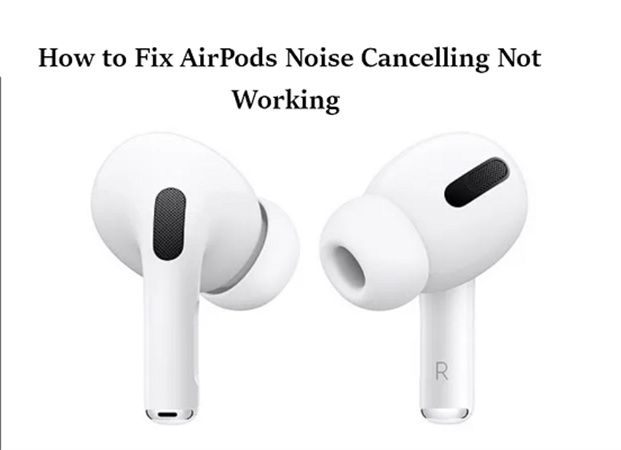
Part 2.9 Ways to Fix AirPods Noise Cancelling Not Working
AirPods Pro are renowned for their excellent noise-canceling capabilities, which allow you to enjoy music or podcasts in peace, free from the distractions of the outside world. However, there might be instances when your AirPods Pro noise-canceling feature isn't working as expected. In such cases, you can try these simple steps to troubleshoot and resolve the issue.
1. Test AirPods Pro Noise Cancelling with Another Device
Sometimes, the issue may be with something other than your AirPods but with the device they're paired with. To rule this out, test your AirPods Pro with another compatible device to see if the noise-canceling feature works correctly. If it does, the problem likely lies with your primary device.
2. Check AirPods Settings
The AirPods Pro offer a range of settings that can affect their noise-canceling performance. Check these settings by following these steps:
- Open your iPhone's Settings.
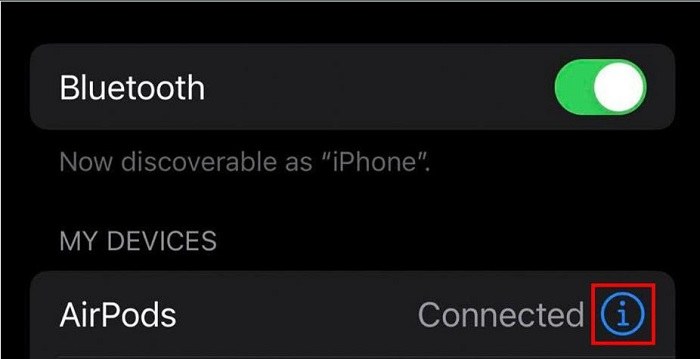
- Tap on Bluetooth.
Find your AirPods Pro in the list and tap the info icon (the "i" in a circle).

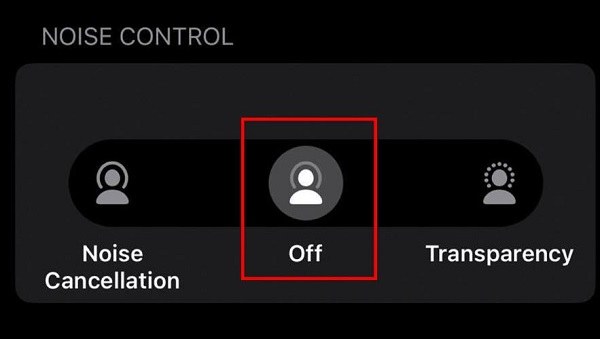
Ensure that the Noise Control setting is set to "Off”.

After making this change, restart your device and check if the noise-canceling feature is operating correctly.
3. Re-enable Noise Cancelling Feature
If the noise-canceling feature has gone awry due to an error in its operation modules, you can reset it by re-enabling the feature:
- Open the iPhone Settings and go to Bluetooth.
- Find your AirPods Pro in the list and tap the info icon.
- Set the Noise Control to "Off”.
- Turn off noise cancellation on the AirPods Pro.
- Restart your Apple device and re-enable Noise Cancelling to check if it's working correctly.
4. Perform Ear Tip Fit Test
A crucial aspect of the AirPods Pro's noise-canceling feature is its ability to create a proper seal in your ear canal. If the ear tips do not fit properly, noise reduction may be compromised. To verify this:
- Keep your AirPods Pro in your ears.
- Open your Apple device's Settings and go to Bluetooth.
- Find your AirPods and tap on "Ear Tip Fit Test”.
- Follow the on-screen instructions to conduct the test.
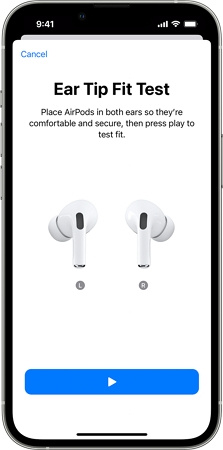
If the test fails, try adjusting the AirPods in your ears or experimenting with different sizes of ear tips until you find a perfect match.
5. Clean the AirPods
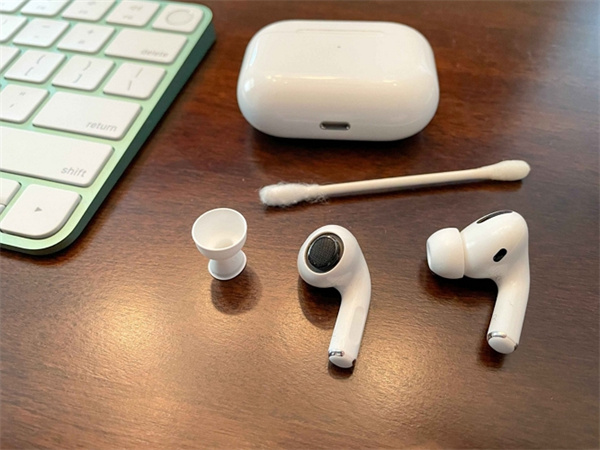
Cleaning your AirPods is not only important for hygiene but can also help restore proper functionality, especially in the case of noise cancellation. Focus on cleaning the mesh located at the top of the AirPods Pro:
- Examine the mesh for dust, earwax, or debris.
- Wipe it off with a dry cotton swab.
- Use a soft-bristled brush to remove stubborn grime or earwax.
- Do not use sharp objects, abrasive materials, or liquids to clean the microphone mesh.
6. Update the Paired Device and AirPods
Software updates can often resolve issues with your AirPods' performance. Ensure your paired device and your AirPods have the latest updates:
- On your iPhone or iPad, go to Settings > General > Software Update and install the latest iOS or iPadOS version.
- On your Mac, go to System Preferences > Software Update and select "Update Now" or "Upgrade Now”.
If you're experiencing noise-cancellation issues with your Apple Watch, updating its operating system may also help.
7. Disable Spatial Audio
Spatial Audio is a feature that provides surround sound through your AirPods. While it enhances your audio experience, it might interfere with noise detection, causing the issue. Try disabling Spatial Audio to see if it resolves the problem:
- Open iPhone Settings and go to Bluetooth > AirPods Pro.
- Disable Spatial Audio.
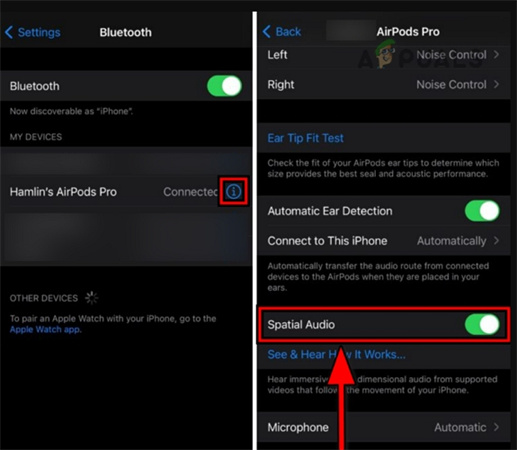
If Spatial Audio was already disabled, try enabling it and see if that clears the issue.
8. Re-pair the AirPods
Re-pairing your AirPods with your device can sometimes resolve issues with noise cancellation:
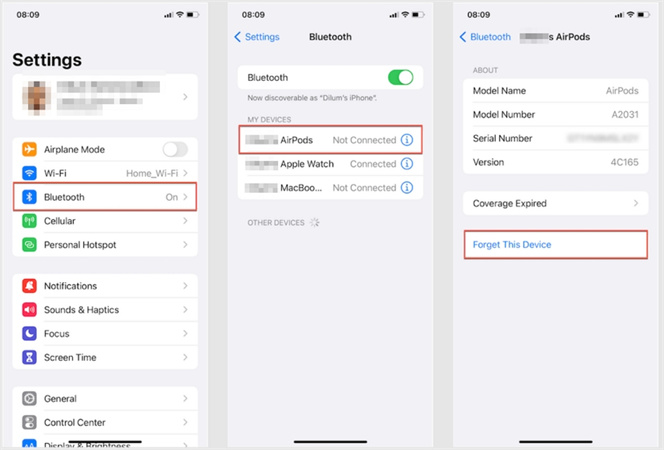
- On your device, forget the AirPods by going to Settings > Bluetooth and tapping "Forget This Device."
- Put your AirPods into the charging case with the lid open.
- Press and hold the Setup button on the back of the case until the light changes from amber to white (around 15 seconds).
- Keep the case lid open for another 15 minutes.
- Restart your device and pair it with the AirPods.
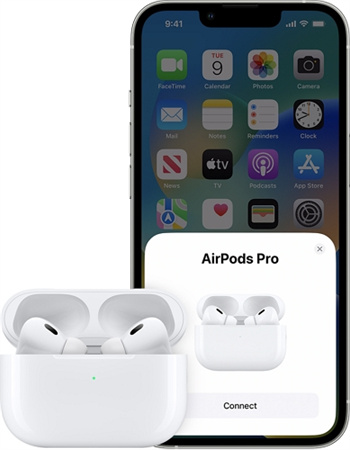
After repairing, enable Noise Cancellation and check if the issue is resolved.
9. Reset Your AirPods
If all else fails, resetting your AirPods to their default settings can help resolve noise-canceling issues caused by firmware problems:
- Ensure that your AirPods and the charging case are charged to at least 80%.
- On your iPhone, go to Settings > Bluetooth.
Open the AirPods case and tap on "Forget This Device". Be sure to do this on all other devices where your AirPods were paired (e.g., iPad, Mac, etc.).

- Place the AirPods into the charging case with the lid open.
- Press and hold the Setup button on the back of the case until the light changes from amber to white (about 15 seconds).
- Do not close the lid and wait for another 15 minutes.
- Restart your phone and pair it with the AirPods.
- Enable Noise Cancellation and check if the issue is resolved.
Part 2. How to Remove Background Noise from Audio/Recordings
Background noise in audio and video recordings can be a real nuisance. It's those unwanted sounds like buzzing, hissing, or background chatter that can seriously affect the quality of your recordings.
Fortunately, there's a simple and effective solution to this problem – HitPaw Univd (HitPaw Video Converter)'s Noise Remover feature. This incredible tool uses cutting-edge AI technology to automatically eliminate background noise from your audio and video files, making your recordings crisp and clear.
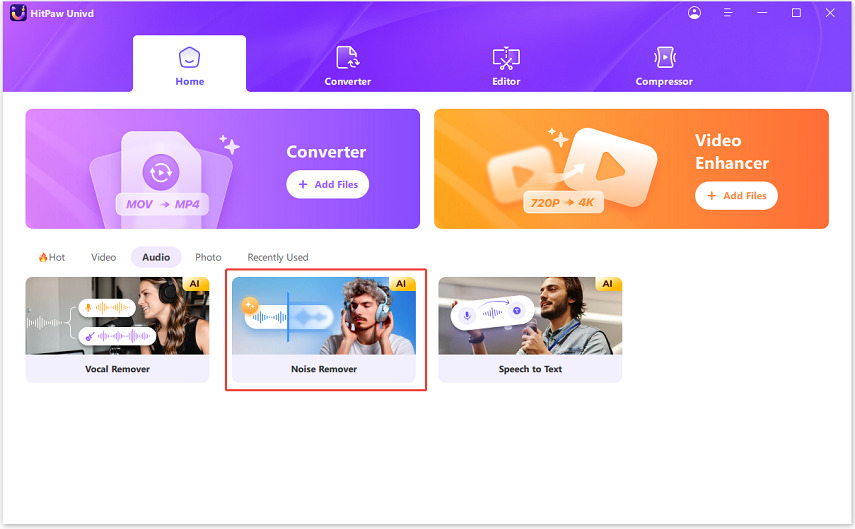
Step 1: Download the AI Noise Remover Feature
Before you can start removing background noise, you need to have the HitPaw Univd installed on your computer. Once it's installed, launch the program and navigate to the Toolbox section. Here, you can easily download the Noise Remover feature.
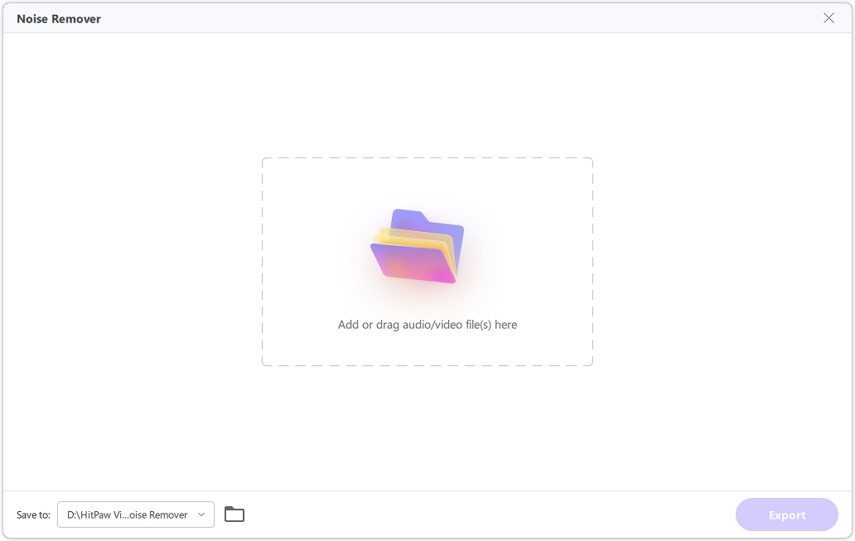
Step 2: Add an Audio or Video File
After you've successfully downloaded the AI Noise Remover feature, you'll be taken to the main screen of HitPaw Univd. Now, it's time to add the audio or video file that contains the unwanted background noise. You can either click the "Add" button or simply drag and drop your file into the program.
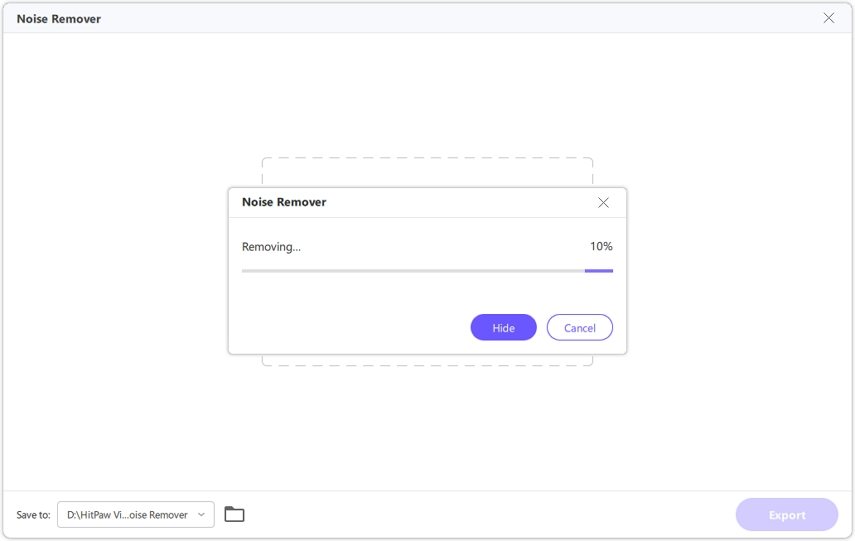
Step 3: Removing Background Noise
Once you've added your file, the HitPaw Univd will automatically initiate the process of removing background noise. The AI algorithm embedded within the program will work its magic, identifying and eliminating the annoying background sounds that plague your recording.
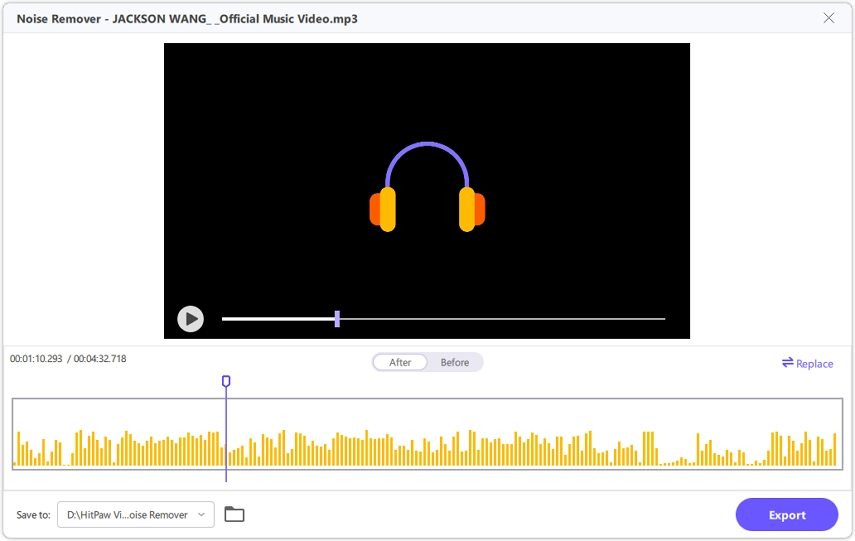
Step 4: Preview and Export
Now, all you have to do is wait for the noise removal process to complete. Once it's done, you'll have the option to preview and compare the audio or video with and without the background noise. This way, you can ensure that your recording sounds just the way you want it. When you're satisfied with the results, simply click the "Export" button to save your file, now free of any background noise. If you decide to work on another file, just click the "Replace" button and repeat the process.
HitPaw Univd's Noise Remover feature makes the task of removing background noise from your audio and video recordings quick and hassle-free. Thanks to its AI technology, you can say goodbye to unwanted noise and hello to crystal-clear sound quality.
The Bottom Line
We've explored the top 9 simple ways to solve the issue of AirPods noise canceling not working. By following these easy steps, you can enjoy your music and calls without unwanted disturbances. Remember to check for firmware updates regularly, ensure your AirPods are clean, and reset them when needed.
If you have an audio or recordings that are filled with background noise, HitPaw Univd can remove all kinds of noise by a click. So, whether you're working on a video project or cleaning up audio recordings, HitPaw Univd has got you covered with its easy-to-use noise removal feature. Say goodbye to background noise and enjoy professional-quality audio and video with just a few simple steps!




 HitPaw Edimakor
 HitPaw VikPea (Video Enhancer)

Share this article:
Select the product rating:
Daniel Walker
Editor-in-Chief
My passion lies in bridging the gap between cutting-edge technology and everyday creativity. With years of hands-on experience, I create content that not only informs but inspires our audience to embrace digital tools confidently.
View all ArticlesLeave a Comment
Create your review for HitPaw articles