How to Blend in Procreate?
When you understand how to blend colours in Procreate, you can create stunning digital artwork that is even more fascinating. Blending in Procreate enables you to effortlessly mix colors, making it simple to create smooth gradients, soft transitions, and unique textures.
The best part? Mastering it does not require sophisticated technical abilities. Understanding the best tools, experimenting with the app's numerous blending techniques, and following a few basic guidelines will help you enhance your art and blend like a master in no time. Let's look at how to blend colors in Procreate step by step!
Part 1. What Is Procreate ?
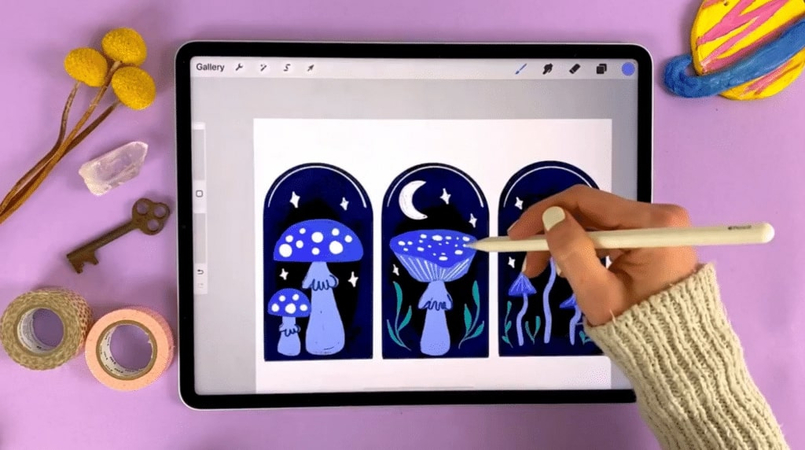
Procreate is a strong digital art program designed specifically for iPads, making it a best option among artists and designers. Its user-friendly design and wide range of tools make it ideal for creating great artwork, from sketches and illustrations to complex paintings. Procreate's broad array of brushes, layering choices, and blending modes enables artists of all ability levels to realize their creative goals.
Procreate offers countless options for anyone interested in digital art, be they a novice or a professional seeking more sophisticated features. Designing, experimenting, and refining your creations is made simple by its smooth operation and adaptable tools.
Part 2. How to Blend in Procreate For General Blending?
Blending in Procreate is the most important technique to give your artwork smooth transitions, gradients, and realistic effects. The process is easy, applying the blending tools and brushes of the app to produce the desired effect. If you are looking to blend colors for a painting or soften edges in an illustration, blending in general is a technique that every Procreate user should master. Here's how to do it with ease:
1. Open Your Artwork
Begin by opening up the piece of art that you intend to work with in Procreate. It's vital that the section where you will be blurring already has the colours or brushstrokes that you are looking forward to combining.
2. Select the Smudge Tool
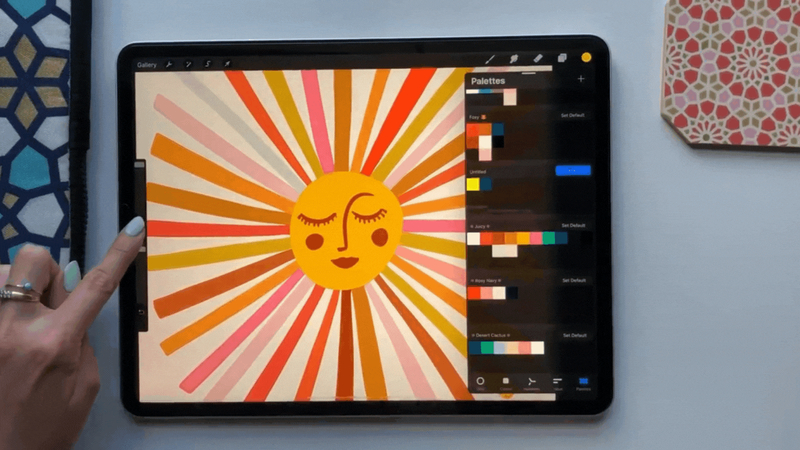
Find the smudge tool along the right side of your toolbar and tap on the finger icon. This opens up your blending option.
3. Select a Blending Brush
Procreate has a number of brushes, including those created specifically for blending. Go to the brush library and choose a soft brush for smooth transitions or a textured brush for unique effects.
4. Adjust brush settings
Customize the brush size and opacity based on the area you’re working on. Larger brush sizes work well for broader areas, while smaller sizes are great for detailed blending.
5. Start Blending
Gently slide the smudge tool over the area where you wish to combine the colors. Use circular or back-and-forth motions to create a smooth transition.
6. Experiment and refine
To achieve the desired effect, adjust the pressure, opacity, and number of strokes. You can also undo and redo activities to improve your blending even further.
Part 3. How to Blend Color Edges in Procreate?
Blending color edges in Procreate is an essential skill for generating seamless transitions, realistic textures, and subtle gradients in your digital artwork. Blending is useful when working on shading, highlights, or elaborate designs because it allows colors to merge flawlessly. Follow these instructions and find out how to successfully merge color edges in Procreate.
Here is how to blend color edges in procreate:
Step 1: Set up.
Open your artwork in Procreate or begin a new project. Place the colors you wish to combine near together to ensure clear boundaries.
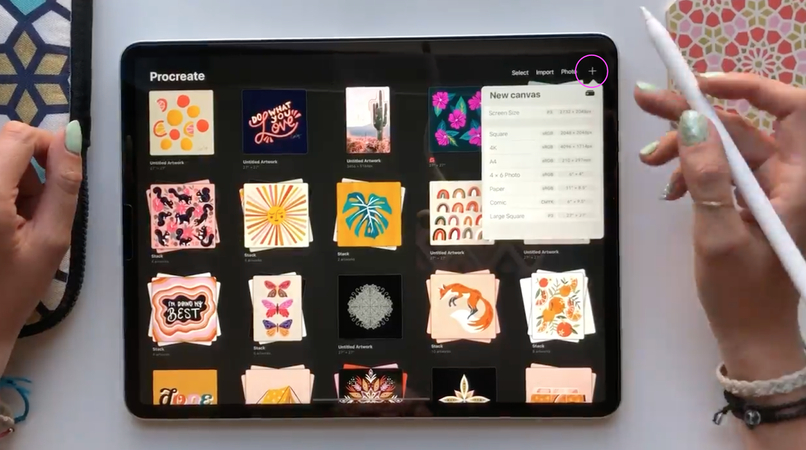
Step 2: Select the Smudge Tool.
Tap the Smudge Tool, which is indicated by a finger icon in the top-right toolbar. This tool is specifically designed to blend and soften edges.

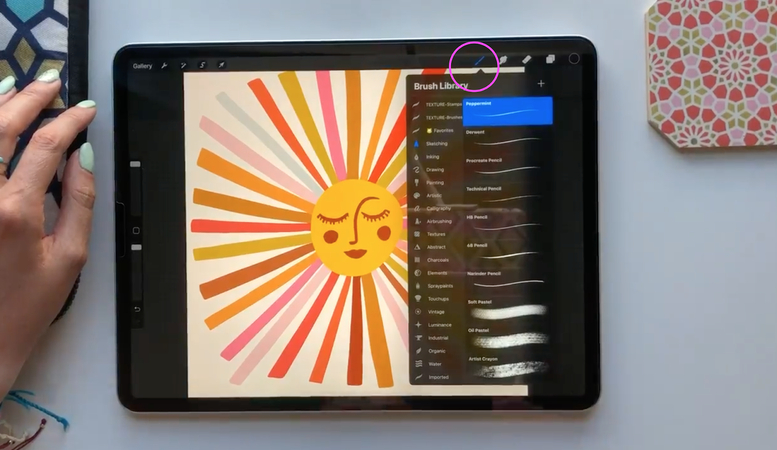
Step 3: Select the Right Brush.
Choose a blendable brush from the Brush Library. The "Soft Brush" or "Airbrush" is best for producing smooth transitions. Experiment with different brushes to find the one that best suits your project.
Step 4: Adjust the Smudge Tool Settings.
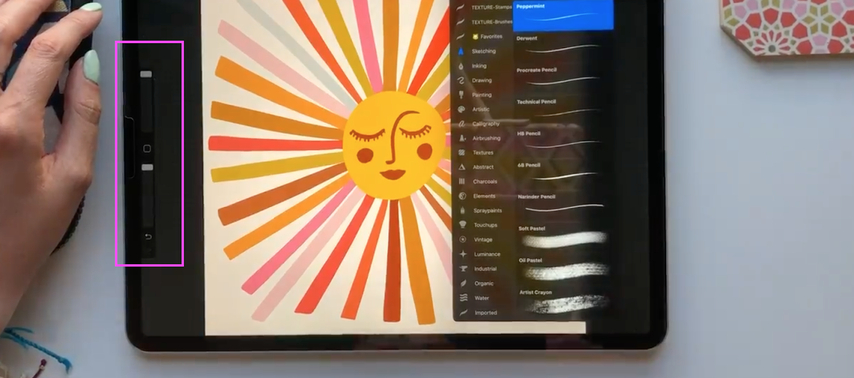
Adjust the size and opacity of the Smudge Tool. Lower opacity creates subtle blends, whilst higher opacity allows for strong transitions.
Step 5: Blend the colors.
Move the Smudge Tool along the boundaries of the colors in small, circular motions. Gradually blend until the transition looks smooth.
Part 4. Best Best Video Enhancer Free Try
Using a trustworthy video enhancer can significantly improve videos and give them a more polished appearance. Among the many solutions available, HitPaw VikPea (formerly HitPaw Video Enhancer) stands out as a simple and effective way to easily improve the quality of your videos. HitPaw VikPea guarantees amazing outcomes whether you're editing videos for work or play.
HitPaw VikPea has plenty of cutting-edge features designed to improve videos. Both novices and experts can change regular videos into visually stunning content because to its intuitive UI.
Features of HitPaw VikPea
- Upscaling Low-Resolution Videos: Increases video resolution up to 4K for a sharp display.
- Color Optimization: Adjusts brightness, contrast, and saturation for vibrant colors.
- Stabilization: Corrects shaky videos to produce smooth and steady results.
- AI-Powered Enhancement: Automatically increases video resolution and quality using AI algorithms
- Noise Reduction: Eliminates unwanted noise for clear and polished visuals.
Steps to Enhance Video
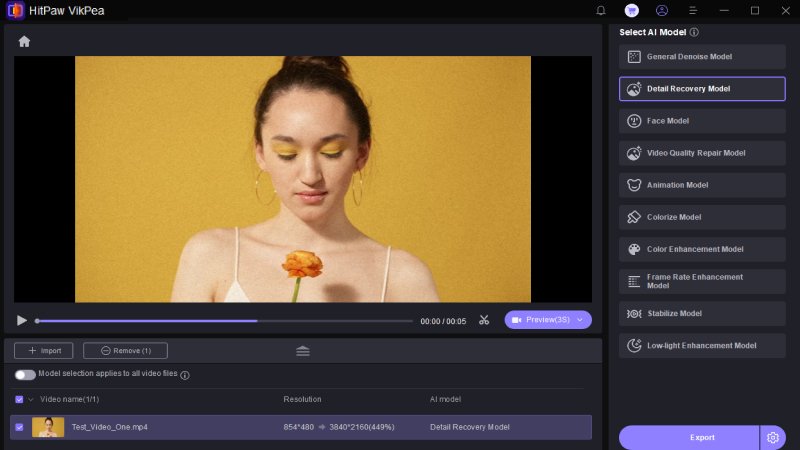
1.To use HitPaw VikPea, first download and install the software from the official website.
2.Then, import your video by clicking the "Add Video" button.

3.Select the enhancement features you want to apply, such as AI upscale or noise reduction.

4.Use the preview feature to see changes in real-time and adjust settings as needed. Finally, export the Enhanced Video.

Learn More about HitPaw VikPea
Conclusion
You can take your creative projects to the next level by blending in Procreate and using tools like HitPaw VikPea to enhance videos. Whether you're trying to perfect digital art or improve the quality of your videos, learning these techniques will guarantee professional results. Try HitPaw VikPea for simple and high-quality video enhancement; a reliable tool for amazing transformations!




 HitPaw Univd (Video Converter)
 HitPaw VoicePea
  HitPaw FotorPea


Share this article:
Select the product rating:
Daniel Walker
Editor-in-Chief
My passion lies in bridging the gap between cutting-edge technology and everyday creativity. With years of hands-on experience, I create content that not only informs but inspires our audience to embrace digital tools confidently.
View all ArticlesLeave a Comment
Create your review for HitPaw articles