How to Add Subtitles in Adobe Premiere Pro (Step by Step)
This article unlocks the full potential of your videos by mastering the art of how to add captions in premiere pro 2023. This comprehensive guide will walk you through the process that empowers you to create accessible and captivating content for a diverse audience.
Part 1: How to Add Captions to Videos in Premiere Pro Manually
If you prefer the manual approach for adding subtitles or captions to your video in Premiere Pro, follow these detailed steps on how to add captions in premiere pro 2023 for precise and customised results:
Step 1: Access the Captions Workspace
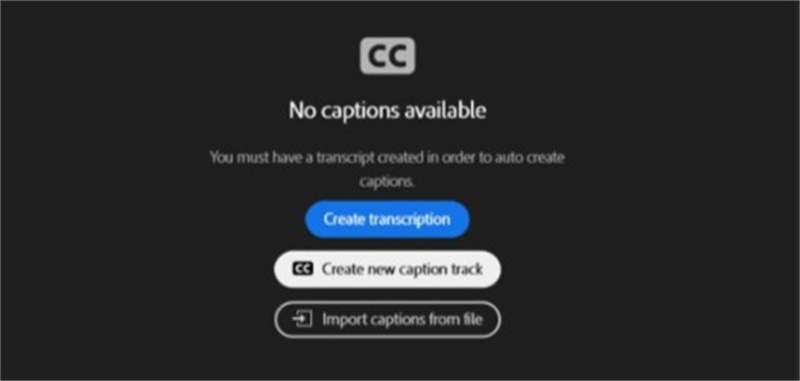
Navigate to the Captions workspace within Premiere Pro. Instead of transcribing the sequence, choose to create a new caption track. Specify the Subtitle as your preferred format and proceed by clicking ok. Once completed, a new subtitle track will appear on your timeline.
Step 2: Add Caption Lines
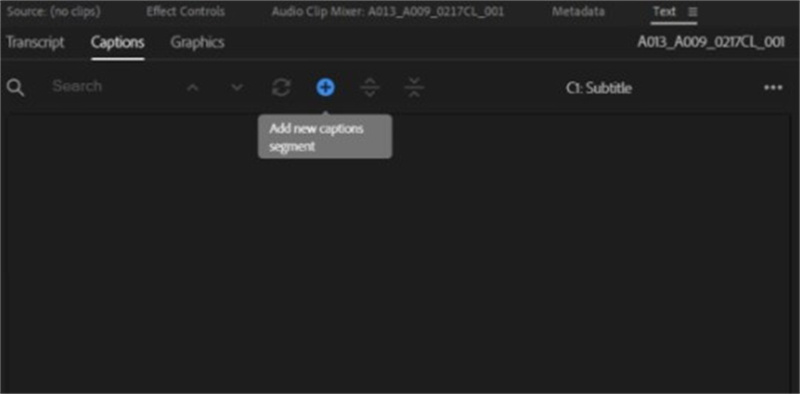
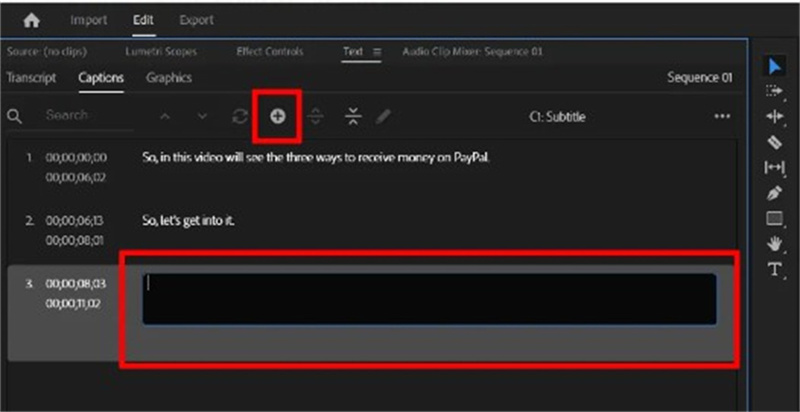
Head to the Text panel in the top left-hand corner. Click the '+' icon to introduce a new caption line. Listen to the specific segment requiring a caption, then manually type out the corresponding audio.
Step 3: Repeat for Full Transcription
Continue this process until you've transcribed and added captions to your entire video. Feel free to review and make adjustments to the transcripts as needed for a polished result.
Part 2: How to Edit Captions in Premiere Pro
Here we are unlocking the potential within the essential graphics panel that empowers you to tailor the aesthetics of your captions and subtitles. Let us explore the various styling options on how to add captions in premiere rush with the following techniques:
- Font Customization
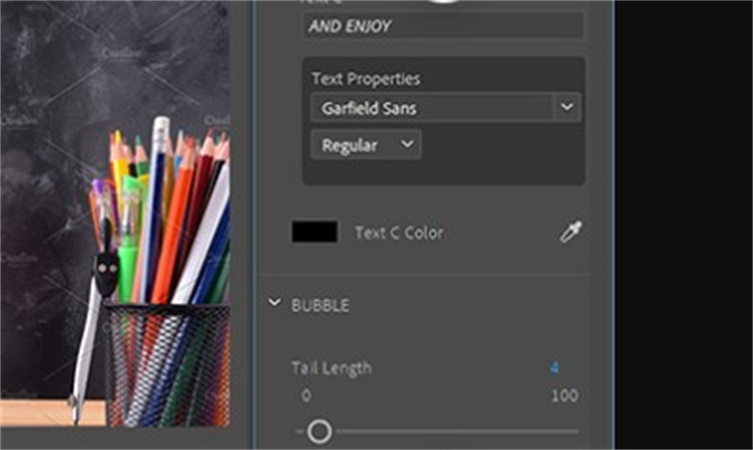
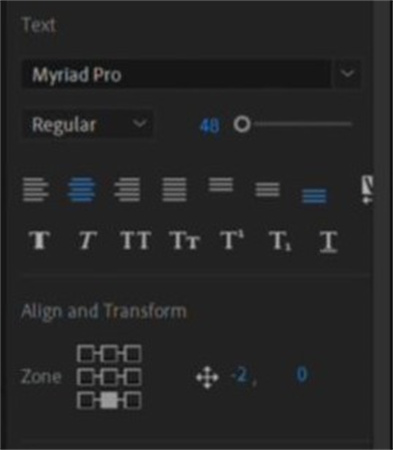
Choose the caption you wish to stylise and navigate to the Essential Graphics Panel. Alter the font by selecting a different option from the drop-down list. Adjust size, paragraph alignment, and character spacing to achieve your preferred look.

- Position Manipulation
Explore caption placement by accessing the 'Align and Transform' options. Utilize the 'Zones' box or input specific horizontal and vertical values for precise positioning. Infuse captivating animations or effects into your captions by converting them into source graphics.

- Enhancing Appearance
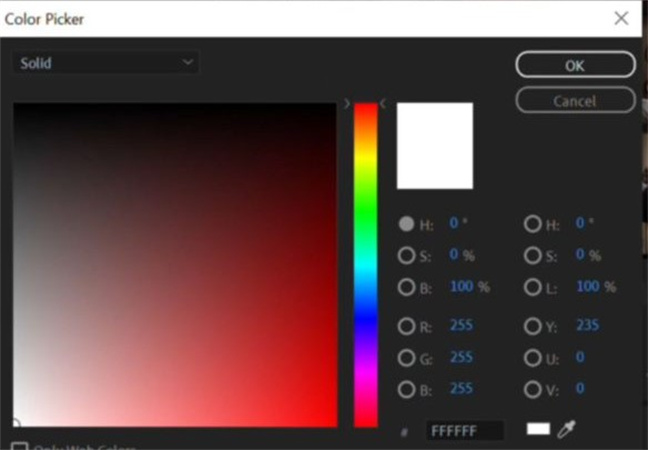
In the Essential Graphics panel's 'Appearance' section, modify colour, thickness, background, or shadow to match your visual preferences. Create a caption 'template' by establishing a track style in Premiere Pro. This time-saving measure ensures efficiency for future captioning projects.

Part 3: How to Export Captions in Premiere Pro
To know how to add captions in premiere cc seamlessly, you can follow these straightforward steps:
Step 1: File Export
First of all, you have to navigate to File ad and then choose the Export option. Click on Media and select your preferred file format for the export.
Step 2: Caption Type Selection
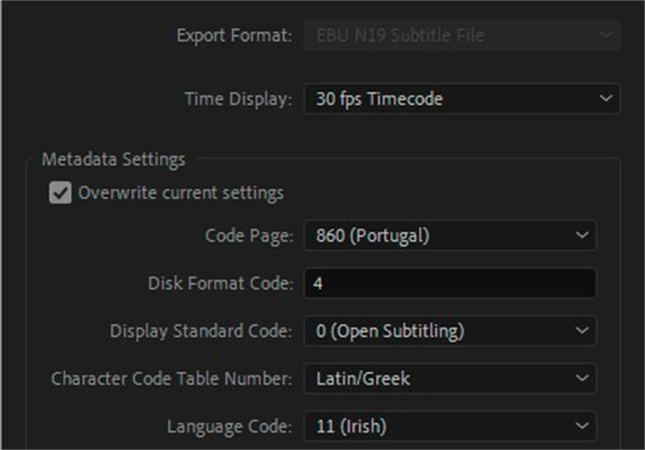
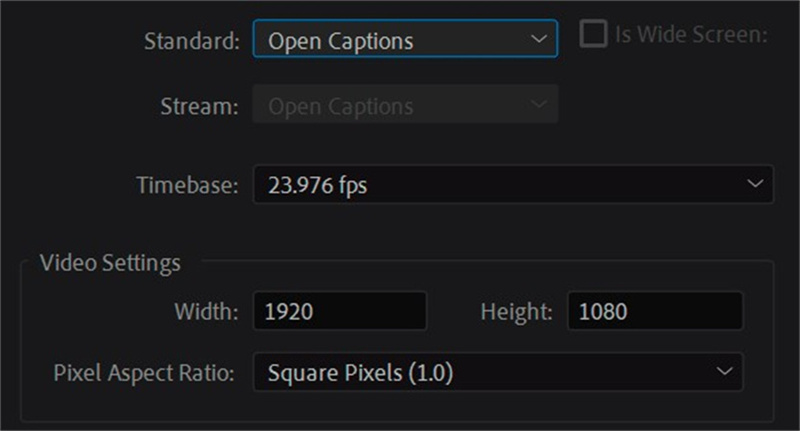
Choose between open and closed captions based on your preference. Closed captions reside in a separate file, allowing viewers to toggle them on or off. Opt for 'Create Sidecar File' to export in this mode. For open captions permanently visible on the video, select Burn Captions into Video. Make your choice depending on the desired viewing experience.
Part 4: Best Alternative to Premiere Pro Captioning
Now, we are going to discuss a perfect alternative that will make clear how to add captions in premiere pro. Let us have a look at HitPaw Edimakor:
HitPaw Edimakor
HitPaw Edimakor emerges as a premier alternative to Premiere Pro for captioning, revolutionizing the way users enhance their videos. This versatile tool simplifies the captioning process with a user-friendly interface, making it accessible for creators of all levels. Edimakor provides advanced features for precise caption customization.
How to Use?
Step 1: Get The Software
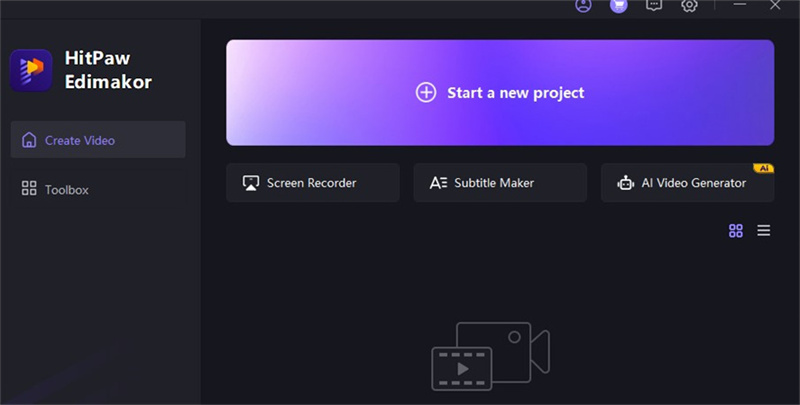
Start by downloading and installing the HitPaw Edimakor software on your Windows or Mac computer. Once installed, launch the application.
Step 2: Upload Your Project
After launching the software, upload your video project to the platform. HitPaw Edimakor supports a variety of video formats for your convenience.
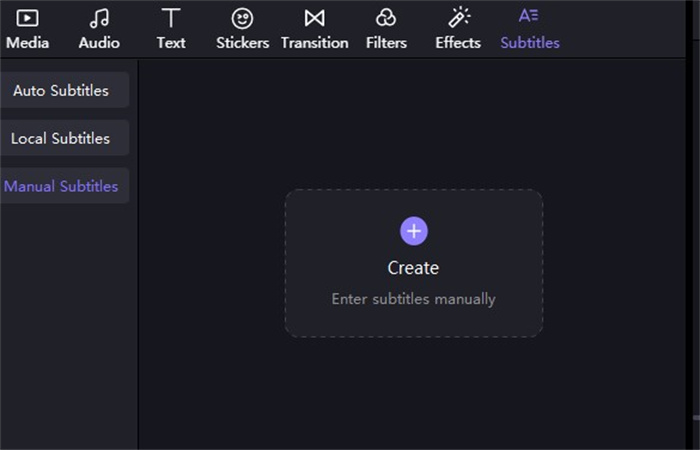
Step 3: Create The Free "Subtitle" Manually
Begin the process of adding subtitles by creating them manually. Input the text for each segment of the video where subtitles are desired, ensuring accuracy and relevance.
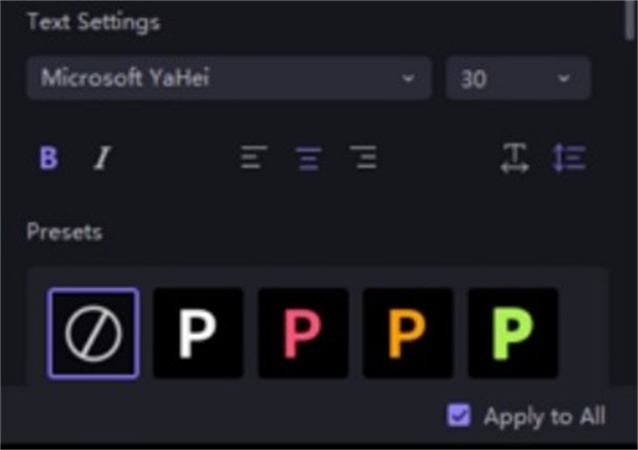
Step 4: Edit The Subtitle
Edit and customize the subtitles to match your preferences. Adjust the font style, size, colour, and timing to enhance the visual appeal and synchronization with the video content.
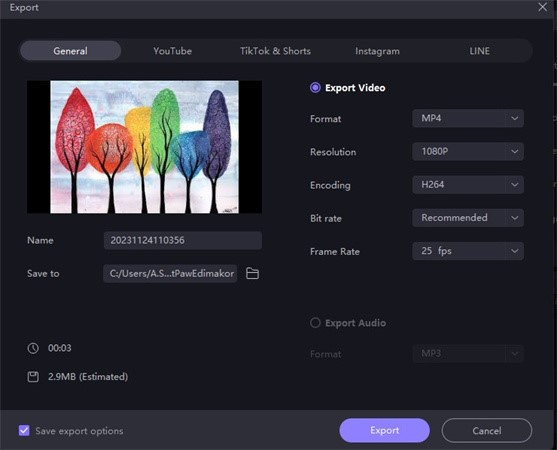
Step 5: Preview & Export
Preview the video with the embedded subtitles to ensure they align seamlessly with the video content. Once satisfied, proceed to export the video with the permanent subtitles.
Conclusion
You can easily elevate your video editing skills with Adobe Premiere Pro 2023 which adds impactful captions that enhance viewer engagement and accessibility. You can master the essential skill of how to add captions in premiere and take your content creation to new heights in the ever-evolving digital landscape. HitPaw Edimakor is a perfect alternative to Premiere Pro Captioning.



 HitPaw VikPea
 HitPaw Watermark Remover


Share this article:
Select the product rating:
Daniel Walker
Editor-in-Chief
My passion lies in bridging the gap between cutting-edge technology and everyday creativity. With years of hands-on experience, I create content that not only informs but inspires our audience to embrace digital tools confidently.
View all ArticlesLeave a Comment
Create your review for HitPaw articles