How to Use Blender Video Editor [Step by Step]
Blender video editor is a powerful tool that lets users edit any kind of video effortlessly. it doesn't matter if you are a beginner or a professional editor you will get a great variety of features on this platform that will help you out in creating professional-looking videos. Let us know the steps to use its features like add text blender video editor and other features too.
Part 1: What is Blender Video Editor?
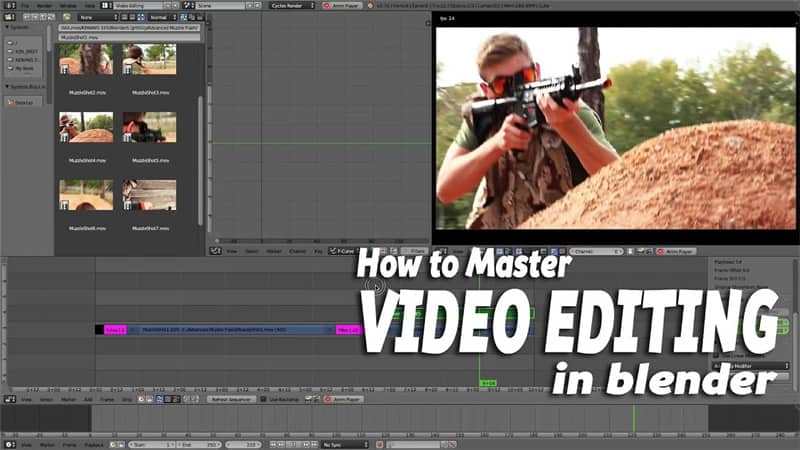
Blender video editor is listed among versatile and powerful video editing platforms that is a part of the larger Blender software suite. are provided with a great range of benefits as well as tools for creating professional quality videos effortlessly. The most amazing fact is that this tool has all the necessary features that are important for a beginner who has no professional knowledge regarding editing.
In simple words, we can say that blender video sequence editor has everything that a person has to need for the creation of videos either for work or social media.
Part 2: How to Use Blender Video Editor
If you are a beginner and want to learn the steps to perform different editing tasks on blender video editor free then the given guidelines will be helpful for you:
Step 1: Using Blender Video Editor Add Text
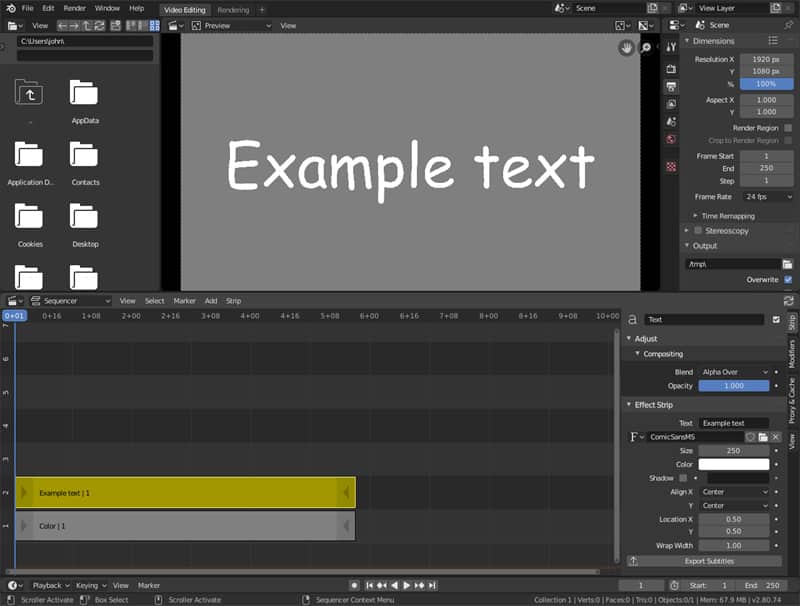
If you want to use the Blender video editor and text feature then first of all you have to move to the software and then load your video project. Access the video sequencer workspace and choose the video to which you want to add text. From the bottom of the screen press the add menu and select the Text option. You will see a text box where you can add your text and perform different adjustments like size, font alignment, colour etc.
Step 2: Blender Add Keyframe Video Editor
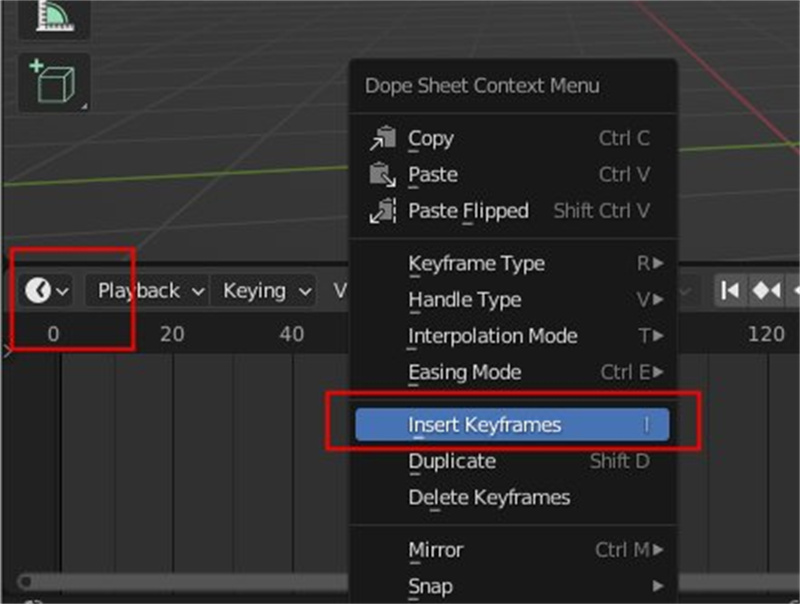
To add a keyframe to a video using Blender video editor you have to select the element that you want to animate, move to the desired timeline and tap on the Insert Keyframe button. by doing this step you will create a keyframe at the particular frame. You can also move to another frame, adjust the property and insert another keyframe.
Step 3: Blender Green Screen Video Editor
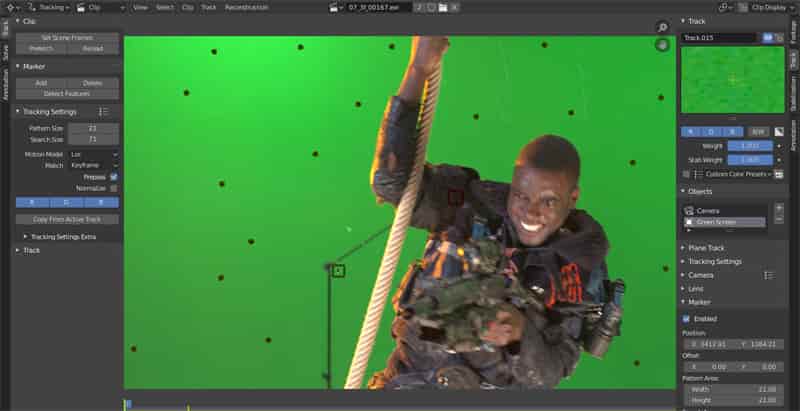
The Addition of green screen by using Blender video editor requires you to import your green screen footage into the program and then place it on the timeline. next, you have to click on the add menu and choose Effect Strip. Select the colour ki and drag the effect on your green screen. Then do a setting adjustment to remove the background and after that, you can add a new image or a video to use as a background.
Step 4: Blender Import Image Sequence Video Editor
Now we are going to discuss using the Blender video editor to import image sequences. for this, you have to move to the file menu and then select the import option where you will see an option named Images. Choose the first image in the sequence. In this way, you can import image sequences on Blender Video Editor.

Step 5: Blender Video Editor Crop
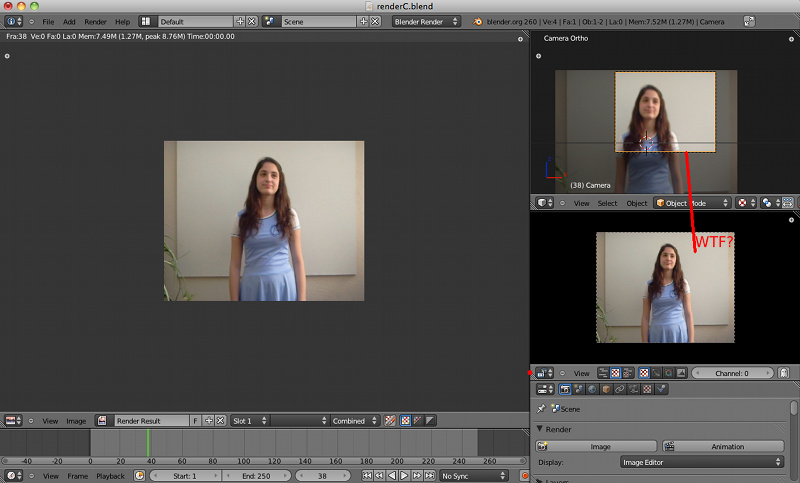
Once you have imported your video clips you can also use the crop feature. to use this you just have to choose the video clip that you want to crop and then move to the transform tab. Here you will be allowed to make all kinds of adjustments regarding cropping values. You can transform your video to your desired level.
Step 6: Blender Video Editor Effects
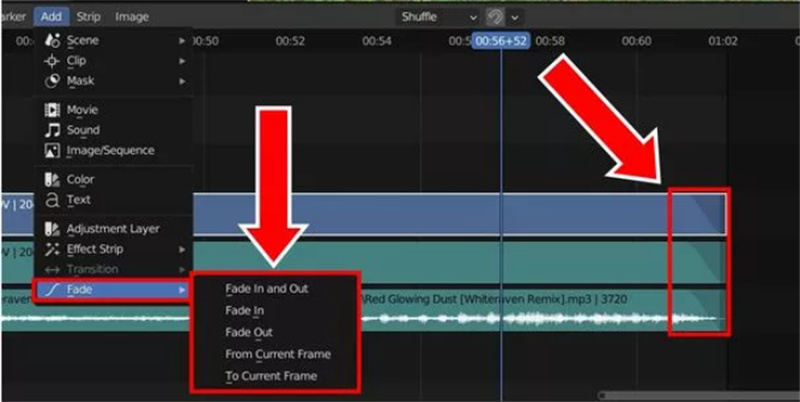
Blender video editor also has a large variety of video effects. you just have to select the video where you want to apply the effect and then move to the effects tab in the properties panel. Here, you will see a variety of effects, just choose the one that suits your preferences and then you can also adjust the parameters accordingly.
Step 7: Blender Video Editor Export mp4
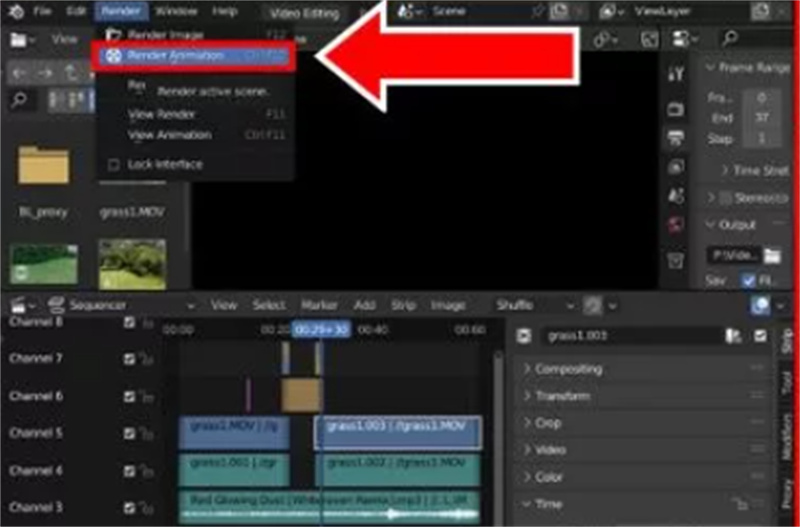
Now that you have done all of your editing, it's time to export your video. You will see the output tab on the right of the screen. you are allowed to choose different formats for your output and next you have to select the destination folder. the video will be exported to your selected folder in perfect quality.
Part 3: Best Alternative to Blender Video Editor
If you are in search of another tool that is an alternative to blender as video editor and provides you with a more advanced interface for video editing then Blender video editor is the perfect platform for you:
Edimakor(Video Editor).It is a relatively new video editing software that has gained popularity for its user-friendly interface and wide range of editing tools. It is designed for beginners and casual users who want to quickly edit and enhance their videos without a steep learning curve. With HitPaw Edimakor, you can easily trim, cut, merge, and add effects to your videos with just a few clicks.

Benefits of Using Edimakor(Video Editor)
- Its adaptability is one of its main features as users may quickly switch between various editing tools and effects for a polished look.
- Furthermore, Edimakor's intuitive interface ensures a seamless editing experience for users of all skill levels
- HitPaw Edimakor includes all the tools you need to create unique effects, transitions, and text overlays for your movies
| Fuction | Ediamkor | Blender | Video Cuts | √ | √ | Splicing | √ | √ | Video Masking | √ | √ | Color Grading | √ | √ | Adding Effects | √ | √ | Edit Audio | √ | √ | Auto Subtitle | √ | × | Text to speech | √ | × | AI Cutout | √ | × | Screen Recorder | √ | × |
|---|
How to Use Edimakor(Video Editor)
Step 1: Download HitPaw Edimakor
The first step to using the Blender Video Editor is to download HitPaw Edimakor. Simply visit the HitPaw website, choose the version that is compatible with your operating system, and download the software onto your computer.
Step 2: Add Media
This is an essential part of the editing process as it allows you to start working with the particular footage and audio. To add media to your project, simply click on the Media menu at the top of the screen

Step 3: Add Cool Effects
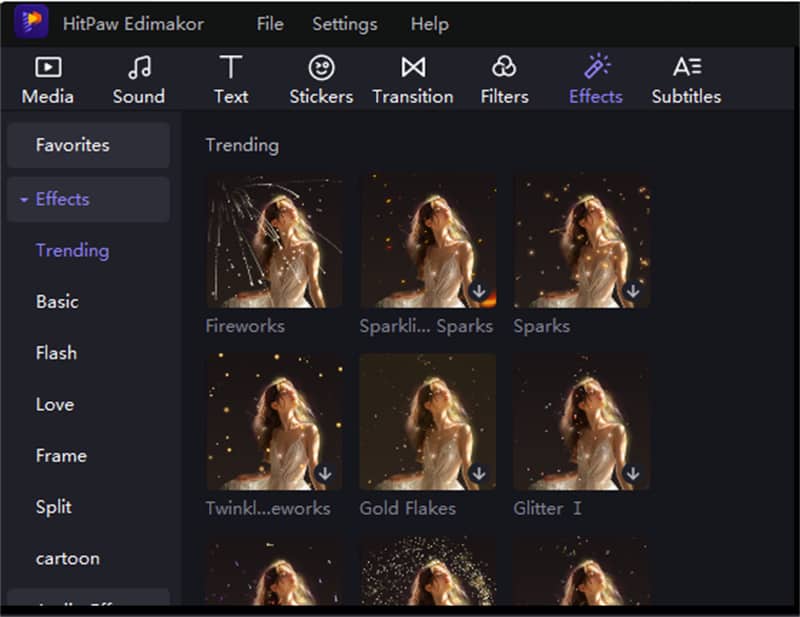
In this step, you can choose from a wide range of effects to add some flair to your video. Tap on the Effects tab and choose the one that suits your preferences.
Step 4: Text-to-Speech Feature
Once you have edited your video content to your satisfaction, navigate to the Add Text-to-Speech option within the tool. Here, you will have the option to input the text that you want to be converted into speech.

Step 5: Export Video
After you have finished editing your video in HitPaw Edimator, it's time to export your final creation. Just hit the export button and wait for the video to download.

Conclusion
If you remain successful in mastering the basics of blender video editor then fortunately you will open a library of possibilities for creating amazing and professional videos. this tool has no doubt the easiest interface but if you want to access an AI video editor with more advanced features then none other than Edimakor(Video Editor) is perfect for you.
FAQ About Blender Video Editor
Q1. Is Blender Video Editor Free To Use?
A1. Yes, the Blender Video Editor is completely free to use. Blender is an open-source software that is available for download on its official website. Users can access all of the features of the video editor without having to pay any fees.
Q2. Can Blender Video Editor Handle Professional Video Editing Tasks?
A2. Yes, the Blender Video Editor can handle professional video editing tasks. Blender Video Editor is a powerful tool that can certainly meet the needs of professional video editors. With its comprehensive set of editing tools, including timeline-based editing, keyframe animation, transitions, effects, and more, Blender Video Editor offers a wide range of capabilities for creating high-quality videos.
Q3. Is Blender Video Editor Suitable For Beginners?
A3. Blender Video Editor is the most beginner-friendly option out there. The interface is simple for those who are new to video editing, and the multitude of features is straightforward. With some patience and practice, beginners can learn to navigate Blender Video Editor more effectively.
Q4. Can Blender Video Editor Be Used For 3d Animation And Visual Effects?
A4. Blender Video Editor can be used for 3D animation and visual effects. In addition to its video editing capabilities, Blender is a powerful 3D creation suite that includes tools for modelling, sculpting, texturing, rigging, animating, lighting, and rendering. It also supports various visual effects like compositing, motion tracking, and simulation.


 HitPaw Univd (Video Converter)
  HitPaw Screen Recorder
 HitPaw VikPea (Video Enhancer)

Share this article:
Select the product rating:
Daniel Walker
Editor-in-Chief
My passion lies in bridging the gap between cutting-edge technology and everyday creativity. With years of hands-on experience, I create content that not only informs but inspires our audience to embrace digital tools confidently.
View all ArticlesLeave a Comment
Create your review for HitPaw articles