How Can You Blend A Surface on A Video?
Have you ever wished you could mix or mask portions of a video like a professional editor? Blending surfaces on a video may make a huge difference, whether you're trying to add an artistic touch, smooth out flaws, or create fascinating effects. I have some good news? You can do it without being an expert in technology.
We'll show you how to blend surfaces on a video step-by-step in this tutorial, and we'll also introduce you to several useful tools that make the process much easier. Are you ready to turn your videos into flawless works of art? Let's get started.
Part 1. What Does Blend A Surface on A Video Mean?
Blending a surface on a video is an editing method that allows you to combine or change elements of your video in a perfectly natural manner. It's frequently utilized to hide flaws, add creative effects, or smoothly blend parts. Consider it the skill of making cuts blend into the video so that everything appears seamless and harmonious.
But what makes mixing effective? Here i will discuss the important elements:
1. Seamlessness
The purpose of blending is to make your changes invisible. Whether you're covering an object, adding new features, or improving details, the modifications should blend seamlessly into the video. Poor blending annoys the viewer, whereas flawless blending improves the whole experience without drawing attention.
2. Matching Visual Properties
For blending to be effective, the visual qualities of the modified surface must be consistent with the rest of the video. This encompasses color tones, lighting, texture, and even shadow direction. If these do not match, the edits will appear to have no place and disrupt the realistic feel of your footage
3. Smooth Transitions
Blending is about the flow of the edits, not just the modifications themselves. Smooth transitions between the blended surface and the surrounding video are important for keeping a professional appearance. Softening edges and minimizing abrupt changes will help your edits feel more natural and professional.
Part 2. Best Video Enhancer to Make Video Smooth Free Try
The overall quality of your video is not living up to your expectations, even though you've done a good job of blending surfaces? Sometimes the motion isn't as smooth as you'd like, the colors appear dull or the resolution is too low. For this issue to overcome, you need a strong enhancement tool to make your video really come to life and look polished and professional. HitPaw VikPea (formerly HitPaw Video Enhancer) can help you with that.
HitPaw VikPea is made to raise your videos to a new level. This powerful program has all the features you need to enhance your videos whether you want to improve the resolution, smooth out frames or adjust colors. And the best part is that you can give it a free try.
Features of HitPaw VikPea
- Use AI technology to convert low-quality recordings into HD or 4K resolution and gurantees that every detail appears crisp and clear.
- HitPaw VikPea eliminates extraneous noise for a clearer and more polished look.
- Increasing frame rates will improve motion smoothness and give your videos a more dramatic appearance.
- Modify saturation, contrast and brightness to produce eye-catching images.
- Anyone may produce professional results without a high learning curve because to its straightforward and user-friendly design.
Steps to Enhance Video
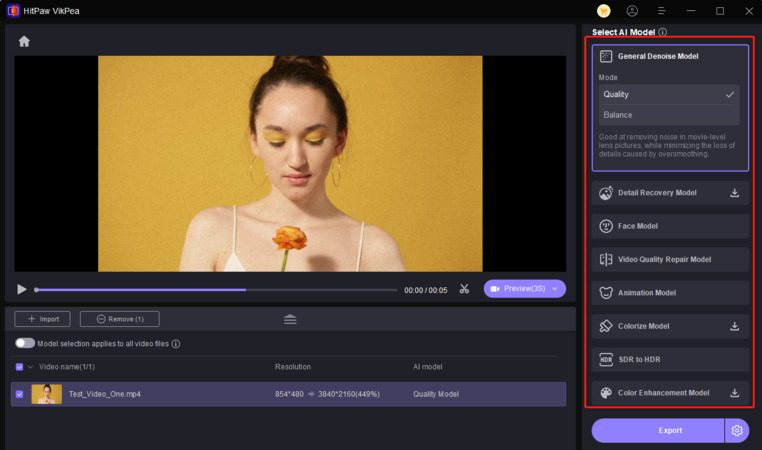
Here is how to enhance video using HitPaw VikPea:
Step 1.To download the software, go to the HitPaw website. Proceed with the instructions to install it on your device.
Step 2.Open the program and then click the "Import" or ‘add file' button or drag your video into the workspace.

Step 3.Choose an enhancement option, such as frame interpolation, noise reduction, or upscaling, then adjust the settings to your preferences.

Step 4.To see how your video seems after the changes, use the preview option. If necessary, make changes. After you're happy, export the improved video in the format and resolution of your choice.

Learn More about HitPaw VikPea
Part 3. How Can You Blend A Surface on A Video with Adobe After Effects
Adobe After Effects is a sophisticated tool for creating professional video effects, such as combining surfaces flawlessly. Using the blend modes and masking tools, you can add new aspects to your footage or change parts of it to match the surrounding graphics. Here's how to do it:
Steps to Blend a Surface in Adobe After Effects
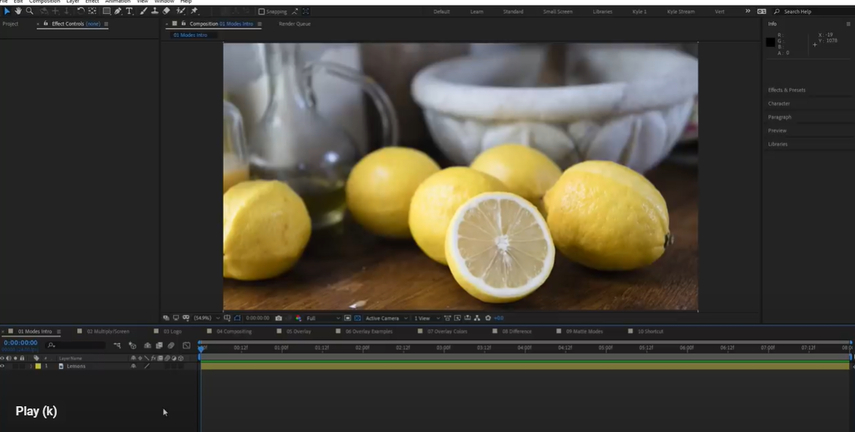
1. Start a New Project
Open Adobe After Effects and create a new project. Import your video file by dragging it into the project panel. Place it onto the timeline to begin editing.
2. Add an Adjustment Layer or Mask
To focus on a specific area, use the Pen Tool to create a mask. This will isolate the section you want to blend.
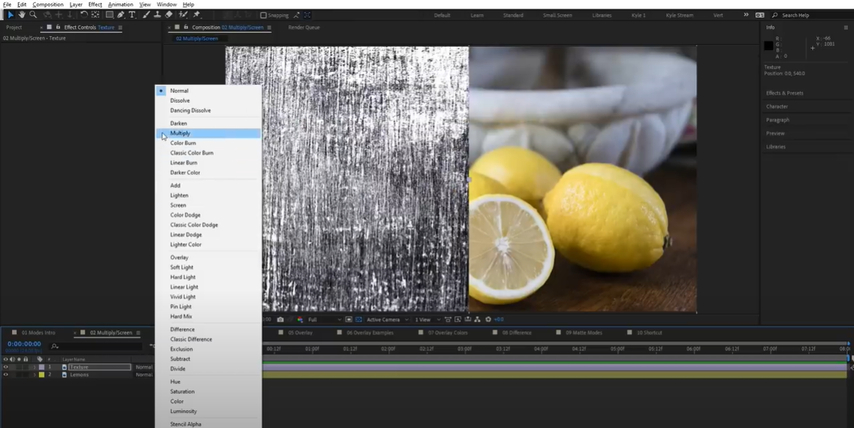
3. Apply a Blending Mode
Select the layer and navigate to the Mode dropdown menu. Choose a blending mode, such as Overlay or Multiply, depending on the effect you want. Each mode creates a different interaction between layers.
4. Feather and Adjust
Open the mask properties and increase the feather to soften edges. This ensures a smooth transition between the blended surface and the rest of the footage.
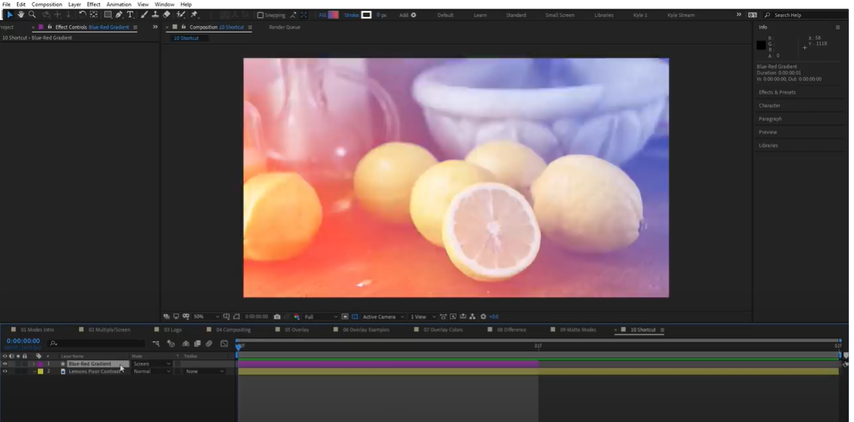
5. Color Match the Surface
Use Effects > Color Correction to tweak brightness, contrast, or saturation so the blended area matches the scene perfectly.
Part 4. How Can You Blend A Surface on A Video with Davinci Resolve
Blending a surface in DaVinci Resolve is combining layers to produce visually coherent effects. The key to matching textures, overlaying images, or merging visual elements into a scene is to use blend modes and DaVinci's fine controls. With its powerful surface tracking and compositing features, this process is simple for beginners as well as professionals. Here is how you can do it:
Steps for Blending a Surface in DaVinci Resolve:
1. Import and Arrange Footage: Add your video into the timeline and position the surface layer above the base footage. This ensures the blending affects the top layer.
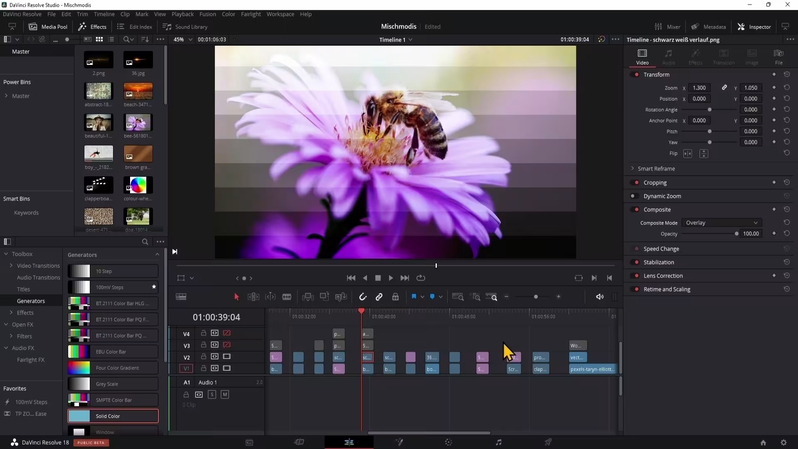
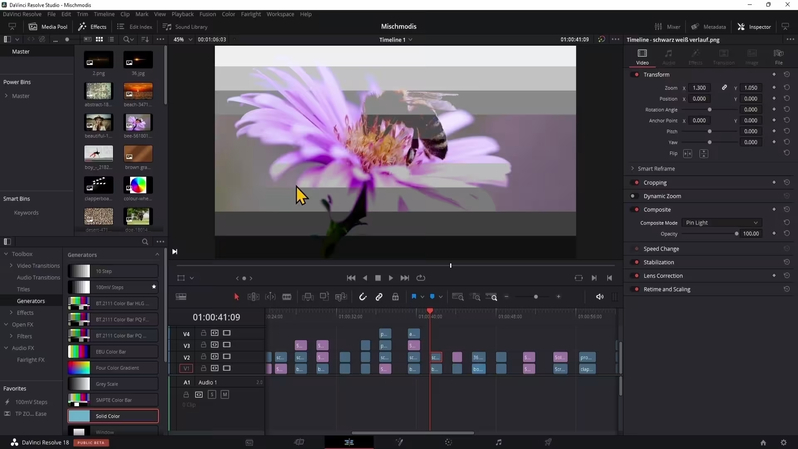
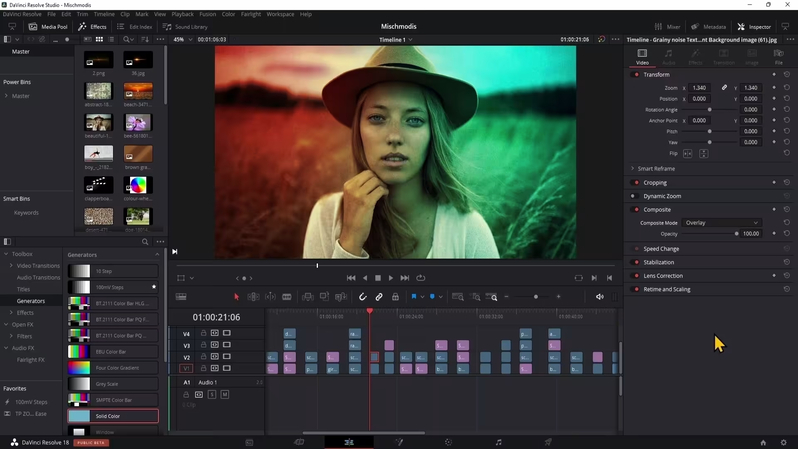
2. Access Composite Modes: Select the top layer and open the Inspector Panel. Under the Composite Mode dropdown, explore options like Overlay, Soft Light, or Screen. Each mode adjusts how the layers interact visually:
- Overlay: Enhances contrast by darkening shadows and brightening highlights.
- Soft Light: Similar to Overlay but with gentler contrast.

- Screen: Removes dark areas, ideal for effects like light flares.

3. Fine-Tune Settings: Adjust the Opacity slider to control the blending intensity. For smoother effects, experiment with different modes and tweak until you achieve the desired result.
4. Enhance with Color Grading: Use the Color page to match hues and saturation between layers, ensuring seamless integration.
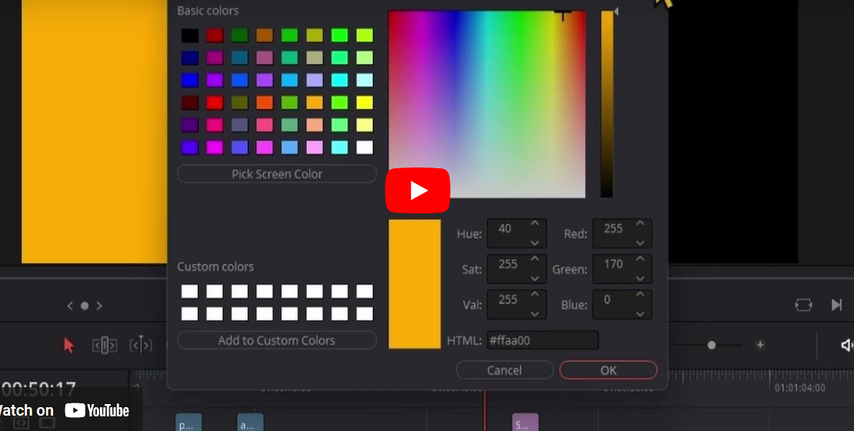
5. Masking and Tracking: For blending on specific areas or moving objects, apply masks or use DaVinci's surface tracker tool to align the blended surface dynamically.
Conclusion
Whether you're using DaVinci Resolve or Adobe After Effects, blending a surface on a video can change your work. A specialized video enhancer such as HitPaw VikPea is essential for smooth outcomes and improved video quality. Even for novices, its AI-powered features make video enhancing simple.
Give HitPaw VikPea a try now to take your videos to the next level and guarantee consistently beautiful images.




 HitPaw Univd (Video Converter)
 HitPaw VoicePea
  HitPaw FotorPea


Share this article:
Select the product rating:
Daniel Walker
Editor-in-Chief
This post was written by Editor Daniel Walker whose passion lies in bridging the gap between cutting-edge technology and everyday creativity. The content he created inspires the audience to embrace digital tools confidently.
View all ArticlesLeave a Comment
Create your review for HitPaw articles