A Comprehensive Guide to Dehaze Video Techniques
Haze, caused by smoke, fog, or pollution, can make objects challenging to see and lower the overall quality of your recordings. This usually doesn’t look very good, and you need to dehaze videos with various techniques and tools. This guide will present basic and advanced approaches to dehaze videos. By learning these practices, you will be able to enhance the quality of your videos and their visual presentation to a great extent.
Part 1. Introduction to Dehaze Video
Dehaze can be defined as the action of erasing haze, fog, or mist when it appears on videos recorded by a camera. A haze can be formed due to light scattering by different atmospheric factors, such as dust, smoke, or natural fog.
Dehazing lessens the effect of haze on the video streams through the analysis and application of several algorithms. These could include correcting contrast, brightness, and color balance to correct for the light reflected from haze.
Why Dehazing is Essential in the Process of Video Creation
Removal of haze from a video is crucial since it enhances the appearance of the video. The main problem that haze brings is that it alters the colors and details of a scene and thus may lead to misrepresentation of a scene. Dehazing helps revert to the actual colors and details of the scene due to the more accurate depiction of the surroundings. Dehazing also improves the storytelling factor in video production since the audience gets clear and bright videos to pass on the emotions and stories.
Overview of Techniques and Tools Available
Several traditional and advanced tools are available to dehaze videos. Conventional methods involve utilizing filters to reduce haze and modifying the video's brightness and contrast. These techniques are easy to use and might work well in situations with slight haze.
Advanced methods for analyzing and reducing haze use machine-learning models and algorithms.
Numerous applications can be used to dehaze videos; hence, the solution is reasonably available. Two of the most popular software packages today—Adobe Premiere Pro and DaVinci Resolve—contain dehazing functionality.
Part 2. Understanding the Dehaze Video Process
A. The Science Behind Haze in Videos
The leading cause of veiling in videos is light diffraction by particles in the atmosphere, including dust, smoke, or even water vapor. These particles are found in the air through which the light coming from the scene reaches the observer. Because of the interaction, the light is reflected in many different directions, causing the image to blur. This scattering effect can be seen more in longer wavelengths of light, so hazy scenes mostly appear bluish or grayish.
B. Common Causes of Haze in Video Footage
Haze can be caused due to various environmental factors:
- From the footage, pollution is an attribute of haze, as pollution slows down the flow of light, thereby making it hazy.
- Fog and mist are actually small particles of water in the air that prevent light from passing through, thereby hindering clear vision.
- Other factors that could cause light scattering include humidity and temperature, leading to Haze conditions.
C. Benefits of Dehazing for Visual Clarity
Here are the benefits of dehazing for the improved visual quality of footage:
- Dehazing removes haze to make videos clear and more detailed, allowing users to see the scene as expected.
- It corrects the color distortion and restores the scene's original depth and vitality.
- Enhance the impact of the content to increase the viewing experience of videos.
- Dehazing can restore the natural colors of your videos and make them more vibrant and accurate to life.
Part 3. Dehaze Video Premiere: Utilizing Adobe Premiere Pro

Guide to Dehaze Video in Premiere
Here are the steps to dehaze the video premiere:
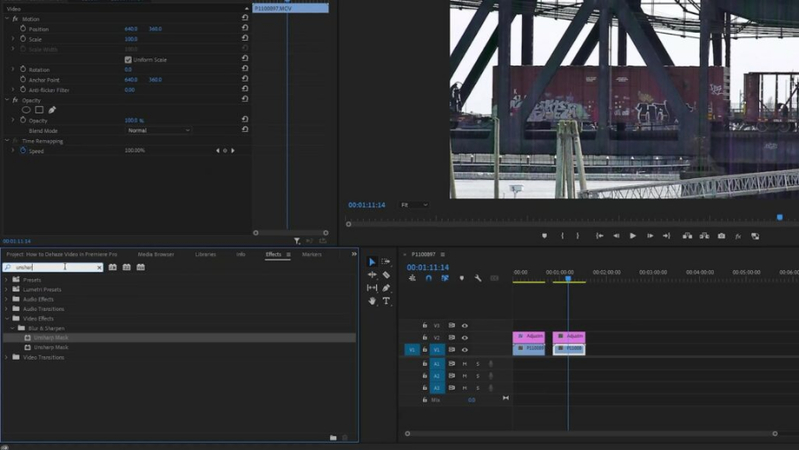
Step 1. Open Adobe Premiere Pro, move your cursor to the video clip and place it on the program. Alternatively, go to ‘File’ and then ‘Import’ to transfer the file to the project panel.
Step 2. Move your footage to Timeline to create a new sequence.
Step 3. Now right-click on the Timeline and select the “Duplicate” option.
Step 4. Go to the “Effect panel” and select the “black and white” effect for duplicated footage.
Step 5. Select “invert” from the effect panel and apply the invert effect to duplicate footage.
Step 6. For the duplicate footage, go to the Timeline and open the Effect Controls panel. Then, change the Blend Mode to Subtract.
Step 7. Now, it's time to adjust the Opacity of your footage to reduce the haze according to your needs.
Step 8. Go to the Timeline and open the original footage for enhancing dazed footage using the tools such as the Lumetri Color, Contrast, Highlights, Shadows, and Whites.
Features of Premiere Pro for Dehazing
- Adjust contrast, shadows, and highlights to reduce haze and enhance clarity.
- Use modes like Subtract to improve contrast and reduce haze.
- Isolate luminance values to help you to manage haze.
- Enhance contrast when combined with blend modes.
- Apply effects for easy tweaking without affecting the original footage.
Part 4. Pro-tips: Alternative to Dehaze Video Premiere
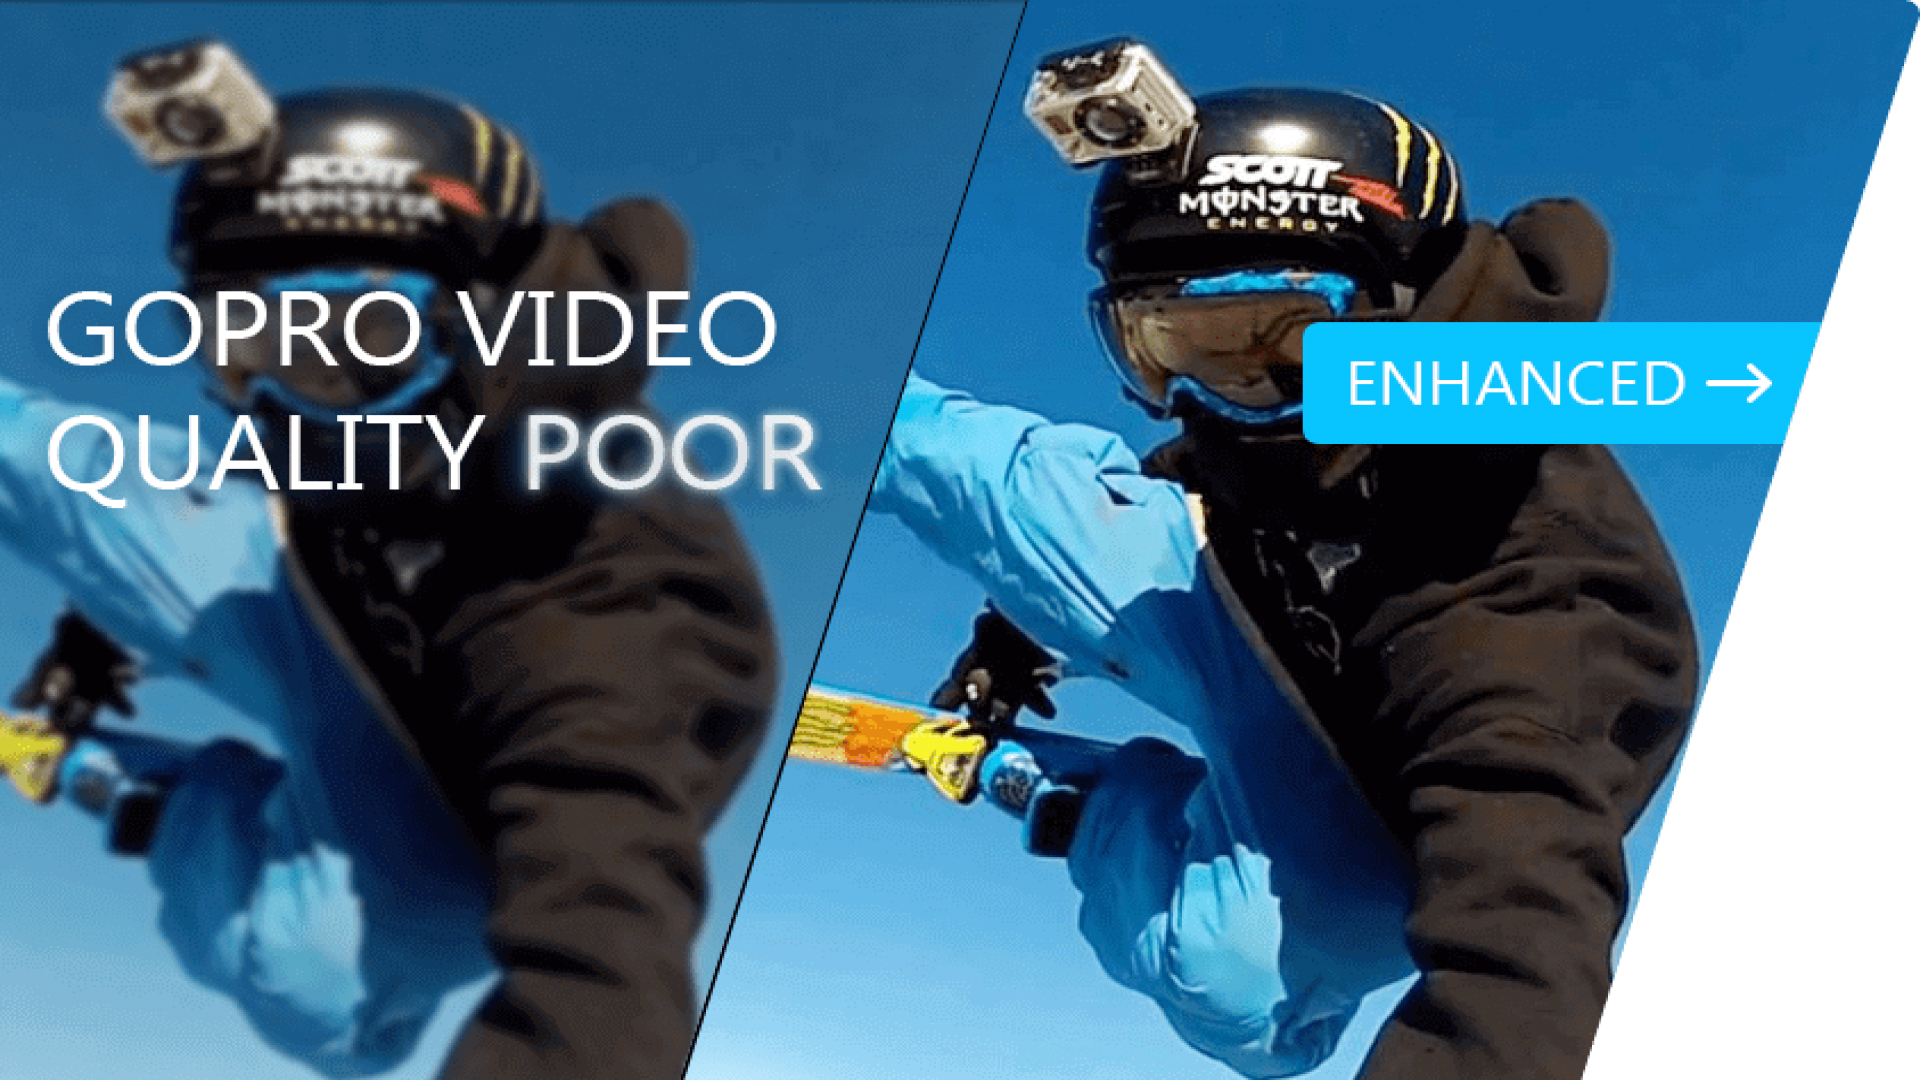
If you want to dehaze your videos, it is recommended that you go for HitPaw VikPea (formerly HitPaw Video Enhancer). It may enhance the quality of your videos. It's ideal for dehazing videos, which gives the footage a cleaner and more polished appearance. HitPaw VikPea offers a simple and efficient way to get excellent results. It can also fix corrupted videos and enhance their overall appearance.
Features
HitPaw VikPea - The Best 8K Video Enhancer with Only 1 Click
Secure Verified. 349,500 people have downloaded it.
- It can handle ultra high-resolution footage up to 8K for dehaze and enhancement.
- It uses advanced AI to analyze your footage to reduce noise, boost color, and upscale quality. This results in more explicit, smoother videos.
- Fix damaged, corrupted, or unplayable clips and restore them with HitPaw's proprietary repair algorithms.
- Easily replace or remove backgrounds from your shot footage to highlight subjects.
- Thanks to GPU acceleration, editing and enhancing videos is fast and efficient.
Secure Verified. More than 120,860 people have purchased it.
Steps
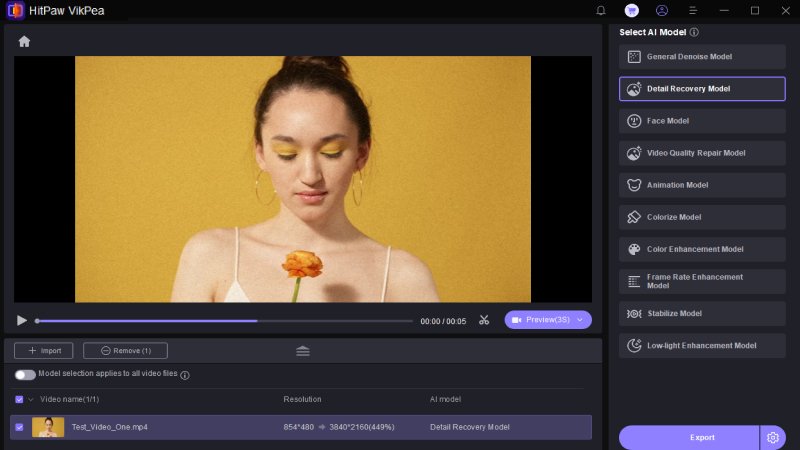
Step 1. To enhance or upscale your broken videos, download and install HitPaw VikPea from its official website.
Step 2. Open the software, go to the “Add Video” option, and open the distorted video that needs to be dehazed.

Step 3.Select an AI model that best suits your needs, such as the mode for removing greyish or improving color.

Step 4.If satisfied, click the “Export” button to save the enhanced videos.

Learn More about HitPaw VikPea
Conclusion
These dehaze video techniques can significantly improve your footage's clarity and visual appearance. The correct tools and strategies can help you turn hazy videos into content suitable for a professional audience. Therefore, no matter how much experience you have as an editor, the techniques explained in this guide will assist in attaining the best outcomes.
For those who are looking for an aid in this, we highly recommend HitPaw VikPea. It offers powerful features specifically designed to improve video clarity and quality.


 HitPaw Edimakor
 HitPaw FotorPea
 HitPaw Univd (Video Converter)


Share this article:
Select the product rating:
Daniel Walker
Editor-in-Chief
This post was written by Editor Daniel Walker whose passion lies in bridging the gap between cutting-edge technology and everyday creativity. The content he created inspires the audience to embrace digital tools confidently.
View all ArticlesLeave a Comment
Create your review for HitPaw articles