[Tips!] A Comprehensive Guide on How to Take a Passport Photo
In today's digital age, the process of how to take a nice passport photo has evolved beyond the traditional visit to a photography studio. With the convenience of smartphone cameras and editing tools, individuals now have the opportunity to capture their passport photos from the comfort of their own homes. However, amidst this convenience, ensuring compliance with official passport photo requirements remains crucial.
This comprehensive guide aims to equip you with the knowledge and techniques necessary for how to take passport photo at home. Additionally, we'll explore how HitPaw FotorPea can assist in adjusting the background, ensuring your photo meets all necessary standards. So, let's delve into the step-by-step process of capturing the perfect passport photo, complete with invaluable tips and tricks.
Part 1. How to Take a Passport Photo?
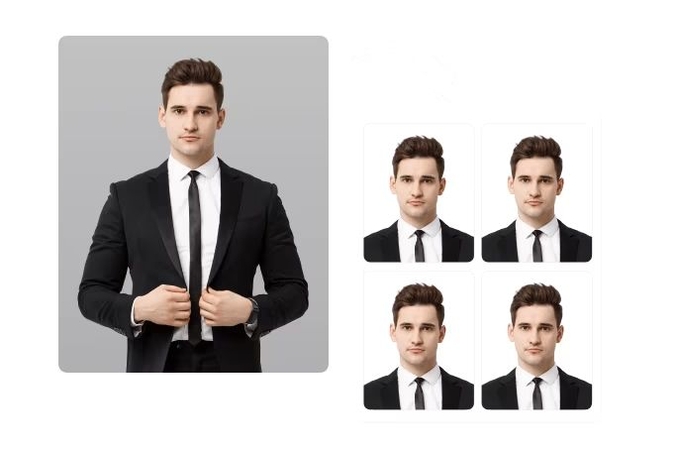
Taking a passport photo might seem like a simple task, but it's essential to get it right to avoid any delays or rejections in your passport application process. Understanding the specific requirements set by passport authorities is key to capturing a photo that meets all standards.
In this section, we'll guide you through the process of taking a passport photo, ensuring compliance with size specifications, background color, facial expression, and more. Whether you're using a traditional camera or your iPhone, these step-by-step instructions will help you effortlessly achieve a professional-quality passport photo. Let's take a look at how to take a good passport photo.
Steps
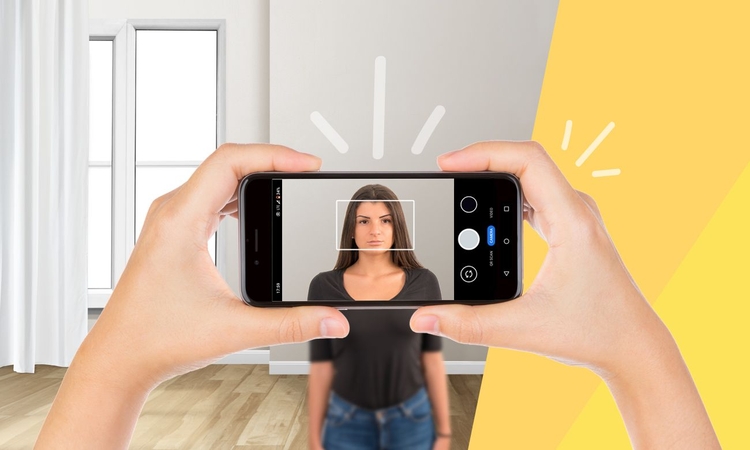
Here is how to take a passport photo at home using iPhone:
1. Familiarize yourself with the specific requirements for passport photos, including size, background color, and facial expression.

2. Ensure your camera or iPhone is fully charged and functioning properly. Set up good lighting and a stable surface for taking the photo.

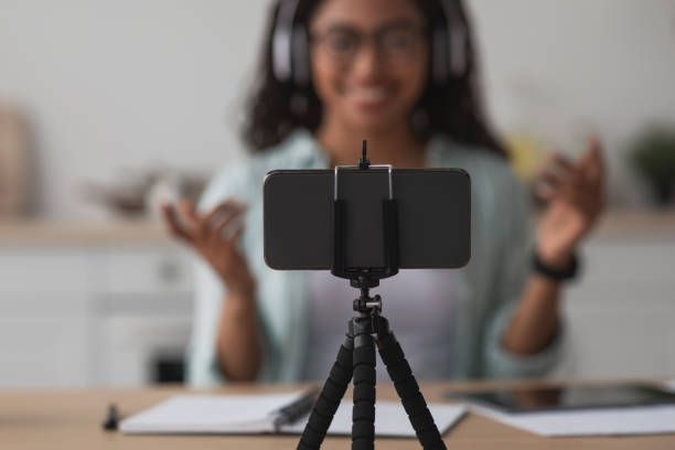
3. Stand squarely facing the camera with your head and shoulders visible. Use a tripod or stable surface to avoid blurry photos.

4. Capture several photos to increase your chances of getting the perfect shot. Experiment with different angles and expressions.

5. Review the photos to choose the one that best meets your requirements. Check for proper lighting, sharpness, and compliance with size and background color.

Extra-Tips:
Following these tips alongside how to take passport photos will help you capture a professional-quality passport photo that meets all official requirements.
- 1. Neutral Facial Expression:Maintain a neutral expression with both eyes open. Avoid smiling or frowning, as exaggerated expressions can lead to rejection.
- 2. Proper Lighting:Ensure even lighting on your face without harsh shadows. Natural light or soft, diffused artificial light works best.
- 3. Background Selection:Use a plain white or off-white background that contrasts with your clothing. Avoid patterned or textured backgrounds.
- 4. Clothing Choice:Wear clothing that contrasts with the background and does not obstruct any part of your face. Avoid hats, scarves, or accessories that cover your head or face.
- 5. Avoid Common Mistakes:Watch out for shadows on the face, uneven lighting, or distracting elements in the background. Retake the photo if necessary to ensure it meets all criteria.
Part 2. How to Make a Perfect Passport Photo with HitPaw FotorPea
Now that you've mastered the art of capturing a passport photo, let's explore how HitPaw FotorPea can elevate your photo-editing experience, ensuring your passport photo meets the highest standards of clarity and quality. While capturing a passport photo is crucial, post-processing plays an equally vital role in refining the image to perfection.
HitPaw FotorPea offers a comprehensive suite of tools designed to enhance, remove, and generate elements within your photos with unparalleled precision and efficiency. From boosting image clarity and color to effortlessly removing unwanted objects or backgrounds, HitPaw FotorPea provides everything you need to create a flawless passport photo that exceeds expectations.
Features
- Image Enhancer: HitPaw FotorPea's image enhancer utilizes advanced algorithms to boost images in clarity and color, ensuring your passport photo stands out with unparalleled vibrancy and detail.
- AI Photo Generator: Transform text into stunning artwork effortlessly with HitPaw FotorPea's AI photo generator, allowing you to add creative touches to your passport photo with ease.
- AI Portrait Generator: With cutting-edge AI technology, HitPaw FotorPea's portrait generator delivers natural outcomes, ensuring your passport photo showcases your best features in the most flattering light.
- Object Removal: Effortlessly remove unwanted objects from your passport photo with HitPaw FotorPea's object removal tool, guaranteeing perfect results every time.
- Background Removal and Replacement: Say goodbye to distracting backgrounds with HitPaw FotorPea's background removal feature, which allows you to replace them with a solid color, ensuring your passport photo meets official requirements with ease.
Video Guide for You to to Take Passport Photo at Home Using Your Phone
Steps
Here is how to take a 2x2 passport photo on iPhone using HitPaw FotorPea:
Step 1:Begin by downloading and installing HitPaw FotorPea from the official website. This intuitive software will serve as your go-to tool for refining your passport photo to perfection.
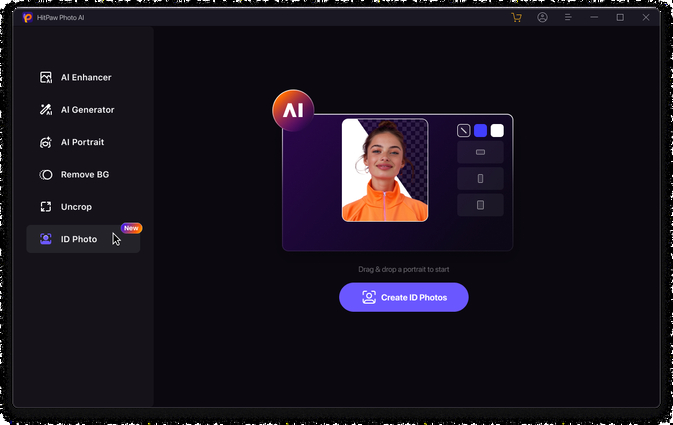
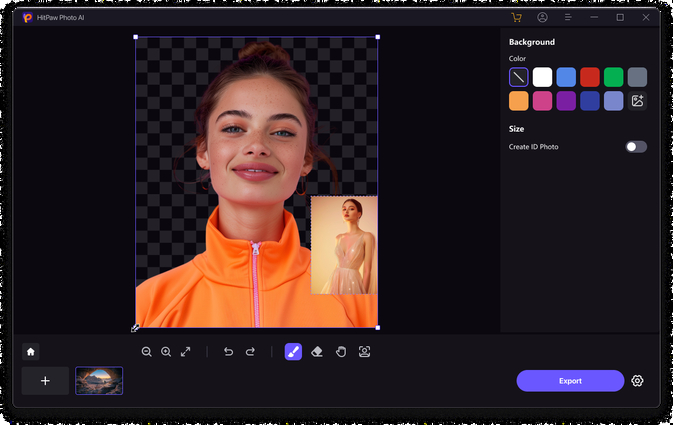
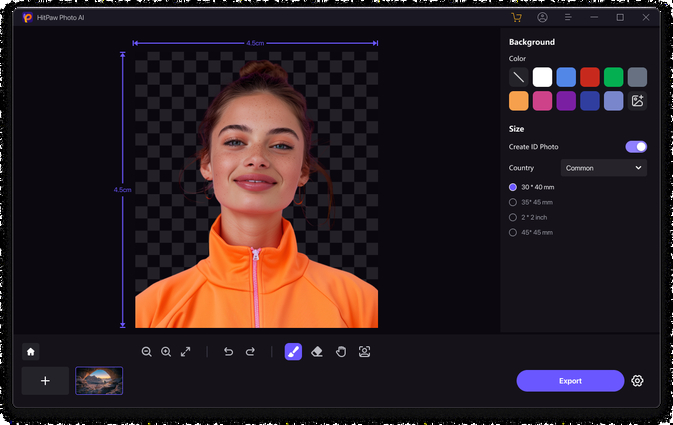
Step 2:Once installed, navigate to the "ID Photo" feature within HitPaw FotorPea. This specialized tool is tailored to help you create a passport-size photo that meets all official requirements seamlessly.

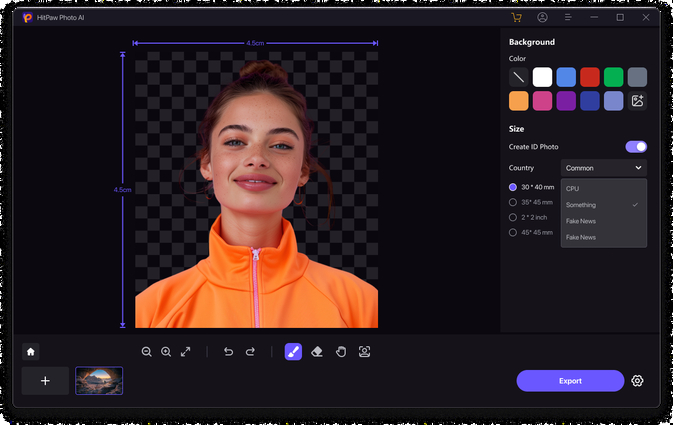
Step 3:Within the "ID Photo" feature, select your preferred country from the available options. This ensures that the passport photo is sized correctly according to the specific regulations of your country's passport authorities.

Step 4:After selecting your country, customize the image size and background according to your preferences and the guidelines provided by your country's passport regulations. HitPaw FotorPea offers a range of options to ensure your passport photo adheres to official standards.

Step 5:Once you've adjusted the size and background to your satisfaction, simply export the passport photo. HitPaw FotorPea makes it easy to save your edited photo in the desired format, ready for printing or online submission with your passport application.

Part 3. FAQs of How to Take Passport Photo
Q1. How to take passport photo for newborn?
A1. Taking a passport photo for a newborn requires extra care and attention to ensure the baby's safety and comfort. Ideally, find a well-lit area with natural light and a plain background. Hold the baby securely in a comfortable position, ensuring their face is visible without any obstructions.
Q2. Can you wear makeup in passport photo?
A2. While it's not explicitly prohibited to wear makeup in a passport photo, it's essential to keep it minimal and natural-looking. Heavy makeup, especially with bright colors or excessive shimmer, can alter your appearance and may lead to rejection of the photo.
Bottom Line
Capturing a perfect passport photo requires attention to detail, adherence to official requirements, and careful post-processing. By following the steps outlined in this guide, you can ensure your passport photo meets all necessary standards, from size and background color to facial expression.
Additionally, HitPaw FotorPea offers a convenient solution for refining your passport photo with its advanced editing features.





 HitPaw Univd (Video Converter)
  HitPaw VikPea (Video Enhancer)


Share this article:
Select the product rating:
Daniel Walker
Editor-in-Chief
My passion lies in bridging the gap between cutting-edge technology and everyday creativity. With years of hands-on experience, I create content that not only informs but inspires our audience to embrace digital tools confidently.
View all ArticlesLeave a Comment
Create your review for HitPaw articles