Ultimate Guide: How to Overlay Images with Free and Advanced Tools
Want to add a touch of creativity to your photos? It’s easier than ever with the overlaying image technique using built-in tools on your PC. These tools are usually pre-installed on your computer and do not require any additional downloads or subscriptions.
So whether you are a professional photographer or an amateur enthuaist, you can use these tools to transform your pictures and elevate their visual appeal to new heights. Not sure how to overlay pictures to express your artistic vision? Don’t worry, we’ve got you covered.
Section 1: How to Overlay an Image to Another with Built-in PC Tools
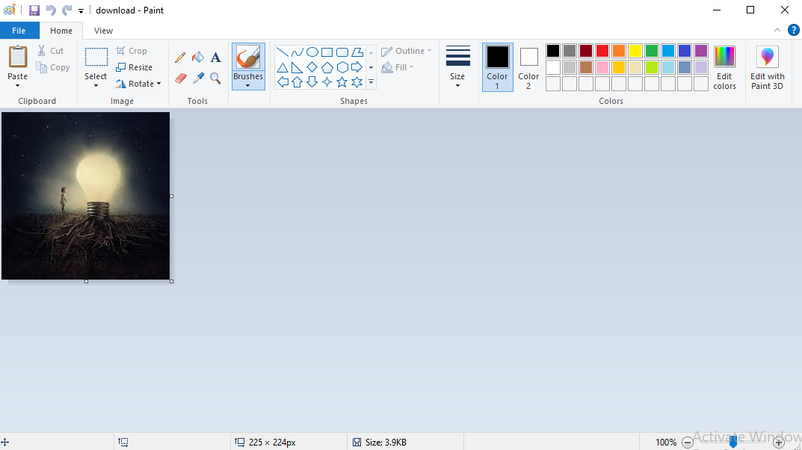
When it comes to overlaying images, you don't always need fancy software. Built-in PC tools like MS Paint can be surprisingly effective for basic overlaying tasks, and since they come with the Windows operating system, they are readily available on most computers.
How to add an overlay to an image using MS Paint:
- Open MS Paint and click on File > Open. Select the image that you want to use as the background.
- Click on File > Open again, and select the image that you want to overlay on the background.
- Now, select the entire image and copy the selected area using Ctrl+C.
- Go back to the background image and paste the copied area using Ctrl + V to overlay the image on top of it.
- Position the pasted image where you want it to overlay the original image. You can rotate, resize, and position the overlay image as you wish.
- Once satisfied with the result, save your newly overlaid image
Section 2: How to Overlay Two Images with Third-Party Photoworks
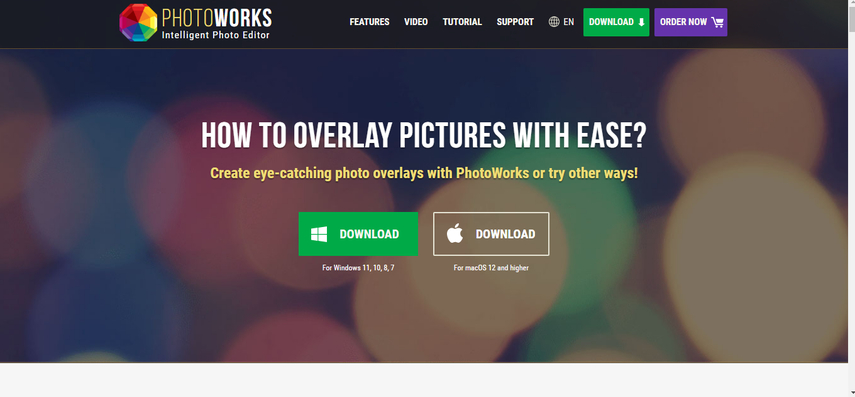
If you want to have more control and flexibility over your overlaying process, third-party software like Photoworks can serve the purpose. Equipped with advanced overlaying capabilities, Photoworks can provide you with a plethora of options and features. To ensure image overlaying with precision and finesse, Photoworks has a dedicated overlay tool that lets you choose from hundreds of preset overlays, such as textures, patterns, gradients, and effects. You can also upload your own images and use them as overlays.
Here's how to overlay images using Photoworks:
- Download and install Photoworks from its official website. Launch the program and open the main image that will serve as the base layer in PhotoWorks.
- Head over to the Tools tab and find the Image Overlay tool. Once you've found it, you can either use your own image or use a pre-loaded collection of clipart.
- If you want to add your image, click “Add image” and choose the file that will serve as an overlay.
- Once you have selected an overlay, you can adjust its settings, such as opacity, blend mode, and position. You can also add multiple overlays by clicking on the + icon at the top of the panel and repeating the steps above.
- When you are happy with the outcome, save your overlaid masterpiece at your desired location.
Section 3: How to Add Overlay to an Image Using the Potential of Online Pinetool
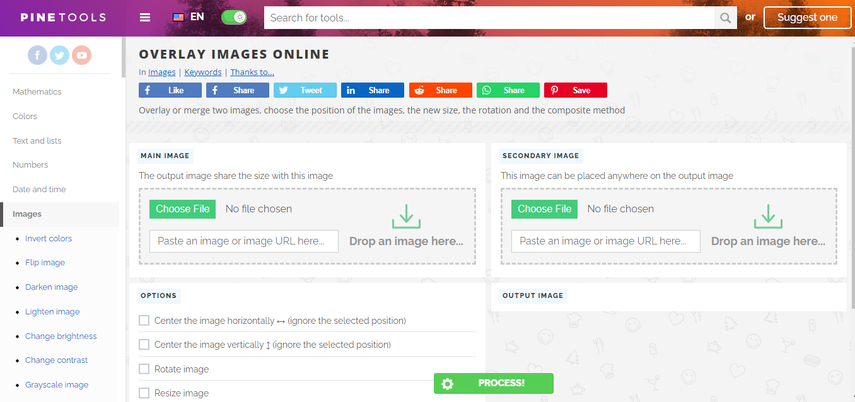
For those who do not want to download or install any tool for overlaying images, but want to add overlay to an image, Online Pinetool is an excellent choice. With its user-friendly interface and extensive library of overlay options, Online Pinetool makes the process a breeze. You can also use Online Pinetool to overlay images with text, shapes, stickers, filters, and more.
Equipped with an advanced algorithm, Online Pinetool offers a wide range of overlay options, such as color, gradient, pattern, texture, and image.
Here’s how to add an overlay to an image using Online Pinetool:
- Go to the Online Pinetool website and click on “Images” from the main menu.
- Next, find “Overlay Images” and click on it. You will be redirected to the editor page.
- Here, you’ll see two different tabs. Upload the main image on the left and the secondary image on the right.
- Next, choose from a variety of overlay options, and click on Process.
- The tool will start processing your image and will give you the overlaid images within a few seconds.
- Once satisfied with the outcome, download the final result.
Section 4: How to Create an Overlay Image on Mobile Convenience

As every other work is being done on a mobile phone, why not photo overlay? If you want to overlay pictures right from your smartphone or tablet, there are multiple mobile apps available. One of the best apps to overlay images on the go is Piclay Photo Blend Overlay, which offers a large collection of overlay options including color, gradient, pattern, texture, and image. Besides this, you can customize the overlay settings, such as opacity, blend mode, and position, and it also allows you to overlay images with other images, text, stickers, filters, and more.
Here's how to create an image overlay using Piclay:
- Download and install the Piclay Photo Blend Overlay app from the App Store or Google Play Store.
- Open the app and import the images you want to overlay. You can either upload one from the gallery or click a new snap.
- Next, upload the second image that you want to blend. This can either be your own image or an image from the library.
- Adjust the opacity and position of the overlay to your liking. To make the artwork more appealing, you can add texture to it.
- When you are happy with the outcome, save the overlaid image or share it with your friends.
Section 5: Taking it to the Next Level with HitPaw FotorPea
Now that you have learned how to overlay images using multiple overlaying tools, you may need to further enhance the image quality. In such a scenario, where you want to touch up an image and make it more vivid and striking, try using HitPaw FotorPea.
Equipped with more advanced and powerful features, Hitpaw is one of the best PC software programs for photo retouching that can help you improve your photos with multiple AI modes. With its enhanced capabilities, you can use it to improve your photos by sharpening, denoising, enlarging, or colorizing them, and it will take your image overlaying game to the next level.
Here are some features of the HitPaw FotorPea:
- Multiple AI modes for automatic photo enhancement
- Batch processing for efficient workflow
- Noise reduction and detail enhancement
- Compatible with various image formats
- High-quality output and low CPU usage
How to use HitPaw FotorPea to retouch photos:
Step 1: Download and install HitPaw FotorPea from the official website.
Step 2: Launch the software and select “AI Enhancer” from the main interface.

Step 3: Now click on “Choose File" and Import the photo you want to enhance.
Step 4: Next, choose the desired AI model located on the right side, i.e., Face Model, Denoise, Colorize Model, Color Calibration, Scratch Repair, and Low Light Model, to enhance your photo. Also, make sure to select the resolution.

Step 5: Next, Click on Preview and wait for a few seconds to let the AI do its magic.
Step 6: Now preview the edited image and compare the before and after versions.
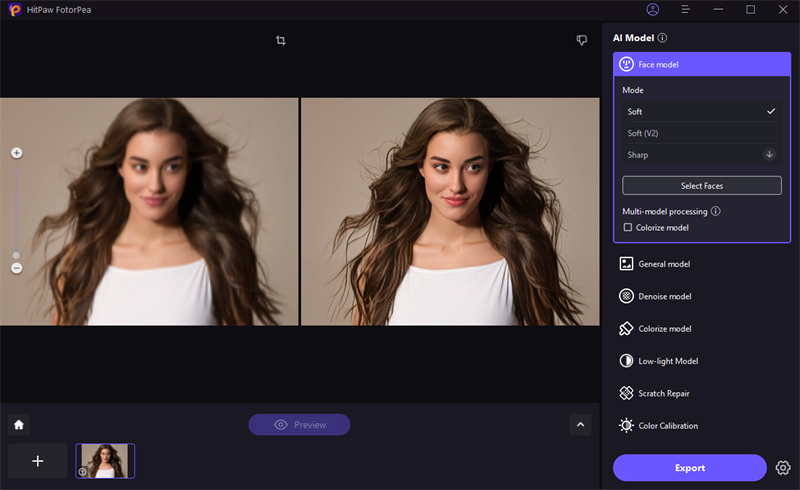
Step 7: If you are satisfied with the enhanced image, click on Export and save it to the desired location.
Video Guide for You to Increase Resolution
That’s it! You have successfully retouched your photo with the HitPaw FotorPea. You can compare the before and after versions of your photo and see the difference
Final Thoughts
Wondering how to overlay pictures? Overlaying images is a fun and creative way to add depth and dimension to your photos. Whether you're using built-in PC tools, third-party software, online platforms, or mobile apps, there are plenty of options available to suit your needs and preferences.
However, not all are worth trying, as some lack basic functionalities and others are expensive. That’s why we shared a list of the most complete tools that can ensure image overlaying is a breeze. But in some cases, these tools can compromise on quality, and to address that, try using HitPaw FotorPea.


 HitPaw Video Object Remover
 HitPaw Photo Object Remover
 HitPaw VikPea (Video Enhancer)

Share this article:
Select the product rating:
Daniel Walker
Editor-in-Chief
My passion lies in bridging the gap between cutting-edge technology and everyday creativity. With years of hands-on experience, I create content that not only informs but inspires our audience to embrace digital tools confidently.
View all ArticlesLeave a Comment
Create your review for HitPaw articles